3D Shadow Box Cricut: Crafting Dimensional Masterpieces
Introduction
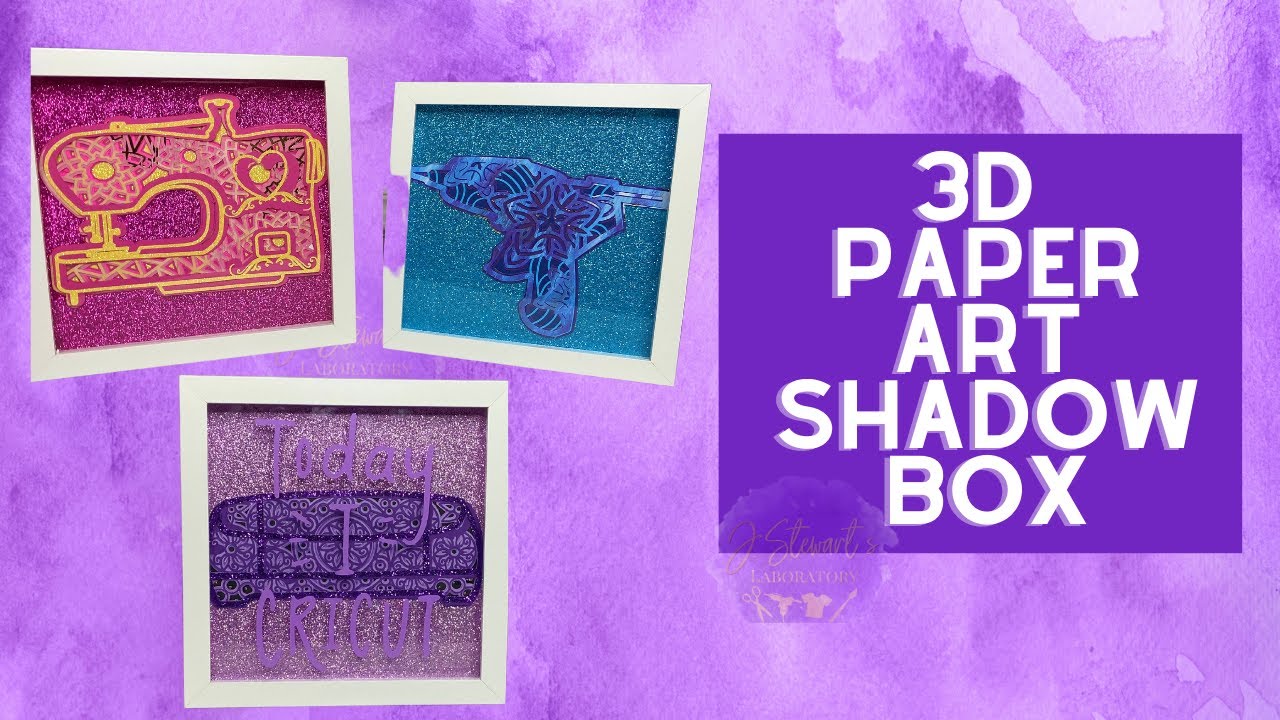
Create stunning and eye-catching 3D shadow boxes with the versatility of your Cricut cutting machine. This innovative technique allows you to layer intricate designs and add depth to your projects, resulting in captivating displays that will elevate any space.


Table of Content
Materials and Equipment
- Cricut cutting machine (Explore Air 2, Maker, or Explore 3)
- Design Space software
- Cardstock (various colors and weights)
- Adhesive (glue, tape, or spray adhesive)
- Scoring tool or stylus
- Foam board or thick cardboard
- Shadow box frame (optional)

Step-by-Step Guide
Create stunning and eye-catching 3D shadow boxes with the versatility of your Cricut cutting machine. This innovative technique allows you to layer intricate designs and add depth to your projects, resulting in captivating displays that will elevate any space.
- Paper Shadow Box Template Paper Shadow Box Template: A Comprehensive Guide To Crafting Depth And Dimension
- Cricut Shadow Box With Lights Cricut Shadow Box With Lights: A Comprehensive Guide To DIY Illumination
- Free Shadow Box Svg Free Shadow Box SVG: Elevate Your Papercrafting With Stunning 3D Designs
- Light Box Svg Free Light Box SVG Free: Elevate Your Designs With Stunning Vector Graphics
- 3D Svg Shadow Box 3D SVG Shadow Box: A Comprehensive Guide To Creating Stunning Visual Effects
Materials and Equipment
To embark on your 3D shadow box journey, you will need the following:

- Cricut cutting machine (Explore Air 2, Maker, or Explore 3)
- Design Space software
- Open Design Space and create a new project.
- Choose a design or upload your own.
- Resize and adjust the design as desired.
- Select your materials and cut the pieces out of cardstock.
- Use a scoring tool or stylus to create creases along the fold lines of your design.
- Carefully fold the pieces along the scored lines to create the desired shape.
- Apply adhesive to the base layer of your design.
- Layer the remaining pieces on top, starting with the smallest and working your way up to the largest.
- Press firmly to secure the layers together.
- Cut a piece of foam board or thick cardboard to the same size as the base of your shadow box.
- Score a line around the edge of the foam board, approximately 1/2 inch from the edge.
- Fold the scored section inward to create a 90-degree angle.
- Glue the folded foam board to the back of your layered design.
- If desired, place your 3D shadow box inside a shadow box frame to enhance its presentation.
- Incorporate different colors and textures: Combine cardstock in various hues and finishes to add visual interest and depth.
- Use multiple layers: Layer multiple pieces to create a sense of dimension and perspective.
- Add embellishments: Enhance your shadow box with sequins, beads, or other embellishments to personalize it.
- Consider the lighting: Natural or artificial lighting can dramatically affect the appearance of your shadow box. Place it in a well-lit area to showcase its details.
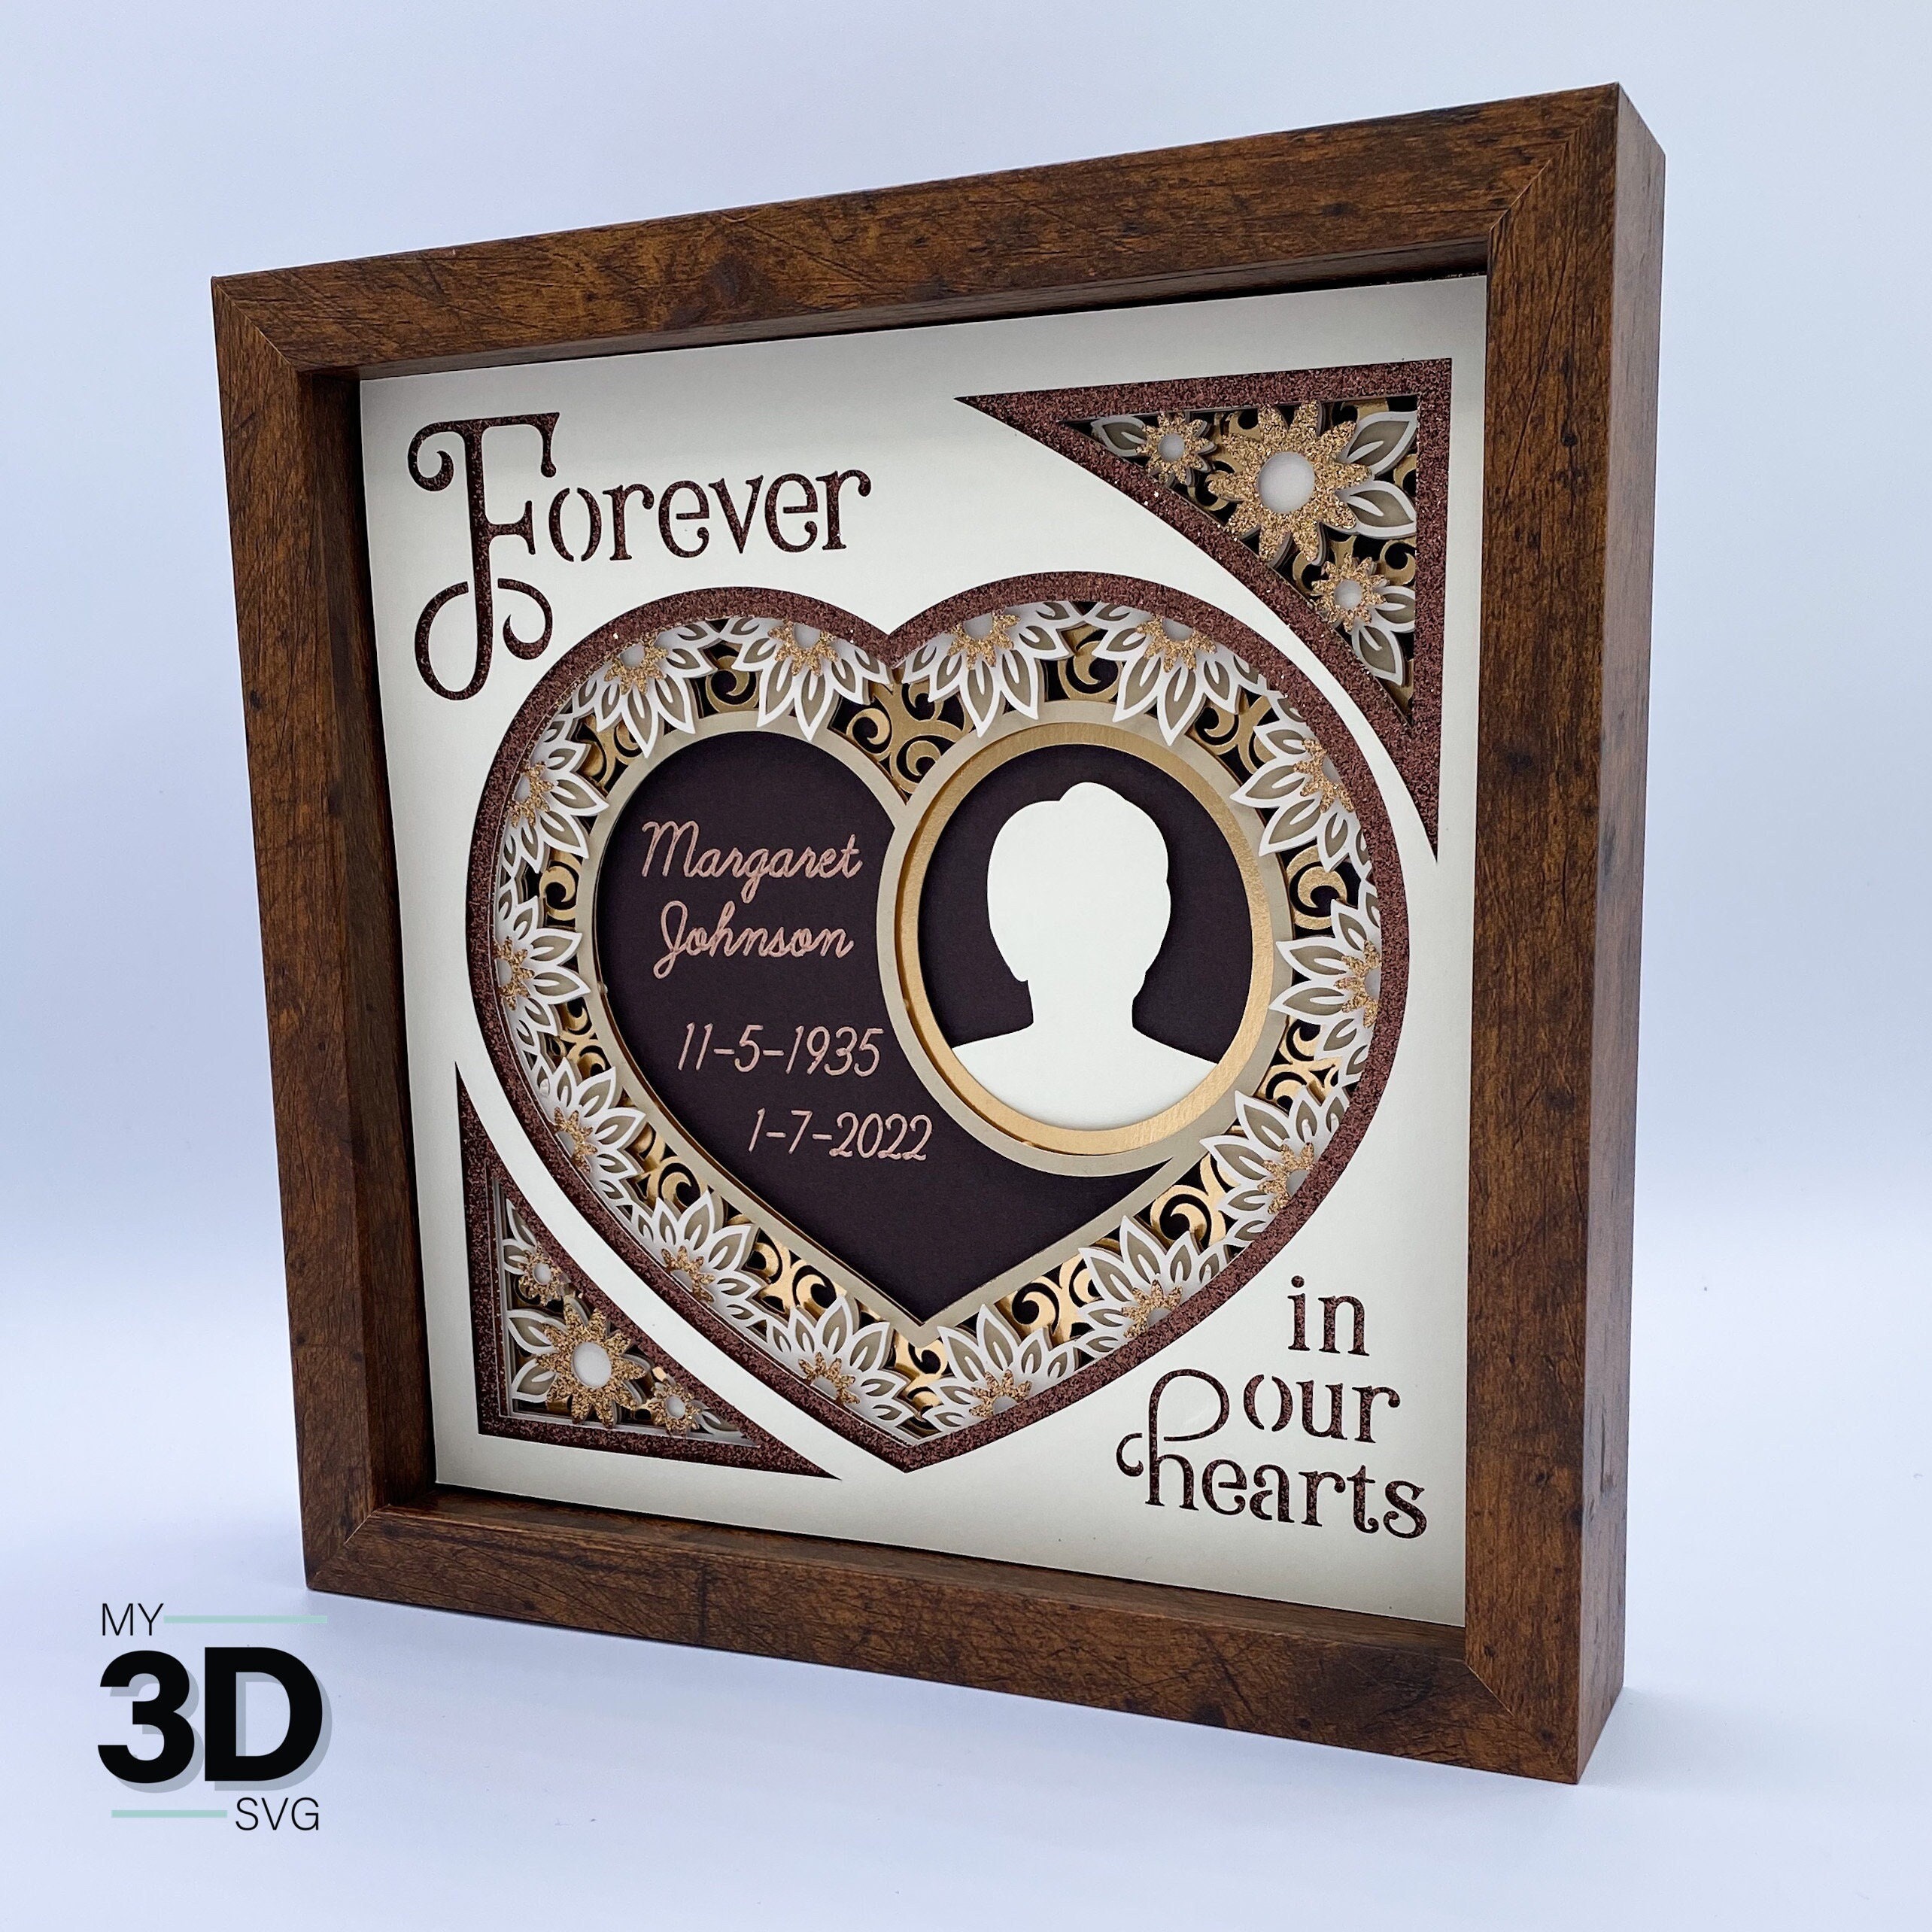
- Personalized name or monogram: Create a unique 3D shadow box with your name or initials for a special gift or home decor.
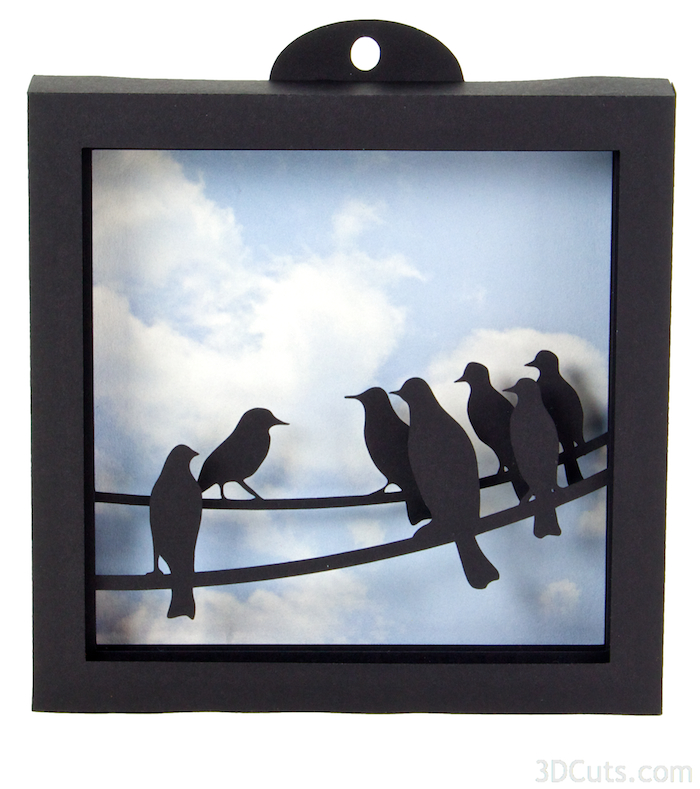
- Shadow box diorama: Build a miniature scene within a shadow box, complete with layered elements and details.
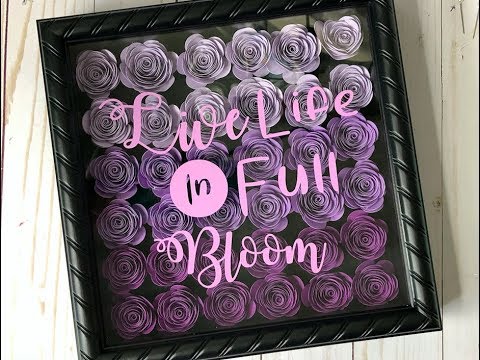
- Floral arrangement: Create a vibrant and dimensional floral display by layering paper flowers and greenery.
- Abstract art: Experiment with geometric shapes and colors to create abstract shadow boxes that are both modern and captivating.
1. Design and Cut

2. Score and Fold

3. Layer and Glue

4. Create the Shadow
5. Frame (Optional)
Design Tips and Ideas
Projects to Inspire
Conclusion
3D shadow boxes with Cricut are a versatile and rewarding craft that allows you to express your creativity and create stunning displays. By following the steps outlined above and experimenting with different designs and materials, you can elevate your projects to new heights and impress your friends and family.
FAQs
Q: What is the best type of cardstock to use for 3D shadow boxes?
A: Medium-weight cardstock (65-110 lb) is ideal for its durability and ability to hold its shape.
Q: Can I use other materials besides cardstock?
A: Yes, you can incorporate other materials such as foam, fabric, or thin wood into your shadow boxes.
Q: How do I ensure my shadow box is sturdy?
A: Use a thick backing material like foam board or cardboard to provide support and prevent warping.
Q: Can I sell my 3D shadow boxes?
A: Yes, you can sell your creations as long as you have the appropriate licenses and permissions for any copyrighted designs used.
Q: How can I preserve my 3D shadow box?
A: Use acid-free materials and store your shadow box in a dry, protected environment to prevent fading and damage.