


3D Shadow for Cricut: Elevate Your Crafts with Depth and Dimension
Introduction
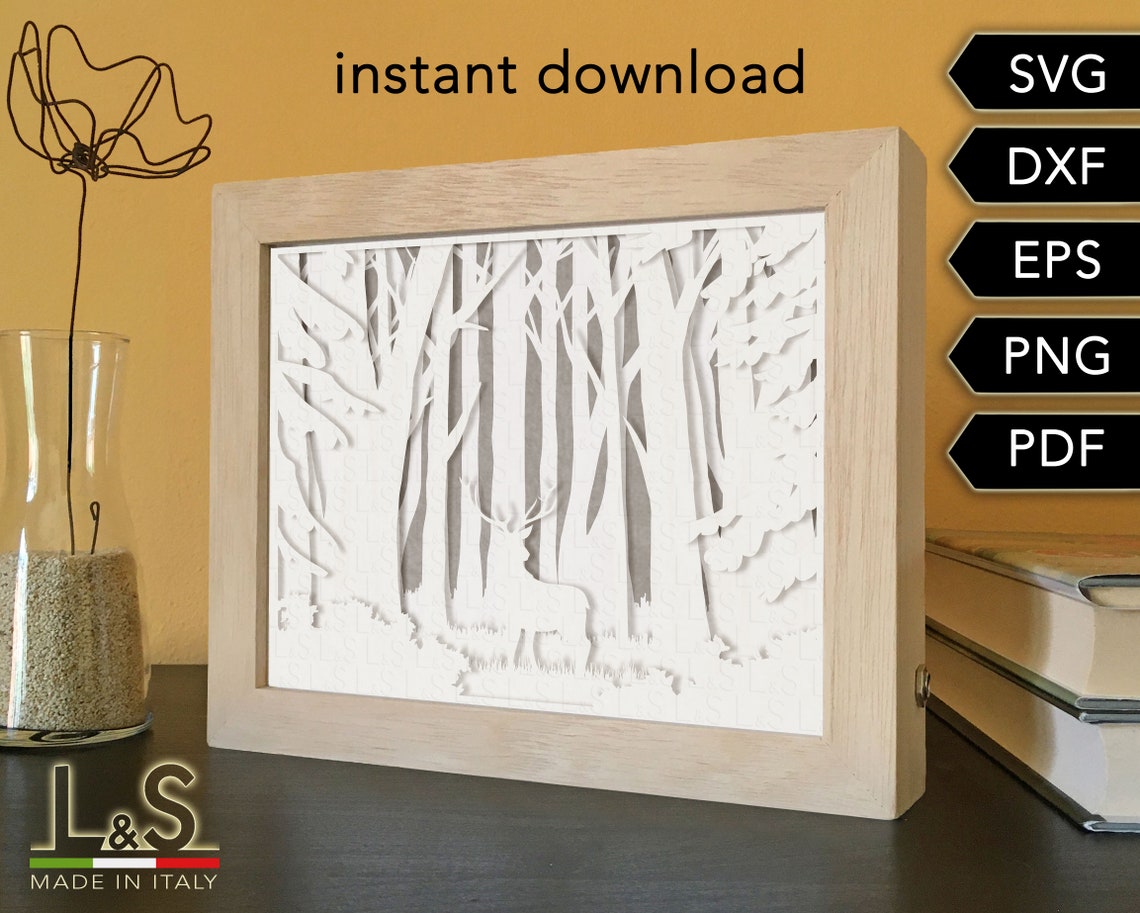
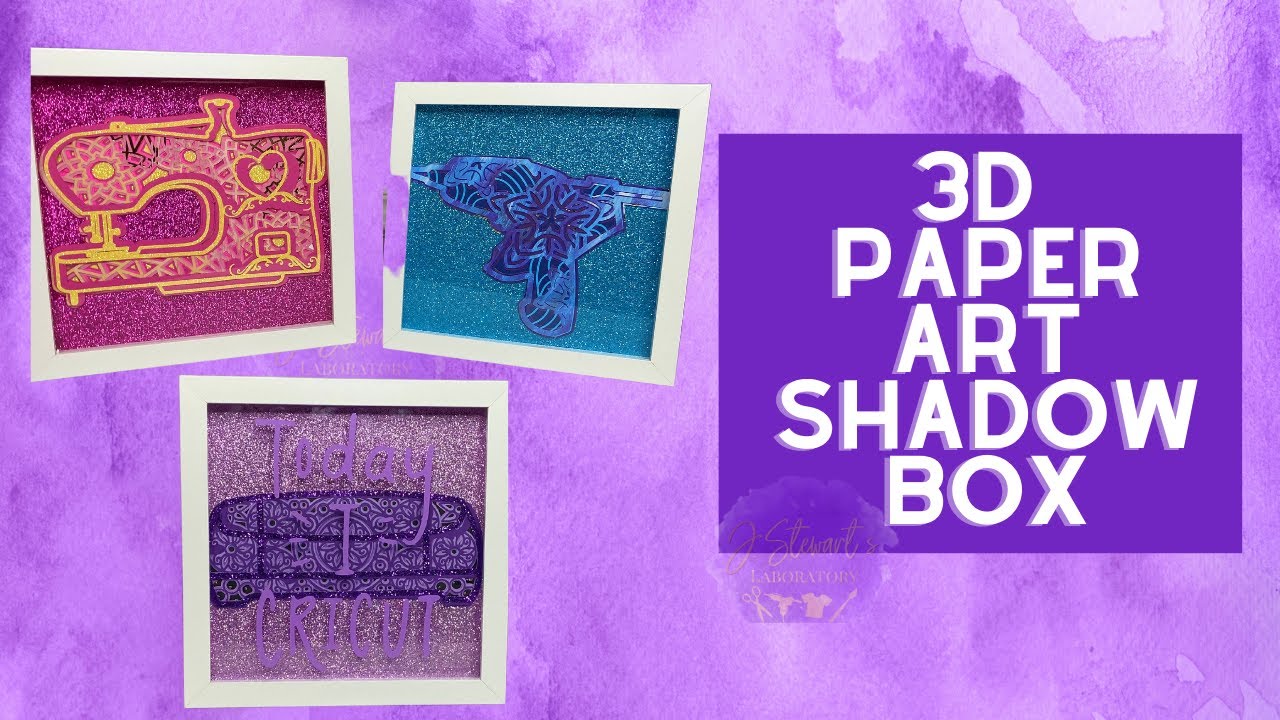
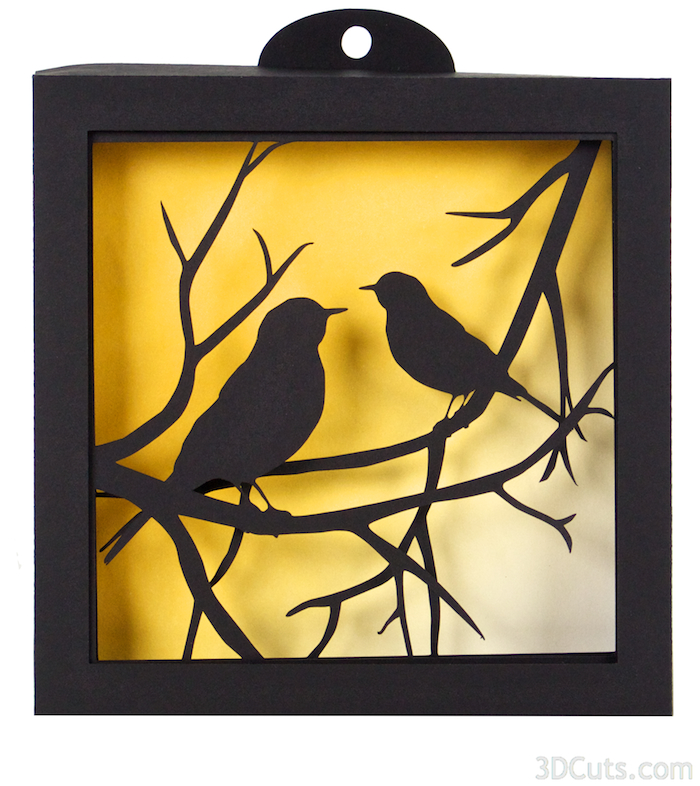
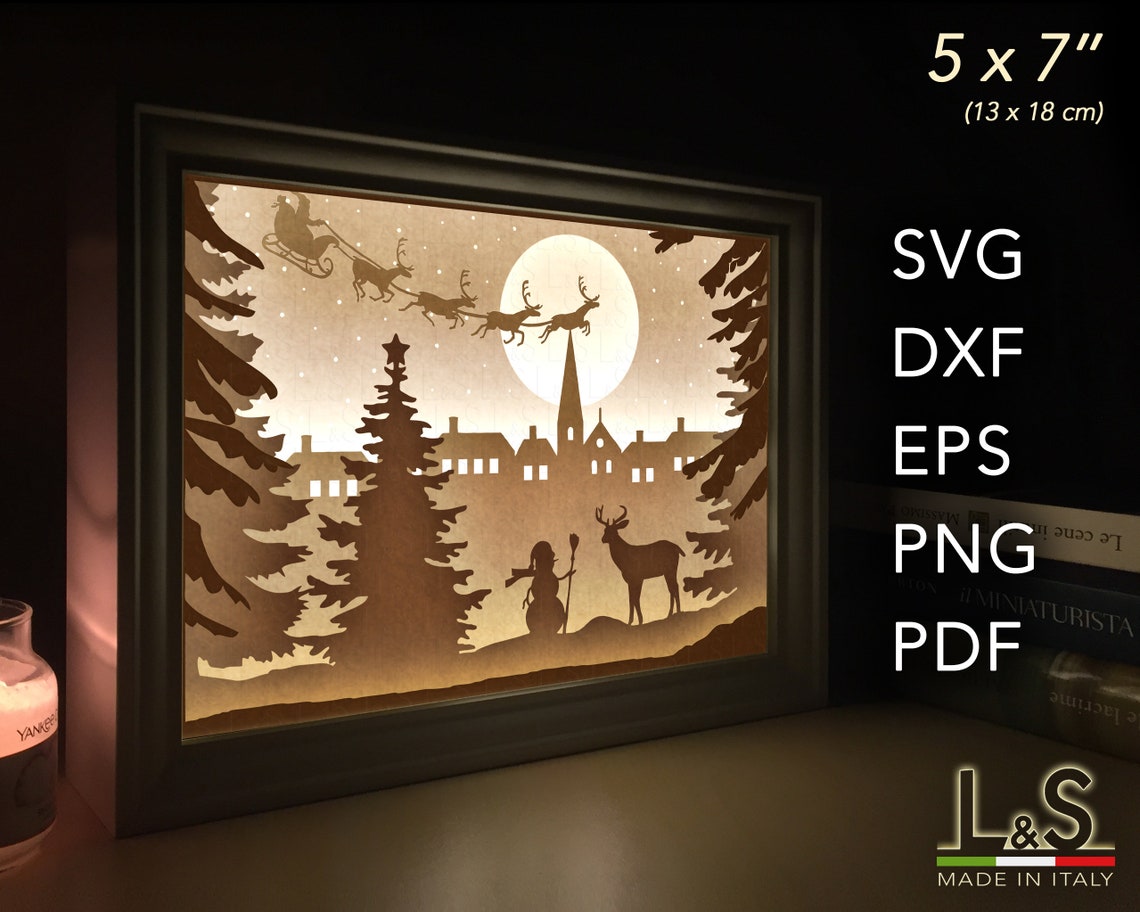
3D Shadow is an innovative technique that adds depth and dimension to your Cricut crafts. By creating a layered effect with multiple layers of different materials, you can achieve a stunning 3D illusion that will make your projects stand out. This guide will provide comprehensive instructions on how to master the 3D Shadow technique, including materials, design creation, cutting, assembly, and troubleshooting tips.
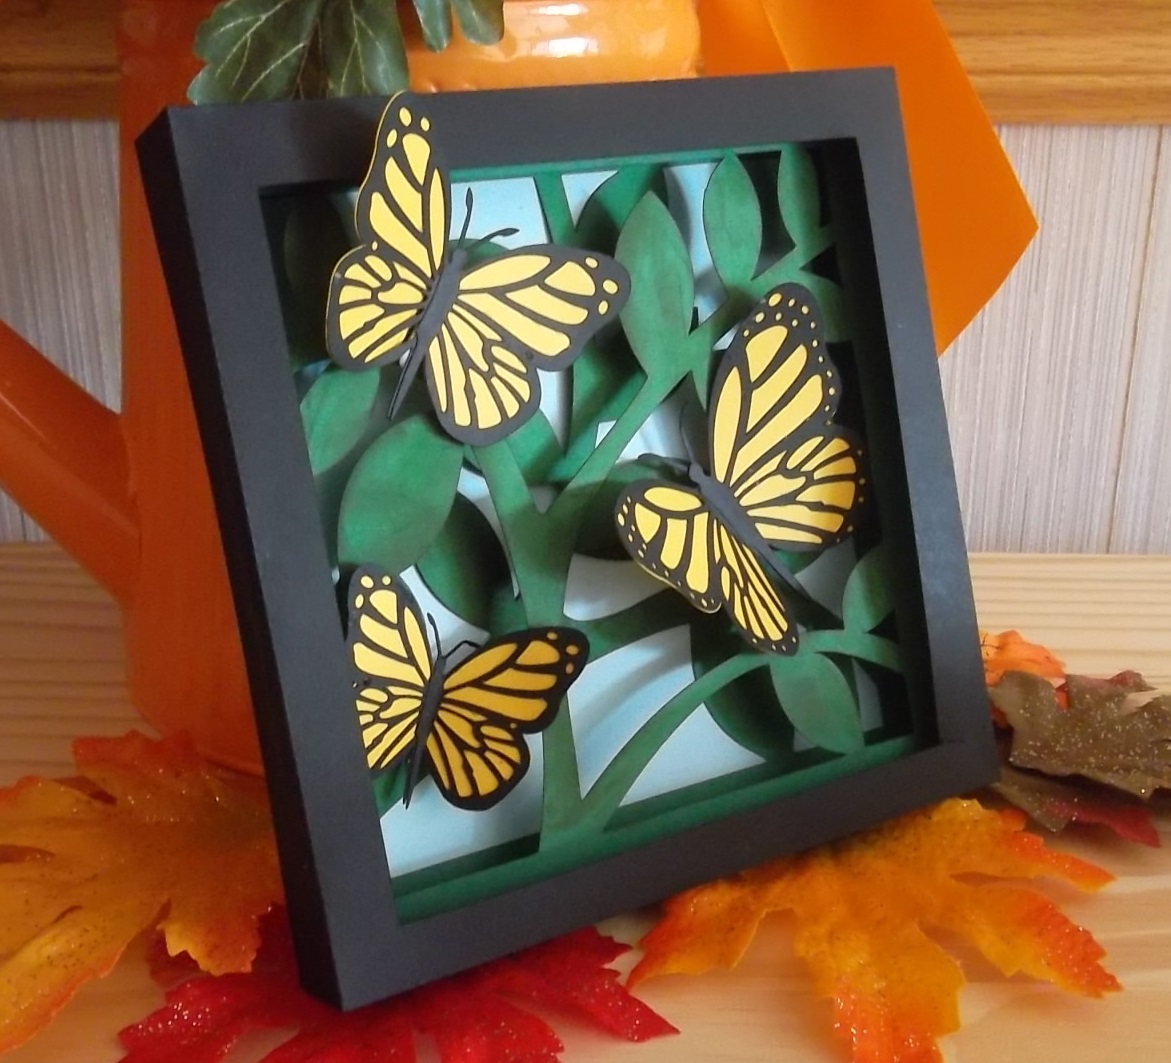

Table of Content
- 1 3D Shadow for Cricut: Elevate Your Crafts with Depth and Dimension
- 1.1 Introduction
- 2 H1: Materials for 3D Shadow
- 2.2 H3: Shadow Layer
- 2.3 H4: Top Layer
- 3 H1: Materials for 3D Shadow
- 3.4 H2: Base Layer
- 4 H1: Design Creation
- 4.5 H2: Software
- 4.6 H3: Design Considerations
- 5 H1: Cutting and Assembly
- 5.7 H2: Cutting
- 5.8 H3: Assembly
- 6 H1: Troubleshooting Tips
- 6.9 H2: Layers Not Aligning
- 6.10 H3: Shadows Not Pronounced
- 6.11 H4: Top Layer Not Sticking
- 7 H1: Conclusion
- 8 FAQs
- 8.12 Q: What is the best material for the shadow layer?
- 8.13 Q: Can I use 3D Shadow on any surface?
- 8.14 Q: How do I make the shadow layer more pronounced?
H1: Materials for 3D Shadow
- Cardstock or chipboard: Provides a sturdy foundation for the project.
- Adhesive: Double-sided tape or glue to attach the layers.
H3: Shadow Layer
- Foam core or craft foam: Creates the shadow effect by adding height.
- Optional: Adhesive foam squares to elevate the shadow layer.

H4: Top Layer
3D Shadow is an innovative technique that adds depth and dimension to your Cricut crafts. By creating a layered effect with multiple layers of different materials, you can achieve a stunning 3D illusion that will make your projects stand out. This guide will provide comprehensive instructions on how to master the 3D Shadow technique, including materials, design creation, cutting, assembly, and troubleshooting tips.
- Box Templates Free Download Box Templates: Free Download And Customization
- Cricut Box Template Free Cricut Box Template Free: Unleash Your Creativity With Limitless Designs
- Anime Shadow Box Anime Shadow Boxes: A Guide To Creating Stunning Displays
- Svg Shadow Box Free SVG Shadow Box: A Comprehensive Guide To Creating Stunning 3D Effects
- Christmas Shadow Box Svg Free Christmas Shadow Box SVG Free: A Festive Way To Decorate Your Home
H1: Materials for 3D Shadow
H2: Base Layer
- Cardstock or chipboard: Provides a sturdy foundation for the project.
- Adhesive: Double-sided tape or glue to attach the layers.
- Cardstock or vinyl: The visible design that will be placed on top of the shadow layer.
- Cricut Design Space: Free software that allows you to create and cut designs.
- Adobe Illustrator or Inkscape: Professional design software with more advanced features.
- Size: Determine the desired size of the 3D shadow and create your design accordingly.
- Layers: Design your layers with different shapes and sizes to create depth and dimension.
- Alignment: Ensure that the layers are aligned precisely for a clean and seamless look.
- Import your design into Cricut Design Space and select the appropriate materials for each layer.
- Cut out the base layer, shadow layer, and top layer using your Cricut machine.
- Base Layer: Apply adhesive to the base layer and attach it to your desired surface.
- Shadow Layer: Add adhesive to the bottom of the shadow layer or use foam squares to elevate it. Attach it to the base layer.
- Top Layer: Apply adhesive to the back of the top layer and place it on top of the shadow layer.
- Ensure that your design is aligned properly before cutting.
- Use a ruler or guide to align the layers during assembly.
- Increase the height of the shadow layer by using thicker foam core or adding foam squares.
- Use a darker color for the shadow layer to create a more pronounced contrast.
- Clean the surface of the top layer with rubbing alcohol to remove any oils.
- Use a stronger adhesive such as super glue or epoxy.

H1: Design Creation

H2: Software

H3: Design Considerations
H1: Cutting and Assembly
H2: Cutting
H3: Assembly
H1: Troubleshooting Tips
H2: Layers Not Aligning
H3: Shadows Not Pronounced
H4: Top Layer Not Sticking
H1: Conclusion
3D Shadow is a versatile technique that can transform your Cricut projects into stunning works of art. By following the steps outlined in this guide, you can create intricate and eye-catching designs that will add depth, dimension, and interest to your crafts. Experiment with different materials, designs, and assembly techniques to unleash your creativity and elevate your Cricut skills to the next level.
FAQs
Q: What is the best material for the shadow layer?
A: Foam core or craft foam are ideal for creating the shadow layer due to their lightweight and ability to add height.
Q: Can I use 3D Shadow on any surface?
A: Yes, 3D Shadow can be applied to various surfaces such as paper, wood, metal, and plastic. However, it is important to ensure that the surface is clean and free of oils.
Q: How do I make the shadow layer more pronounced?
A: Increase the height of the shadow layer by using thicker foam core or adding foam squares. Additionally, use a darker color for the shadow layer to create a more noticeable contrast.


