3D SVG Light Box: The Ultimate Guide for Cricut SVG Files
Introduction
3D SVG light boxes are a captivating way to showcase your creativity and illuminate your home décor. With the versatility of Cricut SVG files, you can create intricate designs that transform into stunning 3D masterpieces when combined with LED lights. This comprehensive guide will delve into everything you need to know about 3D SVG light boxes, from materials and techniques to design inspiration and troubleshooting tips.
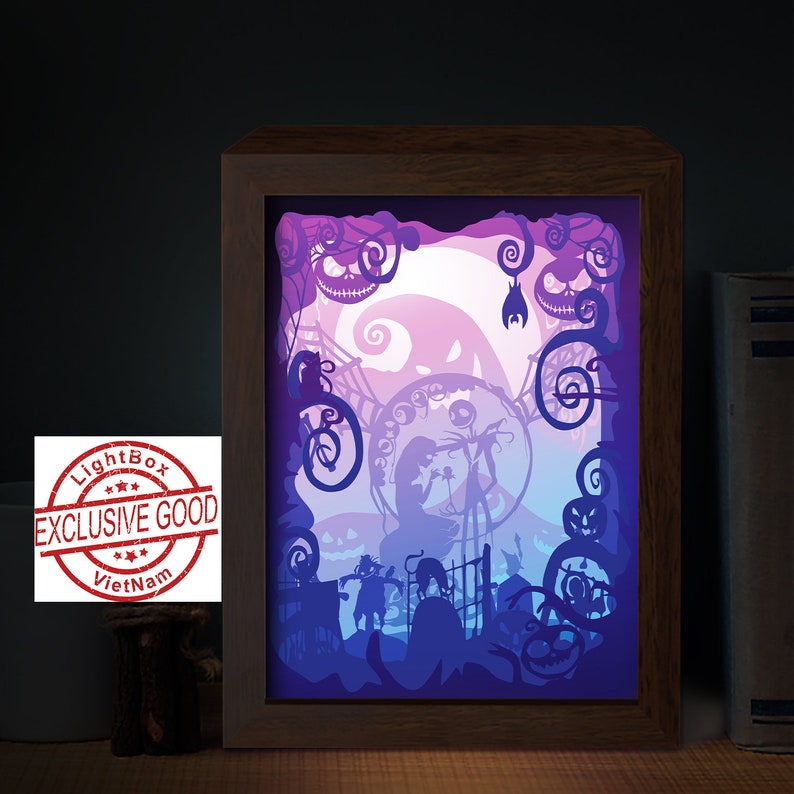

Table of Content
- 1 3D SVG Light Box: The Ultimate Guide for Cricut SVG Files
- 1.1 Introduction
- 1.2 Materials You’ll Need
- 1.3 Step-by-Step Guide to Creating a 3D SVG Light Box
- 1.4 Materials You’ll Need
- 1.5 Design Inspiration for 3D SVG Light Boxes
- 1.6 Troubleshooting Tips for 3D SVG Light Boxes
- 1.7 FAQs about 3D SVG Light Boxes
- 1.8 Conclusion
Materials You’ll Need
Step-by-Step Guide to Creating a 3D SVG Light Box
1. Design and Cut the SVG File
3D SVG light boxes are a captivating way to showcase your creativity and illuminate your home décor. With the versatility of Cricut SVG files, you can create intricate designs that transform into stunning 3D masterpieces when combined with LED lights. This comprehensive guide will delve into everything you need to know about 3D SVG light boxes, from materials and techniques to design inspiration and troubleshooting tips.
- Paper Cut Light Box Free Template SVG Files H1: Paper Cut Light Box Free Template SVG Files: Unleash Your Creativity
- Light Box Svg Light Box SVG: A Comprehensive Guide
- Free Cricut Shadow Box Svg Free Cricut Shadow Box SVG: A Comprehensive Guide
- Halloween Shadow Box SVG Files Halloween Shadow Box SVG Files: A Spooktacular Addition To Your Halloween Decor
- Light Up Shadow Box Cricut SVG Files Light Up Shadow Boxes: Illuminate Your Creativity With Cricut SVG Files
Materials You’ll Need
- Cricut machine: Explore Air 2, Maker, or Maker 3
- Cricut Design Space: Free software for designing and cutting
- Cardstock or chipboard: For the base and layers of the light box
- Choose or design a 3D SVG file that suits your desired style.
- Import the SVG file into Cricut Design Space and adjust the size and layers as needed.
- Cut out the pieces from cardstock or chipboard using your Cricut machine.
- Glue or tape the base pieces together to form a rectangular or square shape.
- Ensure that the edges are aligned and secure.
- Apply glue to the back of each layer and stack them onto the base, starting with the bottom layer.
- Align the layers carefully and press them down to secure.
- Insert the LED light strips into the designated slots or spaces within the light box.
- Connect the light strips to a power source (batteries or outlet).
- Check if all the lights are working properly.
- Adjust the layers as needed to ensure a snug fit and prevent light leakage.
- Decorate the light box with embellishments, such as paint, glitter, or vinyl.

2. Assemble the Base

3. Layer the Designs
4. Add the LED Lights
5. Final Touches
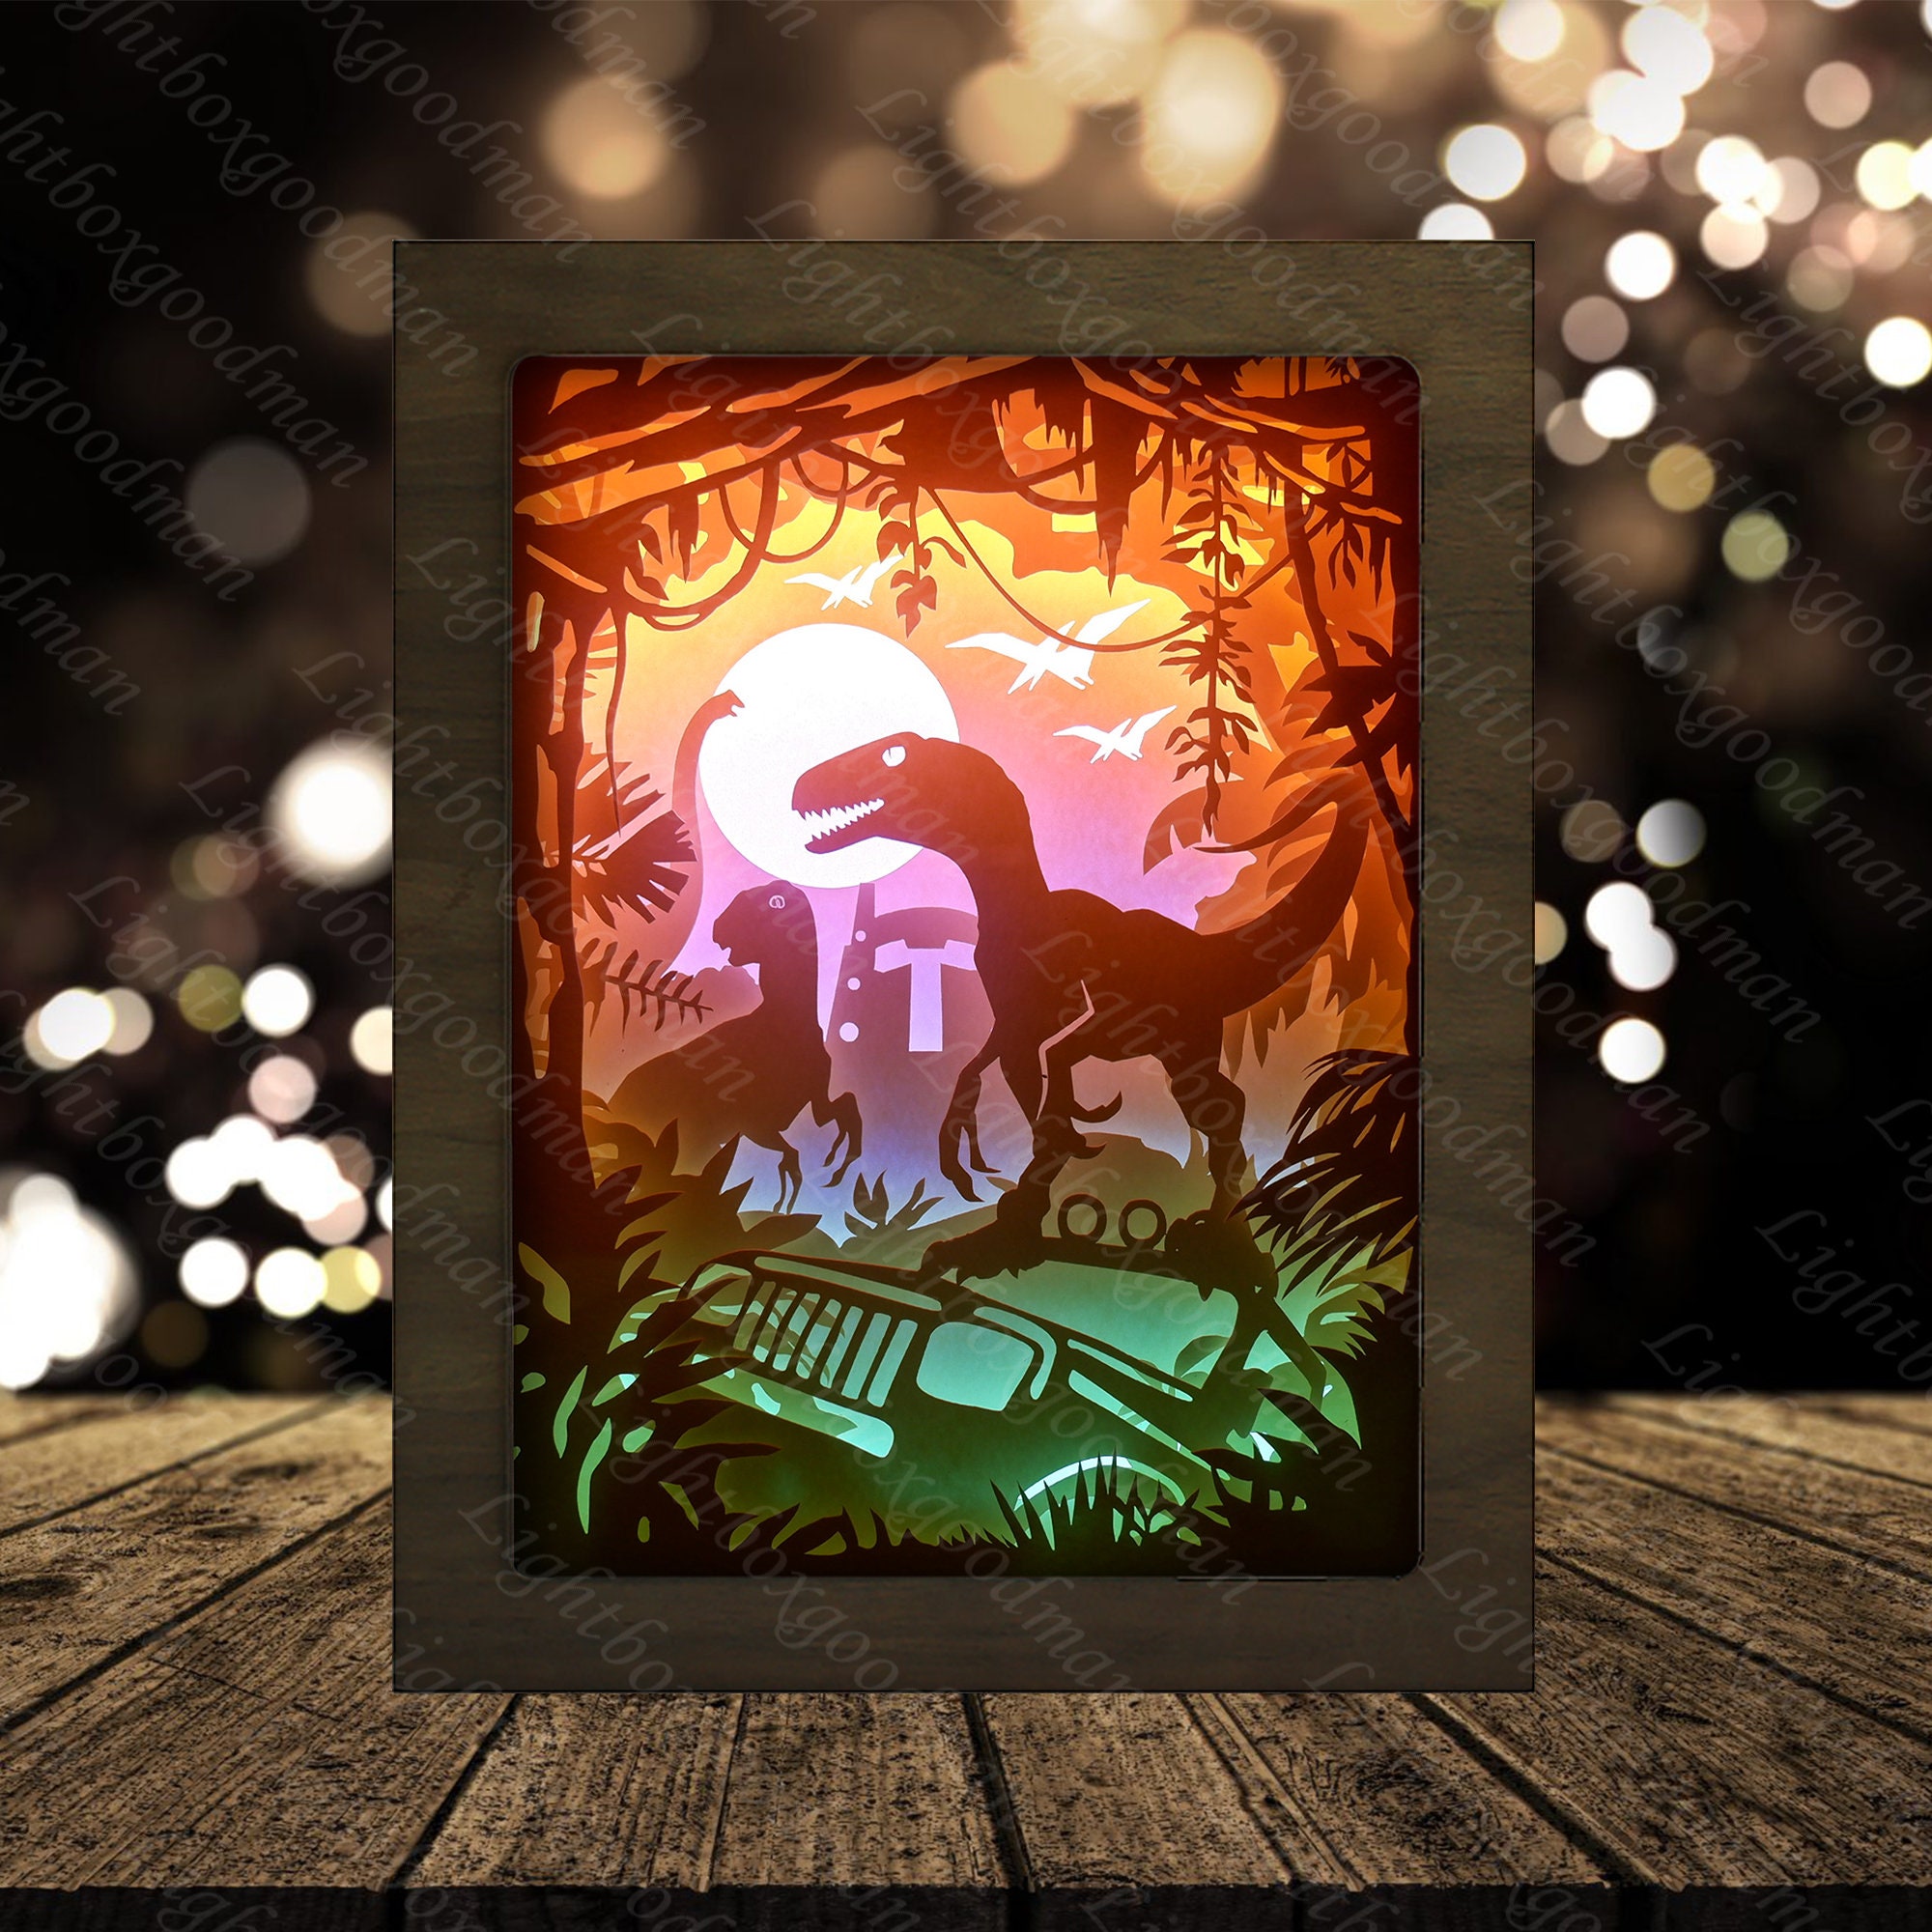
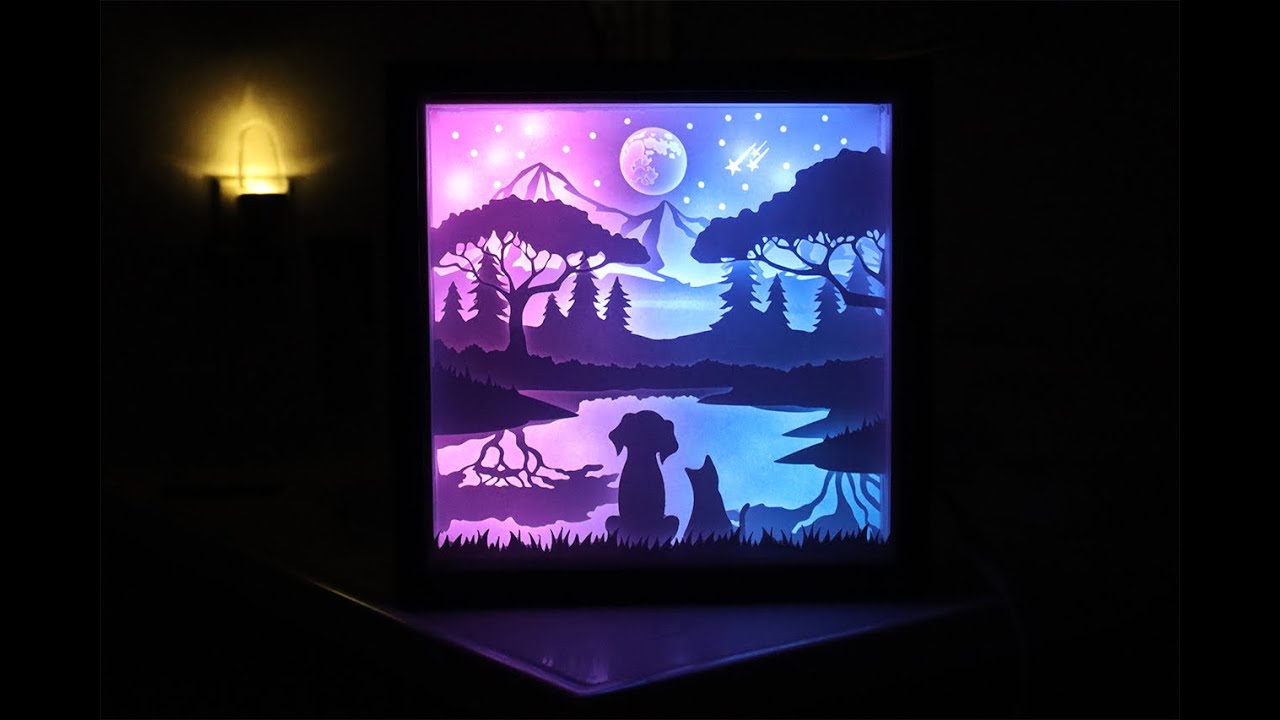
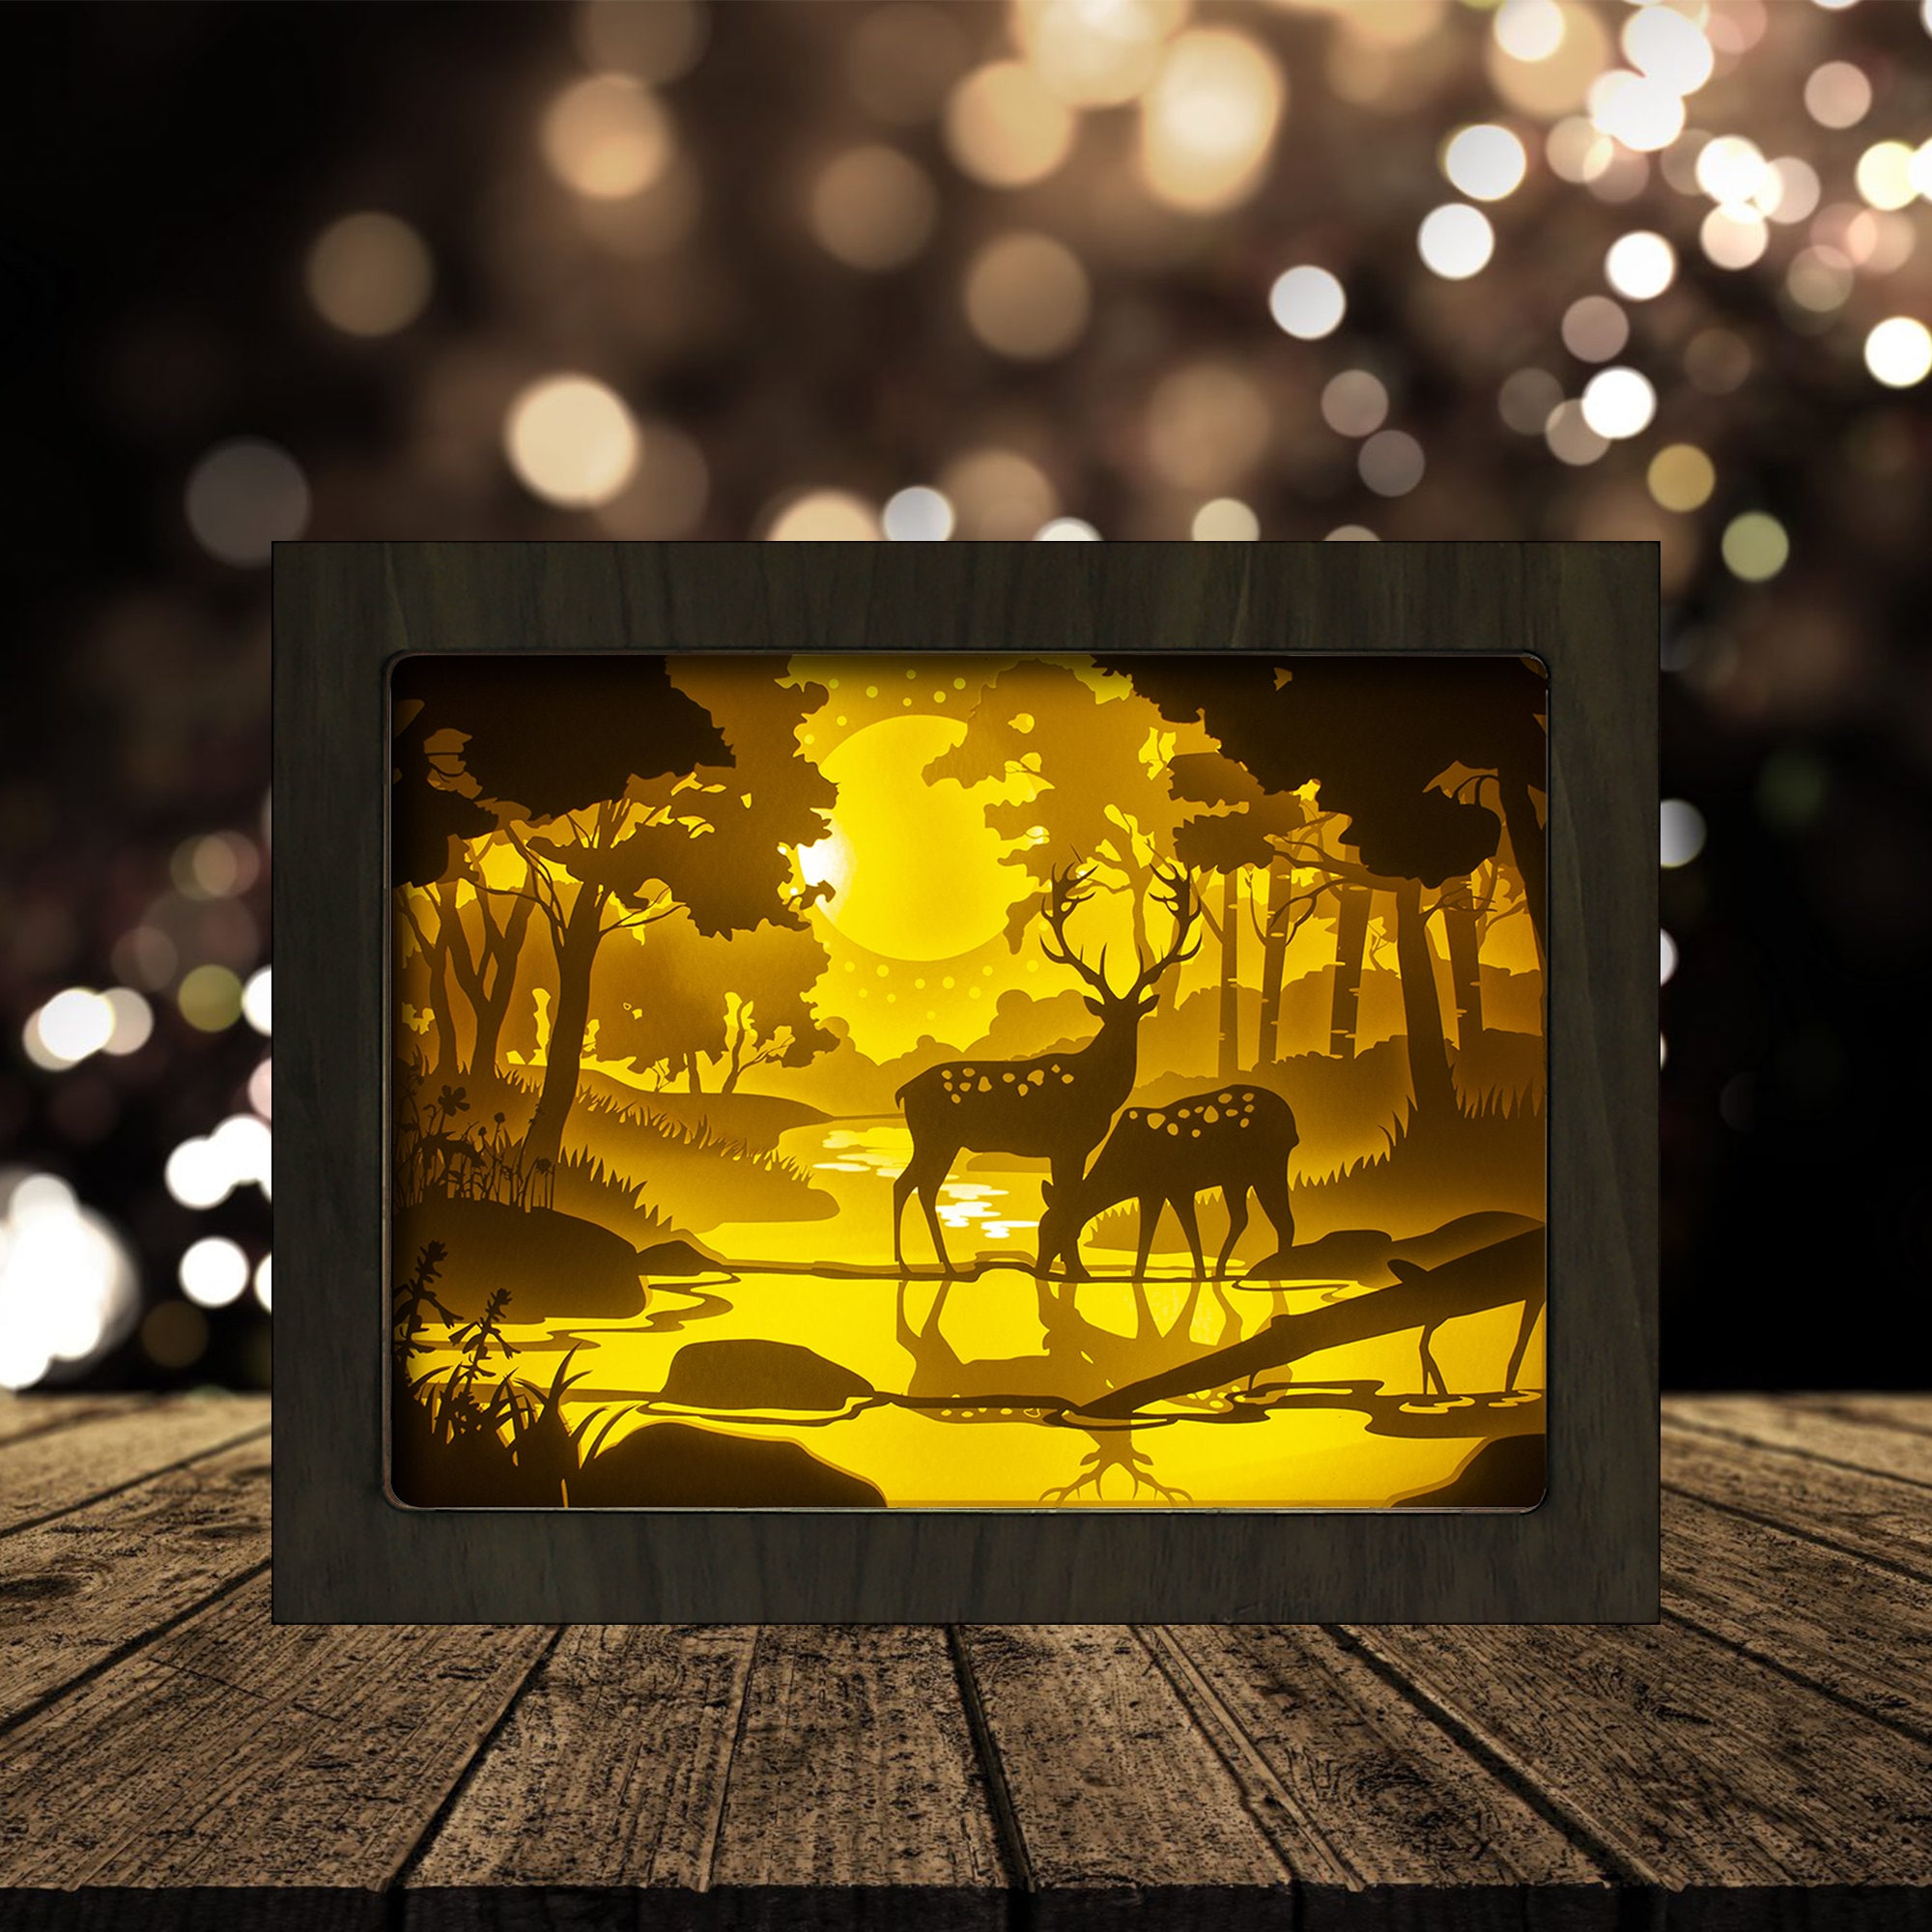
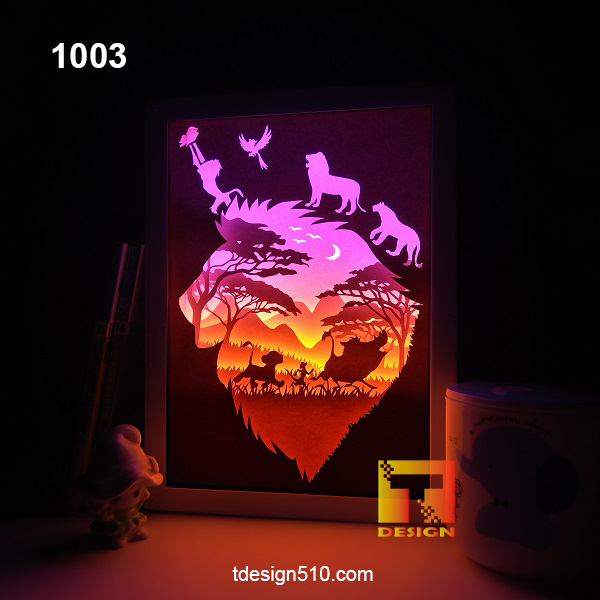
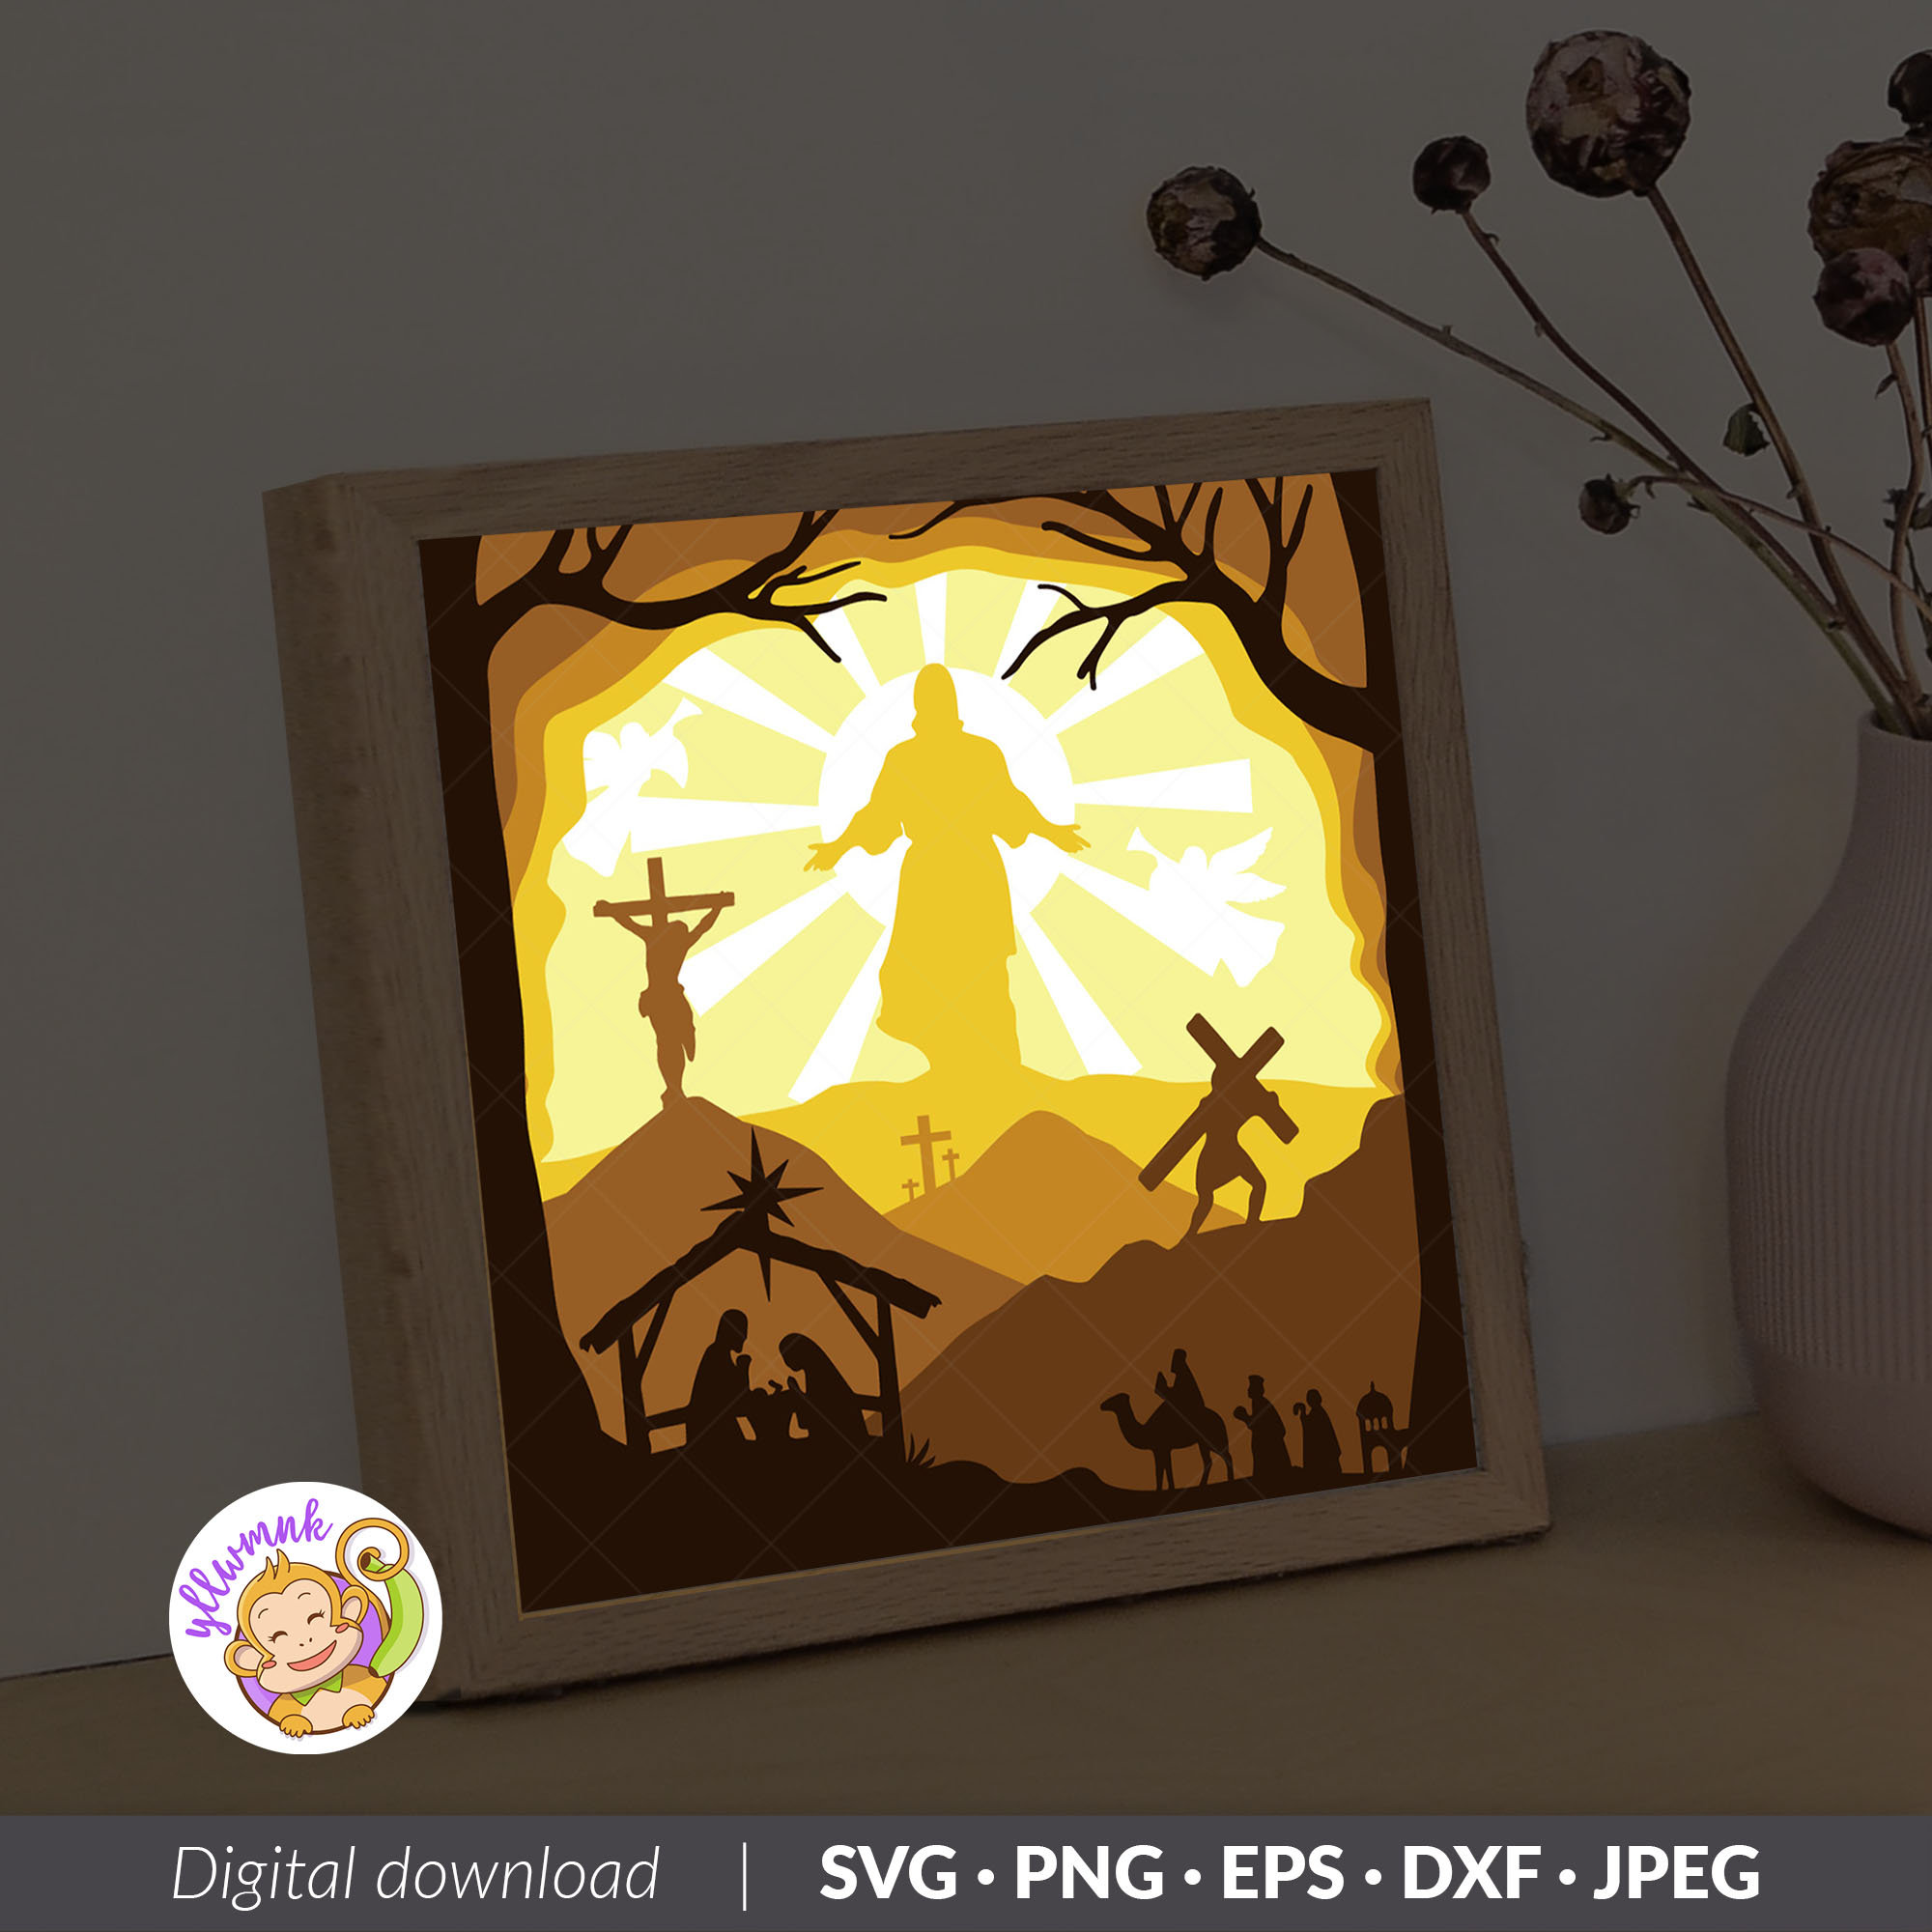
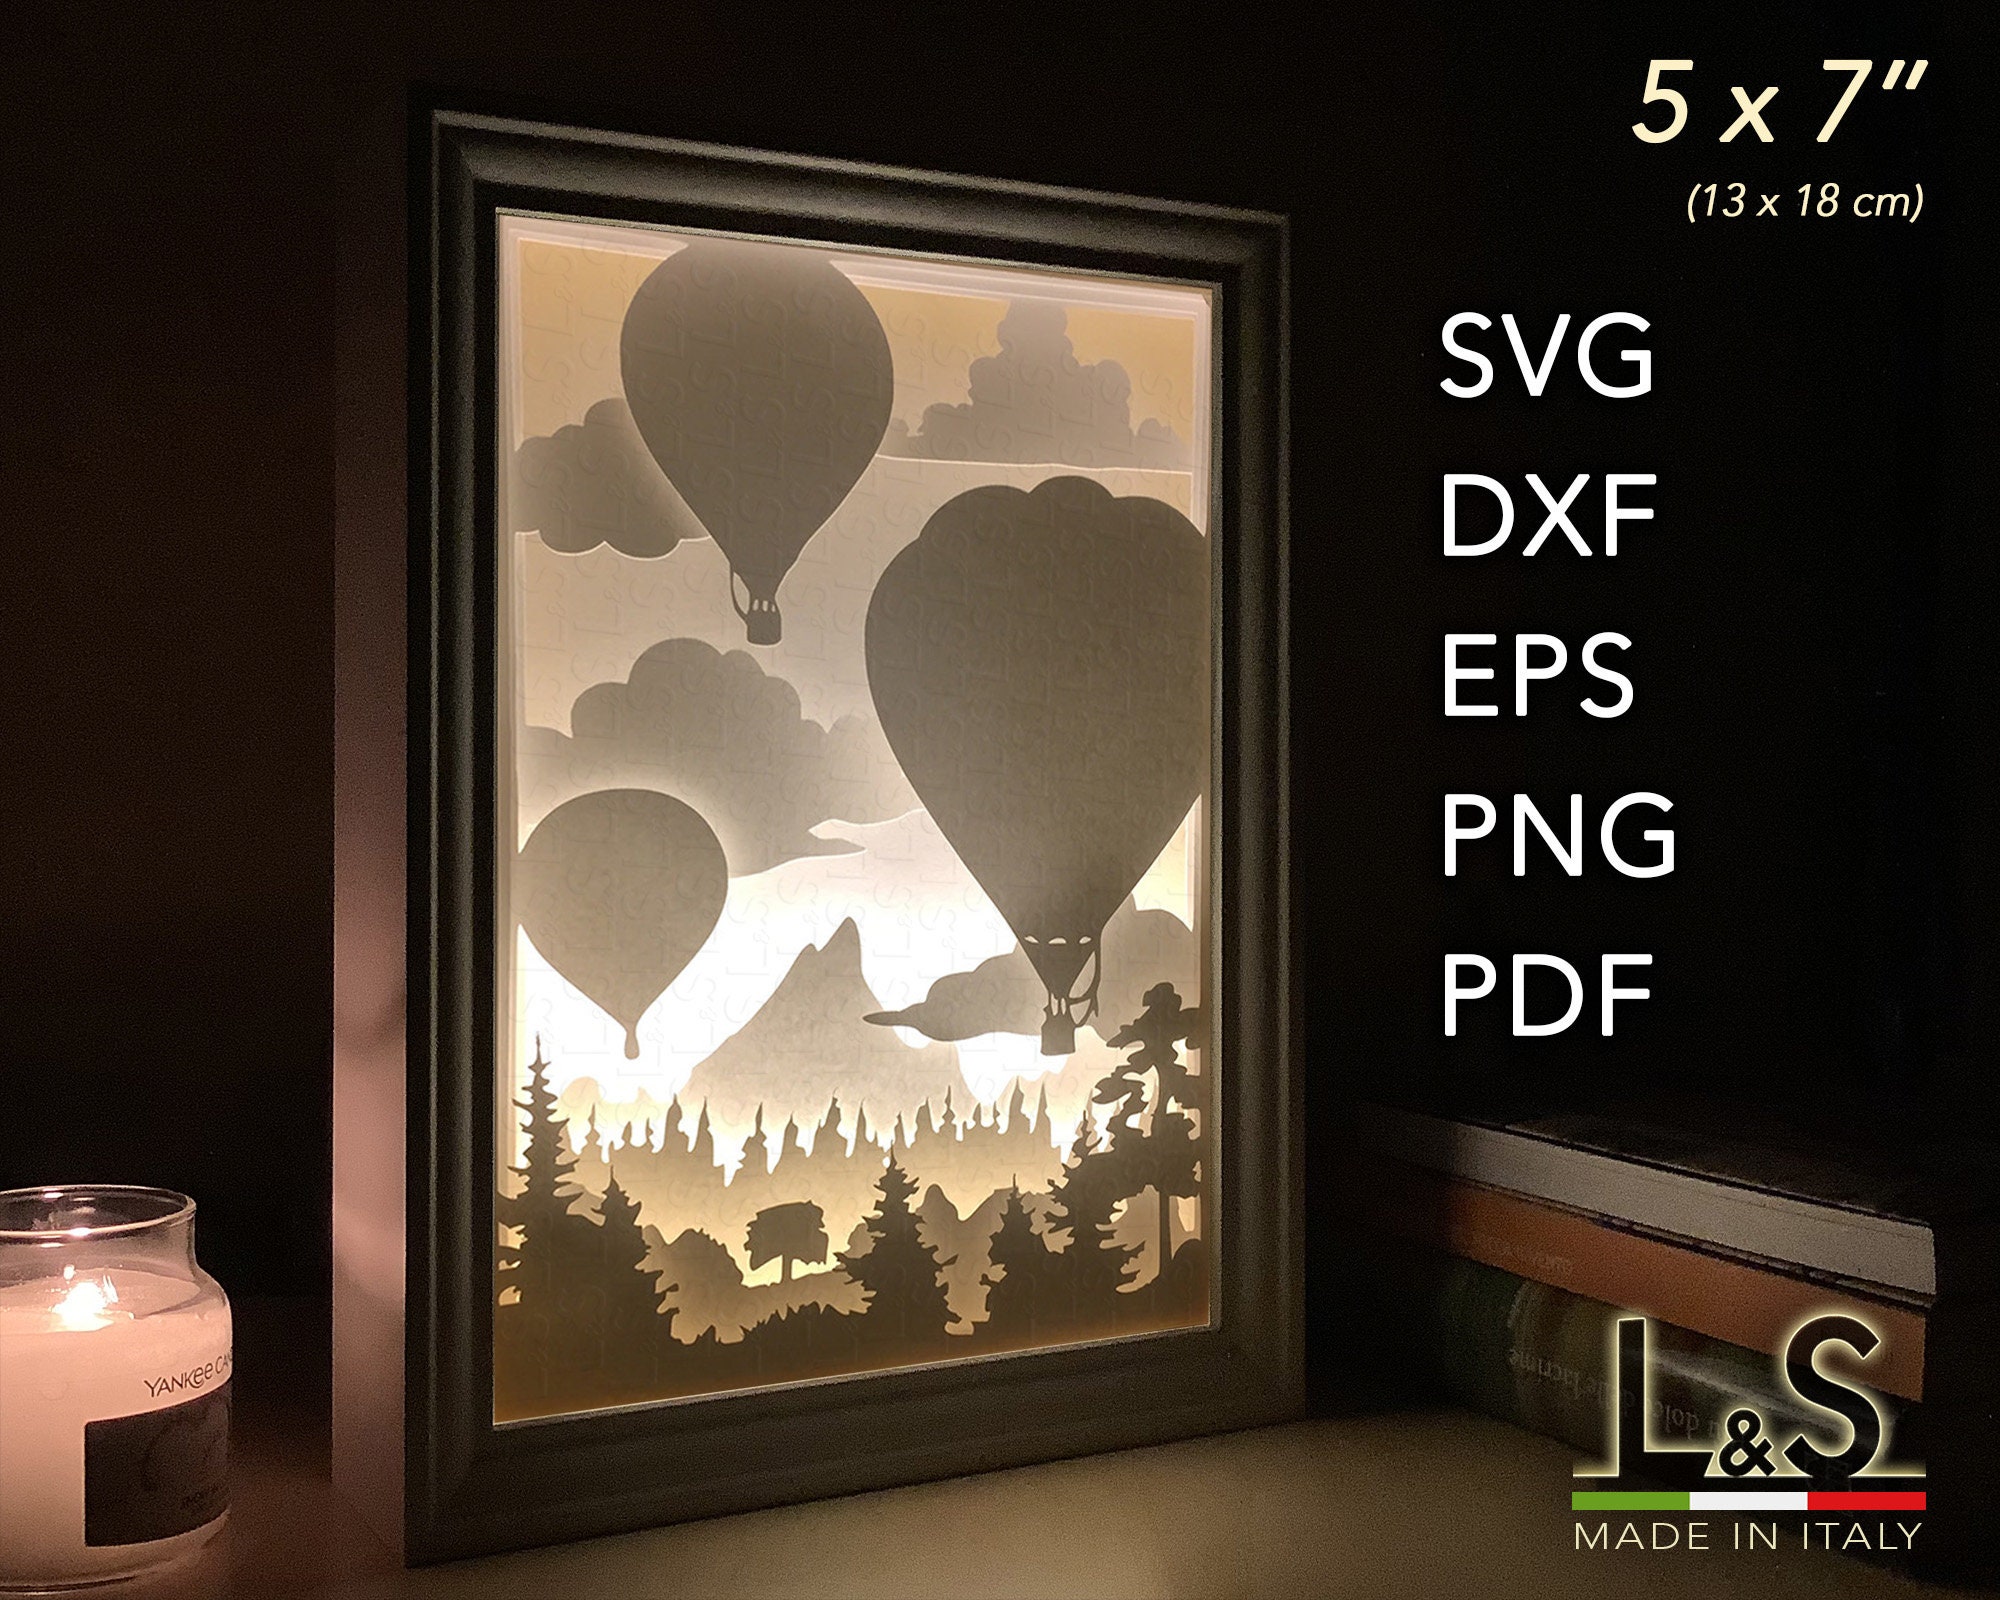
Design Inspiration for 3D SVG Light Boxes
Geometric Patterns: Create modern and elegant light boxes with intricate geometric designs, such as hexagons, triangles, or cubes.
Nature-Inspired Motifs: Bring the outdoors in with designs featuring leaves, flowers, or animals. Use different layers to add depth and dimension.
Personalized Names and Quotes: Showcase your family name, a special quote, or a meaningful word in a unique and illuminated way.
Holiday Themes: Celebrate holidays with festive designs, such as Christmas trees, pumpkins, or Easter eggs.
Pop Culture References: Create light boxes inspired by your favorite movies, TV shows, or video games.
Troubleshooting Tips for 3D SVG Light Boxes
Light Leakage: Ensure that all the layers are tightly fitted and there are no gaps where light can escape. Use additional glue or tape to secure the edges.
Dim or Flickering Lights: Check the connections between the light strips and the power source. Replace batteries if necessary or ensure that the outlet is providing power.
Uneven Illumination: Adjust the placement of the light strips within the light box to distribute the light evenly.
Warped or Buckling Layers: Use thicker cardstock or chipboard to prevent warping. Alternatively, apply a layer of sealant or clear varnish to strengthen the layers.
FAQs about 3D SVG Light Boxes
What type of cardstock is best for light boxes?
Use heavy-weight cardstock (at least 80 lb) that is acid-free and lignin-free to prevent yellowing and deterioration over time.
Can I use other materials besides cardstock?
Yes, you can experiment with chipboard, foam core, or even wood for a more durable light box.
How do I connect the LED light strips?
Most LED light strips come with connectors that allow you to easily connect them end-to-end. Follow the manufacturer’s instructions for proper installation.
Can I use battery-operated LED lights?
Yes, battery-operated LED lights are a convenient option for portability. However, ensure that you replace the batteries regularly to maintain optimal brightness.
Conclusion
Creating 3D SVG light boxes is a rewarding and versatile craft that allows you to express your creativity and illuminate your surroundings. With a bit of patience and the right materials, you can transform ordinary cardstock into extraordinary illuminated masterpieces. Whether you’re a seasoned Cricut user or just starting your crafting journey, this guide provides all the essential information and inspiration you need to embark on the world of 3D SVG light boxes.