


3D Tulip SVG: A Comprehensive Guide to Creating Stunning Digital Blooms
Introduction
3D Tulip SVGs are versatile vector graphics that allow designers to create realistic and eye-catching digital representations of tulips. These graphics are widely used in web design, digital art, and various other creative endeavors. This comprehensive guide will delve into the intricacies of 3D Tulip SVGs, providing detailed instructions on how to create them, optimize them for SEO, and troubleshoot common issues.
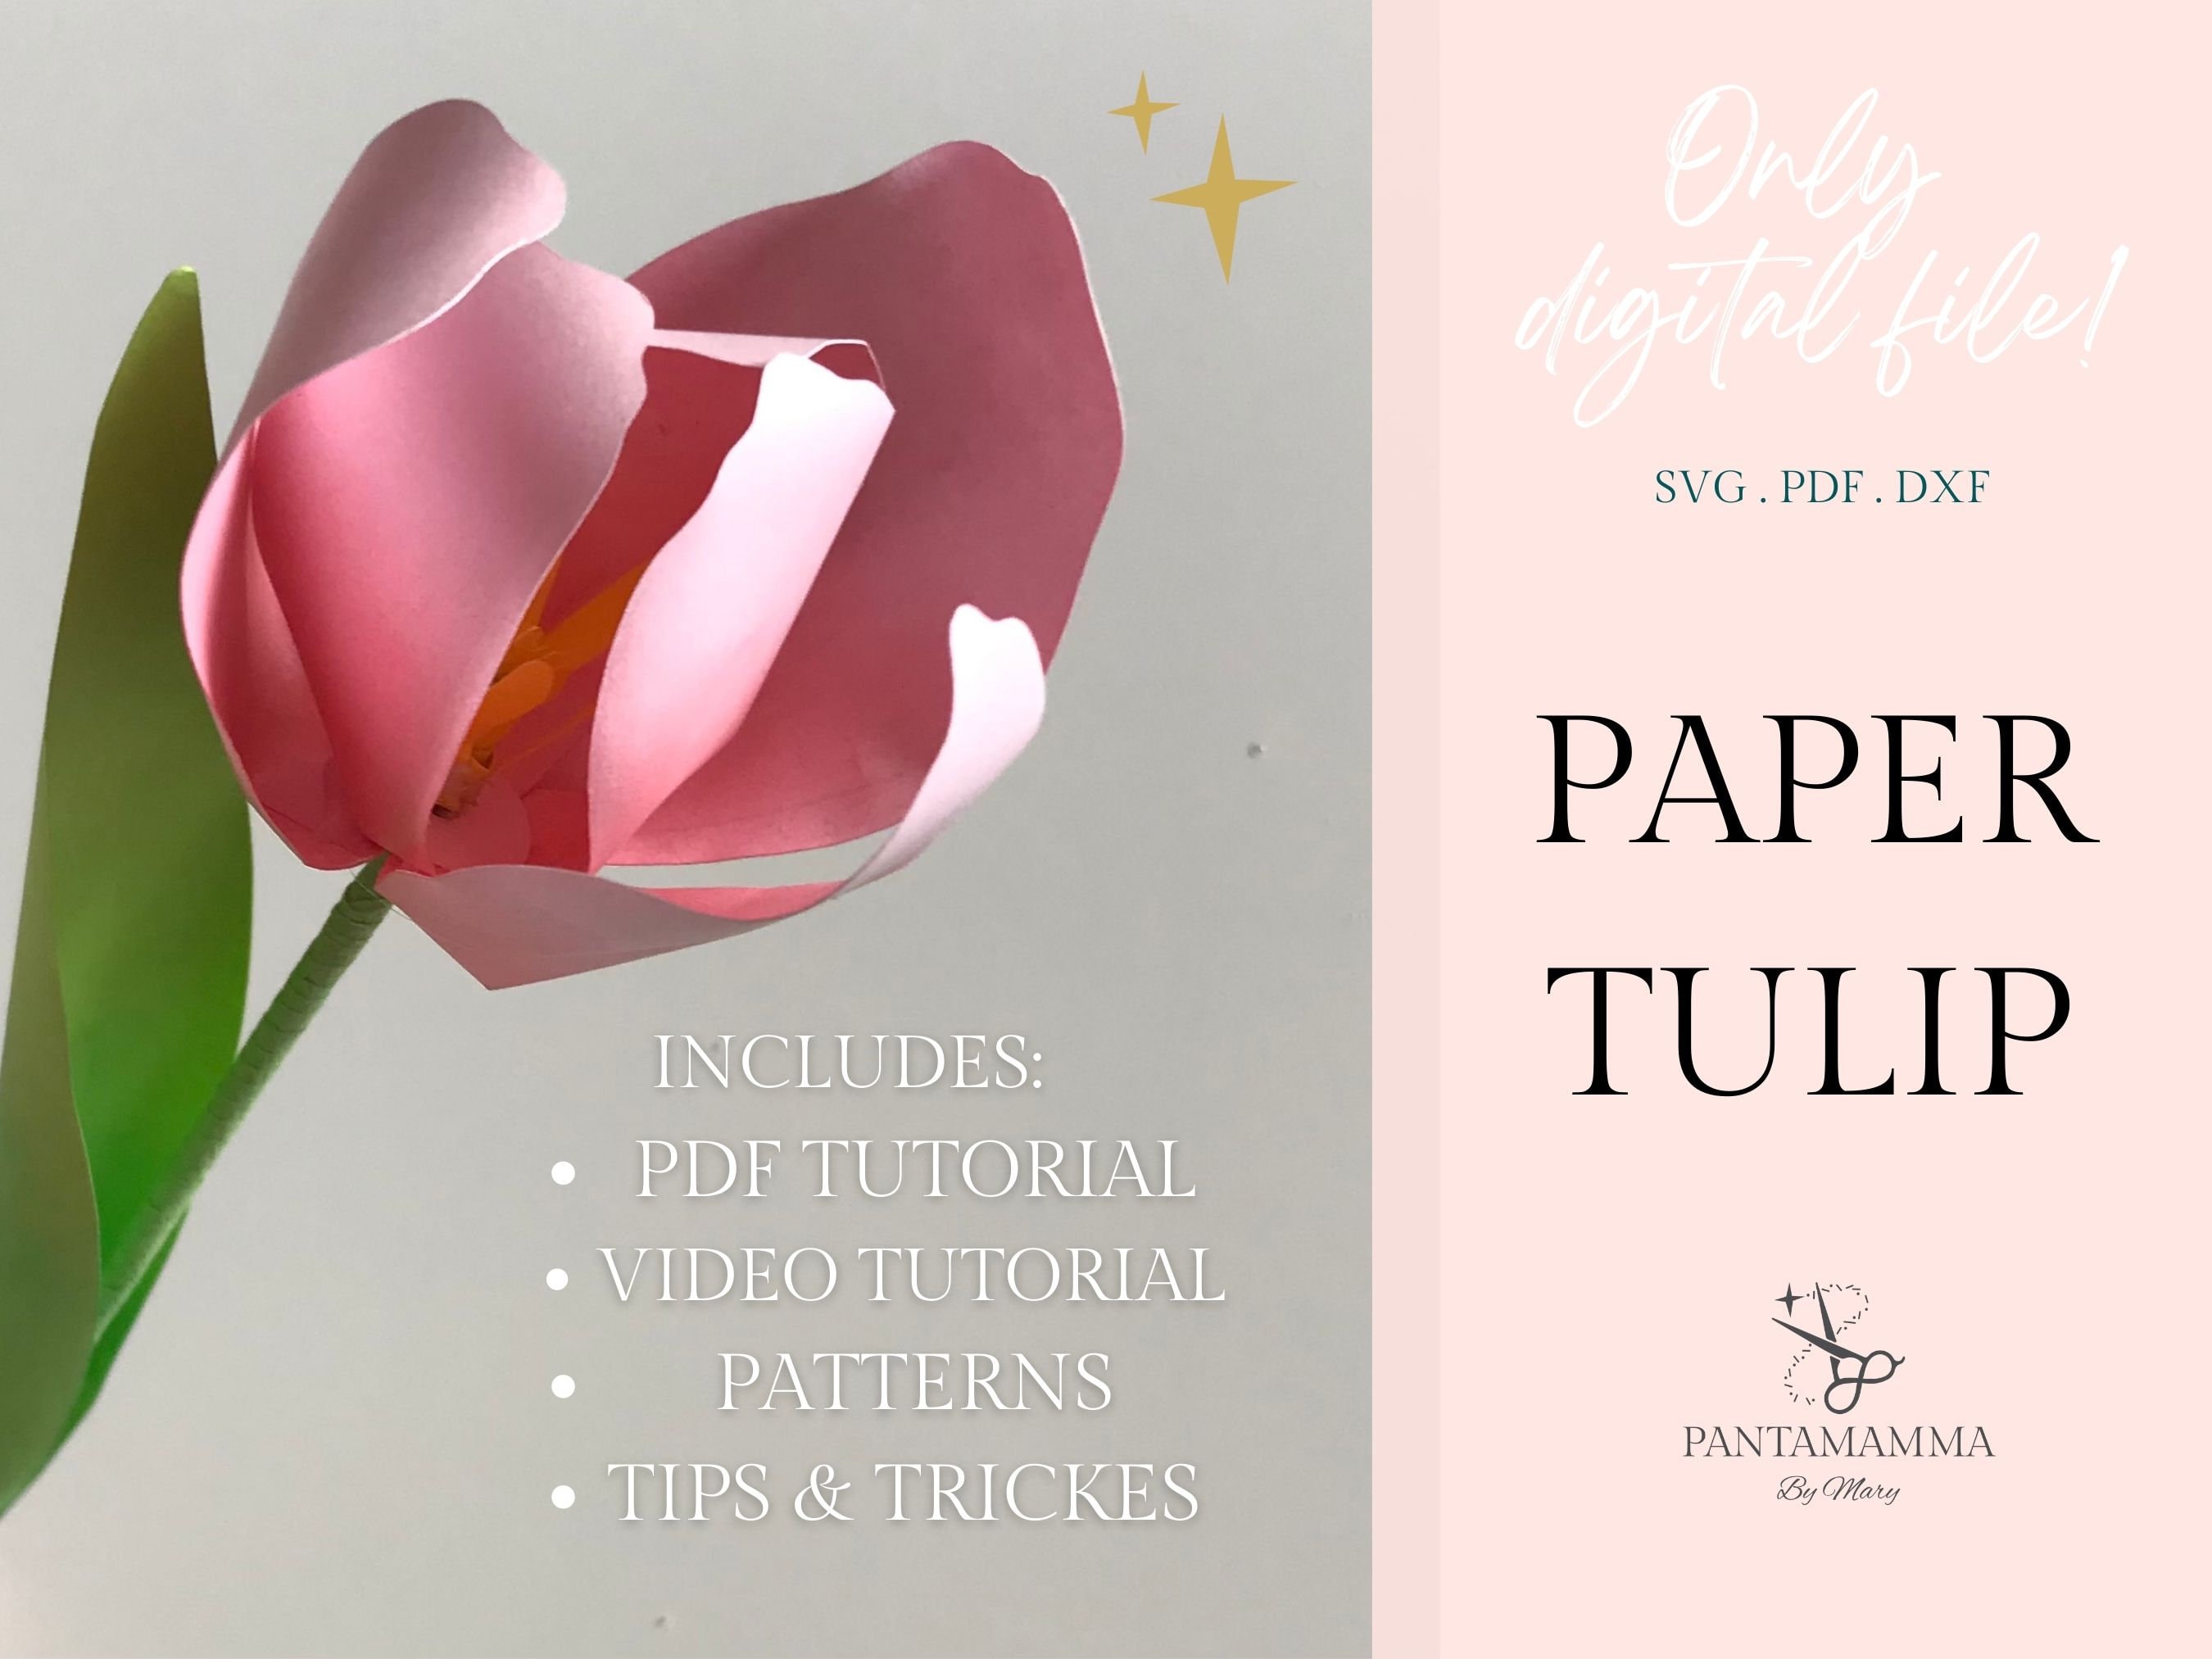

Table of Content
- 1 3D Tulip SVG: A Comprehensive Guide to Creating Stunning Digital Blooms
- 1.1 Introduction
- 1.2 H1: Understanding 3D Tulip SVGs
- 1.3 H2: Advantages of 3D Tulip SVGs
- 1.4 H1: Creating 3D Tulip SVGs
- 1.5 H2: Step 1: Gather Reference Images
- 1.6 H1: Understanding 3D Tulip SVGs
- 1.7 H2: What are 3D Tulip SVGs?
- 1.8 H2: Advantages of 3D Tulip SVGs
- 1.9 H2: Step 2: Draw the Basic Shape
- 1.10 H2: Step 3: Add Details and Texture
- 1.11 H2: Step 4: Create 3D Depth
- 1.12 H1: Optimizing 3D Tulip SVGs for SEO
- 1.13 H2: Using Relevant Keywords
- 1.14 H2: Compressing SVGs
- 1.15 H2: Adding Descriptive Metadata
- 1.16 H1: Troubleshooting Common Issues
- 1.17 H2: SVGs Not Displaying Correctly
- 1.18 H2: SVGs Not Scaling Properly
- 1.19 H2: SVGs Not Transparent
- 1.20 Conclusion
- 1.21 FAQs
H1: Understanding 3D Tulip SVGs
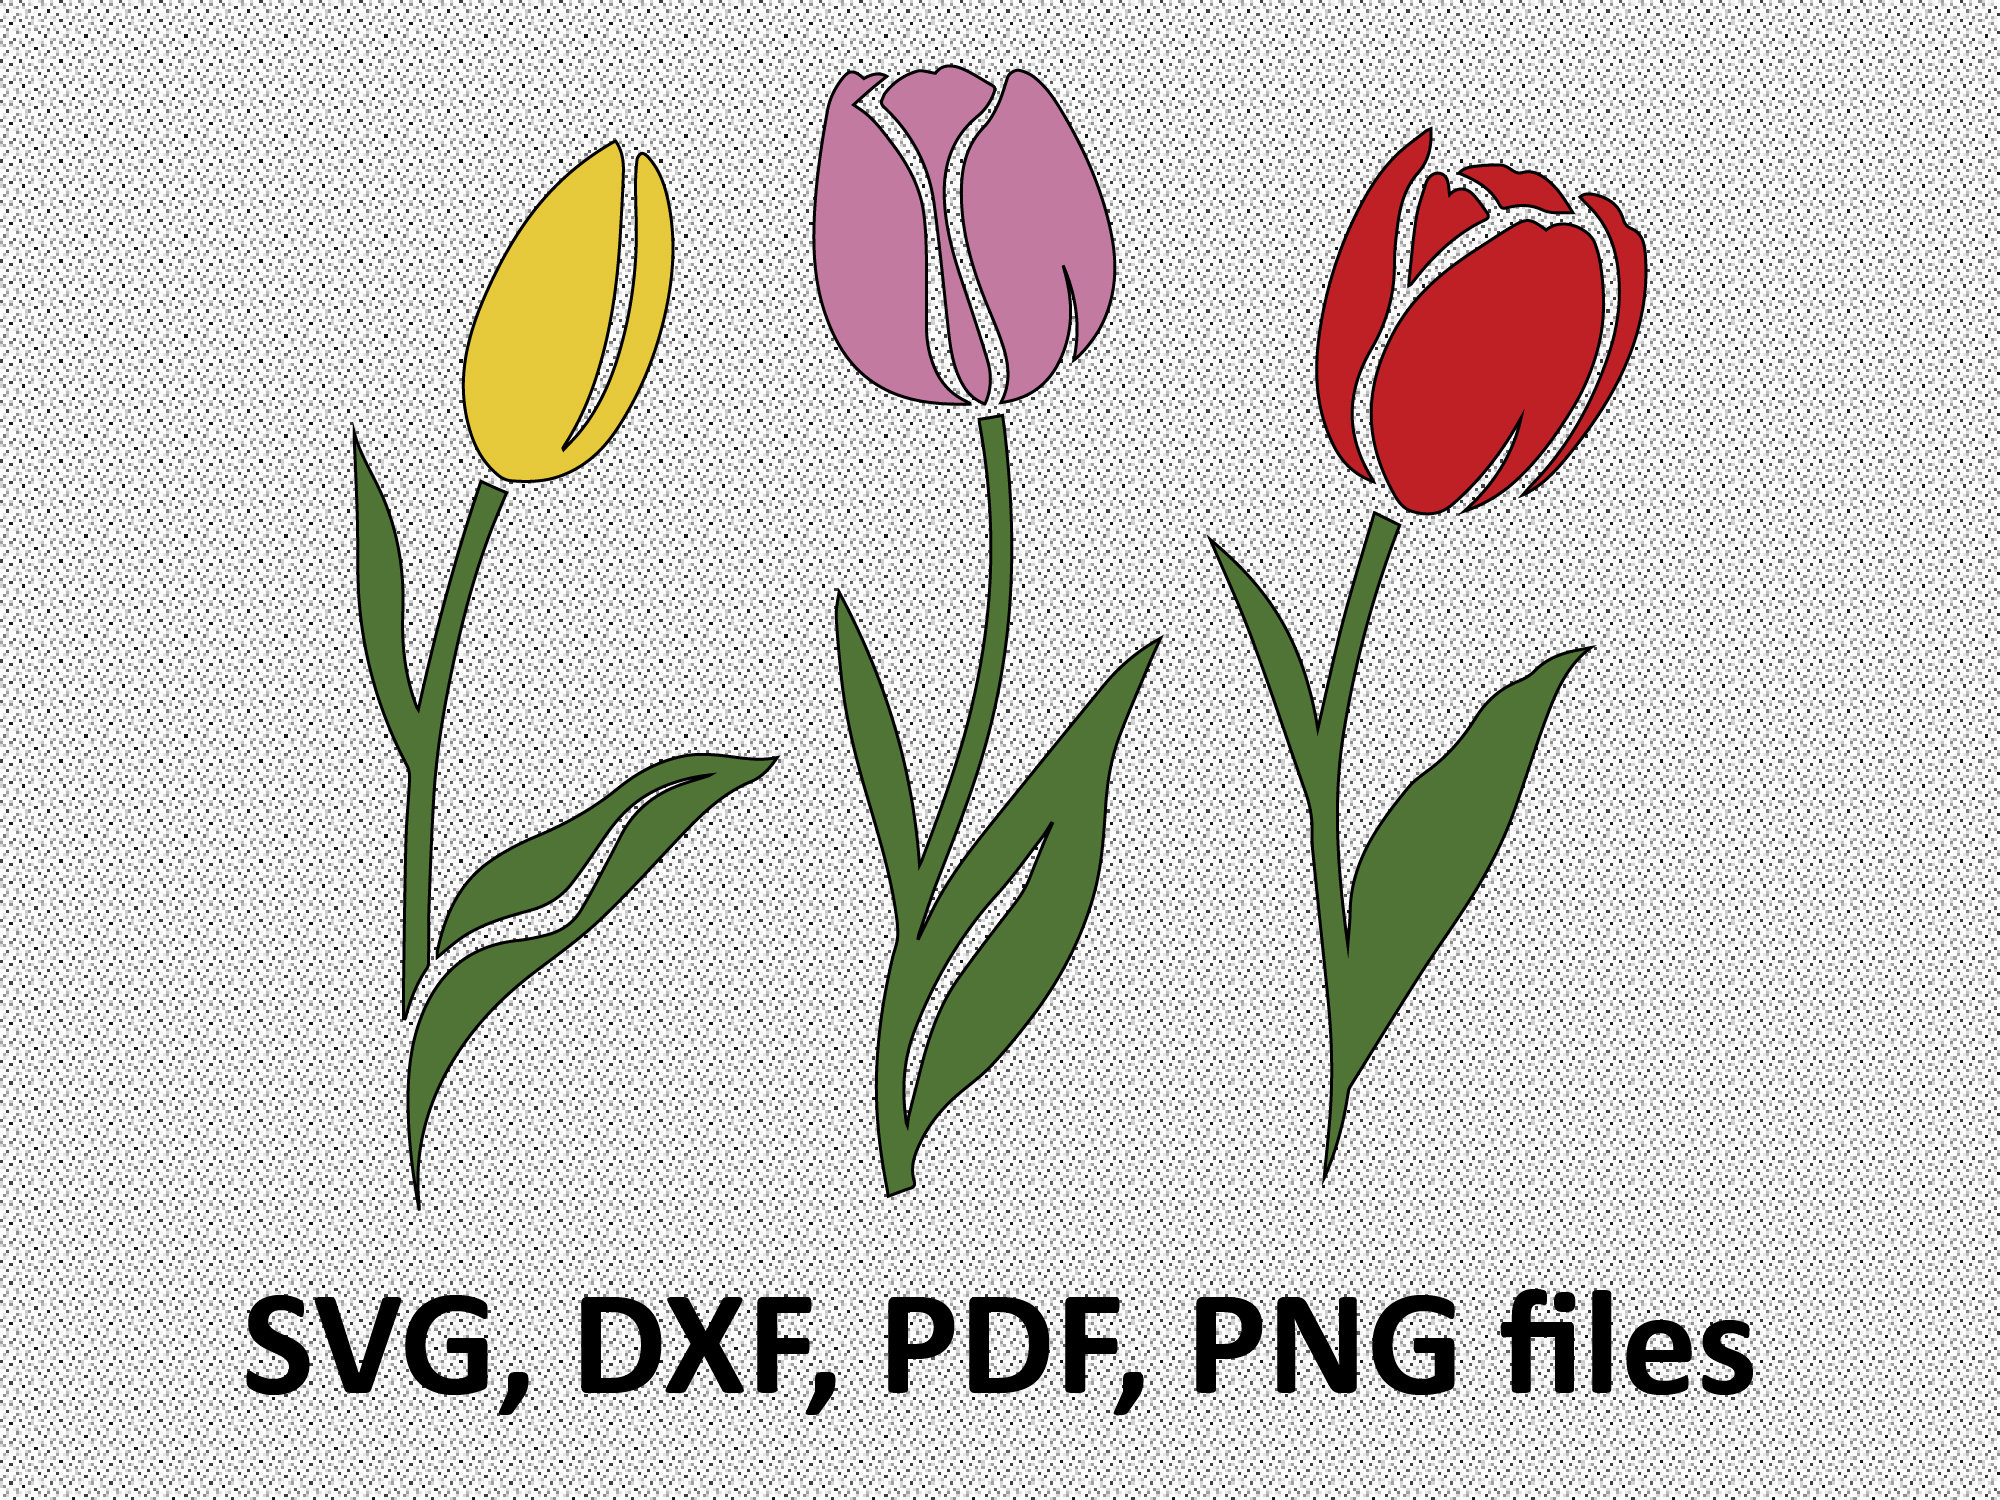
3D Tulip SVGs are vector graphics that use mathematical equations to define shapes and curves. They are created using specialized software such as Adobe Illustrator or Inkscape. Unlike raster images (such as JPEGs or PNGs), which are made up of pixels, SVGs are resolution-independent, meaning they can be scaled to any size without losing quality.
H2: Advantages of 3D Tulip SVGs
- Scalability: SVGs can be scaled up or down without compromising image quality.
- Transparency: SVGs support transparency, allowing for seamless integration with various backgrounds.
- Interactivity: SVGs can be animated and manipulated using CSS or JavaScript, adding interactivity to designs.
- File Size: SVGs are typically smaller in file size compared to raster images, reducing loading times.
H1: Creating 3D Tulip SVGs
H2: Step 1: Gather Reference Images
3D Tulip SVGs are versatile vector graphics that allow designers to create realistic and eye-catching digital representations of tulips. These graphics are widely used in web design, digital art, and various other creative endeavors. This comprehensive guide will delve into the intricacies of 3D Tulip SVGs, providing detailed instructions on how to create them, optimize them for SEO, and troubleshoot common issues.
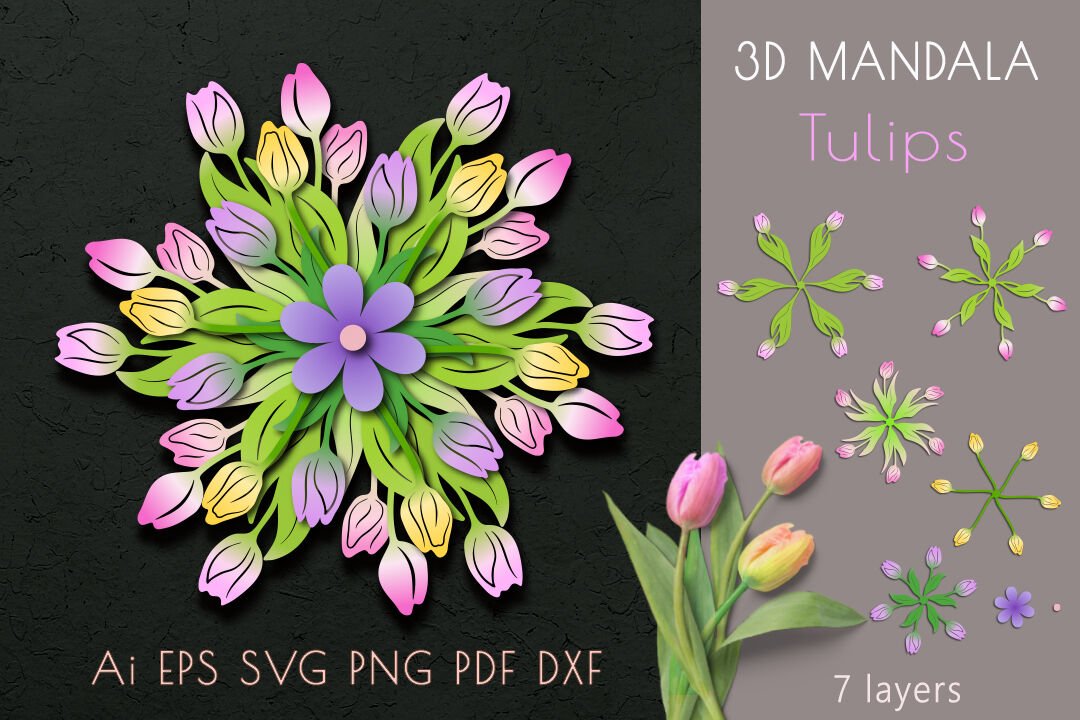
- 3d Flower Mandala SVG
- Roll Up Flower SVG
- Flower Butterfly SVG
- Birth Month Flower SVG Free
- Free Birth Month Flower SVG
H1: Understanding 3D Tulip SVGs
H2: What are 3D Tulip SVGs?
3D Tulip SVGs are vector graphics that use mathematical equations to define shapes and curves. They are created using specialized software such as Adobe Illustrator or Inkscape. Unlike raster images (such as JPEGs or PNGs), which are made up of pixels, SVGs are resolution-independent, meaning they can be scaled to any size without losing quality.
H2: Advantages of 3D Tulip SVGs
Before creating a 3D Tulip SVG, it’s essential to gather reference images of real tulips from different angles. This will help you capture the flower’s shape, texture, and color accurately.
H2: Step 2: Draw the Basic Shape
Using a vector drawing software, start by drawing the basic shape of the tulip. Begin with a teardrop shape for the bud and add a stem and leaves. Use the Pen Tool or Shape Builder Tool to create clean and precise lines.
H2: Step 3: Add Details and Texture

Once the basic shape is complete, add details such as petals, veins, and texture. Use the Gradient Tool or Mesh Tool to create realistic color transitions and depth. Experiment with different stroke widths and fill colors to enhance the realism.
H2: Step 4: Create 3D Depth
To create 3D depth, add shadows, highlights, and gradients to the SVG. Use the Drop Shadow Effect or Gradient Mesh to simulate light and shadow. Adjust the transparency and opacity of these elements to achieve a realistic 3D effect.
H1: Optimizing 3D Tulip SVGs for SEO
H2: Using Relevant Keywords
Incorporate relevant SEO keywords into the SVG’s title, description, and alt text. This will help search engines understand the content of the SVG and improve its ranking in search results.
H2: Compressing SVGs
Compress SVGs using online tools or software to reduce their file size. Smaller file sizes improve website loading times and SEO performance.
H2: Adding Descriptive Metadata
Provide detailed metadata for the SVG, including the author, creation date, and license information. This helps search engines index and display the SVG accurately.
H1: Troubleshooting Common Issues
H2: SVGs Not Displaying Correctly
Check the SVG code for errors or missing elements. Ensure that the SVG is well-formed and follows the SVG specification.
H2: SVGs Not Scaling Properly
Verify that the SVG is created with the correct dimensions and aspect ratio. Use the Scale Tool to adjust the SVG’s size without distorting its proportions.
H2: SVGs Not Transparent
Check the fill and stroke settings of the SVG. Ensure that transparency is enabled and that the fill color is set to "none" for transparent areas.
Conclusion
3D Tulip SVGs are versatile and powerful graphics that can add beauty and depth to any digital design. By understanding the principles of creating and optimizing 3D Tulip SVGs, you can create stunning digital blooms that enhance the visual appeal and SEO performance of your projects.
FAQs
Q: What software can I use to create 3D Tulip SVGs?
A: Adobe Illustrator, Inkscape, and other vector drawing software.
Q: How can I make my 3D Tulip SVGs more realistic?
A: Add details such as petals, veins, and texture. Use shadows, highlights, and gradients to create depth.
Q: How can I optimize my 3D Tulip SVGs for SEO?
A: Use relevant keywords, compress the SVG, and add descriptive metadata.


