


Cricut Disney Castle: A Magical Craft for Every Disney Fan
Introduction
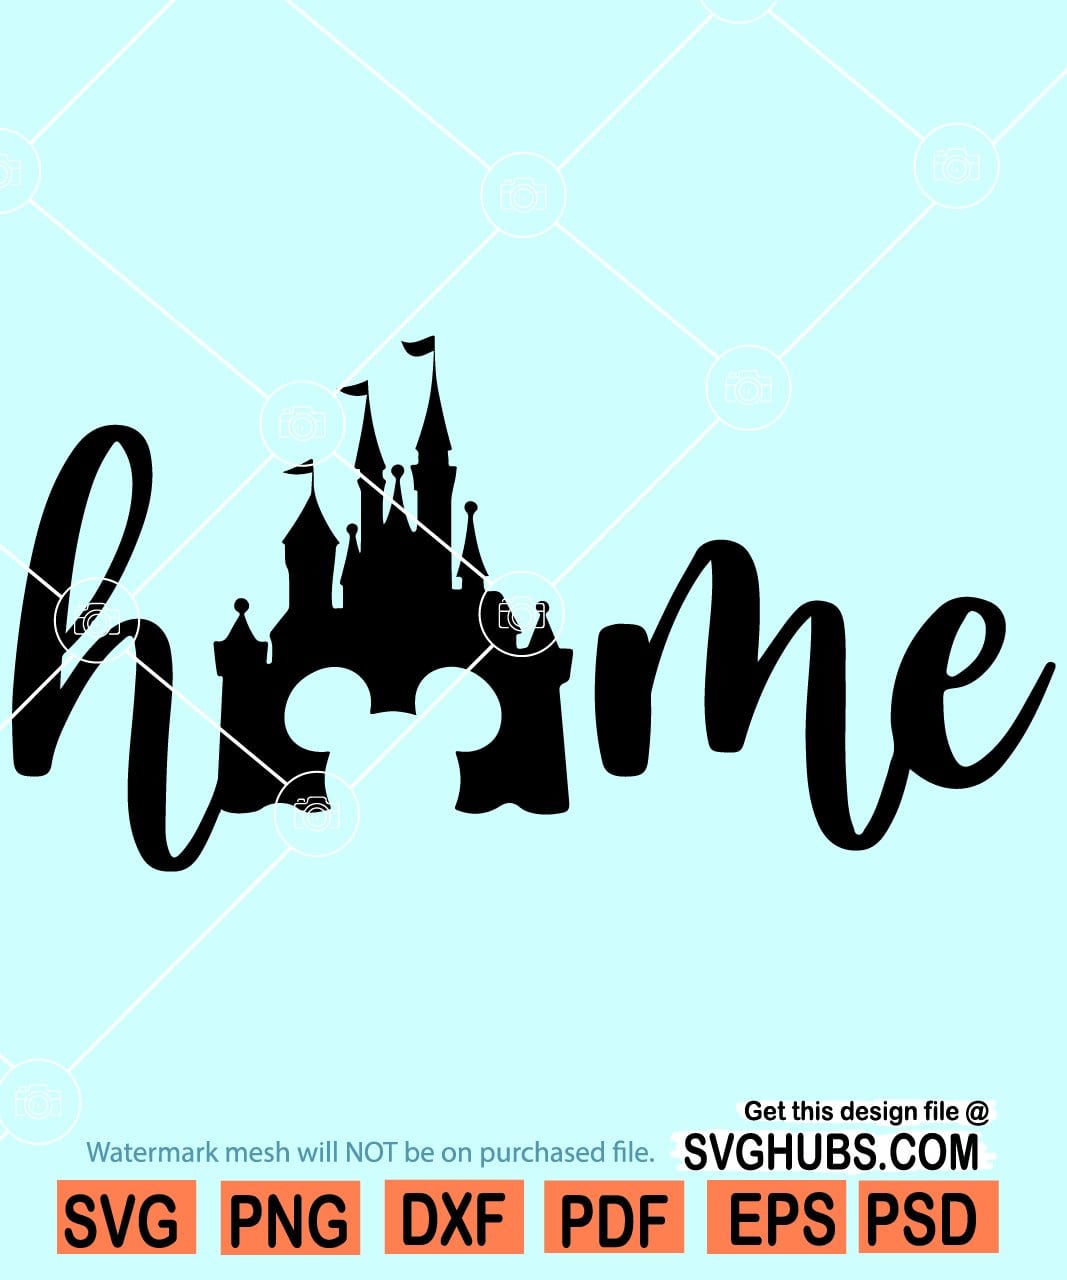
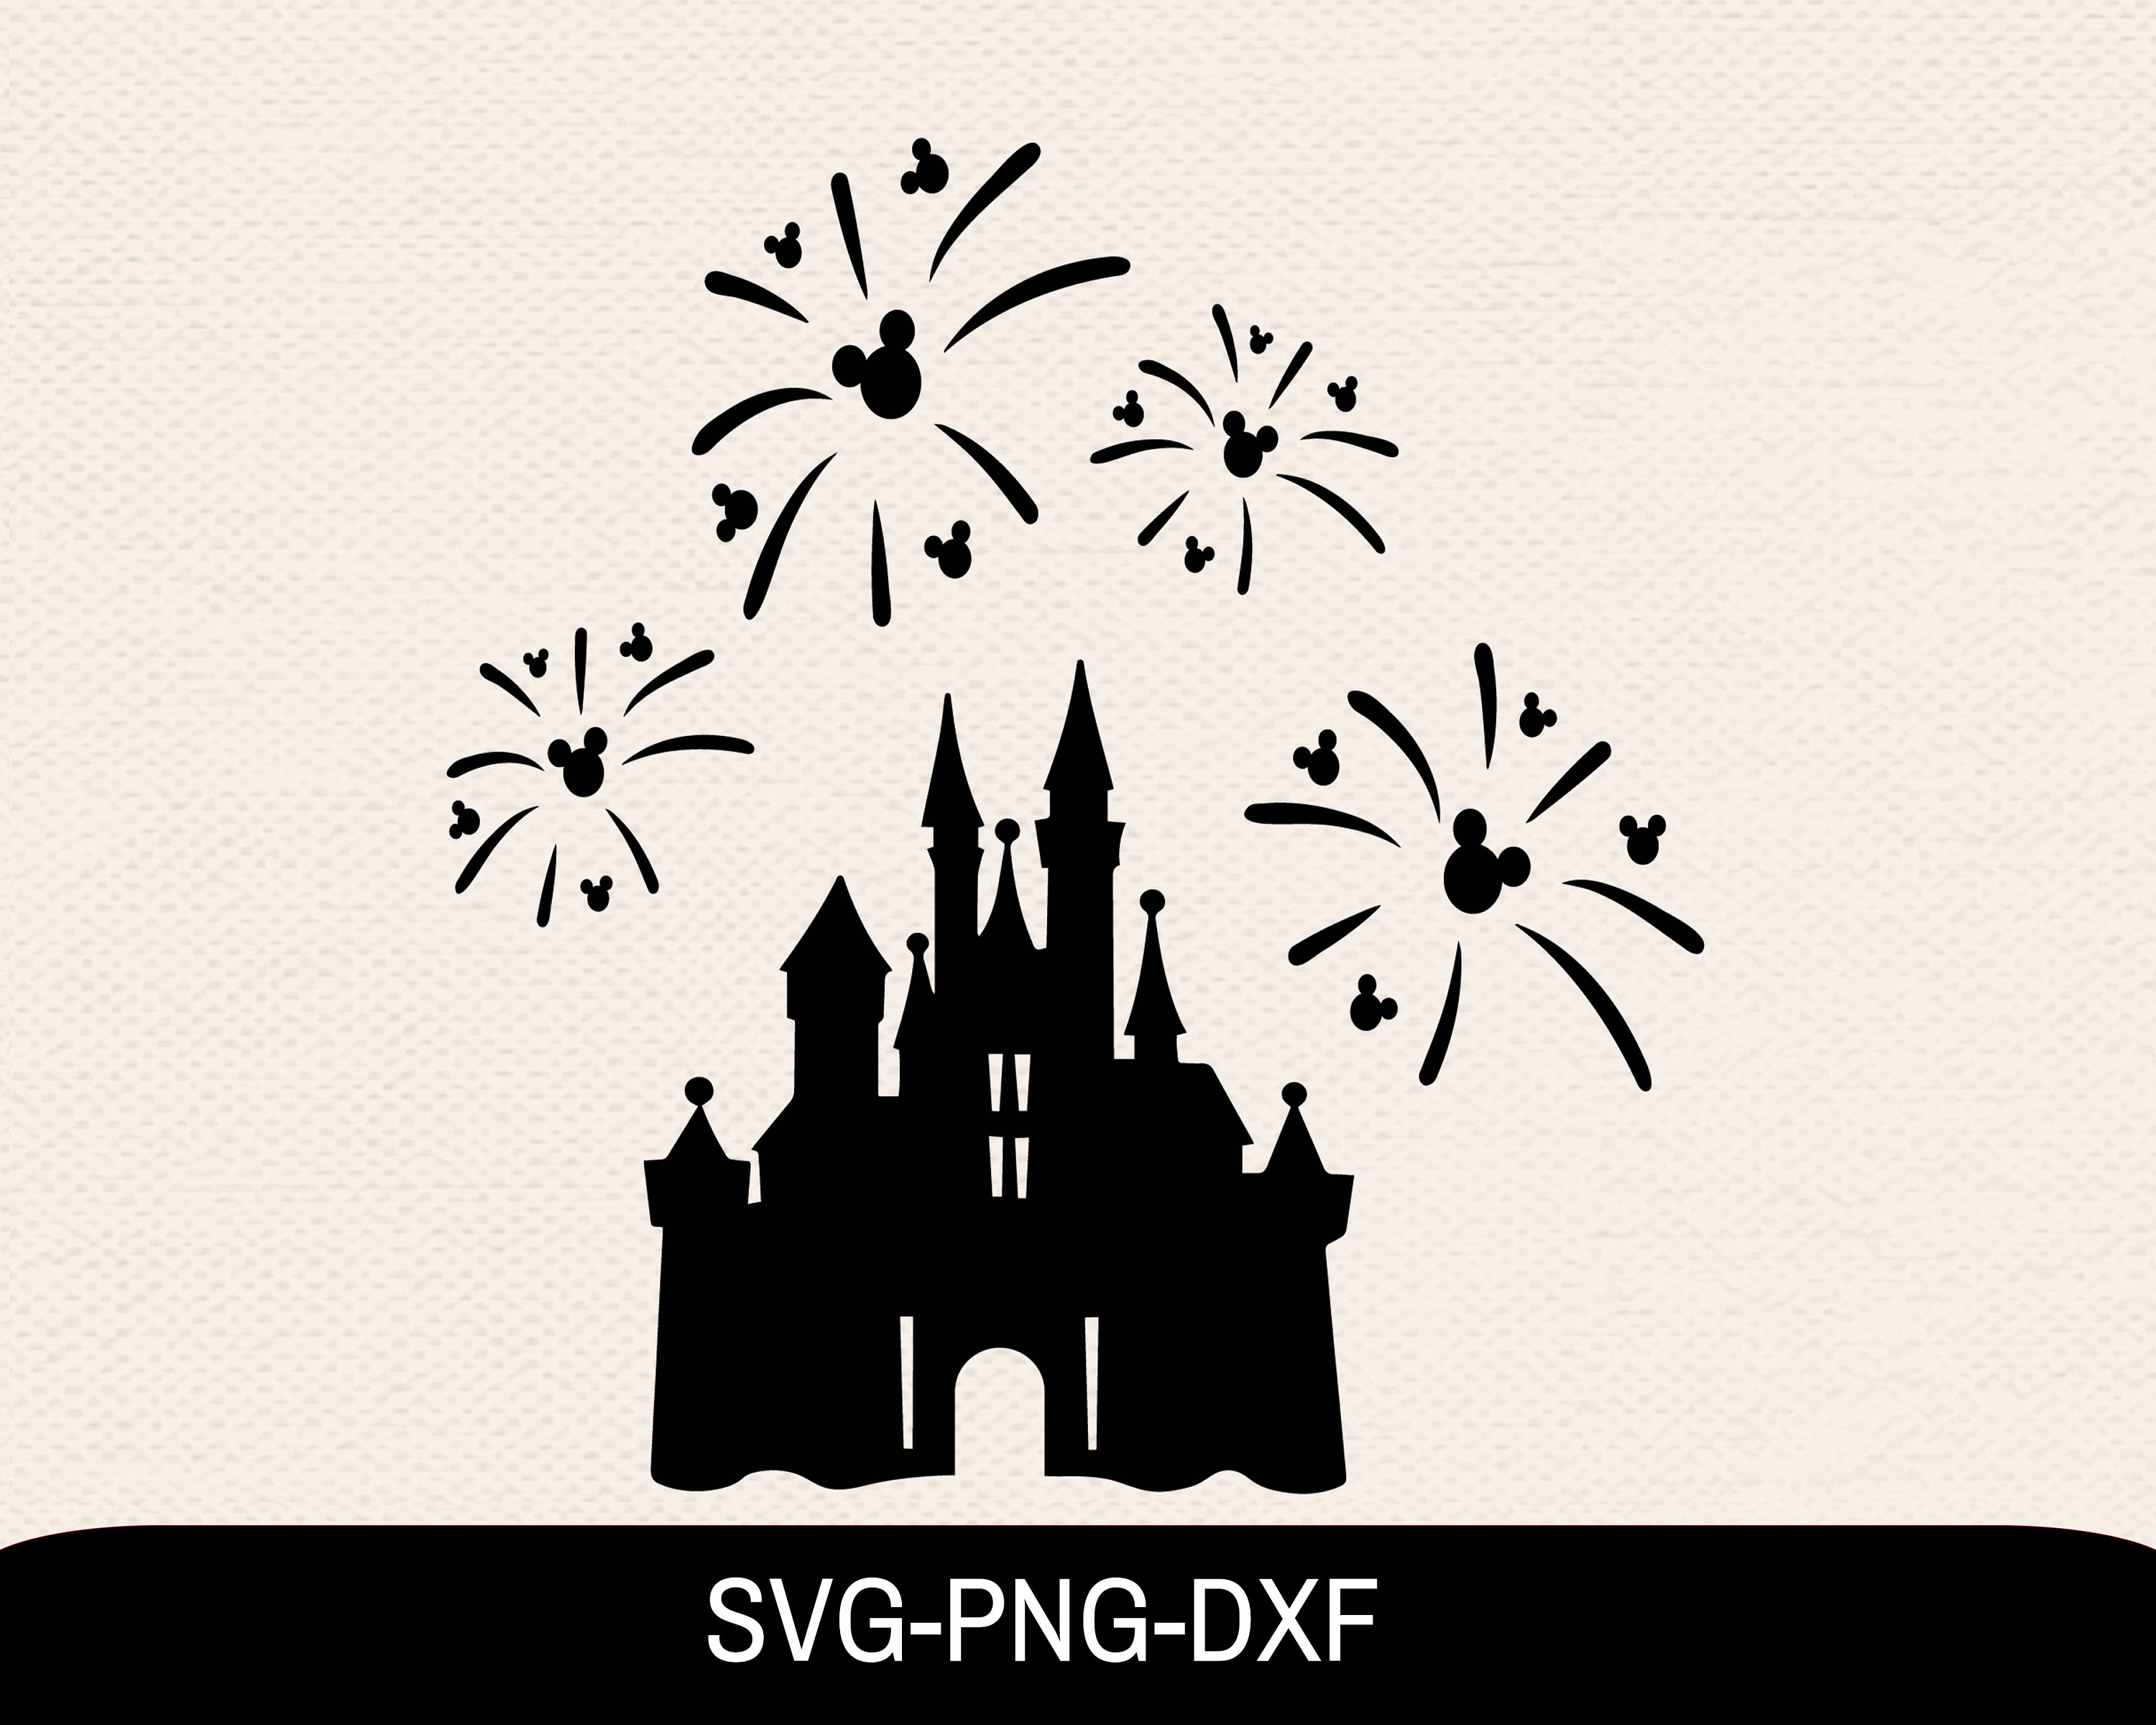
The Cricut Disney Castle is an enchanting craft project that brings the magic of Disney right into your home. This iconic structure, inspired by the beloved Walt Disney World castle, is a perfect way to add a touch of Disney magic to your décor, create personalized gifts, or simply unleash your creativity.


Table of Content
Materials and Tools Required
- Cricut cutting machine
- Cricut Design Space software
- Cricut cutting mats
- Cardstock or other heavy-weight paper
- Glue or adhesive
- Embellishments (optional)

Step-by-Step Instructions
Step 1: Design the Castle
The Cricut Disney Castle is an enchanting craft project that brings the magic of Disney right into your home. This iconic structure, inspired by the beloved Walt Disney World castle, is a perfect way to add a touch of Disney magic to your décor, create personalized gifts, or simply unleash your creativity.
- Boo disney SVG Boo disney SVG
- Mickey Ears Free SVG Mickey Ears Free SVG: Unleash Your Creativity With Disney Magic
- Toy Story Alien Face SVG Toy Story Alien Face SVG: A Comprehensive Guide To The Iconic Extraterrestrial Design
- Cars SVG Disney Cars SVG Disney: The Ultimate Guide To The Beloved Disney Movie Franchise
- Peter Pan Silhouette SVG Peter Pan Silhouette SVG: A Timeless Icon For Imagination And Adventure
Materials and Tools Required
To create your own Cricut Disney Castle, you will need the following materials and tools:
- Cricut cutting machine
- Cricut Design Space software
Open Cricut Design Space and search for the "Disney Castle" project. Select the project and customize it to your liking, such as changing the colors or adding embellishments.
Step 2: Cut the Pieces
Place cardstock onto a cutting mat and load it into the Cricut machine. Select the "Cardstock, Heavy" material setting and cut the castle pieces.
Step 3: Assemble the Castle
Begin assembling the castle by gluing the base pieces together. Continue adding the layers of the castle, starting from the bottom and working your way up. Use a small amount of glue on each layer to ensure a secure bond.
Step 4: Add Embellishments (Optional)
Once the castle is assembled, you can add embellishments to personalize it. Consider adding glitter, sequins, or even small Disney figurines to enhance the magic.
Design Variations and Customization
Color Combinations: Choose different colors of cardstock to create unique and personalized castles.
Embellishments: Add a variety of embellishments, such as glitter, sequins, or stickers, to make the castle stand out.
Size: Adjust the size of the castle in Cricut Design Space to create smaller or larger versions.
Personalization: Add personalized touches, such as a name or special message, to make the castle a meaningful gift.
Conclusion
The Cricut Disney Castle is a captivating craft project that allows you to bring the magic of Disney into your home. Whether you’re a seasoned crafter or a Disney enthusiast, this project is sure to inspire creativity and bring joy to your space.
FAQs
Q: What type of paper is best for the Cricut Disney Castle?
A: Heavy-weight cardstock is recommended for durability and structure.
Q: Can I use other materials besides cardstock?
A: Yes, you can experiment with different materials such as foam board or chipboard for a more sturdy castle.
Q: How long does it take to make the Cricut Disney Castle?
A: The assembly time can vary depending on the size and complexity of your design, but it typically takes a few hours to complete.
Q: Can I use the Cricut Disney Castle as a centerpiece for a party?
A: Yes, the castle can be used as a stunning centerpiece for a Disney-themed party or other special occasion.
Q: Where can I find inspiration for designing my own Cricut Disney Castle?
A: Look for inspiration on Pinterest, Disney fan sites, or by browsing Cricut Design Space for other castle designs.
![]()


