Winnie the Pooh SVG Face: A Detailed Guide to Creating an Iconic Image
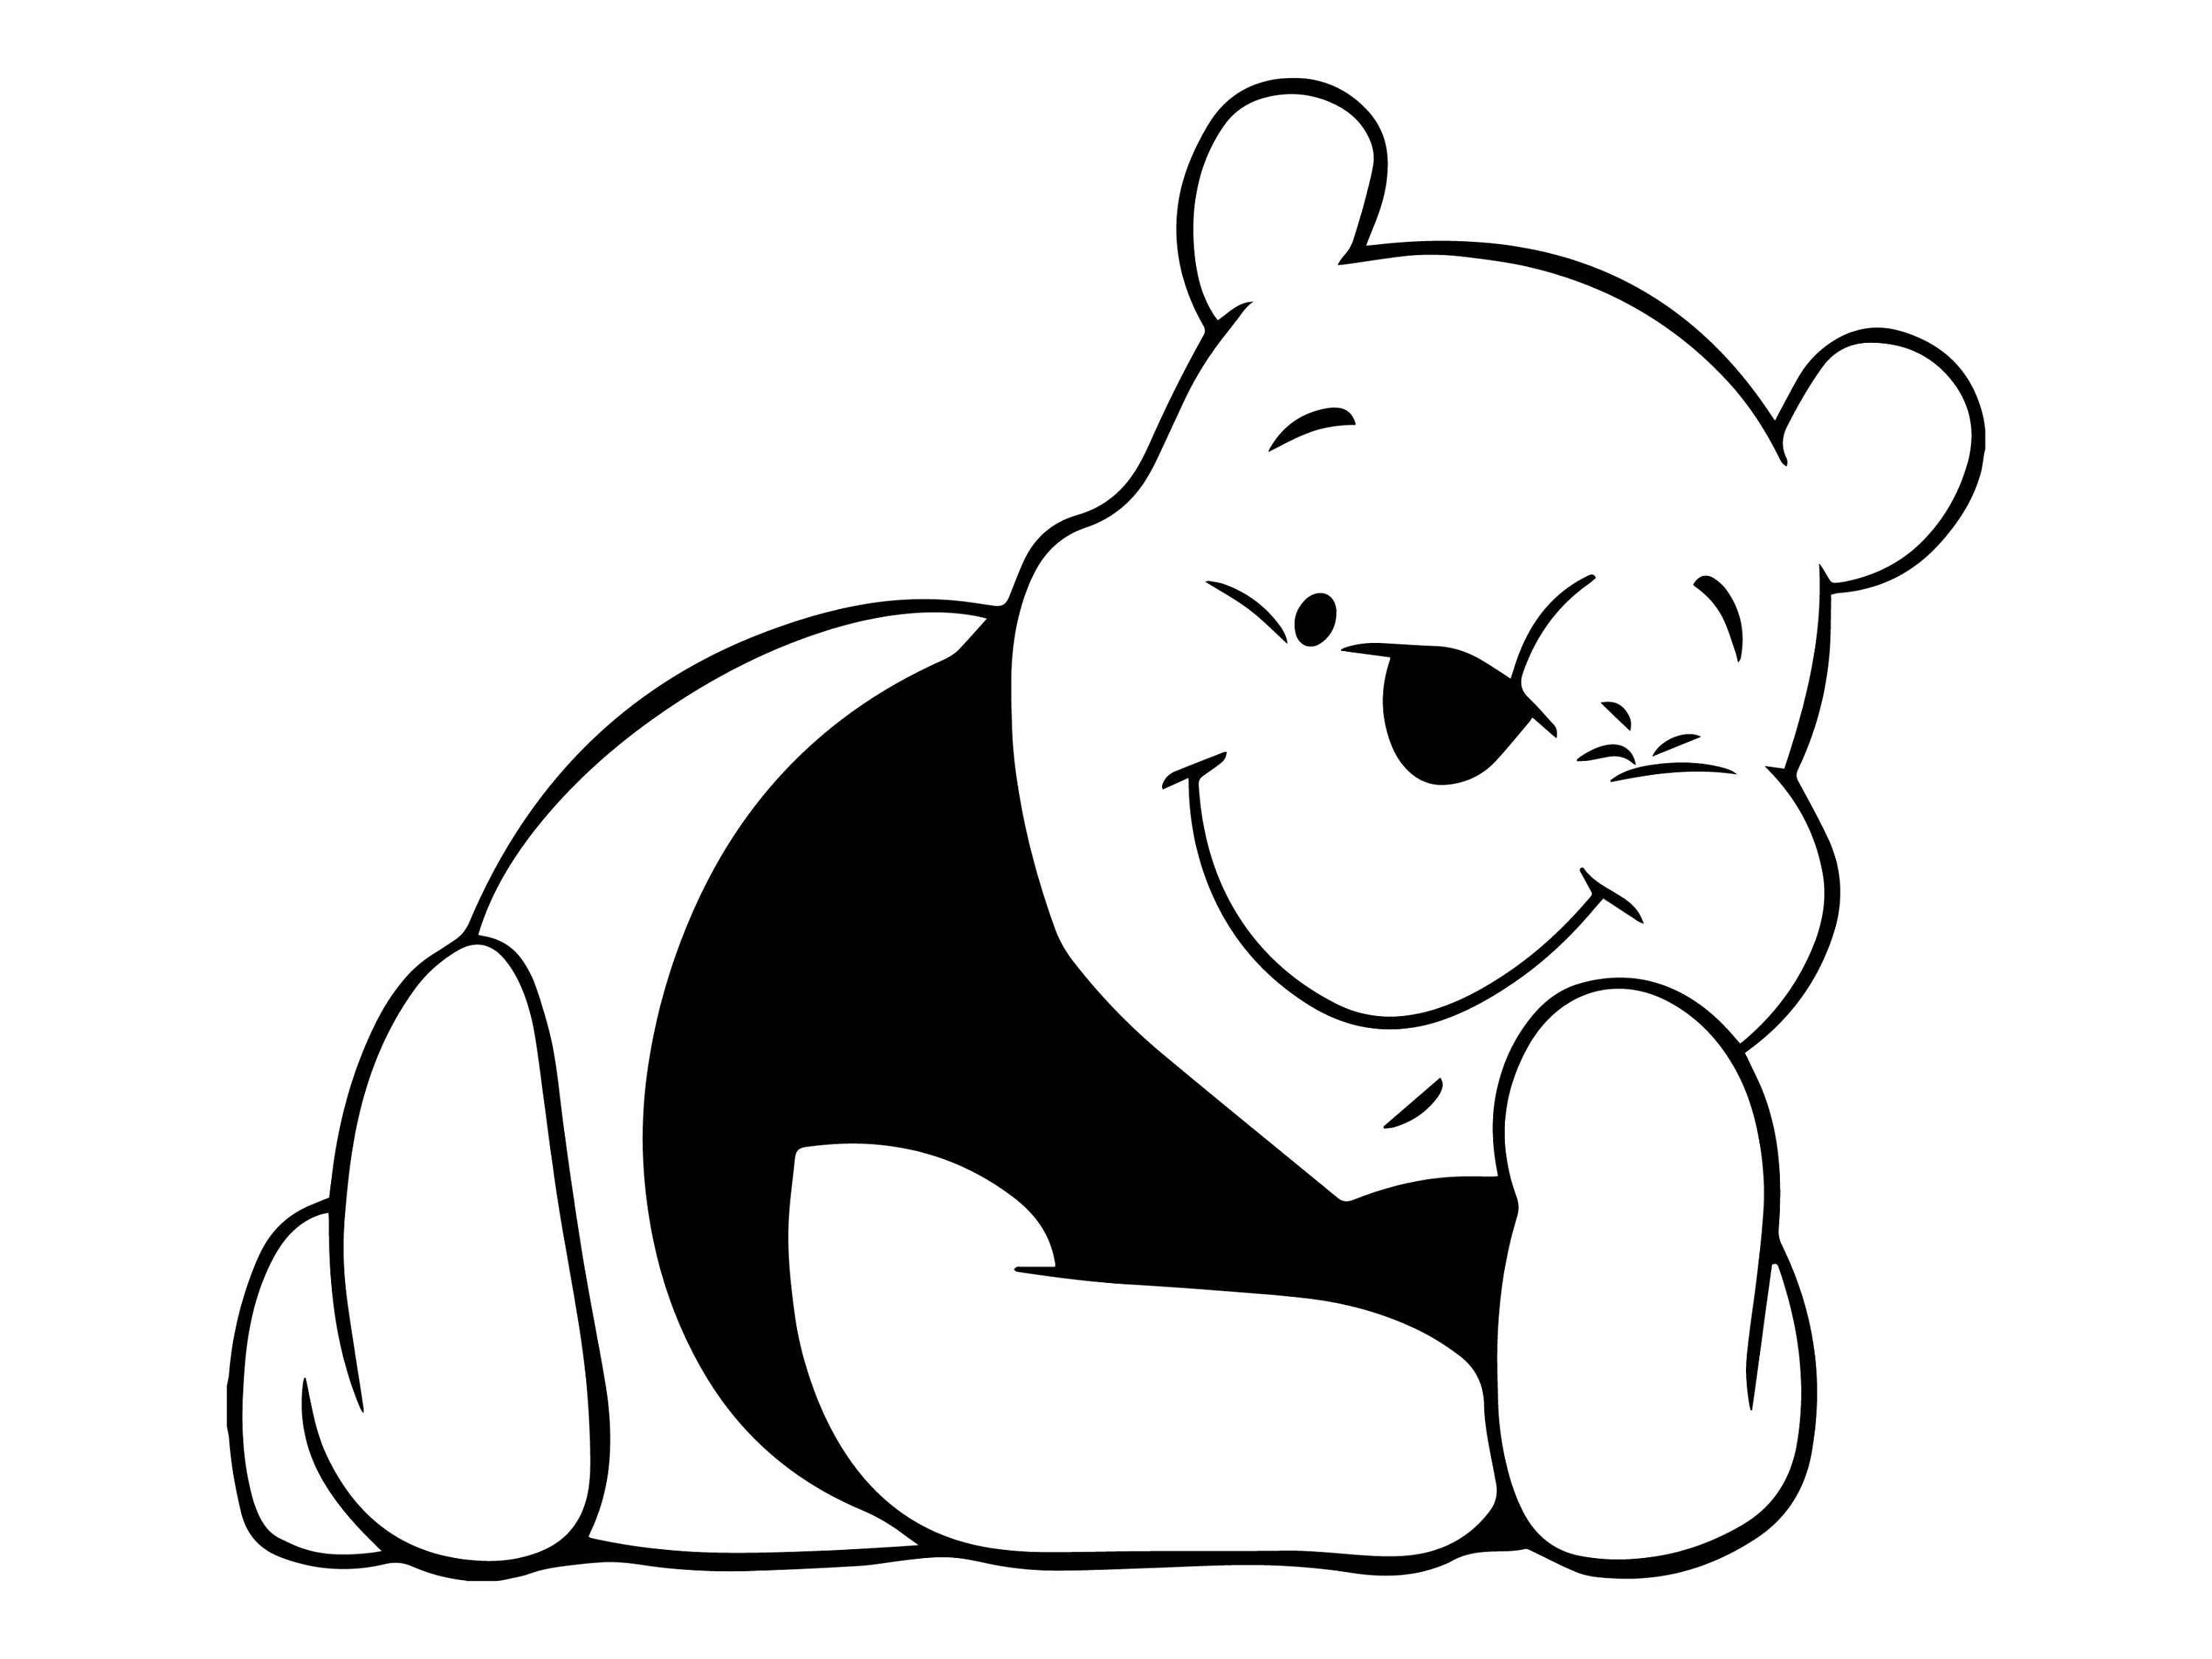
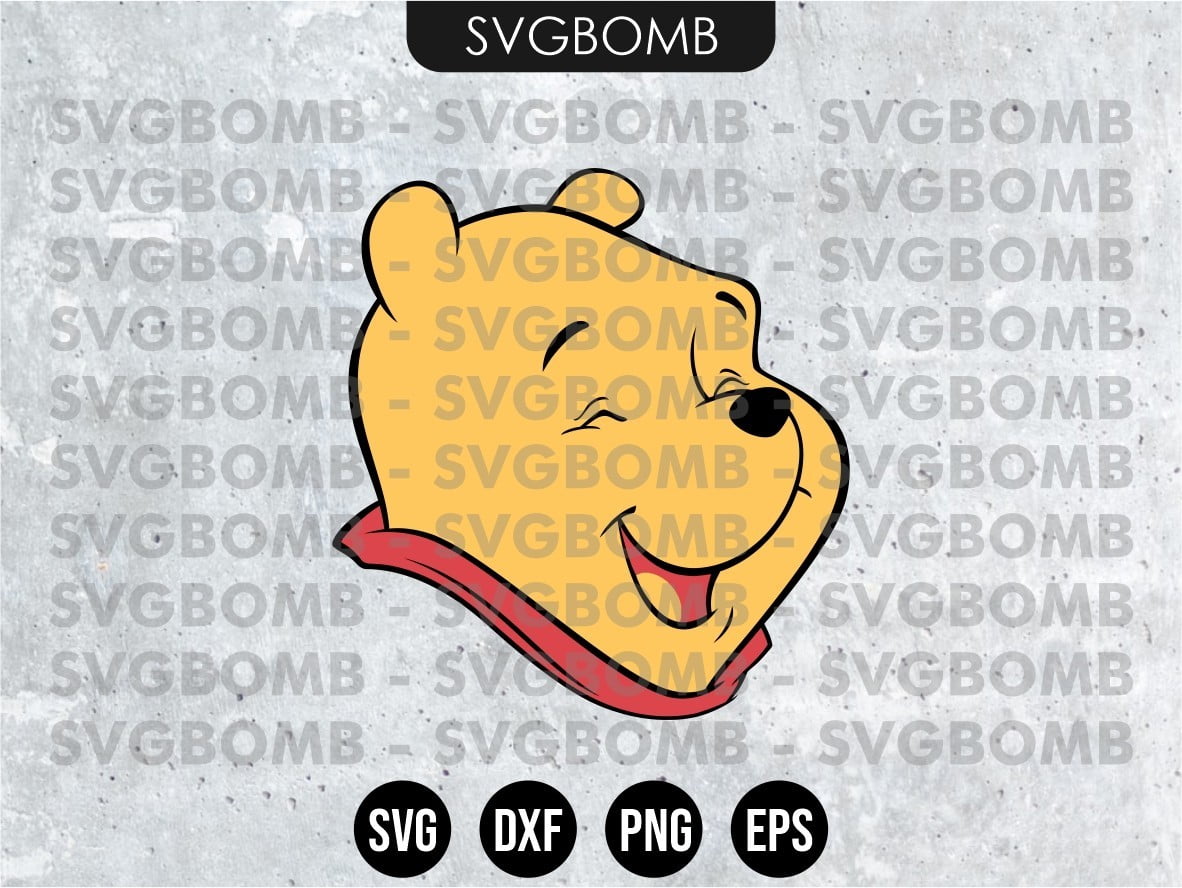
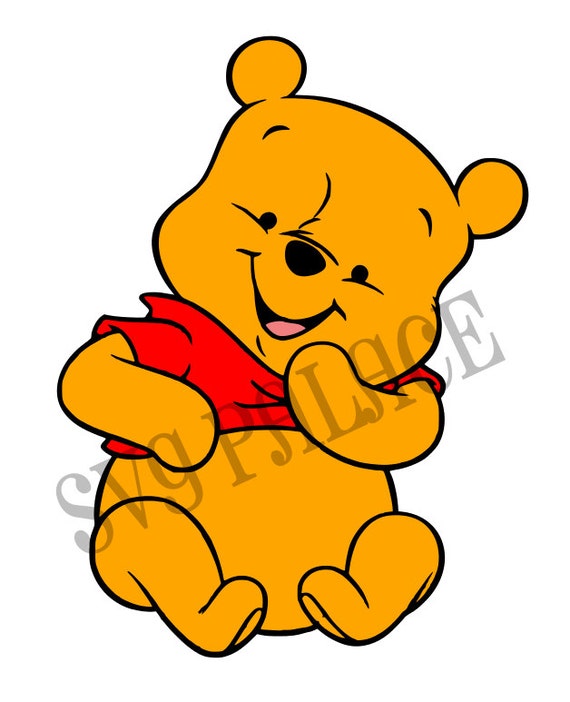
Winnie the Pooh, the beloved honey-loving bear from A.A. Milne’s classic stories, has captured the hearts of generations with his endearing personality and timeless adventures. One of the most recognizable features of Winnie the Pooh is his adorable face, which has been immortalized in countless illustrations, animations, and merchandise.
In this comprehensive guide, we will explore the art of creating a Winnie the Pooh SVG face using vector graphics software. We will cover everything from the basic steps to advanced techniques, empowering you to design your own unique and charming Winnie the Pooh face SVG.


Table of Content
H1: Understanding Vector Graphics and SVG Format
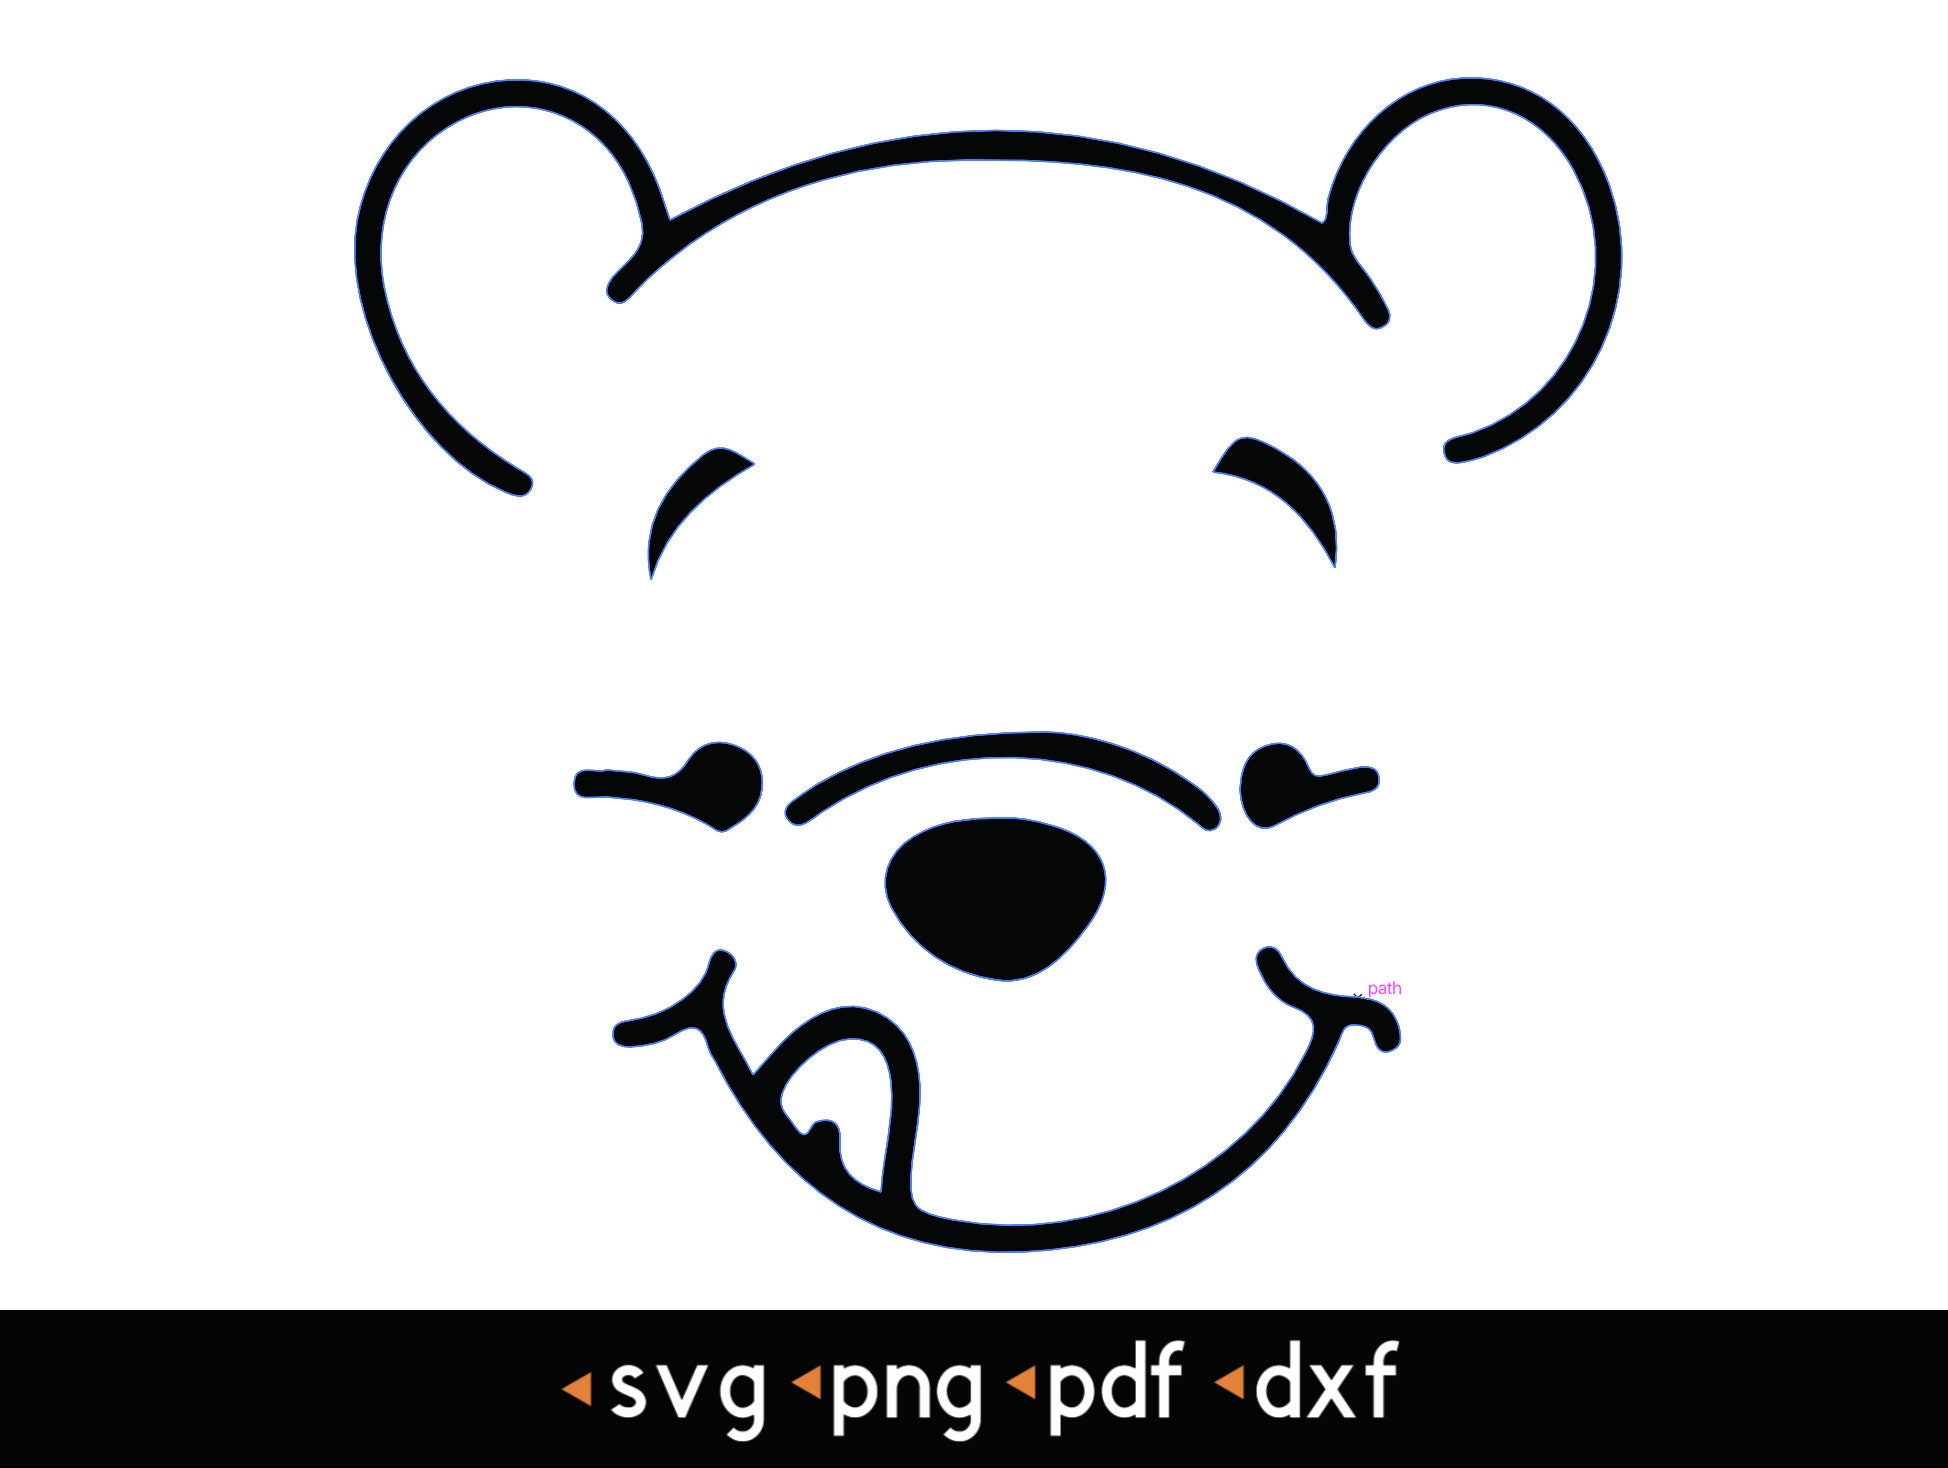
Vector graphics are composed of paths, shapes, and lines that are defined mathematically. Unlike raster graphics, which use pixels to create images, vector graphics can be scaled to any size without losing quality. This makes them ideal for creating scalable images for websites, logos, and other digital applications.
H3: SVG (Scalable Vector Graphics)
SVG is a widely supported vector graphics format that is used to create interactive and dynamic graphics for the web. SVG files are text-based, which means they can be easily edited and modified using code or a vector graphics editor.
H2: Creating a Winnie the Pooh SVG Face
H3: Basic Steps
- Choose a Vector Graphics Software: There are several vector graphics software options available, such as Adobe Illustrator, Inkscape, and CorelDRAW. Choose a software that suits your skill level and needs.
- Create a New Document: Start by creating a new document in your chosen software. Set the document size and background color as desired.
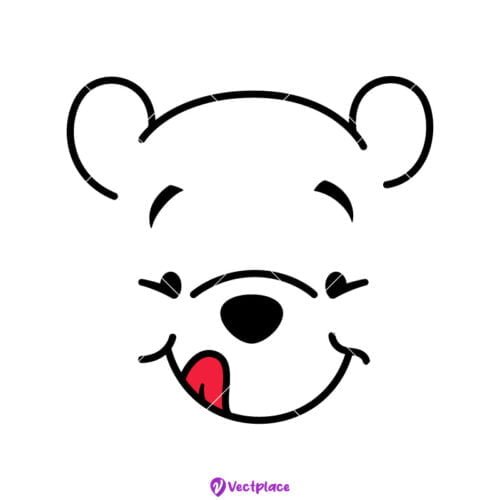
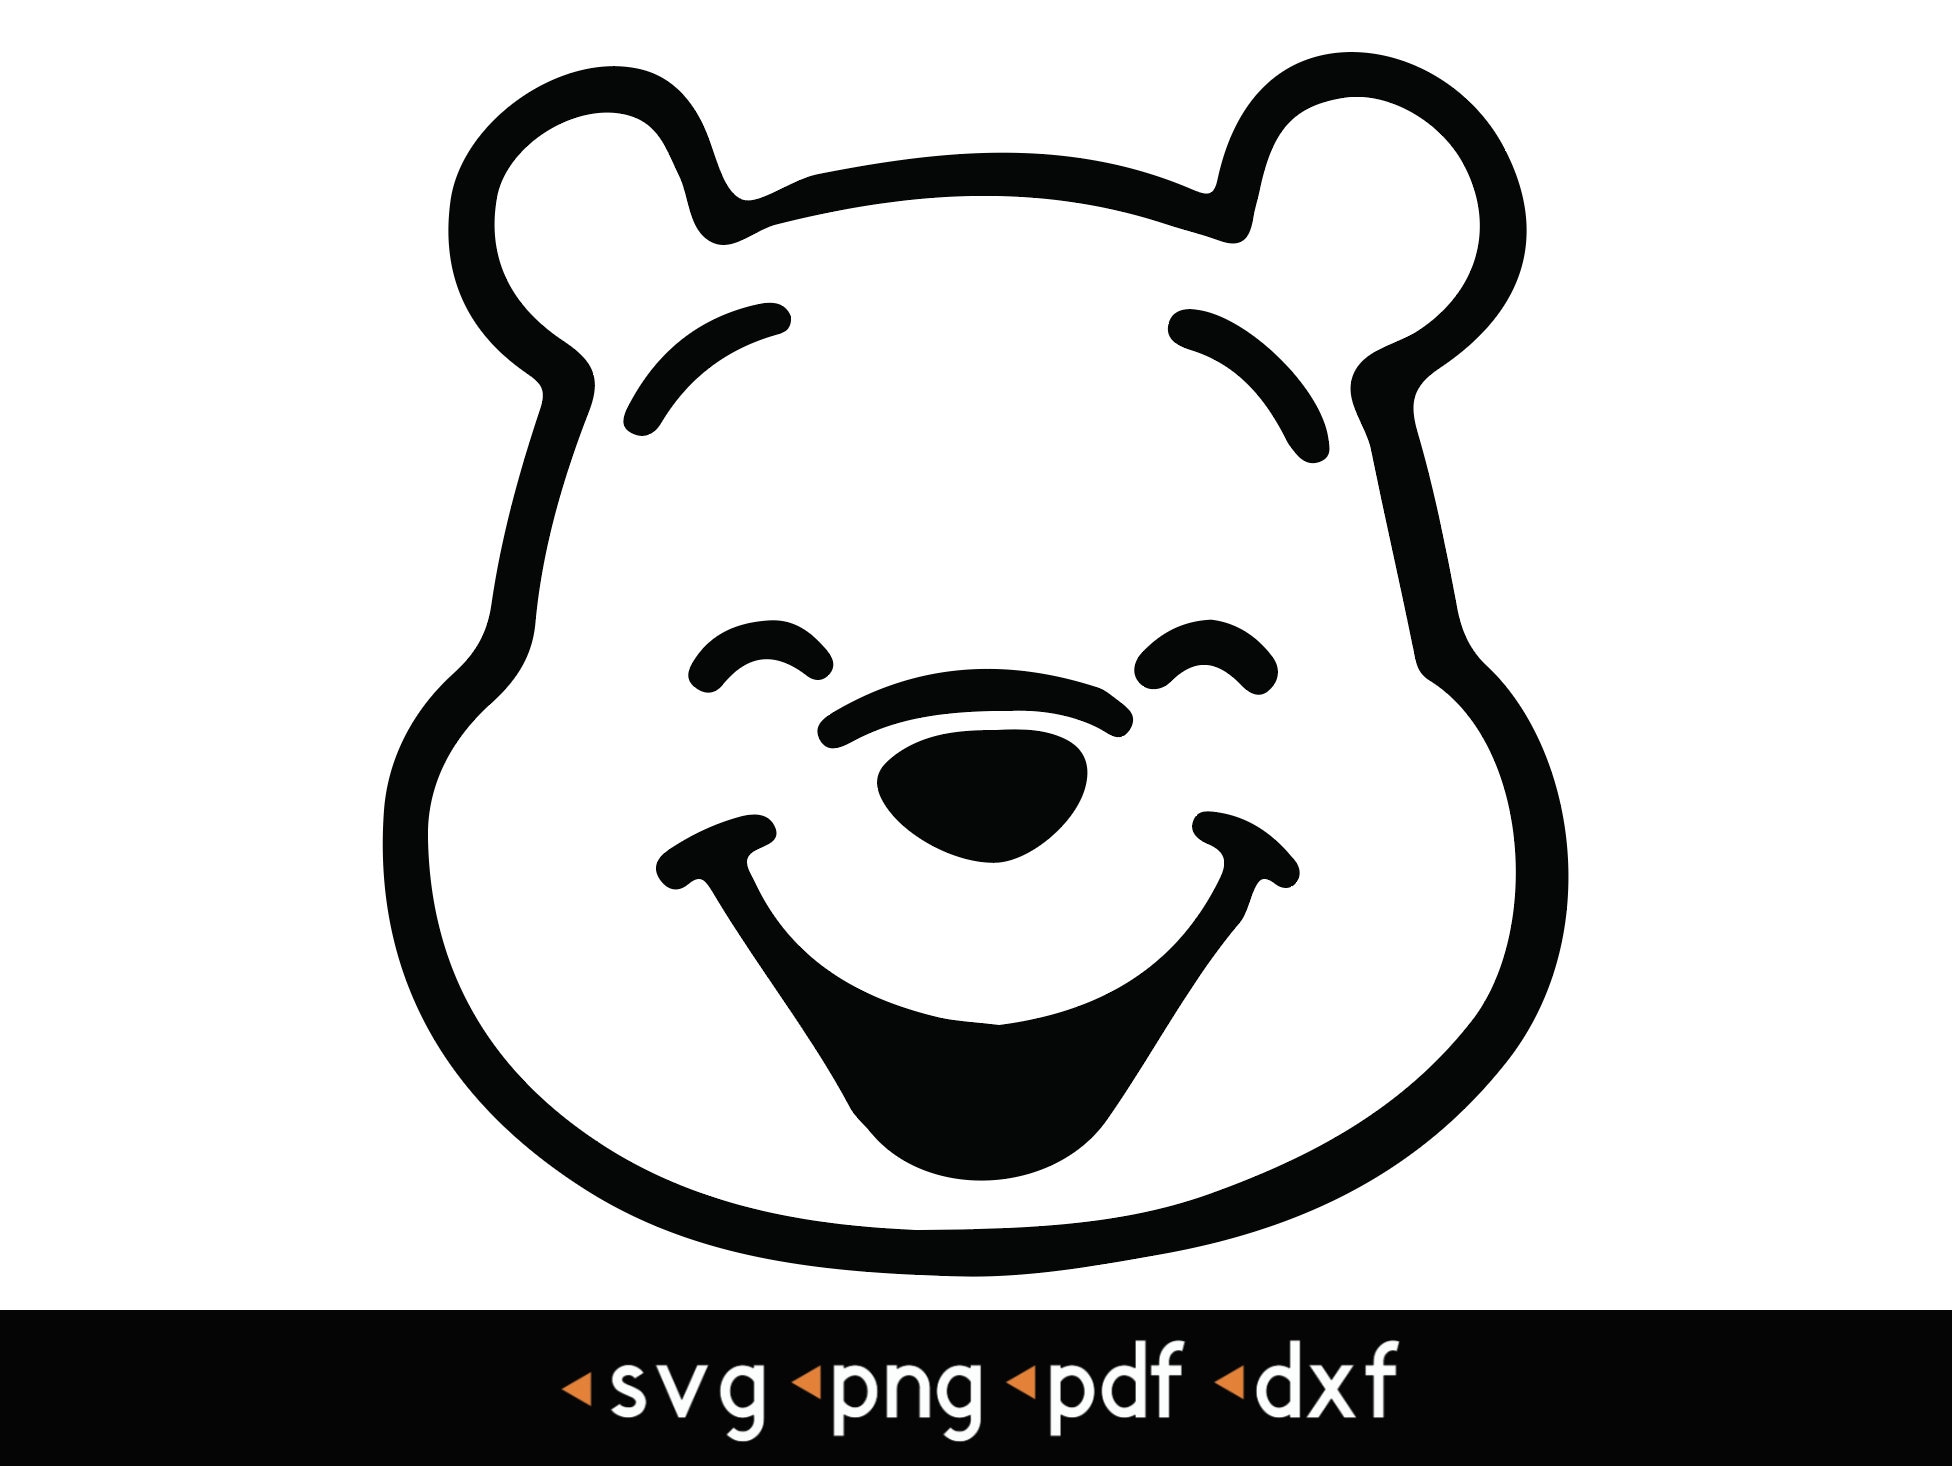
- Draw the Basic Shapes: Begin by drawing the basic shapes that make up Winnie the Pooh’s face, such as a circle for the head, ovals for the eyes, and a triangle for the nose.
- Add Details: Once you have the basic shapes, start adding details to the face. Draw the mouth, ears, and other features using lines, curves, and shapes.
- Pokemon Numbers SVG Pokémon Numbers SVG: A Comprehensive Guide To The Numerical Representation Of Pokémon
- Star Wars Disney SVG Free Star Wars Disney SVG Free: Unleash The Force In Your Designs
- Star Wars Dad SVG Free Star Wars Dad SVG Free: The Ultimate Guide To The Galactic Fatherhood Symbol
- Star Wars Xmas SVG Star Wars Xmas SVG: Unleash The Festive Force In Your Designs
- Pokemon Evolution SVG Pokémon Evolution SVG: A Comprehensive Guide To Enhancing Your Designs
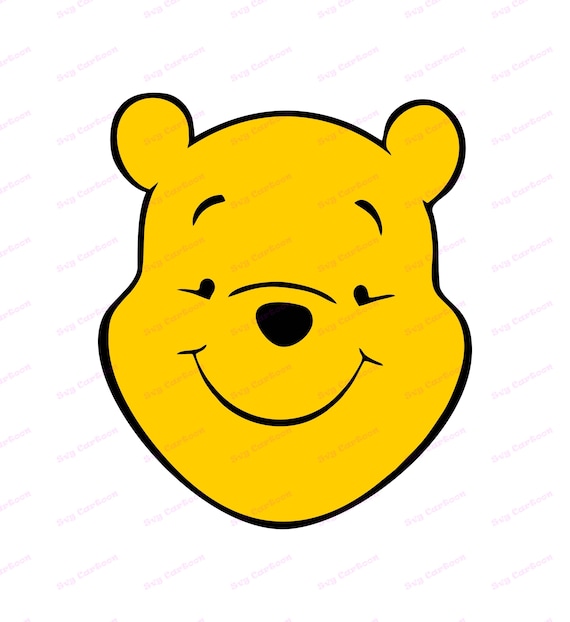
- Color and Fill: Use the fill tool to add color to the different parts of the face. You can also adjust the stroke width and color of the lines.
- Save the SVG File: Once you are satisfied with your Winnie the Pooh face, save it as an SVG file. This will allow you to use the image on websites, in documents, and for various other applications.
In this comprehensive guide, we will explore the art of creating a Winnie the Pooh SVG face using vector graphics software. We will cover everything from the basic steps to advanced techniques, empowering you to design your own unique and charming Winnie the Pooh face SVG.
H1: Understanding Vector Graphics and SVG Format
H2: Vector Graphics vs. Raster Graphics
Vector graphics are composed of paths, shapes, and lines that are defined mathematically. Unlike raster graphics, which use pixels to create images, vector graphics can be scaled to any size without losing quality. This makes them ideal for creating scalable images for websites, logos, and other digital applications.
H3: SVG (Scalable Vector Graphics)
SVG is a widely supported vector graphics format that is used to create interactive and dynamic graphics for the web. SVG files are text-based, which means they can be easily edited and modified using code or a vector graphics editor.
H2: Advanced Techniques
H3: Using Gradients
Gradients add depth and dimension to your SVG face. To create a gradient, select the area you want to apply it to and use the gradient tool in your software. Adjust the colors and direction of the gradient to achieve the desired effect.
H3: Adding Shadows and Highlights
Shadows and highlights can enhance the realism of your Winnie the Pooh face. Use darker colors for shadows and lighter colors for highlights. Apply them strategically to create a sense of depth and dimension.
H3: Combining Shapes
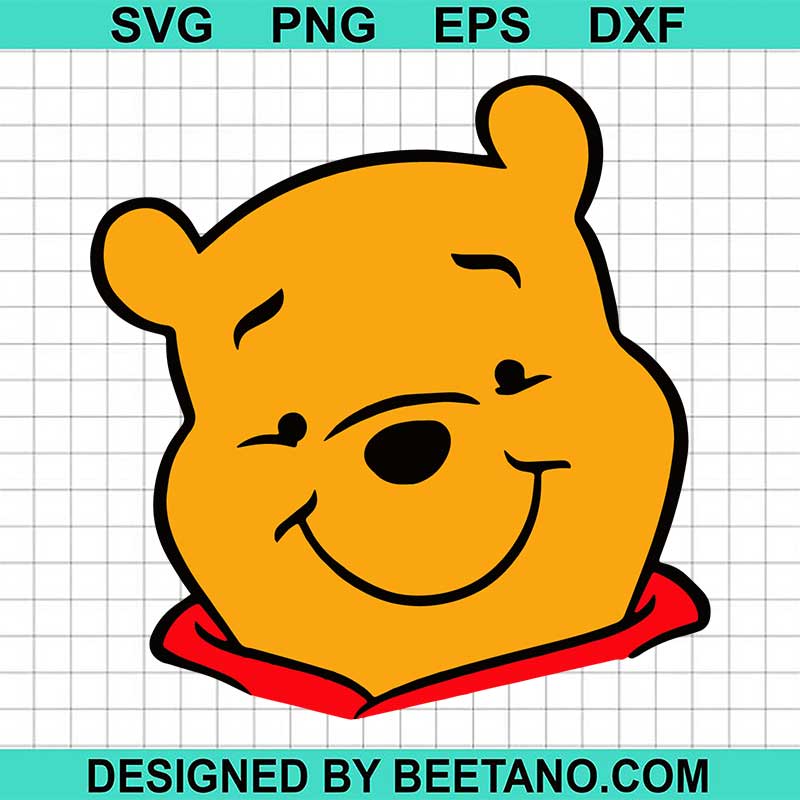
Combining different shapes can create complex and interesting features. For example, you can use multiple ellipses to create the eyes or combine a rectangle with a circle to create the nose.
H3: Using Masks

Masks allow you to hide or reveal parts of your image. Create a mask by drawing a shape over the area you want to hide. Then, select both the shape and the area you want to hide and use the "Mask" option in your software.
H3: Conclusion
Creating a Winnie the Pooh SVG face is a fun and rewarding experience. By understanding vector graphics and SVG format, and applying the techniques outlined in this guide, you can design your own unique and charming Winnie the Pooh face SVG. Whether you are a beginner or an experienced designer, these tips will help you create an image that captures the essence of this beloved character.
FAQs
Q: What is the best vector graphics software for creating a Winnie the Pooh SVG face?
A: The best software depends on your skill level and needs. Adobe Illustrator is a professional-grade option with advanced features, while Inkscape is a free and open-source alternative with a user-friendly interface.
Q: How can I add a transparent background to my Winnie the Pooh SVG face?
A: To create a transparent background, save your SVG file with the ".svgz" extension. This will compress the file and remove the white background.
Q: Can I use my Winnie the Pooh SVG face for commercial purposes?
A: The copyright for Winnie the Pooh belongs to The Walt Disney Company. If you plan to use your SVG face for commercial purposes, you may need to obtain permission from Disney.