


Rapunzel Dress SVG: A Comprehensive Guide for DIY Enthusiasts
Introduction
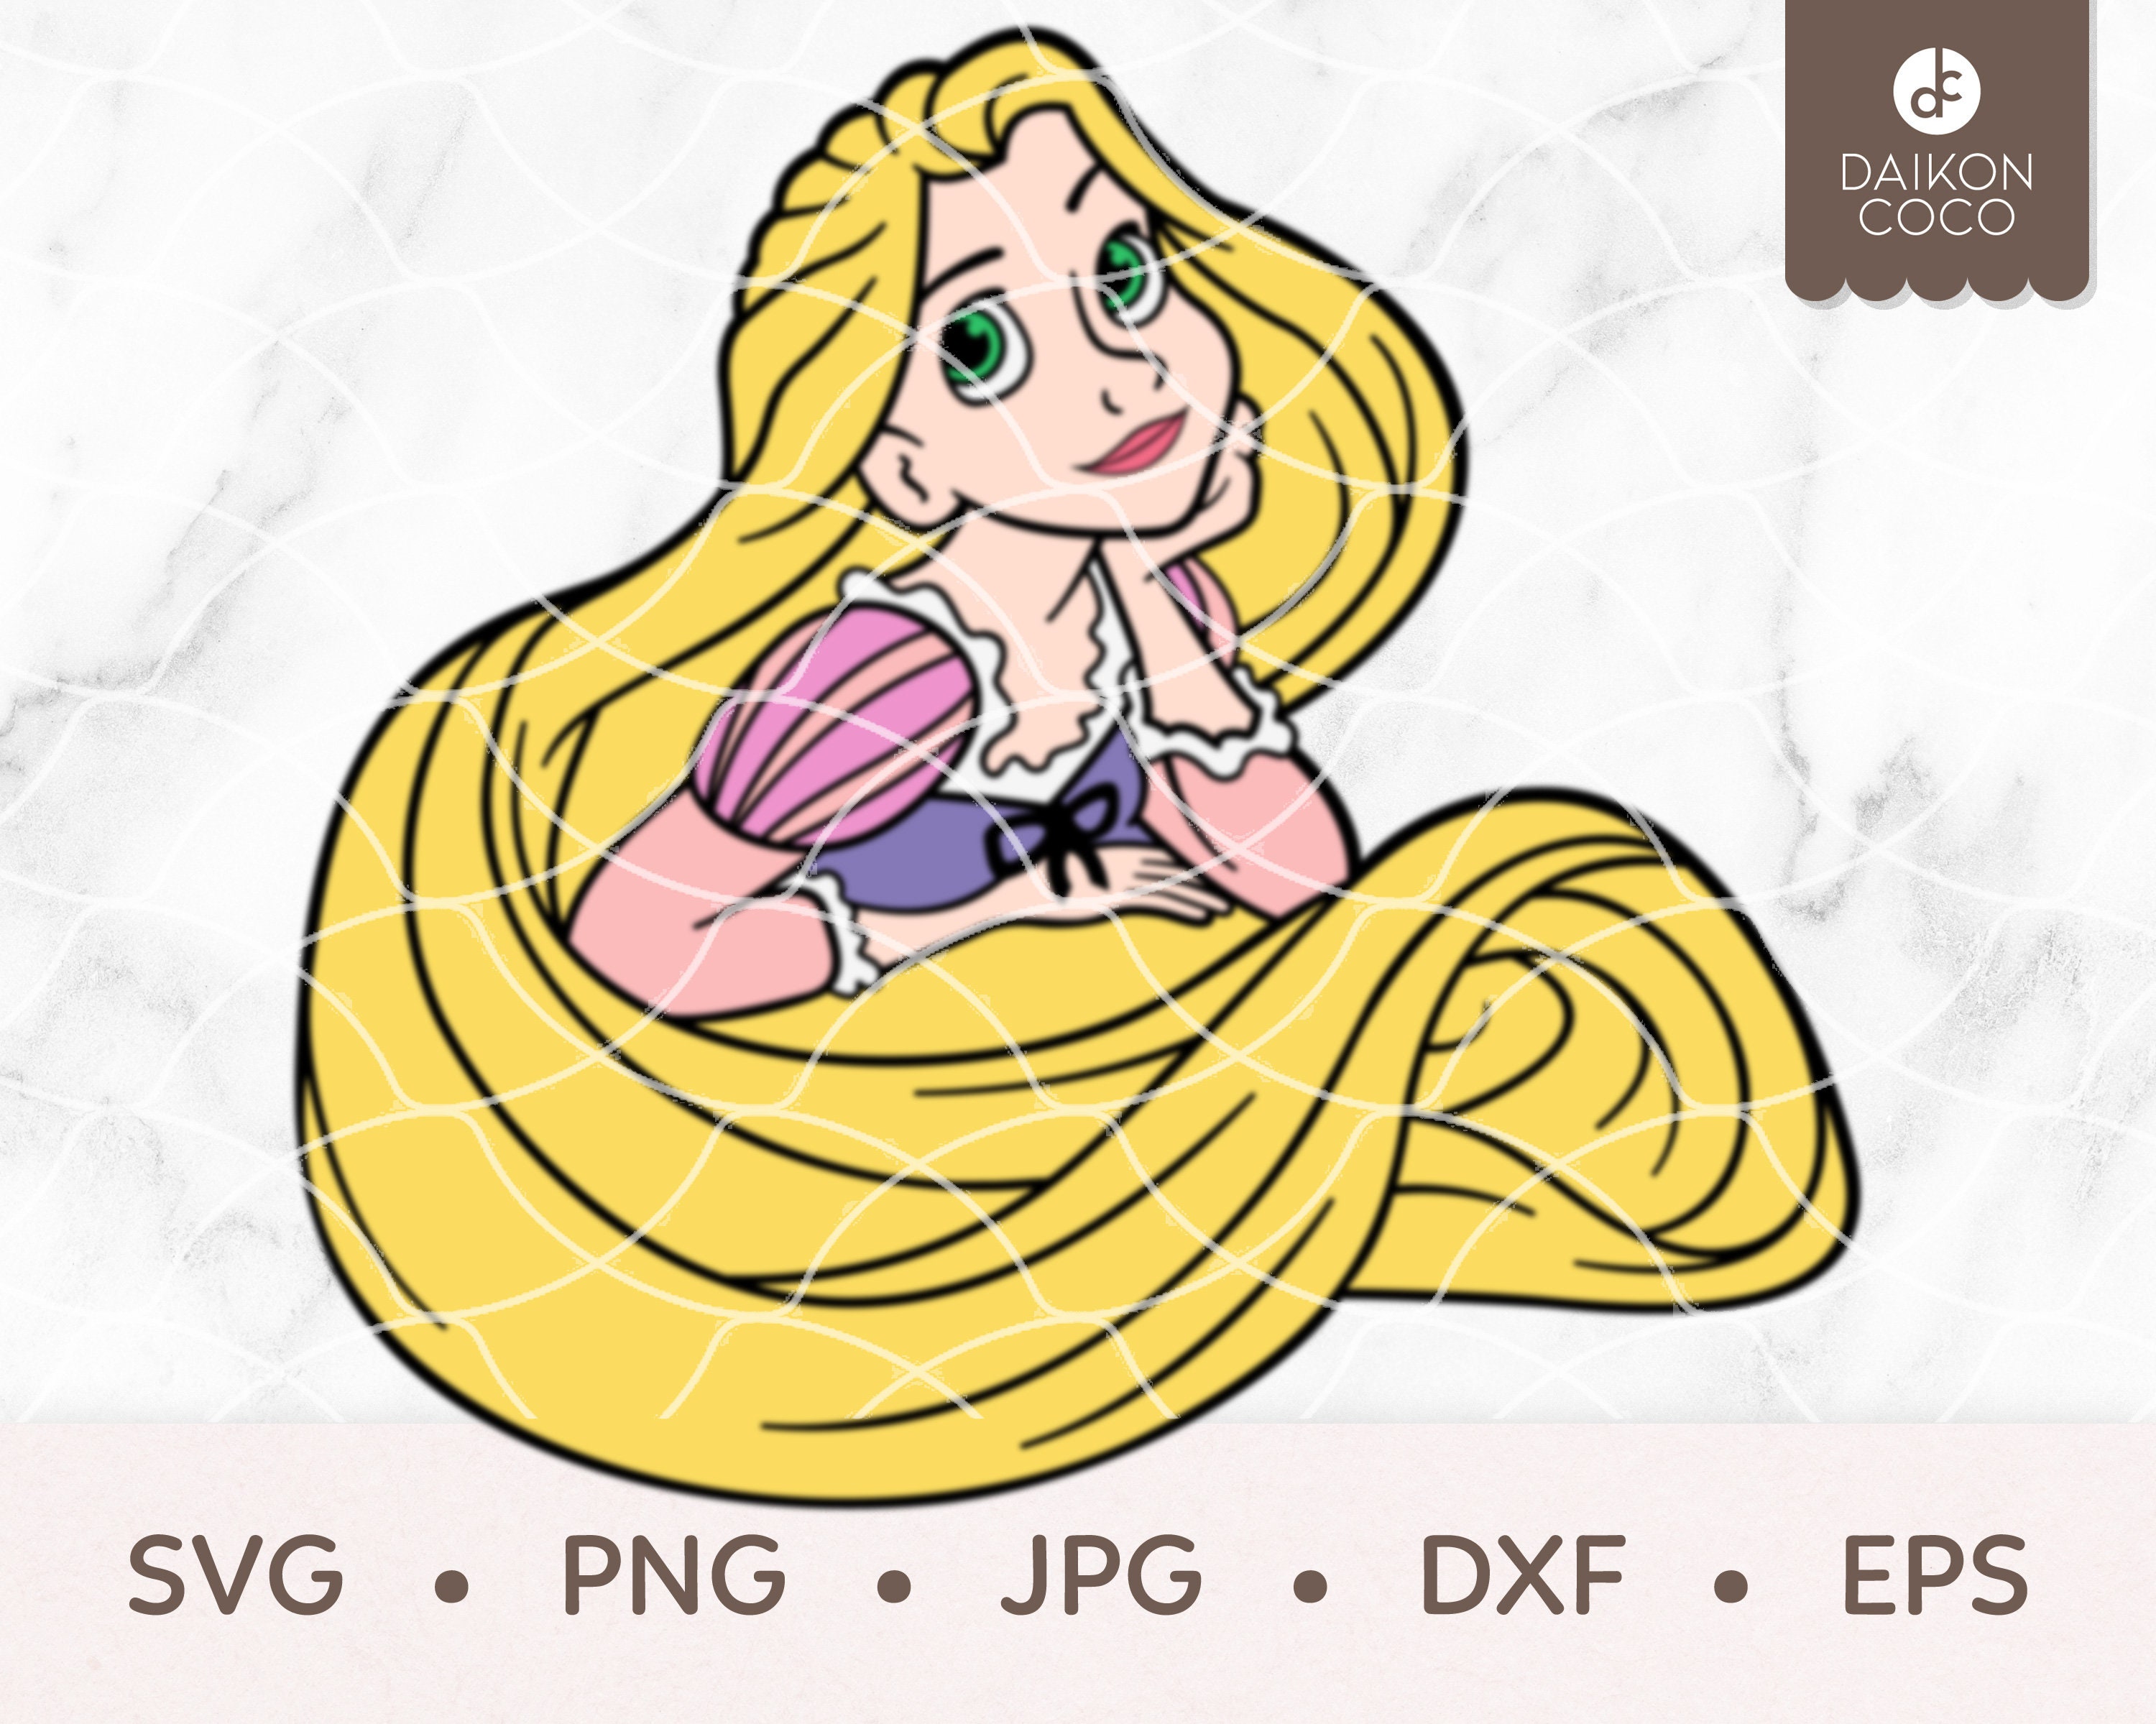
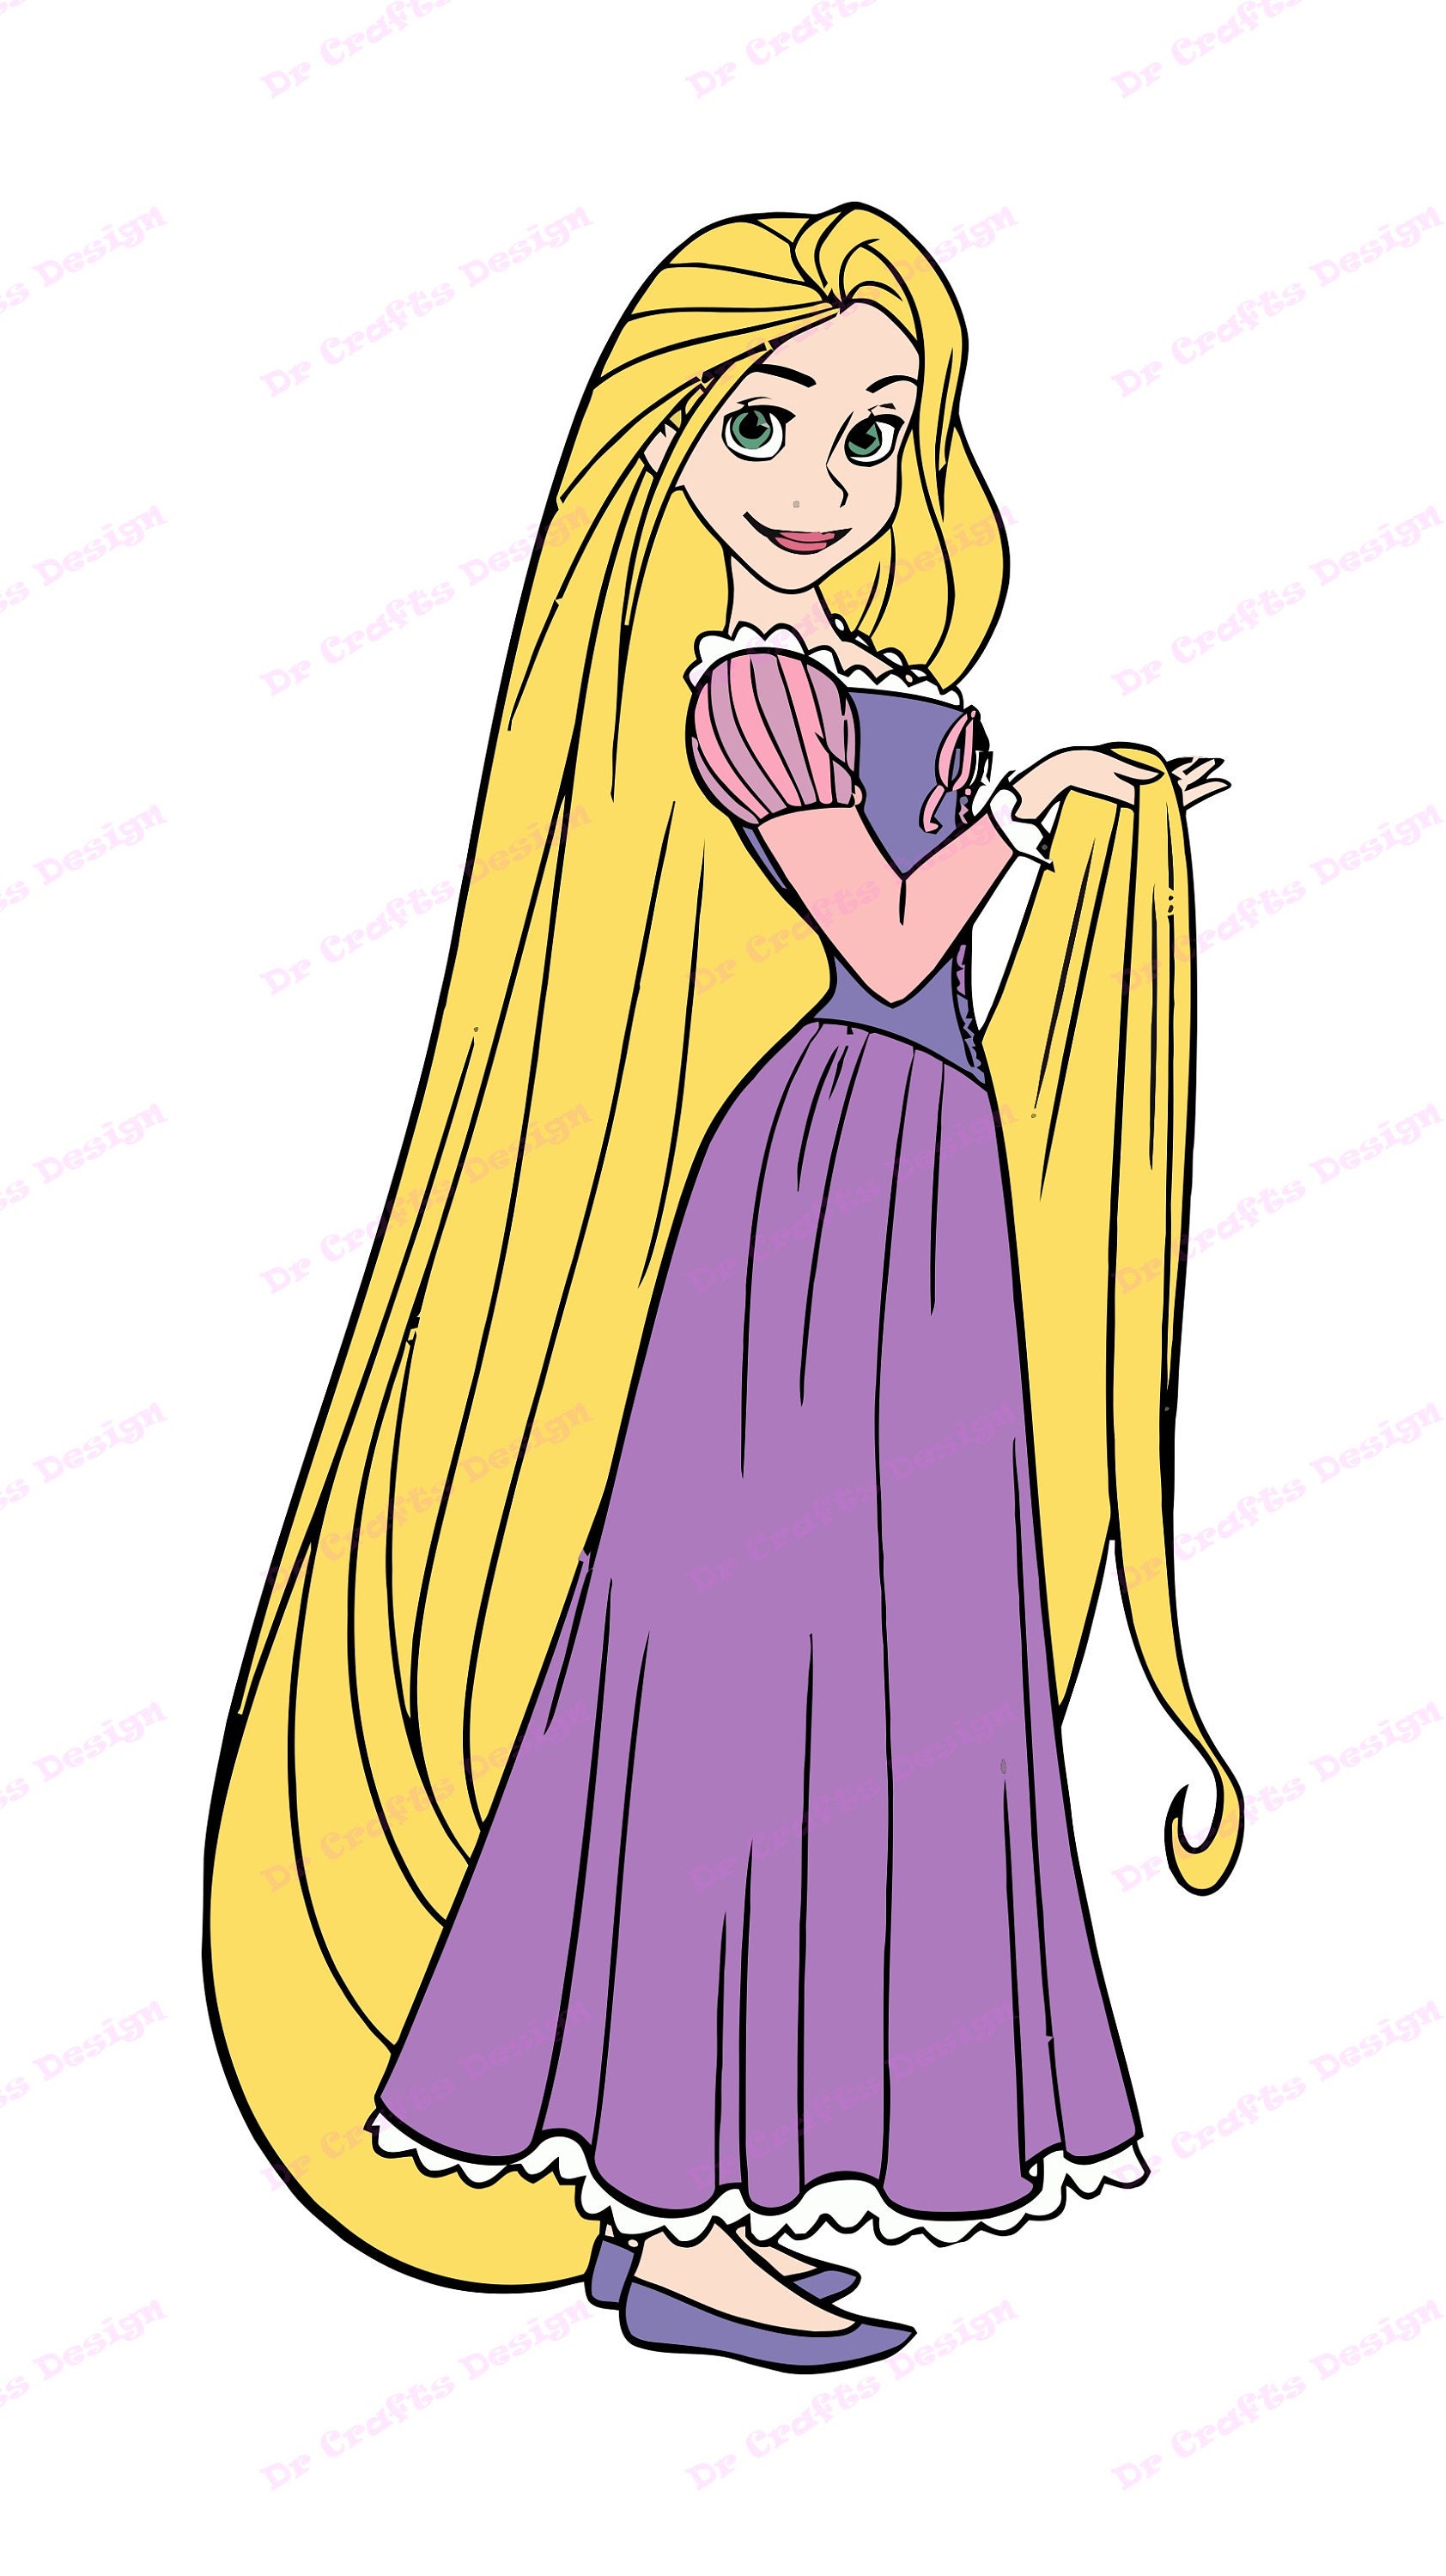
Rapunzel, the beloved fairy tale princess with her enchanting golden hair, has captured the hearts of children and adults alike for generations. Her iconic purple dress, adorned with intricate details and flowing fabrics, has become a symbol of her beauty and grace. With the advent of SVG (Scalable Vector Graphics) technology, DIY enthusiasts can now recreate Rapunzel’s magical dress with ease.


Table of Content
This comprehensive guide will provide you with all the information you need to create your own stunning Rapunzel Dress SVG. From choosing the right materials to following step-by-step instructions, we’ve got you covered.
- Purple fabric: Choose a lightweight, flowy fabric such as chiffon, organza, or satin.
- Lining fabric: Use a lightweight cotton or polyester fabric for the lining.
- Thread: Matching thread for both the fabric and lining.
- Lace trim: Intricate lace trim to add a touch of elegance to the neckline and sleeves.
- Zipper: A concealed zipper for the back of the dress.
- Sewing machine: A sewing machine with a zigzag stitch for finishing the edges.
- Scissors: Sharp fabric scissors.
- Measuring tape: For accurate measurements.
- Iron and ironing board: To press the seams and create a polished look.
- SVG Betty Boop SVG Betty Boop: A Comprehensive Guide To Using Scalable Vector Graphics
- Winnie The Pooh Hunny SVG Free Winnie The Pooh Hunny SVG: A Comprehensive Guide To Downloading And Using The Iconic Cartoon Character
- Bumblebee Logo Vector Bumblebee Logo Vector: A Comprehensive Guide To Design And Usage
- One Piece Logo SVG One Piece Logo SVG: The Ultimate Guide To Using The Pirate King’s Symbol
- Star Wars SVG Images Free Star Wars SVG Images Free: Unleash The Force In Your Designs
- Purple fabric: Choose a lightweight, flowy fabric such as chiffon, organza, or satin.
- Lining fabric: Use a lightweight cotton or polyester fabric for the lining.
- Collect all the necessary materials listed above.
- Take the following measurements: bust, waist, hips, length from shoulder to hem.
- Cut two pieces of purple fabric for the front and back of the bodice.
- Cut two pieces of lining fabric for the front and back of the bodice.
- Sew the lining pieces to the purple fabric pieces, right sides together.
- Turn right side out and press the seams.
- Attach the lace trim to the neckline and sleeves.
- Sew the front and back bodice pieces together at the shoulders and sides.
- Cut a rectangular piece of purple fabric for the skirt. The width should be twice the hip measurement and the length should be the desired length from waist to hem.
- Cut a rectangular piece of lining fabric for the skirt. The width should be the same as the purple fabric and the length should be slightly shorter than the purple fabric.
- Sew the lining piece to the purple fabric piece, right sides together.
- Turn right side out and press the seam.
- Gather the top edge of the skirt to fit the bodice.
- Align the gathered edge of the skirt with the bottom edge of the bodice.
- Sew the skirt to the bodice, right sides together.
- Press the seam to finish.
- Measure and cut a piece of fabric to cover the zipper.
- Sew the fabric cover to the zipper.
- Insert the zipper into the back of the dress, between the bodice and skirt.
- Sew the zipper in place.
- Hem the bottom of the dress.
- Add any additional embellishments, such as beads or sequins.
- Press the entire dress to create a professional finish.
- Use a sharp needle to prevent snagging the fabric.
- Test the tension of your sewing machine before starting to sew.
- Take your time and be precise with your measurements and sewing.
- If you’re not sure about a particular step, refer to an online tutorial or sewing book.

Rapunzel, the beloved fairy tale princess with her enchanting golden hair, has captured the hearts of children and adults alike for generations. Her iconic purple dress, adorned with intricate details and flowing fabrics, has become a symbol of her beauty and grace. With the advent of SVG (Scalable Vector Graphics) technology, DIY enthusiasts can now recreate Rapunzel’s magical dress with ease.
This comprehensive guide will provide you with all the information you need to create your own stunning Rapunzel Dress SVG. From choosing the right materials to following step-by-step instructions, we’ve got you covered.
Materials You’ll Need
Step-by-Step Instructions
1. Gather Your Materials and Measurements
2. Create the Bodice

3. Create the Skirt
4. Attach the Skirt to the Bodice
5. Insert the Zipper
6. Finishing Touches
Tips for Success
Conclusion
Creating a Rapunzel Dress SVG is a fun and rewarding project that will bring you joy and satisfaction. By following these step-by-step instructions, you can recreate the iconic dress and feel like a true princess. Whether you’re dressing up for a special occasion or simply want to unleash your creativity, this guide has everything you need to create a stunning Rapunzel Dress SVG.
FAQs
Q: What type of fabric should I use for the dress?
A: Choose a lightweight, flowy fabric such as chiffon, organza, or satin.
Q: Can I use a different color for the dress?
A: Yes, you can use any color you like, but purple is the traditional color of Rapunzel’s dress.
Q: How long will it take to make the dress?
A: The time it takes to make the dress will vary depending on your skill level and the complexity of the design. Allow at least a few hours for a basic dress.
Q: Can I use a different type of closure instead of a zipper?
A: Yes, you can use buttons, hooks, or snaps instead of a zipper.
Q: How can I make the dress more elaborate?
A: Add embellishments such as beads, sequins, or lace to make the dress more ornate.


