


Layered Sunflower Cricut: A Comprehensive Guide to Creating Stunning Sunflowers with Your Cricut Machine
Introduction
The sunflower, with its cheerful yellow petals and vibrant center, is a symbol of joy and optimism. With the Cricut machine, you can easily create layered sunflower embellishments that will add a touch of sunshine to any project. This guide will provide you with step-by-step instructions, design ideas, and troubleshooting tips to help you create beautiful layered sunflowers with your Cricut.
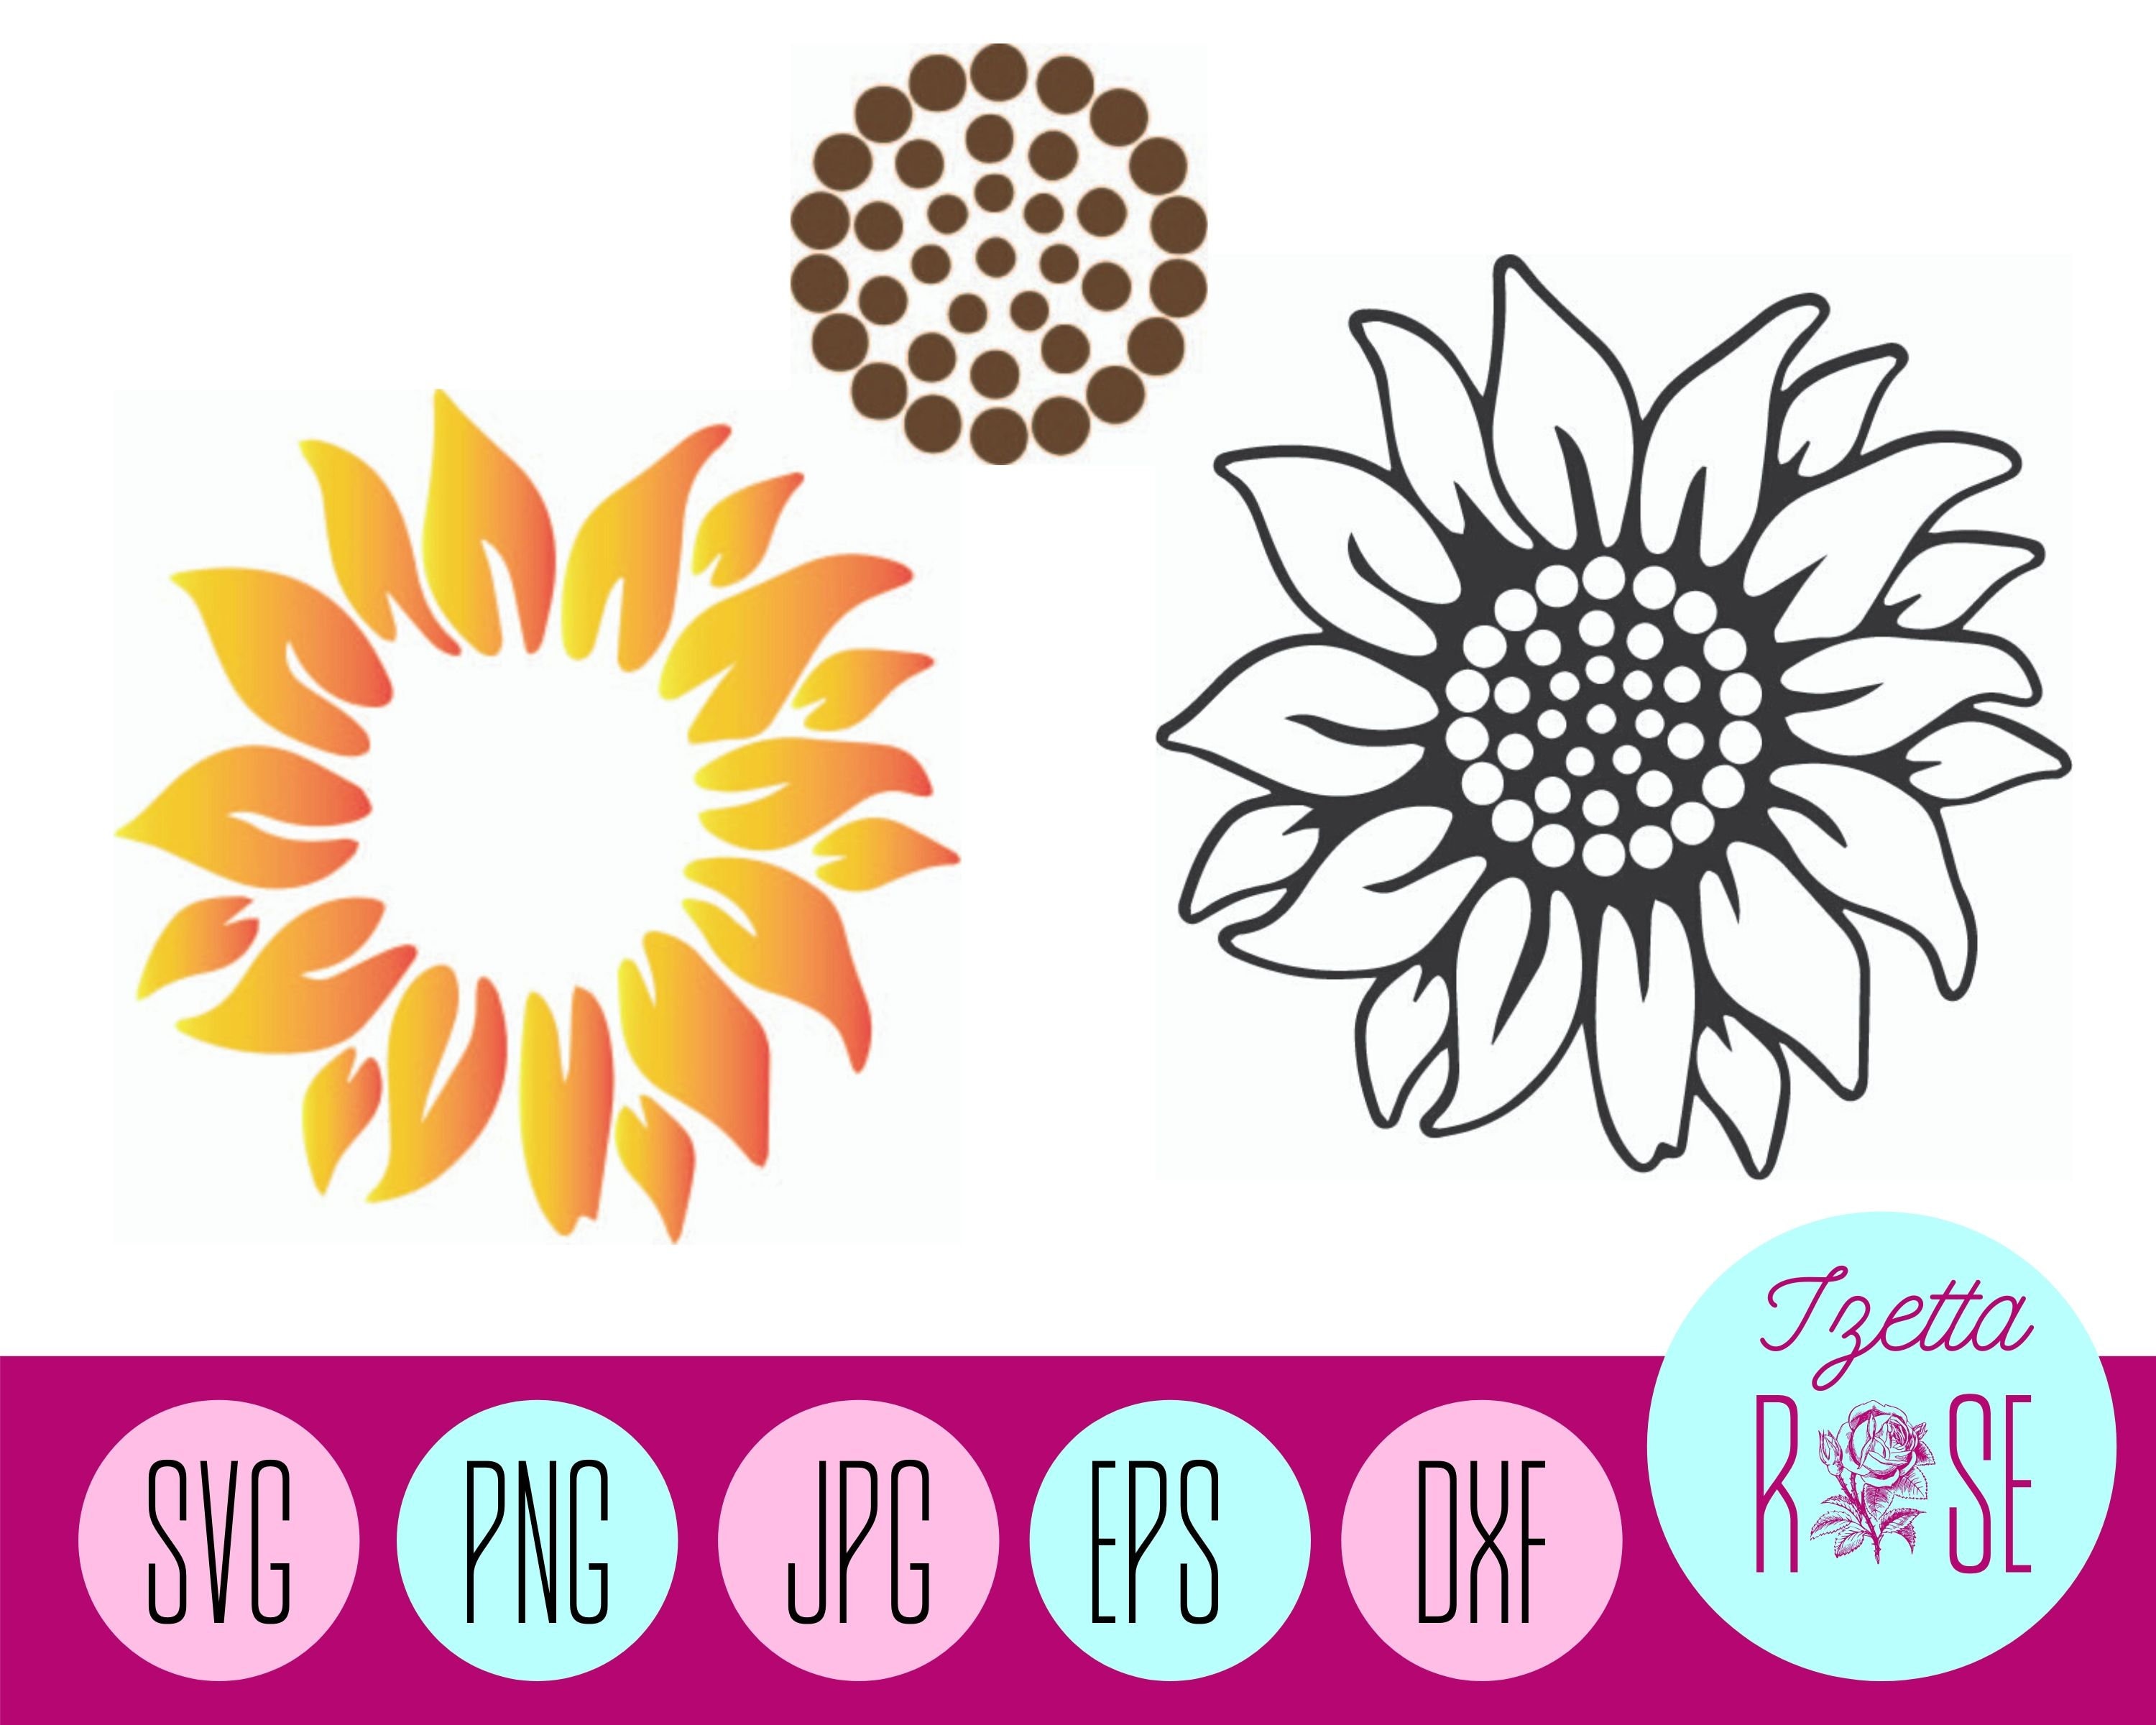

Table of Content
Materials You’ll Need
Step-by-Step Instructions
1. Design Your Sunflower
- Open Cricut Design Space and create a new project.
- Cricut Flower Bouquet SVG
- Free SVG flower SVG
- Flower Line Art SVG
- 3d Flower SVG Free Download
- Mama flower SVG
- Cricut machine (Maker, Explore Air 2, or Joy)
- Cricut Design Space software
- Cardstock in various colors (yellow, orange, brown, green)
- Search for "sunflower" in the Design Library and select a design you like.
- Adjust the size of the design to fit your project.
- Select the colors of cardstock you want to use for your sunflower.
- For the petals, yellow and orange are traditional choices, but you can also use other colors to create a unique look.
- For the center, use brown or black cardstock.
- For the stem and leaves, green cardstock is a good choice.
- Load the cardstock into your Cricut machine and follow the prompts to cut out the design.
- Repeat this step for each layer of the sunflower.
- Start by gluing the center of the sunflower to the base layer.
- Next, glue the petals to the center, overlapping them slightly.
- Continue gluing the petals until all layers are assembled.
- Finally, glue the stem and leaves to the back of the sunflower.
- Use a scoring tool to create veins on the leaves for a more realistic look.
- Embellish your sunflower with additional elements, such as glitter, sequins, or ribbon.
- Classic Sunflower: Create a traditional sunflower using yellow and orange cardstock.
- Multi-Colored Sunflower: Use a variety of colors for the petals to create a vibrant and unique sunflower.
- Stacked Sunflower: Stack multiple layers of petals to create a dimensional sunflower.
- Sunflower Garland: Create a string of sunflowers by attaching them to a ribbon or twine.
- Sunflower Wall Art: Frame a layered sunflower to create a cheerful and eye-catching wall decoration.
- Petals not sticking: Use a strong adhesive or glue.
- Layers not aligning: Double-check the alignment of the layers before gluing.
- Design not cutting properly: Make sure the blade is sharp and the cardstock is securely loaded into the machine.
- Petals curling: Use a heavier weight cardstock or score the petals before gluing.
The sunflower, with its cheerful yellow petals and vibrant center, is a symbol of joy and optimism. With the Cricut machine, you can easily create layered sunflower embellishments that will add a touch of sunshine to any project. This guide will provide you with step-by-step instructions, design ideas, and troubleshooting tips to help you create beautiful layered sunflowers with your Cricut.
Materials You’ll Need

2. Choose Your Cardstock

3. Cut the Cardstock


4. Assemble the Sunflower
5. Add Finishing Touches
Design Ideas
Troubleshooting Tips
Conclusion
Creating layered sunflowers with your Cricut machine is a fun and rewarding project. With a little creativity and these step-by-step instructions, you can create stunning sunflowers that will add a touch of sunshine to any project.
FAQs
Q: What is the best cardstock to use for layered sunflowers?
A: A medium-weight cardstock (65-80 lb) works well.
Q: Can I use other materials besides cardstock?
A: Yes, you can use fabric, felt, or even leather to create layered sunflowers.
Q: How do I make the petals more realistic?
A: Use a scoring tool to create veins on the petals.
Q: Can I sell the sunflowers I make with my Cricut?
A: Yes, you can sell physical products made with your Cricut, but you cannot sell the digital designs themselves.


