3D Shadow Box Templates Free: Unleash Your Creativity with Stunning Shadow Art
Introduction
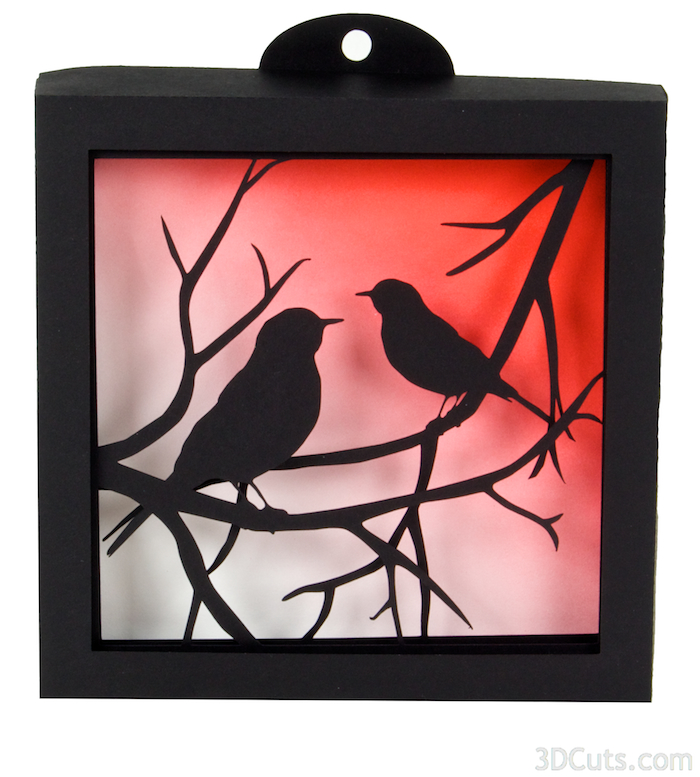
3D shadow boxes have become a captivating art form, allowing you to create captivating displays that add depth and intrigue to any space. With the abundance of free 3D shadow box templates available online, you can embark on this captivating craft without breaking the bank. In this comprehensive guide, we will delve into the world of 3D shadow box templates, providing you with everything you need to know to create stunning shadow art that will amaze your friends and family.
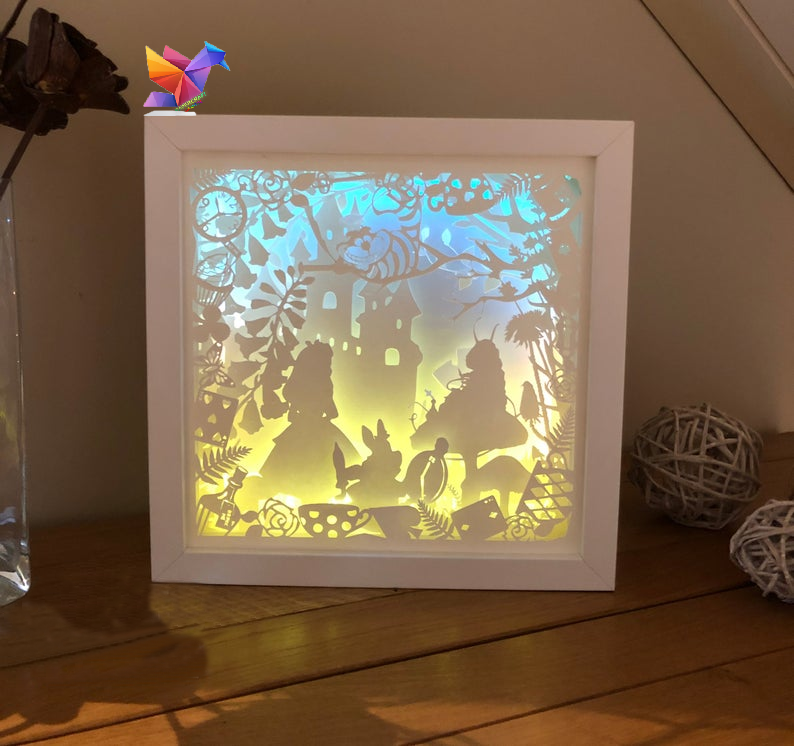

Table of Content
- 1 3D Shadow Box Templates Free: Unleash Your Creativity with Stunning Shadow Art
- 1.1 Introduction
- 1.2 Choosing the Right Template
- 1.3 Essential Materials
- 1.4 Choosing the Right Template
- 1.5 Step-by-Step Guide to Creating a 3D Shadow Box
- 1.6 Creative Tips and Tricks
- 1.7 Troubleshooting Common Issues
- 1.8 Conclusion
- 1.9 FAQs
Choosing the Right Template
Where to Find Free 3D Shadow Box Templates:
- Etsy: Search for "free 3D shadow box templates" to find a wide variety of options.
- Pinterest: Create a Pinterest board and pin your favorite templates for easy access.
- Google Images: Use specific search terms like "free 3D shadow box templates for beginners" to narrow down your results.

Essential Materials
Once you have chosen your template, gather the necessary materials to bring your shadow box to life:
- Cardstock: Choose sturdy cardstock for the base and layers of your shadow box.
- Free Shadow Box Template Free Shadow Box Template: A Comprehensive Guide To Creating Stunning Displays
- Free Lightbox Svg Free Lightbox SVG: Elevate Your Website’s Visual Appeal
- Shadow Box Patterns Free Shadow Box Patterns Free: A Comprehensive Guide To Create Stunning 3D Art
- Free Shadow Box Template Svg Free Shadow Box Template SVG: A Comprehensive Guide To Creating Stunning 3D Art
- Light Box Svg Free Light Box SVG Free: Elevate Your Designs With Stunning Vector Graphics
- Etsy: Search for "free 3D shadow box templates" to find a wide variety of options.
- X-Acto Knife: Use a sharp X-Acto knife to cut out the template designs with precision.
- Cutting Mat: Protect your work surface with a cutting mat.
- Glue: Opt for a strong adhesive like tacky glue or craft glue to secure the layers.
- Foam Board: Create depth by adding layers of foam board between the layers.
- Frame: Choose a shadow box frame that complements your design and provides a finished look.
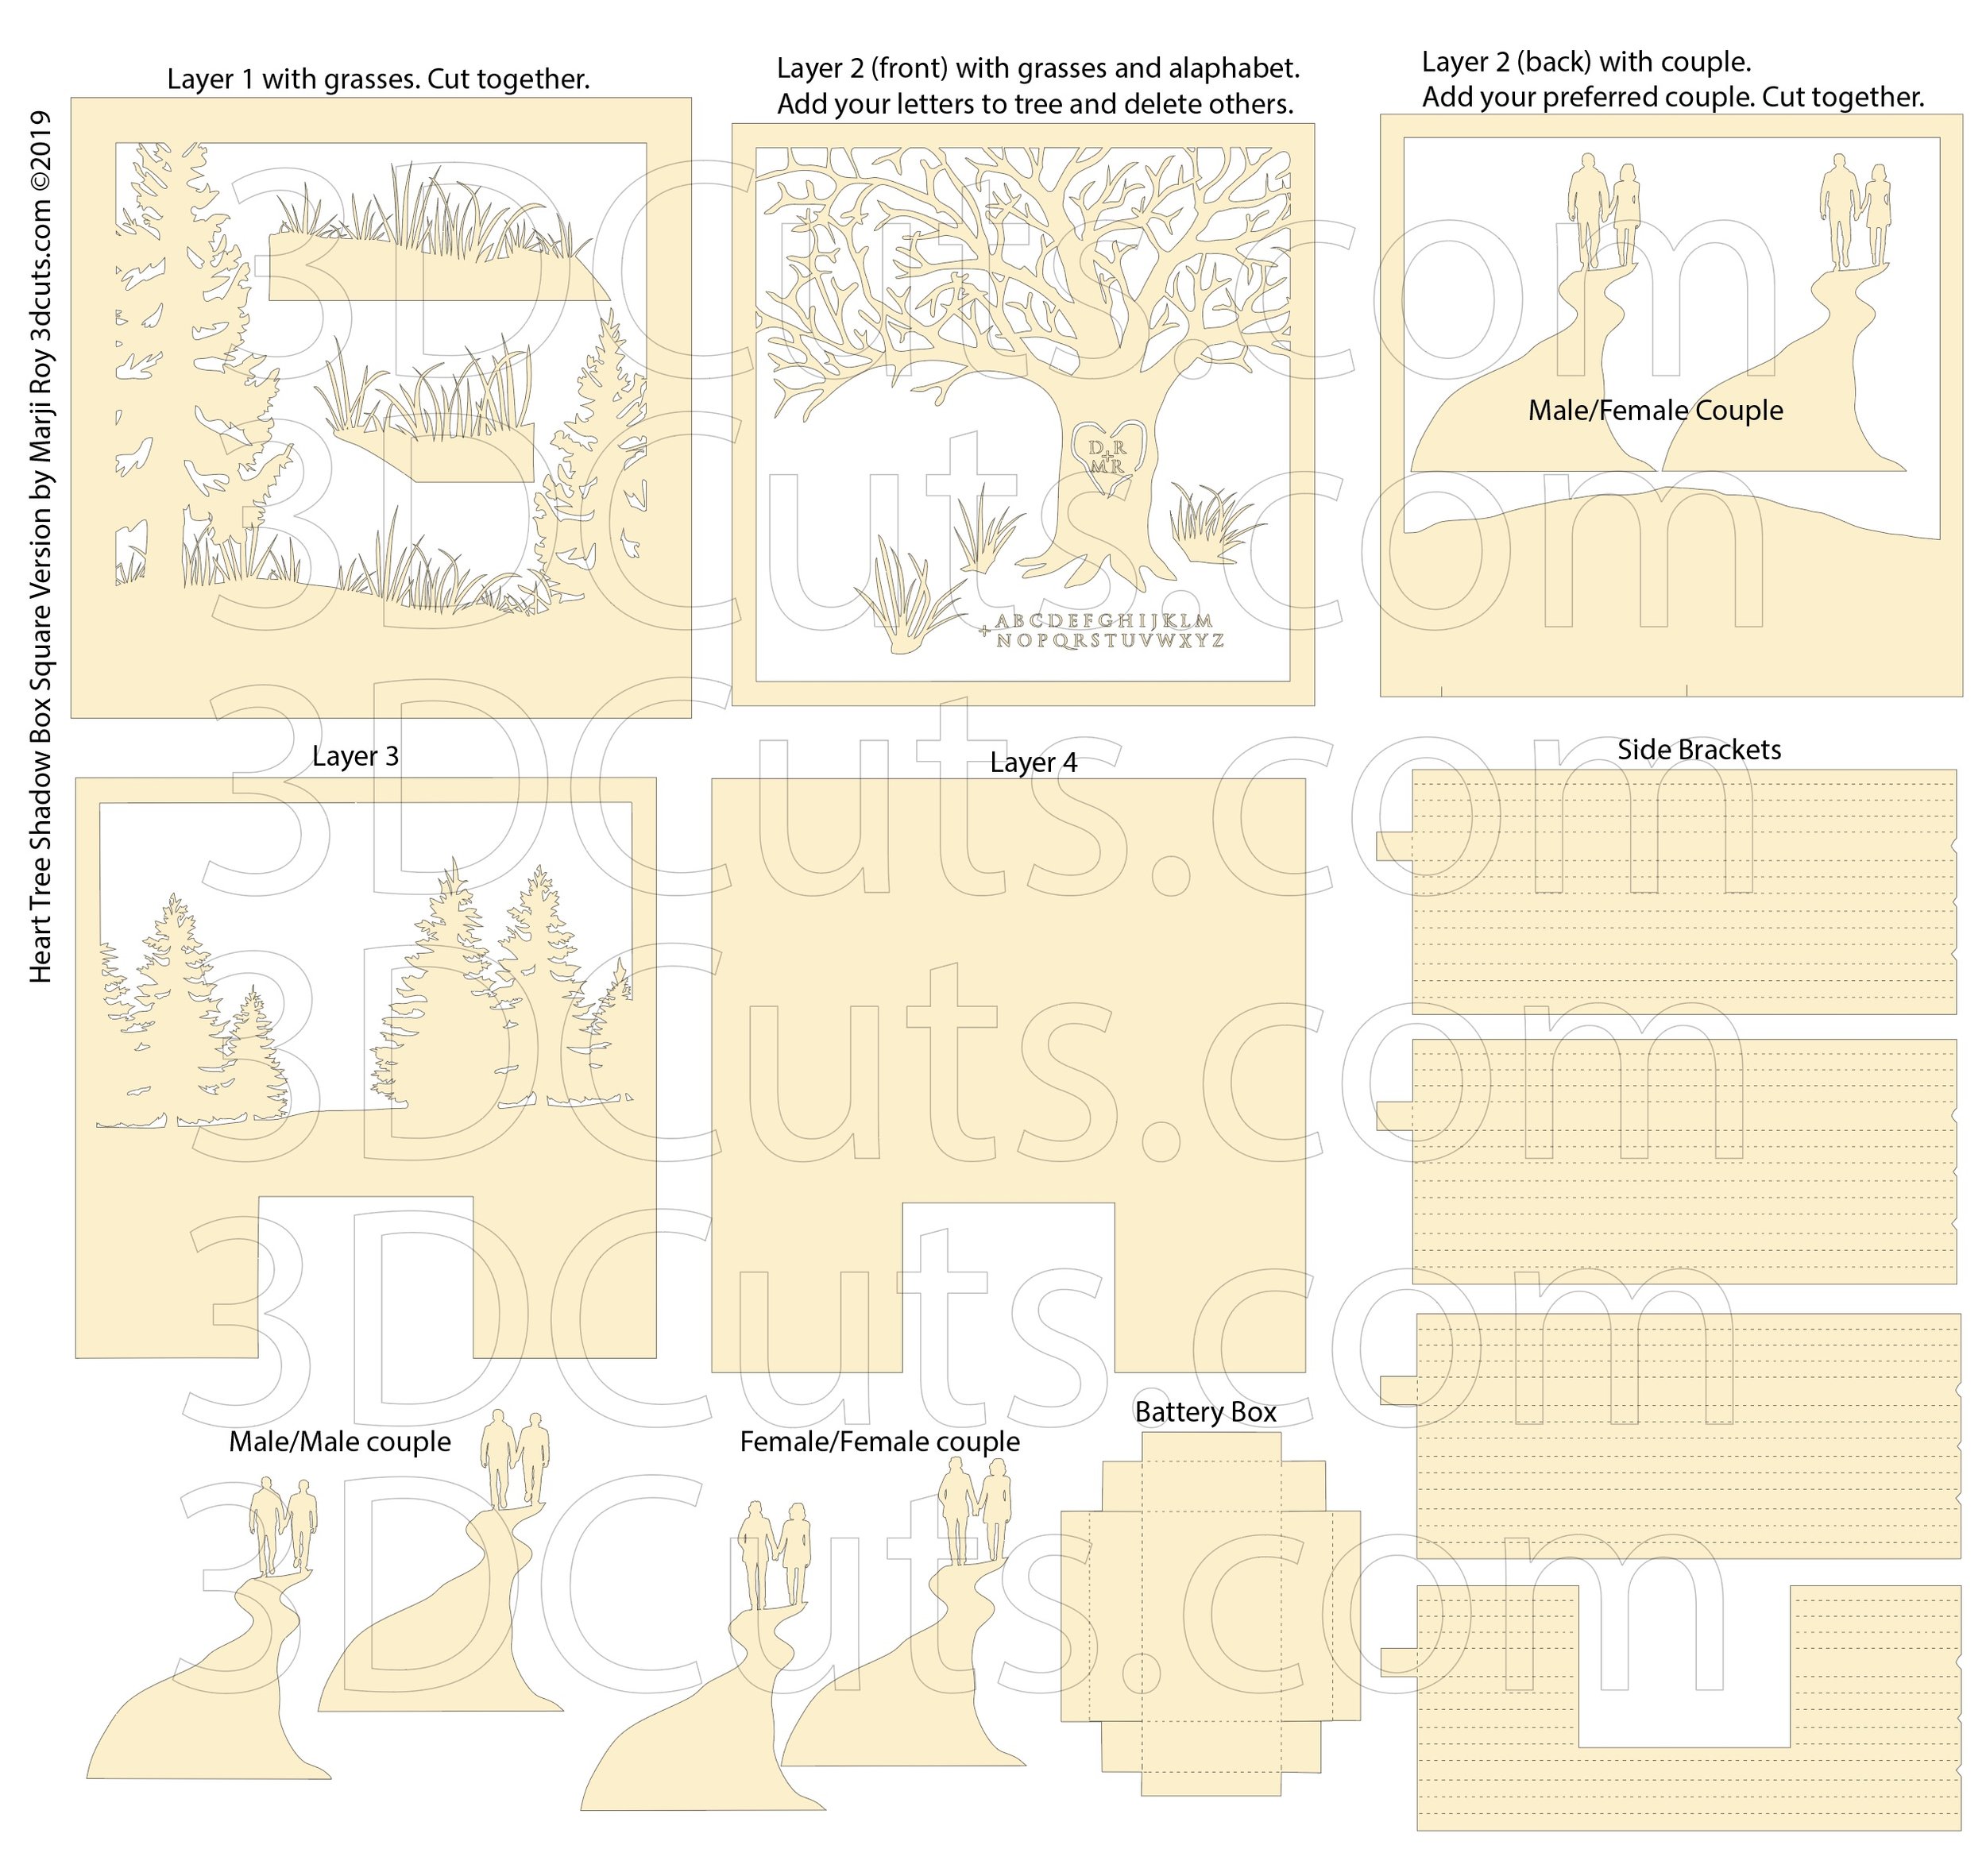
- Print the template on cardstock and cut out the individual layers using an X-Acto knife and a cutting mat.
- Glue the base layer of the template onto the back of the shadow box frame.
- Apply glue to the back of the next layer and align it with the corresponding cutouts on the base layer.
- Repeat this process for each subsequent layer, creating depth and dimension.
- Cut pieces of foam board to fit between the layers. This will add extra depth and prevent the layers from sagging.
- Once all the layers are in place, apply glue to the edges and press them together firmly.
- Insert the completed shadow box into the frame and secure it in place.
- Experiment with Color: Use different colors of cardstock to create vibrant and eye-catching shadow boxes.
- Add Texture: Incorporate materials like fabric, lace, or glitter to add texture and depth to your designs.
- Use Lighting: Place your shadow box near a light source to create dramatic shadows and enhance the 3D effect.
- Create a Series: Design a series of shadow boxes with a common theme or color scheme to create a cohesive display.
- Layers Not Aligning: Ensure that the layers are cut precisely and aligned carefully before gluing.
- Sagging Layers: Add additional foam board layers or use a stronger adhesive to prevent the layers from sagging.
- Warped Cardstock: Use thicker cardstock or weigh down the layers as they dry to prevent warping.
- Uneven Shadows: Place your shadow box in an area with even lighting to minimize uneven shadows.
3D shadow boxes have become a captivating art form, allowing you to create captivating displays that add depth and intrigue to any space. With the abundance of free 3D shadow box templates available online, you can embark on this captivating craft without breaking the bank. In this comprehensive guide, we will delve into the world of 3D shadow box templates, providing you with everything you need to know to create stunning shadow art that will amaze your friends and family.
Choosing the Right Template
The first step in creating a 3D shadow box is selecting the perfect template. There are countless free templates available online, ranging from intricate geometric designs to whimsical characters and landscapes. Consider your personal style and the theme of your project when making your selection.

Where to Find Free 3D Shadow Box Templates:


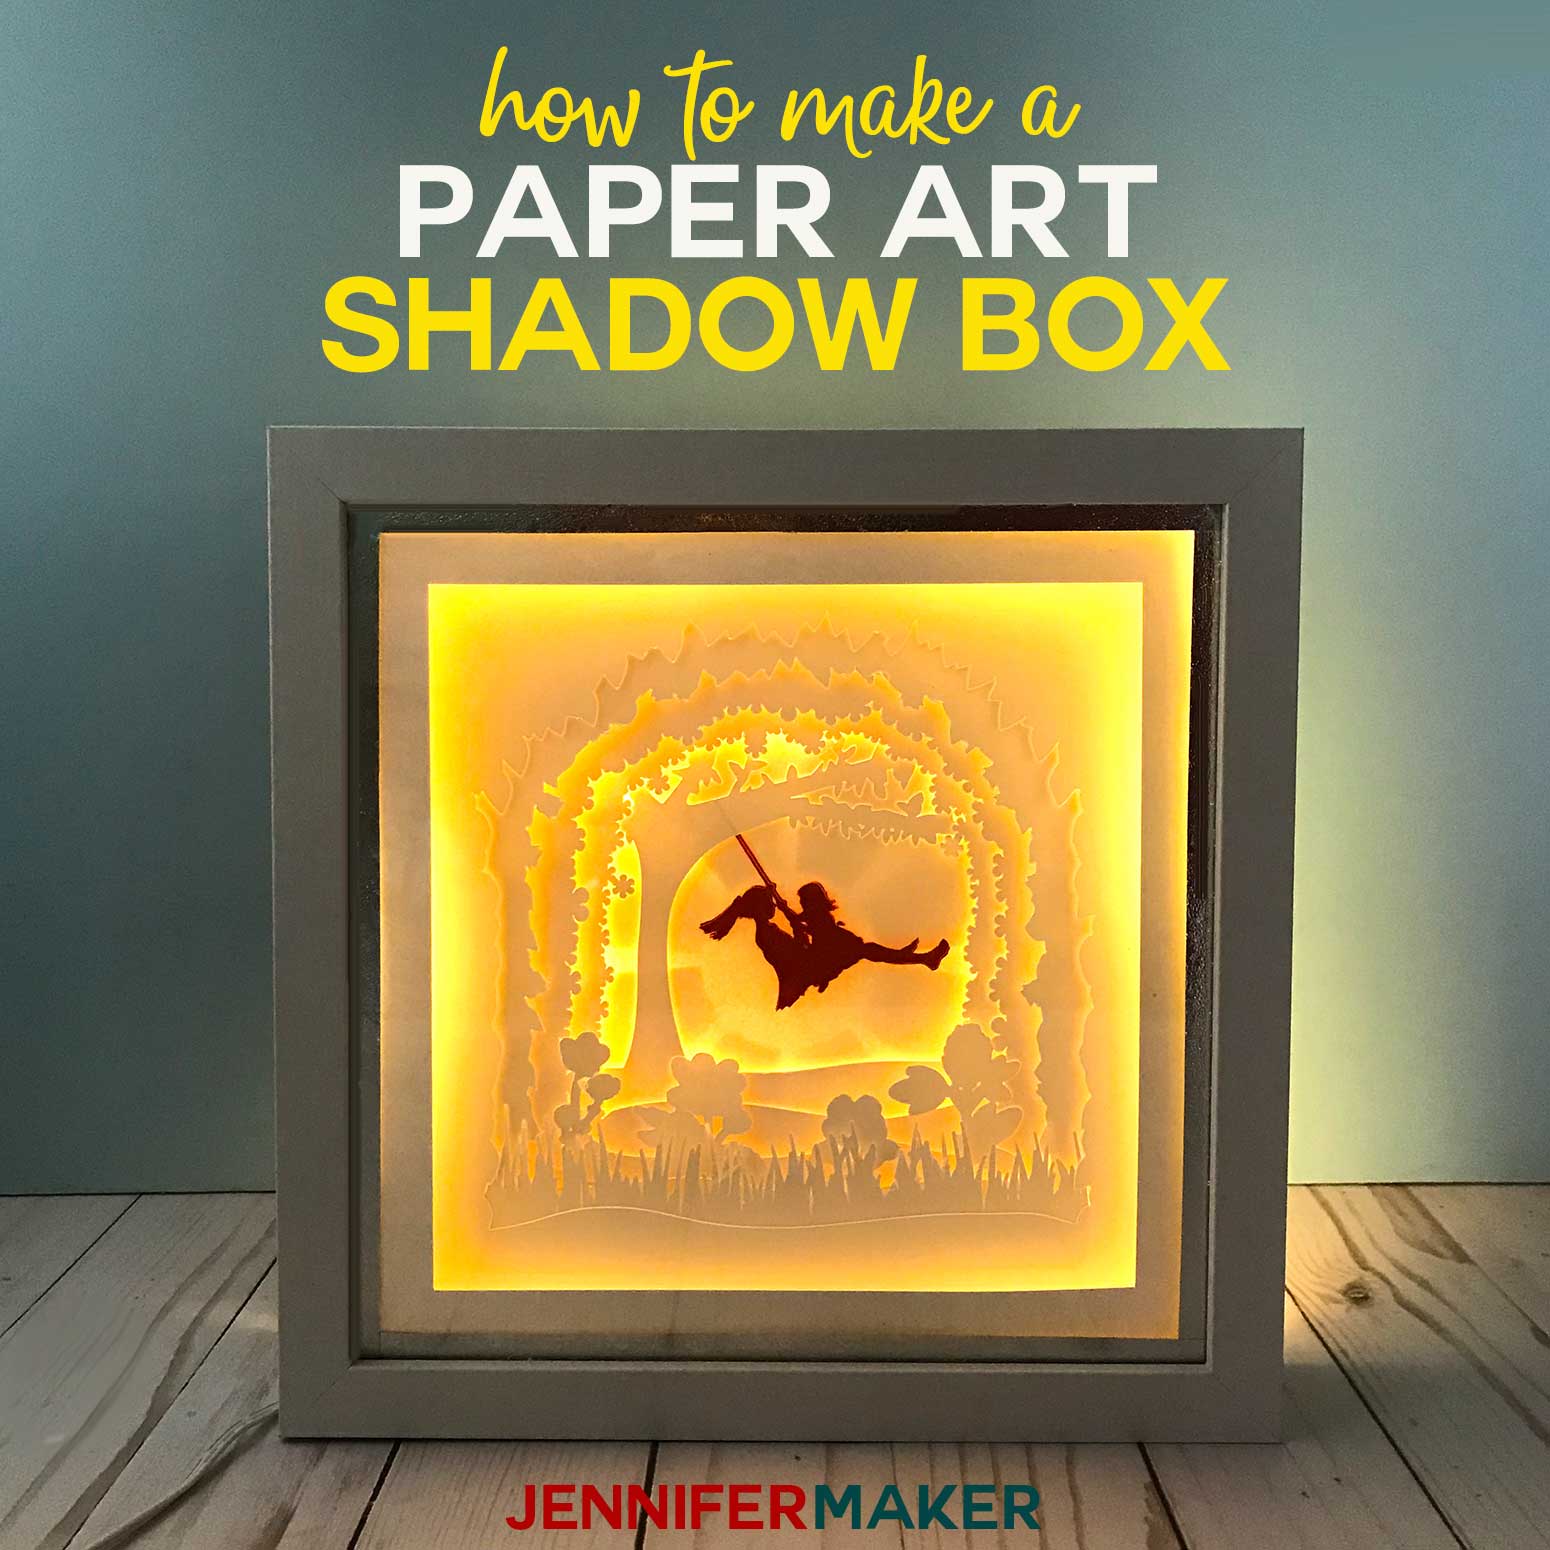
Step-by-Step Guide to Creating a 3D Shadow Box
1. Print and Cut Out the Template:

2. Assemble the Base:

3. Add Layers:
4. Insert Foam Board:
5. Secure the Layers:
6. Frame Your Masterpiece:
Creative Tips and Tricks
Troubleshooting Common Issues
Conclusion
Creating 3D shadow boxes with free templates is an accessible and rewarding craft that allows you to express your creativity and add a touch of intrigue to your home décor. By following the steps outlined in this guide and embracing the tips and tricks provided, you can create stunning shadow art that will captivate your audience. So, gather your materials, choose your template, and embark on the journey of creating your own 3D shadow box masterpieces.
FAQs
Q: What is the best type of cardstock to use for 3D shadow boxes?
A: Opt for sturdy cardstock with a weight of at least 110 lb. to prevent warping and ensure durability.
Q: How do I prevent the layers from sagging?
A: Add additional layers of foam board between the layers or use a stronger adhesive like tacky glue or craft glue.
Q: Can I use other materials besides cardstock?
A: Yes, you can incorporate materials like fabric, lace, or glitter to add texture and depth to your designs.
Q: How do I frame my shadow box?
A: Choose a shadow box frame that complements your design and secure the completed shadow box inside the frame.