


Paper Art Shadow Box: A Guide to Creating Stunning 3D Paper Sculptures
Introduction
Paper art shadow boxes are enchanting three-dimensional creations that combine the beauty of paper with the captivating effect of shadows. These captivating artworks allow you to express your creativity while bringing depth and intrigue to your living spaces. This comprehensive guide will delve into the fascinating world of paper art shadow boxes, providing you with everything you need to know to embark on this rewarding artistic journey.


Table of Content
- 1 Paper Art Shadow Box: A Guide to Creating Stunning 3D Paper Sculptures
- 1.1 Introduction
- 1.2 Materials and Tools
- 1.3 Materials and Tools
- 1.4 Techniques for Creating Paper Art Shadow Boxes
- 1.4.1 1. Design and Planning
- 1.4.2 2. Cutting and Shaping
- 1.4.3 3. Assembly and Layering
- 1.4.4 4. Shadow Effects
- 1.4.5 5. Finishing Touches
- 1.5 Inspiration and Ideas
- 1.6 Tips for Success
- 1.7 Conclusion
- 1.8 FAQs
Materials and Tools
- Acid-free paper (e.g., cardstock, watercolor paper)
- Scissors
- Craft knife
- Ruler or measuring tape
- Glue (e.g., white glue, acid-free adhesive)
- Shadow box frame

Optional Tools:

- Paper Cut Shadow Box Paper Cut Shadow Box: A Guide To Creating Stunning Papercraft Masterpieces
- 3d Shadow Box Templates 3D Shadow Box Templates: A Comprehensive Guide To Enhancing Your Creative Projects
- Layered Paper Cut Light Box Template Free Download Layered Paper Cut Light Box Template: A Comprehensive Guide With Free Download
- Free Shadow Box Svg File Free Shadow Box SVG File: Elevate Your Papercrafting Projects
- Free Shadow Box Card Paper Light Box Template Free Shadow Box Card Paper Light Box Template: A Comprehensive Guide
- Acid-free paper (e.g., cardstock, watercolor paper)
- Scissors
- Embossing tools
- Punches
- Quilling tools
- Die-cutting machine
- Sketch out your design and determine the dimensions of your shadow box.
- Consider the depth and layering of your artwork.
- Choose a color palette that complements your décor.
- Use scissors or a craft knife to cut out the shapes from your chosen paper.
- Create intricate details using embossing tools or punches.
- For more delicate elements, consider using a die-cutting machine.
- Start by gluing the background layer to the back of the shadow box.
- Layer your cut-out shapes on top, creating depth and dimension.
- Use foam core or thin cardboard to create spacers to add height to certain elements.
- The key to creating striking shadows is to position your layers carefully.
- Allow some light to pass through the layers to create subtle shadows.
- Consider using different paper thicknesses and textures to enhance the shadow effects.
- Add embellishments such as beads, glitter, or sequins to enhance your artwork.
- Frame your shadow box using acid-free materials to protect it from damage.
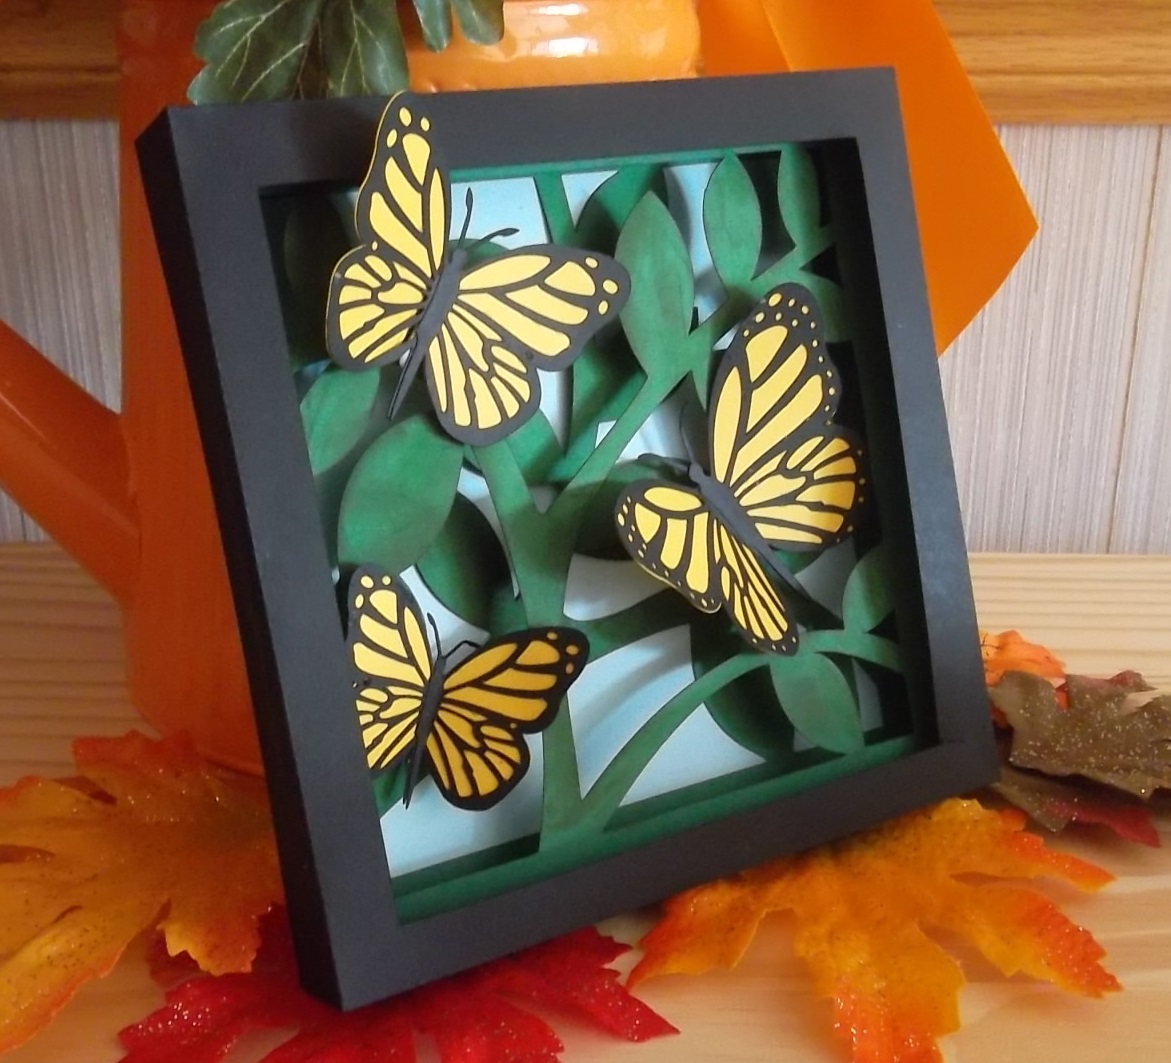
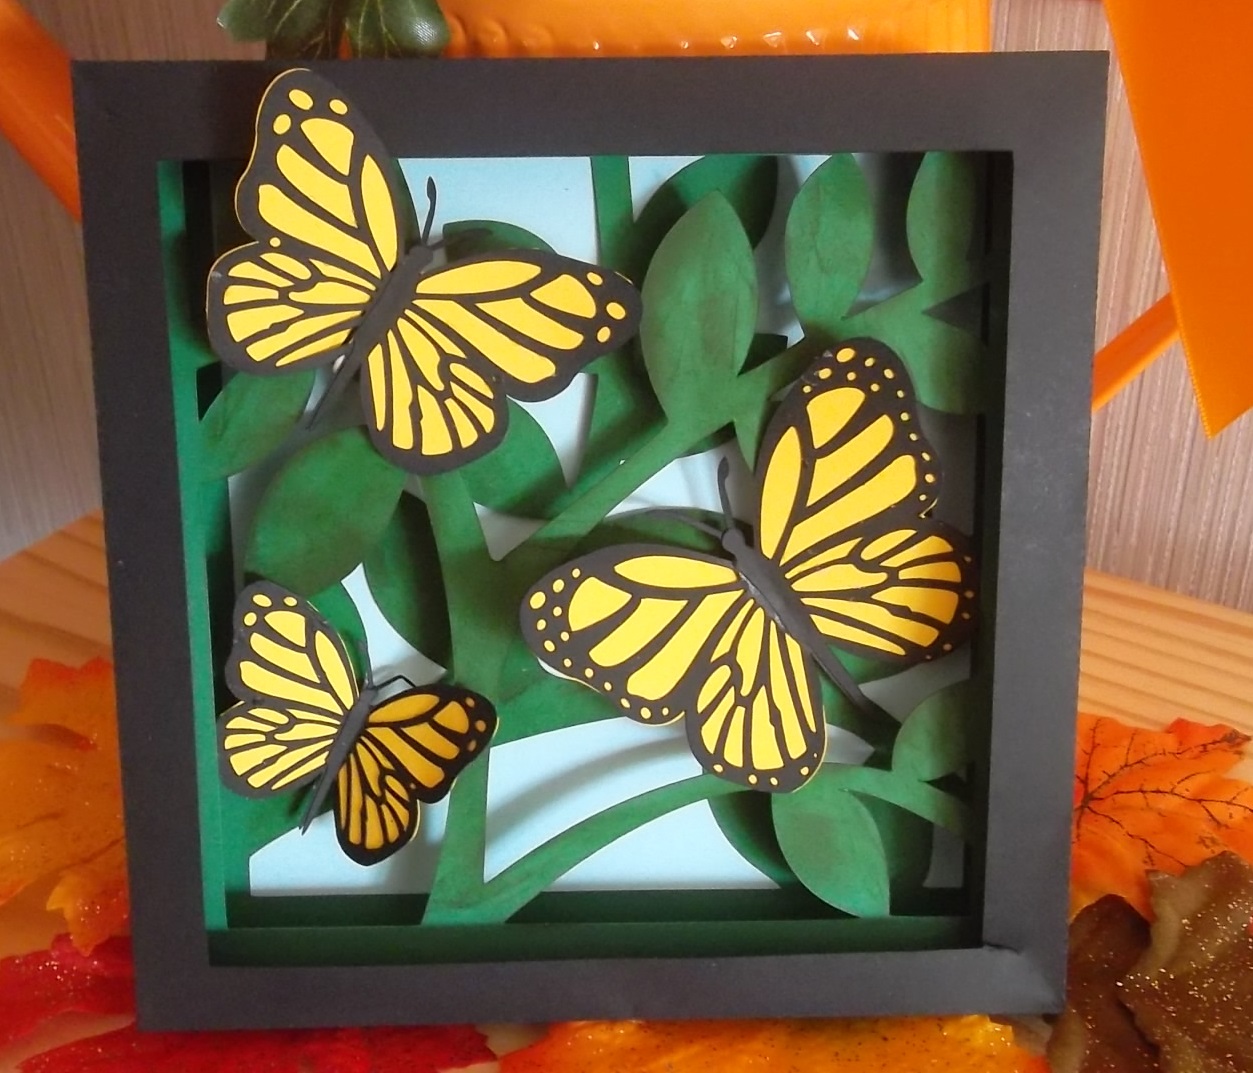
- Nature Scenes: Create a tranquil forest scene with layered trees and intricate leaves.
- Cityscapes: Capture the bustle of a cityscape with buildings, vehicles, and people.
- Abstract Designs: Experiment with geometric shapes, patterns, and colors to create a unique and eye-catching piece.
- Portraits: Use a combination of paper and other materials (e.g., fabric, yarn) to create a captivating portrait.
- Seasonal Themes: Celebrate the changing seasons by creating shadow boxes with autumn leaves, winter snowmen, or spring flowers.
- Use high-quality paper that will not warp or fade over time.
- Pay attention to the direction of the light source to create the desired shadows.
- Experiment with different textures and thicknesses of paper to add depth and interest.
- Don’t be afraid to make mistakes. Paper art is a forgiving medium that allows for experimentation.
- Frame your shadow box properly to protect it from dust and damage.
Paper art shadow boxes are enchanting three-dimensional creations that combine the beauty of paper with the captivating effect of shadows. These captivating artworks allow you to express your creativity while bringing depth and intrigue to your living spaces. This comprehensive guide will delve into the fascinating world of paper art shadow boxes, providing you with everything you need to know to embark on this rewarding artistic journey.
Materials and Tools
Essential Materials:


Techniques for Creating Paper Art Shadow Boxes

1. Design and Planning

2. Cutting and Shaping
3. Assembly and Layering
4. Shadow Effects
5. Finishing Touches
Inspiration and Ideas
The possibilities for paper art shadow boxes are limitless. Here are some inspiring ideas:
Tips for Success
Conclusion
Creating paper art shadow boxes is a rewarding and enjoyable craft that allows you to express your creativity and add a touch of elegance to your home décor. By following the techniques and tips outlined in this guide, you can create stunning three-dimensional masterpieces that will delight you and your loved ones for years to come.
FAQs
Q: What is the best type of paper to use for shadow boxes?
A: Acid-free paper, such as cardstock or watercolor paper, is recommended for longevity.
Q: How do I create realistic shadows?
A: Position your layers carefully and allow light to pass through to create subtle shadows. Use different paper thicknesses and textures to enhance the effect.
Q: Can I use other materials in my shadow boxes?
A: Yes, you can incorporate fabric, yarn, beads, and other embellishments to add depth and interest.
Q: How do I protect my shadow boxes from damage?
A: Frame your shadow boxes using acid-free materials and display them away from direct sunlight and moisture.
Q: Where can I find inspiration for my shadow box designs?
A: Nature, cityscapes, abstract art, portraits, and seasonal themes are all great sources of inspiration.


