


3D Paper Shadow Box: A Step-by-Step Guide to Creating Stunning Paper Art
Introduction
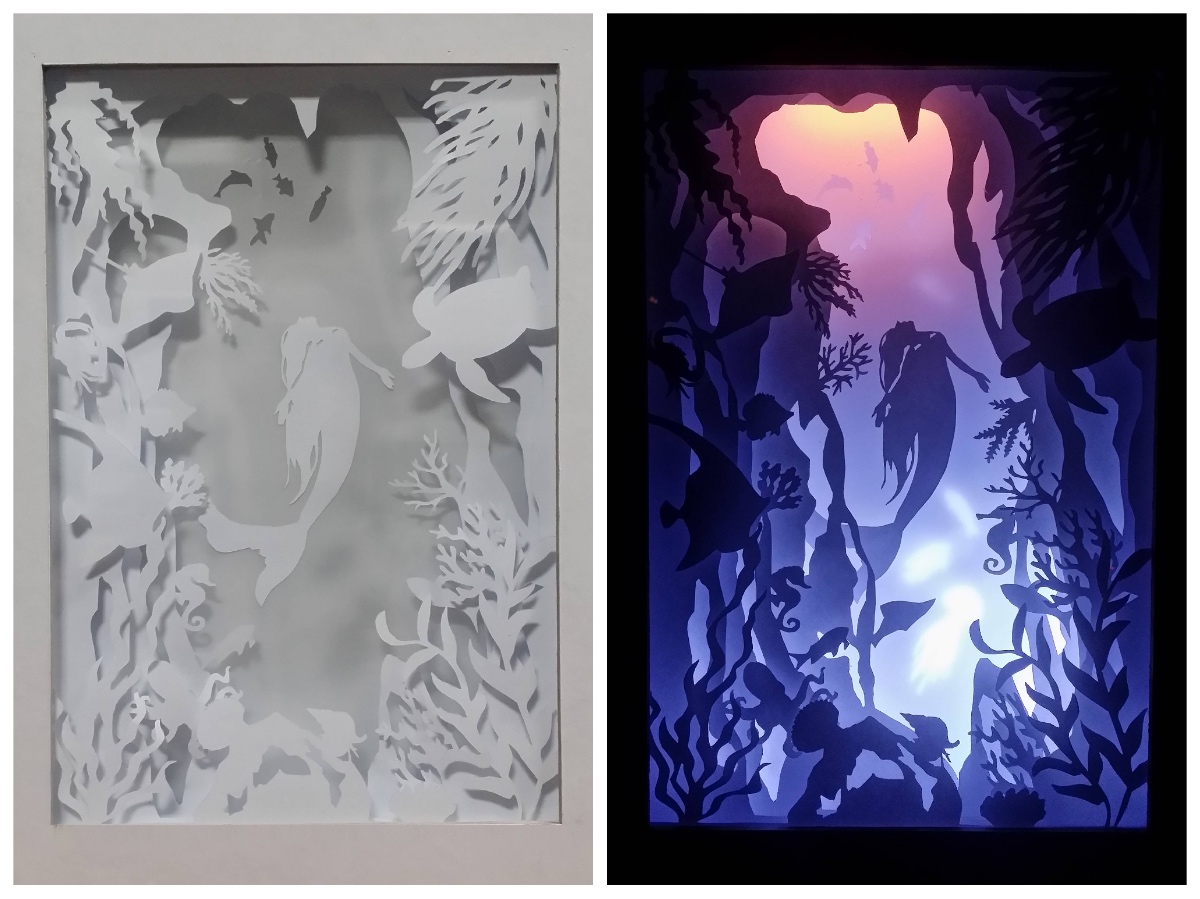
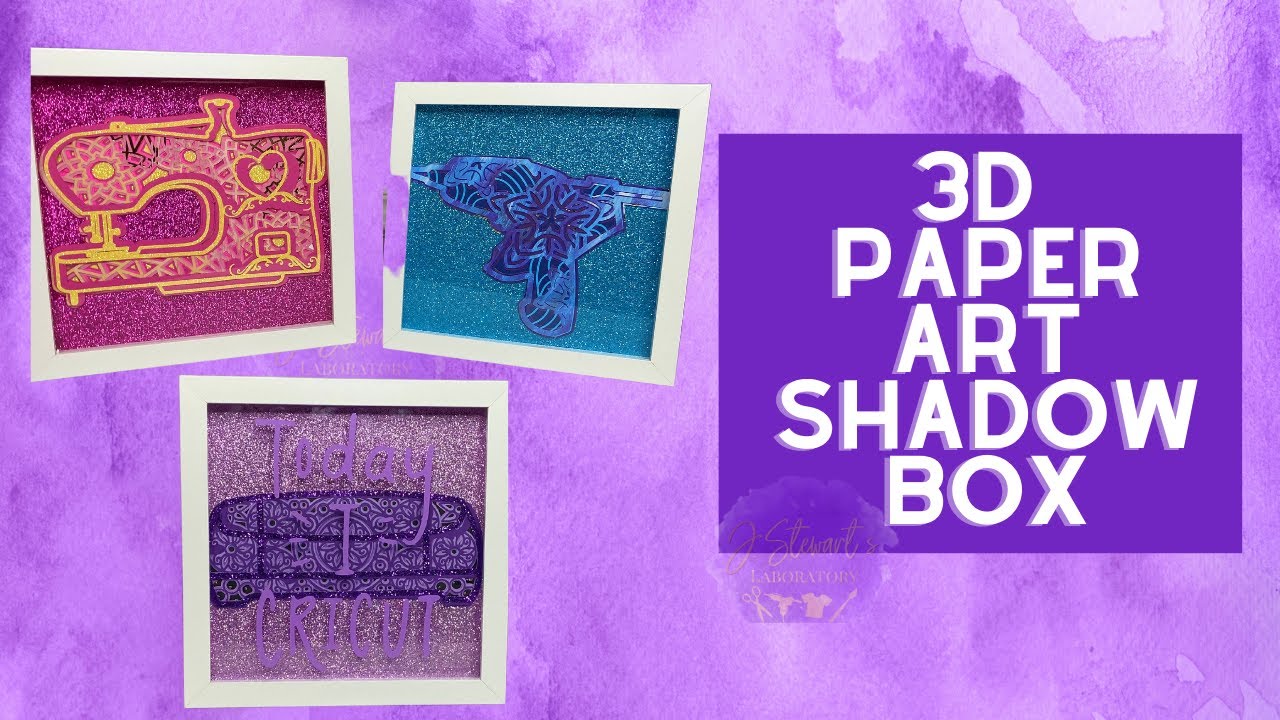
A 3D paper shadow box is a captivating form of paper art that combines depth and dimension to create visually striking scenes. Whether you’re a seasoned artist or a beginner looking for a creative challenge, this guide will provide you with everything you need to know to craft your own enchanting paper shadow box.


Table of Content
Materials and Tools
- Cardstock or thick paper in various colors
- Foam core board
- X-Acto knife or craft knife
- Scissors
- Ruler or measuring tape
- Pencil or pen
- Glue or adhesive


Tools:
A 3D paper shadow box is a captivating form of paper art that combines depth and dimension to create visually striking scenes. Whether you’re a seasoned artist or a beginner looking for a creative challenge, this guide will provide you with everything you need to know to craft your own enchanting paper shadow box.
- Printable Shadow Box Template Printable Shadow Box Template: A Comprehensive Guide To Creating Unique And Memorable Displays
- Shadow Box Patterns Free Shadow Box Patterns Free: A Comprehensive Guide To Create Stunning 3D Art
- Free Shadow Box Svg File Free Shadow Box SVG File: Elevate Your Papercrafting Projects
- Free Shadow Box Svg Files Free Shadow Box SVG Files: A Comprehensive Guide
- Free Shadow Box Svg Free Shadow Box SVG: Elevate Your Papercrafting With Stunning 3D Designs
Materials and Tools
Materials:
- Cardstock or thick paper in various colors
- Foam core board
- Cutting mat
- T-ruler or metal ruler
- Bone folder or scoring tool
- Tweezers or needle-nose pliers (optional)
- Sketch out your desired scene on a piece of paper. Consider the depth and perspective you want to achieve.
- Transfer the sketch to the cardstock and cut out the individual layers using an X-Acto knife or scissors.
- Cut a piece of foam core board to the desired size of the shadow box.
- Cover the foam core board with cardstock or paper in a complementary color. This will serve as the background.
- Determine the depth of each layer by measuring the distance between the background and the frontmost layer.
- Glue or adhere the layers onto the background, starting with the furthest layer and working your way forward.
- Use foam core strips or spacers to create depth and dimension between the layers.
- Cut out additional pieces of cardstock to create shadows, highlights, and other details.
- Glue these pieces onto the layers to enhance the illusion of depth.
- Use a bone folder or scoring tool to create creases and folds for added texture and realism.
- Cut a piece of glass or acrylic to the size of the shadow box opening.
- Secure the glass or acrylic to the shadow box using frame clamps or adhesive.
- Frame the shadow box with a suitable frame to complete the presentation.
- Use a variety of paper weights and textures to create visual interest.
- Experiment with different depths and angles to achieve the desired perspective.
- Use tweezers or needle-nose pliers to manipulate small pieces and create intricate details.
- Layer tissue paper or vellum to create a soft, diffused light effect.
- Add LED lights to illuminate the shadow box and enhance its visual appeal.


Step-by-Step Instructions
1. Design and Sketch

2. Create the Background

3. Assemble the Layers
4. Add Details and Shadows
5. Frame the Shadow Box
Tips and Tricks
Conclusion
Creating a 3D paper shadow box is a rewarding experience that allows you to express your creativity and bring your artistic visions to life. By following these step-by-step instructions and experimenting with different techniques, you can craft stunning paper shadow boxes that will captivate and inspire.
FAQs
Q: What is the best type of paper to use for a 3D paper shadow box?
A: Cardstock or thick paper with a smooth surface is ideal for creating clean cuts and vibrant colors.
Q: How can I create the illusion of depth in my shadow box?
A: Use layers of different depths, add foam core spacers, and create shadows and highlights to enhance the perception of depth.
Q: Can I use other materials besides paper in my shadow box?
A: Yes, you can incorporate fabric, wood, metal, or other materials to add texture and interest to your design.
Q: How can I display my 3D paper shadow box?
A: Frame the shadow box and hang it on a wall, place it on a shelf or mantle, or use it as a decorative centerpiece.
Q: Can I sell my 3D paper shadow boxes?
A: Yes, you can sell your creations online or through local craft fairs and art galleries.


