


Cricut Shadow Box SVG: A Comprehensive Guide for Creating Stunning 3D Paper Art
Introduction
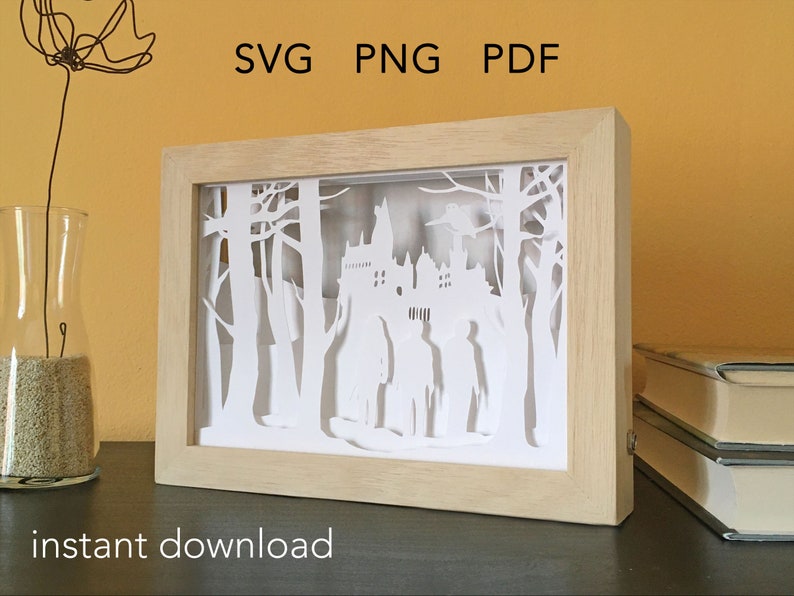
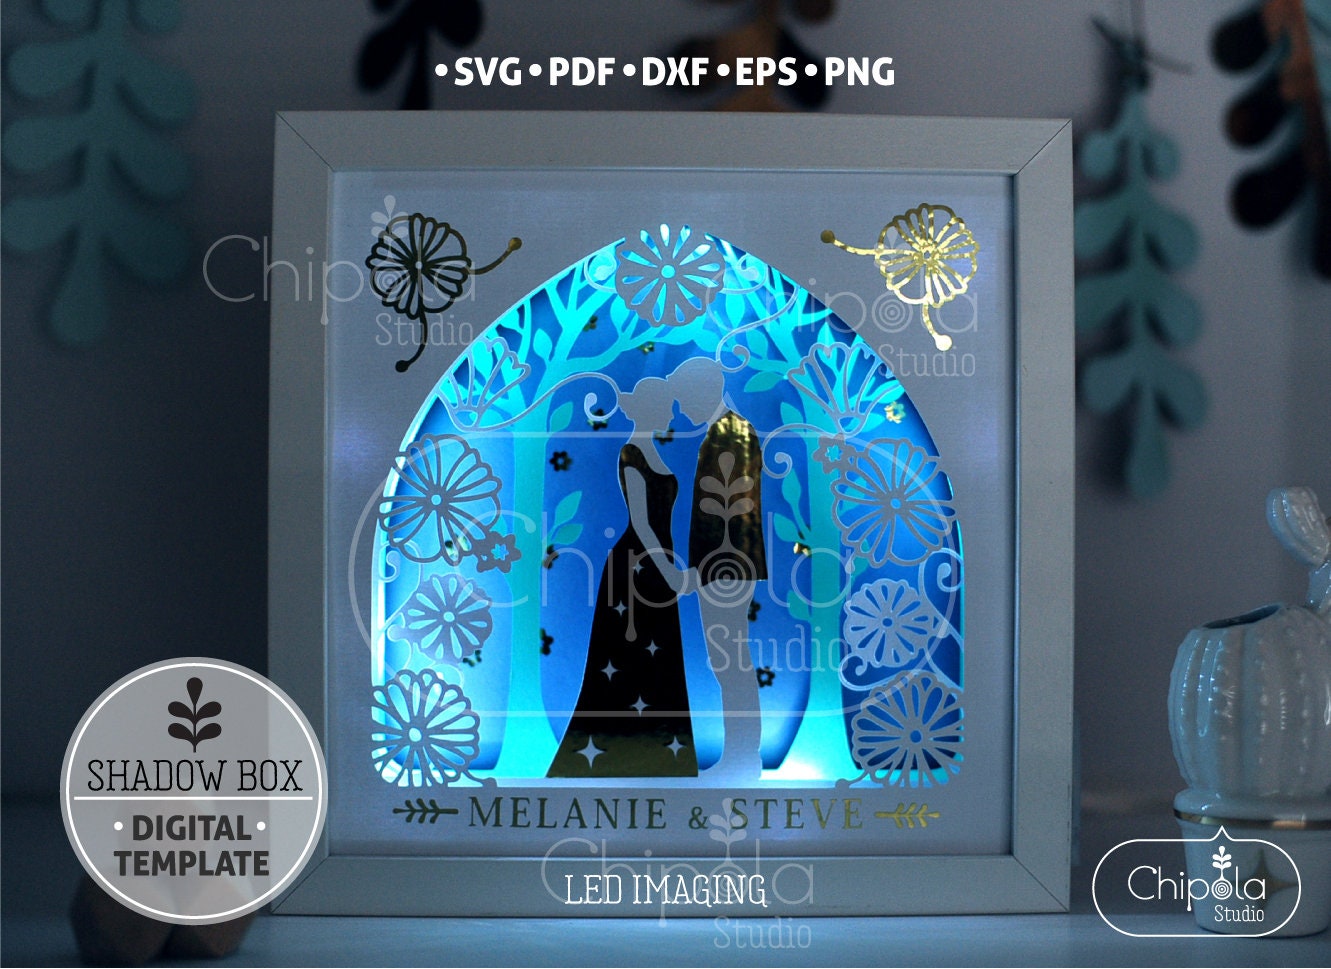
Cricut shadow boxes are captivating paper crafts that combine intricate cutouts with layered shadow effects to create a stunning visual dimension. Using a Cricut cutting machine and SVG (Scalable Vector Graphics) files, you can effortlessly design and assemble these captivating pieces that elevate any décor. This comprehensive guide will delve into the world of Cricut shadow boxes, empowering you to create captivating works of art.


Table of Content
- 1 Cricut Shadow Box SVG: A Comprehensive Guide for Creating Stunning 3D Paper Art
- 1.1 Introduction
- 1.2 Understanding Cricut Shadow Boxes
- 1.3 Selecting the Right Cricut Machine and SVG Files
- 1.4 Understanding Cricut Shadow Boxes
- 1.5 Selecting the Right Cricut Machine and SVG Files
- 1.6 Step-by-Step Guide to Creating a Cricut Shadow Box
- 1.7 Tips for Enhancing Your Cricut Shadow Boxes
- 1.8 Conclusion
- 1.9 Frequently Asked Questions (FAQs)
Understanding Cricut Shadow Boxes
Selecting the Right Cricut Machine and SVG Files
Cricut Machines:
- Cricut Explore Air 2: Ideal for beginners and hobbyists, with a cutting capacity of 6.75 inches wide.
- Cricut Maker: Advanced machine with a wider cutting capacity (12 inches) and the ability to cut thicker materials.
- Cricut Joy: Compact and portable, suitable for smaller projects.

SVG Files:
- Search for "Cricut shadow box SVG" on online marketplaces like Etsy, Design Bundles, and Creative Fabrica.
- Shadow Box Svg Cutting Files Free Shadow Box SVG Cutting Files: A Comprehensive Guide For Designers And Crafters
- Free Svg Shadow Box Template Free SVG Shadow Box Template: A Comprehensive Guide For Enhancing Your Craft Projects
- Free Shadow Box Template Free Shadow Box Template: A Comprehensive Guide To Creating Stunning Displays
- Diy Papercut Light Box DIY Papercut Light Box: A Step-by-Step Guide To Illuminate Your Artwork
- Free Shadow Box Svg File Christmas Free Shadow Box SVG File Christmas: Create Festive Decorations With Ease
- Choose SVG files that are compatible with your Cricut machine’s design space software.
- Cricut cutting machine
- SVG file
- Cardstock or paper in various colors
- Shadow box frame
- Glue or adhesive
- Import SVG File: Import the SVG file into Cricut Design Space.
- Adjust Size and Cut: Resize the design to fit your shadow box frame. Click "Make It" and select the appropriate material settings for your cardstock.
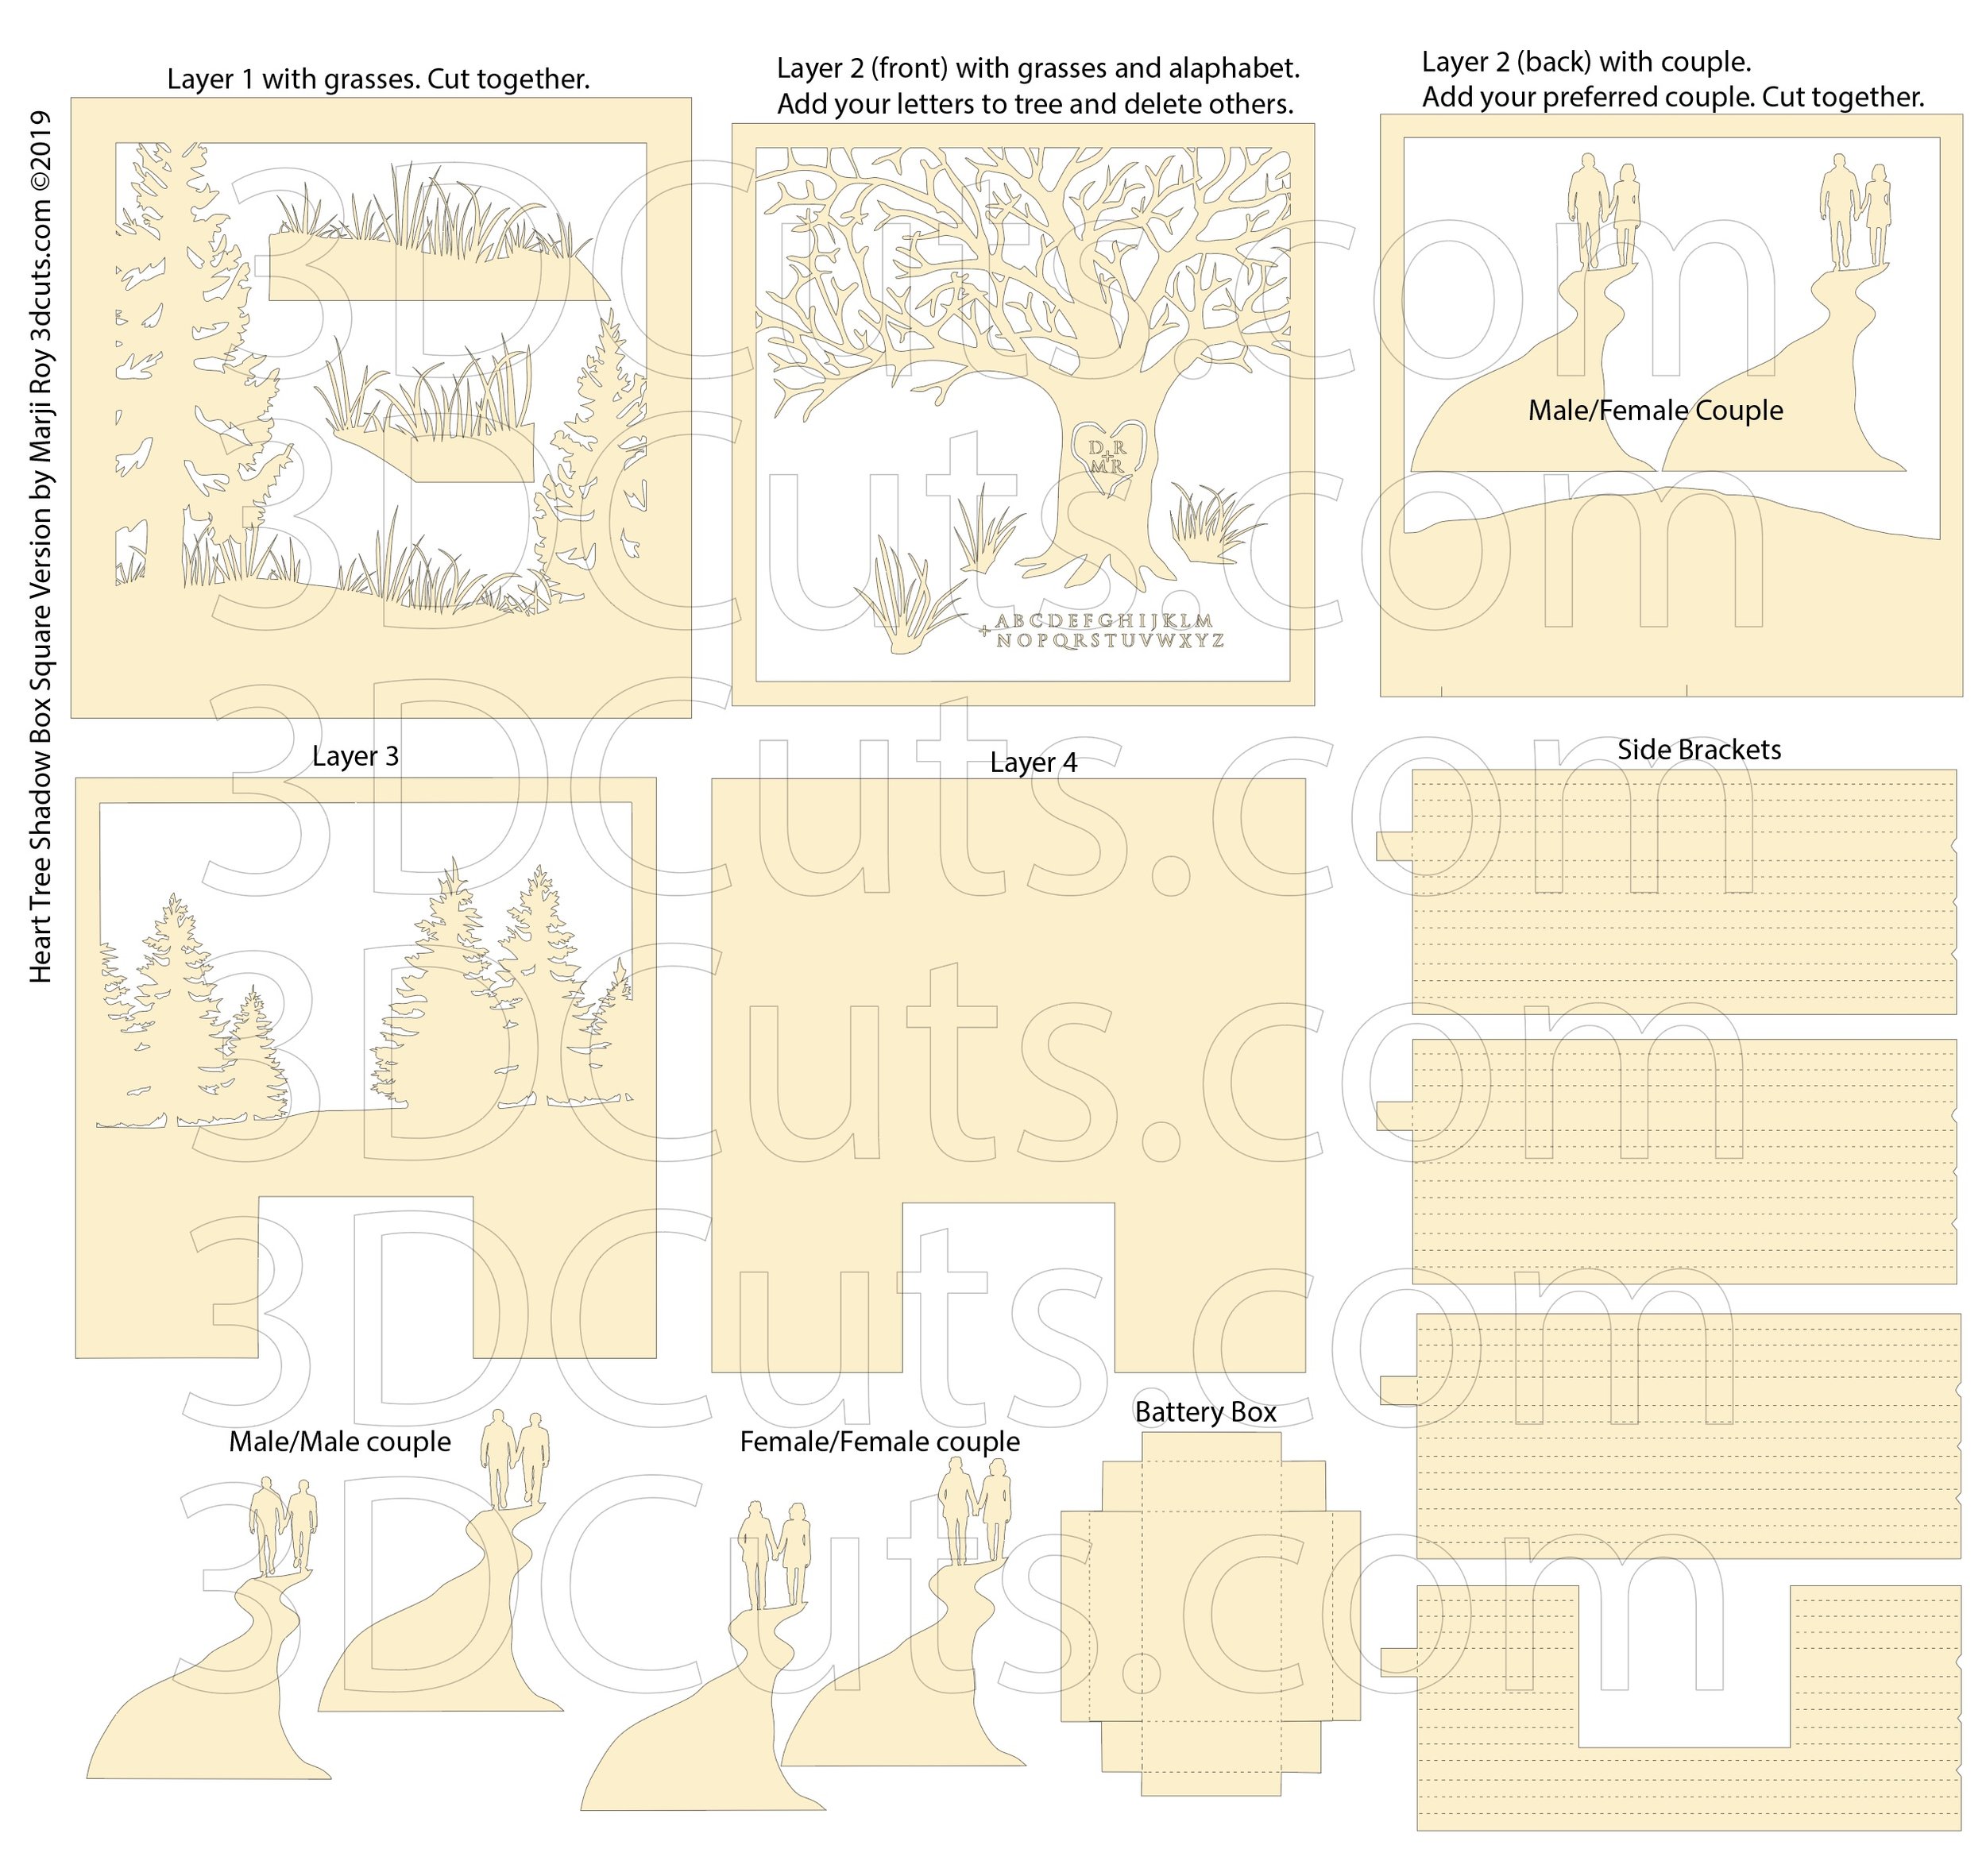
- Cut Layers: Cut out each layer of the design using different colors of cardstock. Use a brayer to ensure the material is properly adhered to the cutting mat.
- Assemble Layers: Layer the cutouts starting from the bottom layer. Use glue or adhesive to secure the layers together.
- Create Shadows: Adjust the spacing between the layers to create shadows. Use small pieces of cardstock or foam core to create additional depth.
- Insert into Frame: Carefully insert the assembled shadow box into the frame and secure it with the backing.
- Use Different Colors and Textures: Experiment with various colors and textures of cardstock to create visual interest and depth.
- Add Embellishments: Enhance your shadow boxes with beads, sequins, or other embellishments to add a touch of glamour.
- Create Custom Designs: Design your own SVG files using software like Inkscape or Adobe Illustrator to create unique and personalized shadow boxes.
- Experiment with Lighting: Place your shadow box in a well-lit area to accentuate the shadows and create a dramatic effect.
Cricut shadow boxes are captivating paper crafts that combine intricate cutouts with layered shadow effects to create a stunning visual dimension. Using a Cricut cutting machine and SVG (Scalable Vector Graphics) files, you can effortlessly design and assemble these captivating pieces that elevate any décor. This comprehensive guide will delve into the world of Cricut shadow boxes, empowering you to create captivating works of art.
Understanding Cricut Shadow Boxes
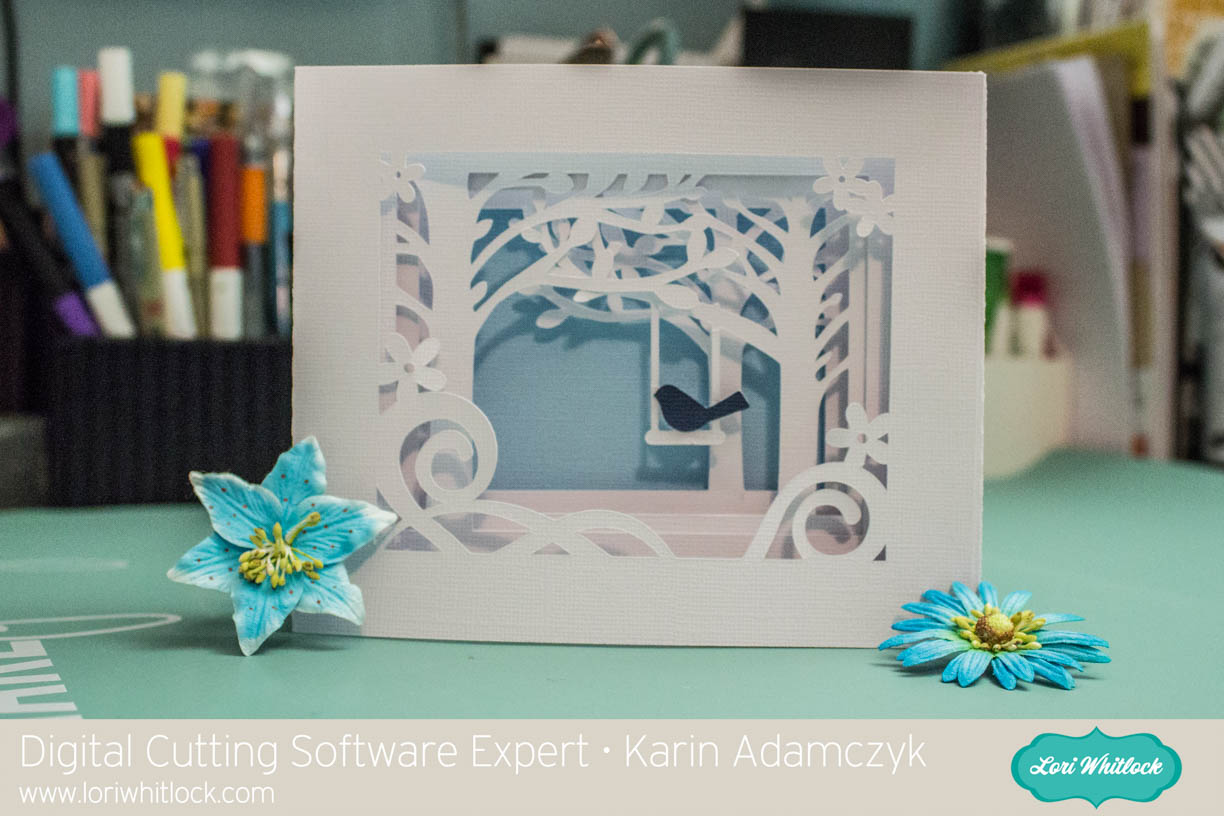
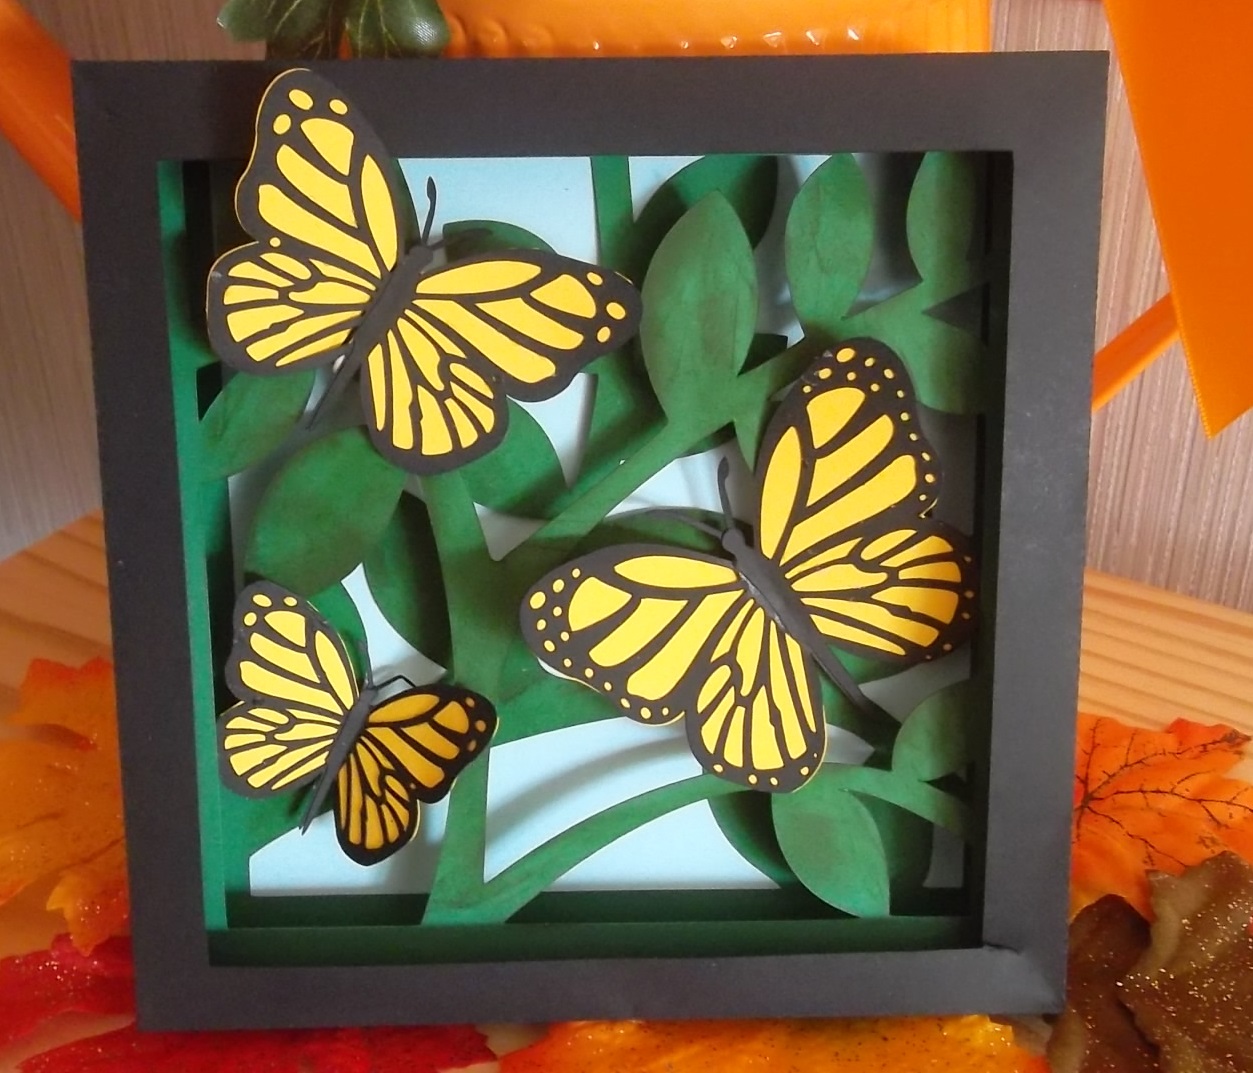
A Cricut shadow box consists of several layers of paper or cardstock stacked together to create a layered effect. The top layer features intricate cutouts that reveal the underlying layers, casting shadows that add depth and dimension. Shadow boxes can be used to display photos, artwork, or any other decorative elements, adding a touch of sophistication to any space.
Selecting the Right Cricut Machine and SVG Files
Cricut Machines:
Step-by-Step Guide to Creating a Cricut Shadow Box
Materials:

Instructions:
Tips for Enhancing Your Cricut Shadow Boxes
Conclusion
Cricut shadow boxes offer an exciting way to elevate your paper crafts and create stunning 3D artwork. By following the steps outlined in this guide and utilizing the right materials and techniques, you can design and assemble captivating shadow boxes that will add a touch of sophistication to your décor. Experiment with different designs, colors, and embellishments to unleash your creativity and create unique and memorable pieces.
Frequently Asked Questions (FAQs)
Q: What is the difference between a shadow box and a regular photo frame?
A: A shadow box has a deeper frame that allows for the layering of materials to create a three-dimensional effect.
Q: Can I use any paper for Cricut shadow boxes?
A: While cardstock is the most common material, you can also use thin cardboard, vellum, or even fabric for a unique texture.
Q: How do I attach the layers of my shadow box together?
A: Use glue or adhesive to secure the layers together. For added depth, use small pieces of foam core or cardstock between the layers.
Q: How do I prevent my shadow box from warping?
A: Use high-quality cardstock that is not prone to warping. Consider using a backing board to provide additional support.
Q: Where can I find inspiration for Cricut shadow box designs?
A: Browse online marketplaces like Etsy, Pinterest, and YouTube for a wide range of shadow box ideas and inspiration.


