


How to Make a Shadow Box Cricut: A Comprehensive Guide
Introduction
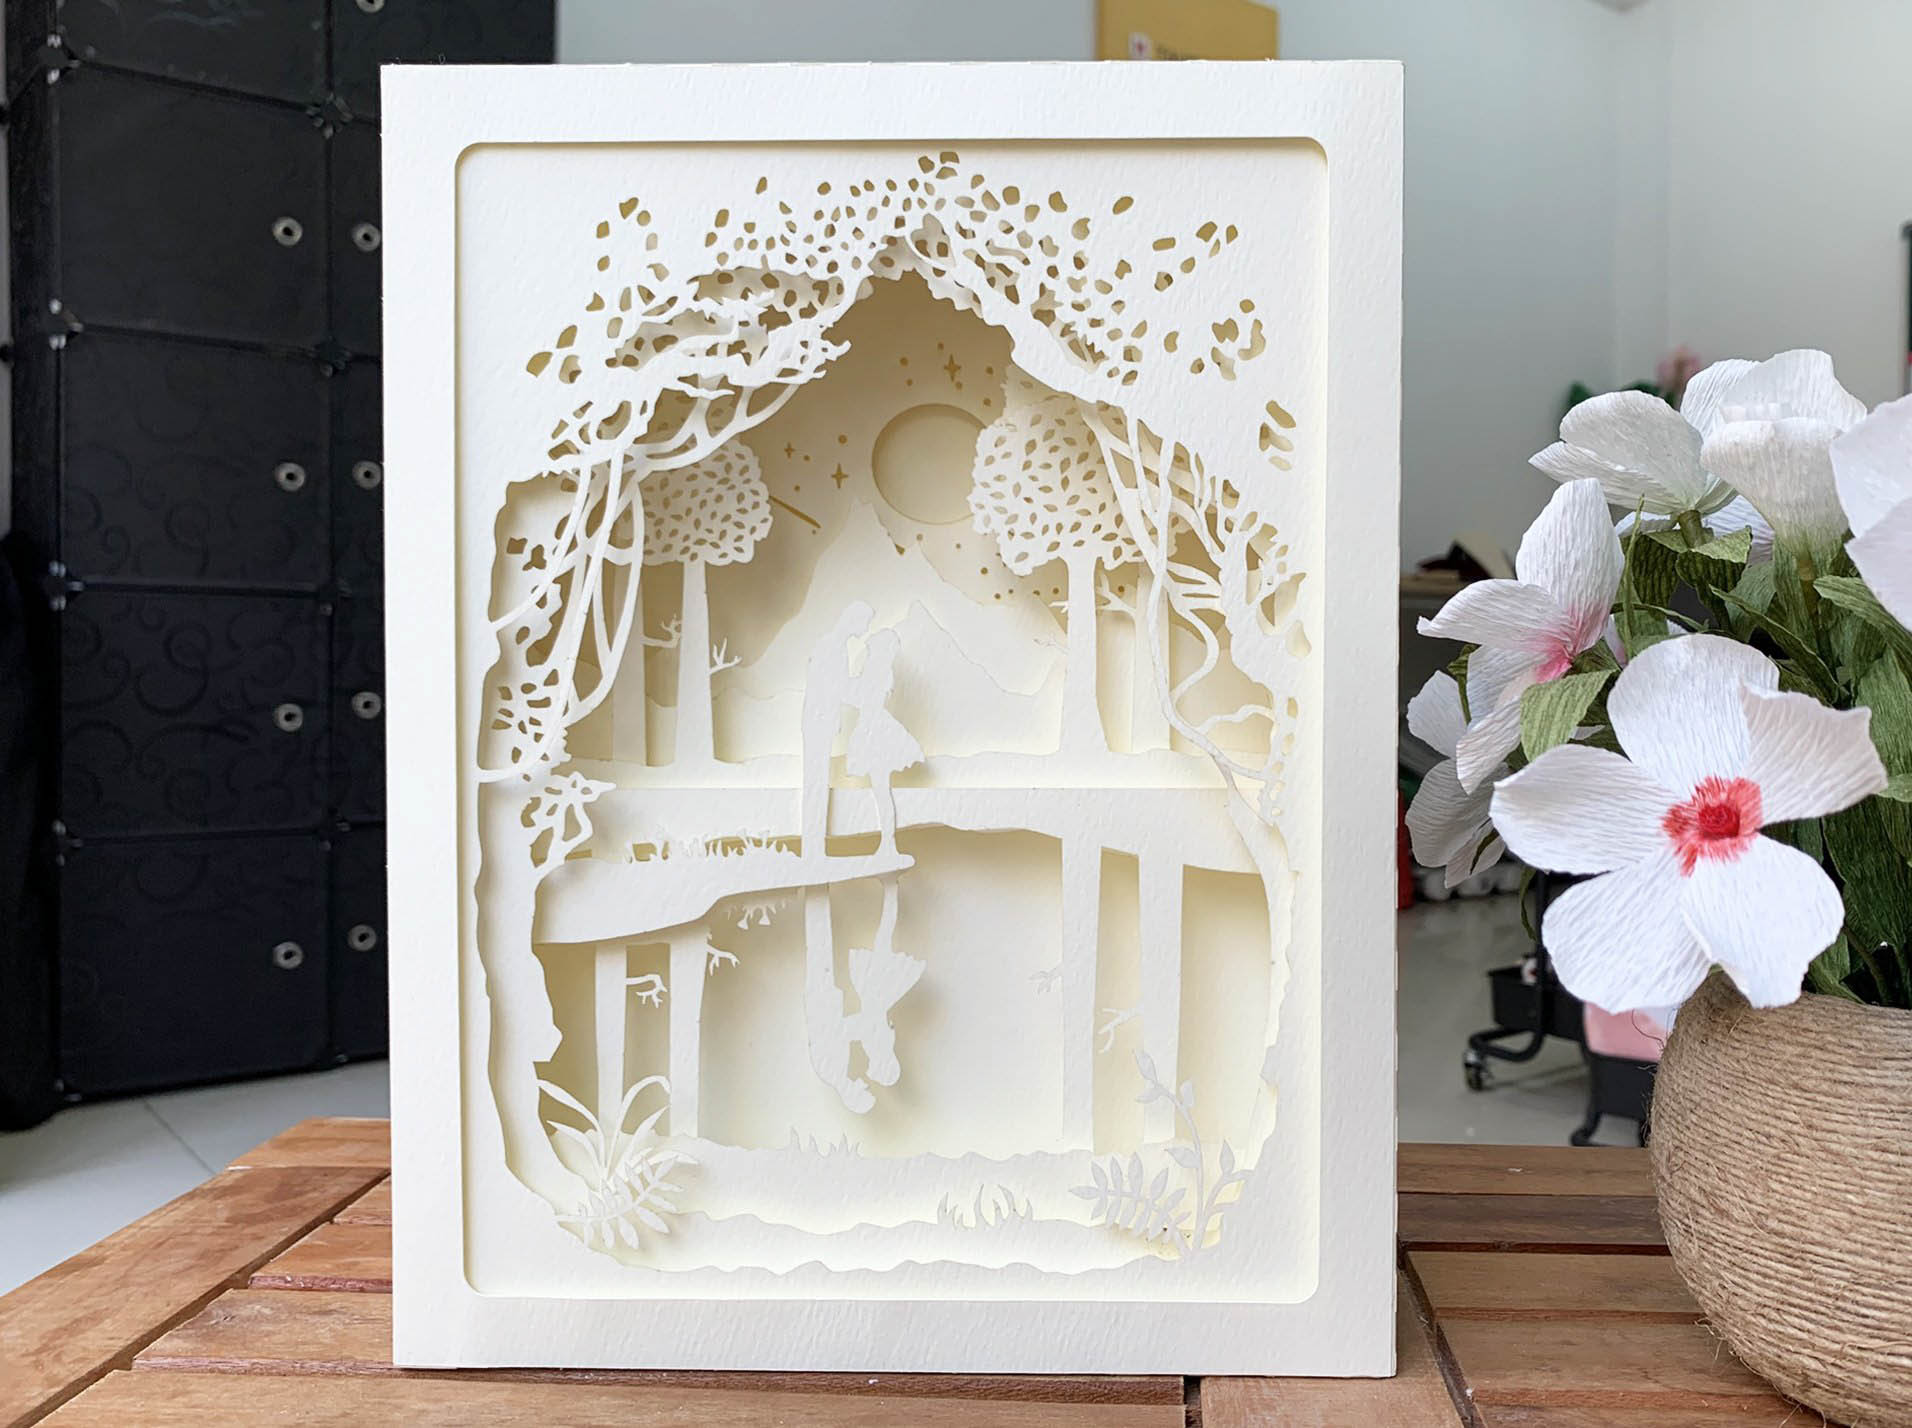
Shadow boxes are a versatile and creative way to display cherished memories, artwork, or other meaningful objects. With the Cricut cutting machine, you can easily create your own custom shadow boxes, adding a personal touch to your home decor. This comprehensive guide will walk you through every step of the process, from gathering materials to finishing touches.


Table of Content
- 1 How to Make a Shadow Box Cricut: A Comprehensive Guide
- 1.1 Introduction
- 1.2 Materials You’ll Need
- 1.3 Step 1: Design Your Shadow Box
- 1.4 Materials You’ll Need
- 1.5 Step 2: Cut Your Materials
- 1.6 Step 3: Assemble the Shadow Box
- 1.7 Step 4: Add Embellishments
- 1.8 Step 5: Insert Your Display Items
- 1.9 Step 6: Finishing Touches
- 1.10 Conclusion
- 1.11 Frequently Asked Questions
Materials You’ll Need
Step 1: Design Your Shadow Box

H2: Using Cricut Design Space
Shadow boxes are a versatile and creative way to display cherished memories, artwork, or other meaningful objects. With the Cricut cutting machine, you can easily create your own custom shadow boxes, adding a personal touch to your home decor. This comprehensive guide will walk you through every step of the process, from gathering materials to finishing touches.
- Free 3d Shadow Box Svg Free 3D Shadow Box SVG: Elevate Your Papercraft Creations
- How To Make A Light Box With Cricut How To Make A Light Box With Cricut: A Comprehensive Guide
- Free Lightbox Svg Free Lightbox SVG: Elevate Your Website’s Visual Appeal
- Shadow Box Svg Files Shadow Box SVG Files: The Ultimate Guide To Creating Stunning Dimensional Art
- Free Christmas Shadow Box Svg Free Christmas Shadow Box SVG: A Festive Way To Decorate Your Home For The Holidays
Materials You’ll Need
- Cricut machine (Maker, Explore, or Joy)
- Cricut Design Space
- Cardstock or other heavy paper
- Open Cricut Design Space and create a new project.
- Search for "Shadow Box" and select a template or design your own.
- Adjust the dimensions and design elements as desired.
- Load the cardstock or heavy paper onto the cutting mat.
- Select the appropriate cutting settings for your material and machine.
- Cut the pieces according to the design.
- Base Layer: Glue the chipboard or foam board to the back of the frame or shadow box.
- Cardstock Layers: Arrange the cut cardstock pieces on top of the base layer and adhere them with glue or tape.
- Depth: If desired, add layers of foam board or cardstock to create depth within the shadow box.
- Use the Cricut machine to cut embellishments such as letters, shapes, or decorative borders.
- Adhere the embellishments to the shadow box using glue or double-sided tape.
- Experiment with different materials and textures to enhance the visual appeal.
- Carefully place your chosen display items into the shadow box.
- Secure them with glue, tape, or other adhesive as needed.
- Consider using acid-free materials to preserve your items over time.
- Frame: If you are not using a shadow box with a built-in frame, you can add one for a more polished look.
- Glass or Acrylic: Cover the front of the shadow box with glass or acrylic to protect the display items from dust and damage.
- Mounting: Hang the shadow box on a wall or display it on a shelf or tabletop.


Step 2: Cut Your Materials

H2: Using Your Cricut Machine

Step 3: Assemble the Shadow Box
H2: Layering and Adhering
Step 4: Add Embellishments
H2: Personalizing Your Creation
Step 5: Insert Your Display Items
H2: Displaying Your Memories
Step 6: Finishing Touches
H2: Enhancing the Presentation
Conclusion
Creating a shadow box Cricut is a fun and rewarding project that allows you to showcase your creativity and preserve your cherished memories. By following these steps and experimenting with different materials and embellishments, you can create unique and personalized shadow boxes that will add a touch of elegance and sentimentality to your home decor.
Frequently Asked Questions
Q: What is the best type of paper to use for a shadow box Cricut?
A: Cardstock or other heavy paper is recommended for its durability and ability to hold embellishments.
Q: Can I use other materials besides chipboard or foam board for the base layer?
A: Yes, you can use MDF, plywood, or even cardboard, depending on the desired thickness and weight of the shadow box.
Q: How do I seal the shadow box to protect the display items?
A: You can use a clear acrylic spray or sealant to protect the paper and embellishments from fading and moisture damage.
Q: Can I make a shadow box Cricut with a Cricut Joy?
A: Yes, the Cricut Joy can be used to cut the cardstock pieces, but you will need to assemble the shadow box manually as the Joy does not have a built-in scoring blade.
Q: Where can I find inspiration for shadow box designs?
A: Pinterest, Etsy, and online craft forums are great sources of inspiration for shadow box designs and ideas.


