Shadow Boxes Cricut: A Comprehensive Guide to Creating Stunning 3D Art
Introduction
Shadow boxes, once reserved for displaying precious keepsakes and heirlooms, have evolved into a versatile and captivating art form thanks to the advent of Cricut machines. With their ability to cut intricate designs from a wide range of materials, Cricuts empower crafters to create mesmerizing shadow boxes that showcase their creativity and preserve memories in a unique and engaging way.
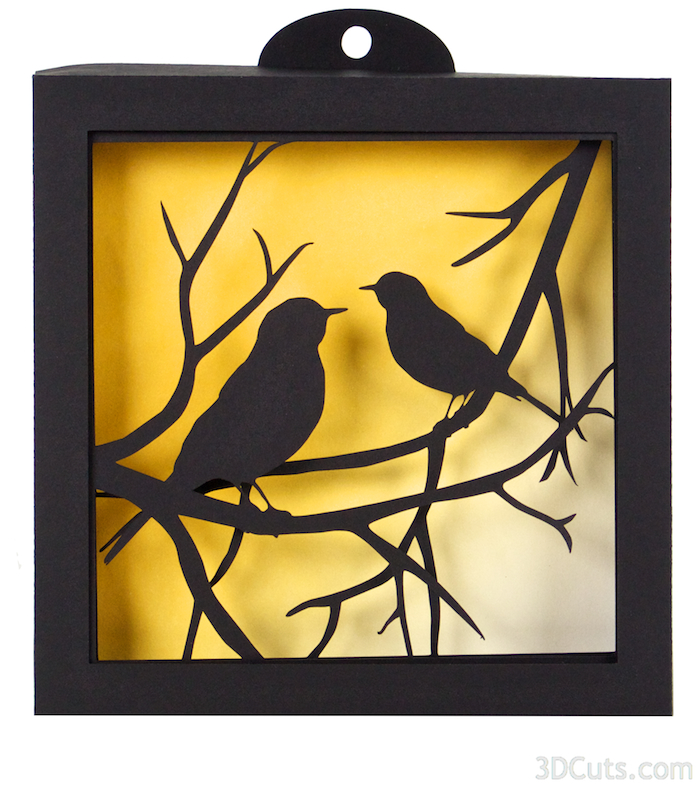

Table of Content
- 1 Shadow Boxes Cricut: A Comprehensive Guide to Creating Stunning 3D Art
- 1.1 Introduction
- 1.2 What is a Cricut Shadow Box?
- 1.3 Materials and Tools
- 1.4 What is a Cricut Shadow Box?
- 1.5 Materials and Tools
- 1.6 Step-by-Step Instructions
- 1.7 Design Ideas and Inspiration
- 1.8 Advanced Techniques
- 1.9 Troubleshooting Tips
- 1.10 Conclusion
- 1.11 FAQs
What is a Cricut Shadow Box?
Materials and Tools
To create a Cricut shadow box, you will need the following materials and tools:
- Cricut machine
- Cutting mat
- Cardstock or other compatible materials
- Adhesive
- Depth spacers
- Backing board
- Front panel material (e.g., glass, acrylic)
- Free Svg Shadow Box Files Free SVG Shadow Box Files: A Comprehensive Guide
- 3d Box Paper 3D Box Paper: The Ultimate Guide To Crafting Three-Dimensional Paper Art
- Layered Paper Cut Light Box Template Free Download Layered Paper Cut Light Box Template: A Comprehensive Guide With Free Download
- Shadow Box Free Svg Shadow Box Free SVG: Crafting Dimensional Masterpieces
- Box Templates Free Download Box Templates: Free Download And Customization
- Optional: Embellishments (e.g., ribbon, beads)
- Use Cricut Design Space software to create your desired design.
- Choose the appropriate material and cutting settings for your Cricut machine.
- Cut out the design from your chosen material.
- Adhere the depth spacers to the backing board.
- Align the front panel material over the depth spacers.
- Secure the front panel to the backing board with adhesive.
- Place your cut-out design between the front panel and the backing board.
- Use adhesive to secure the design in place.
- Add embellishments as desired to enhance the visual appeal of your shadow box.
- Display your shadow box on a wall, shelf, or tabletop to showcase your creativity.
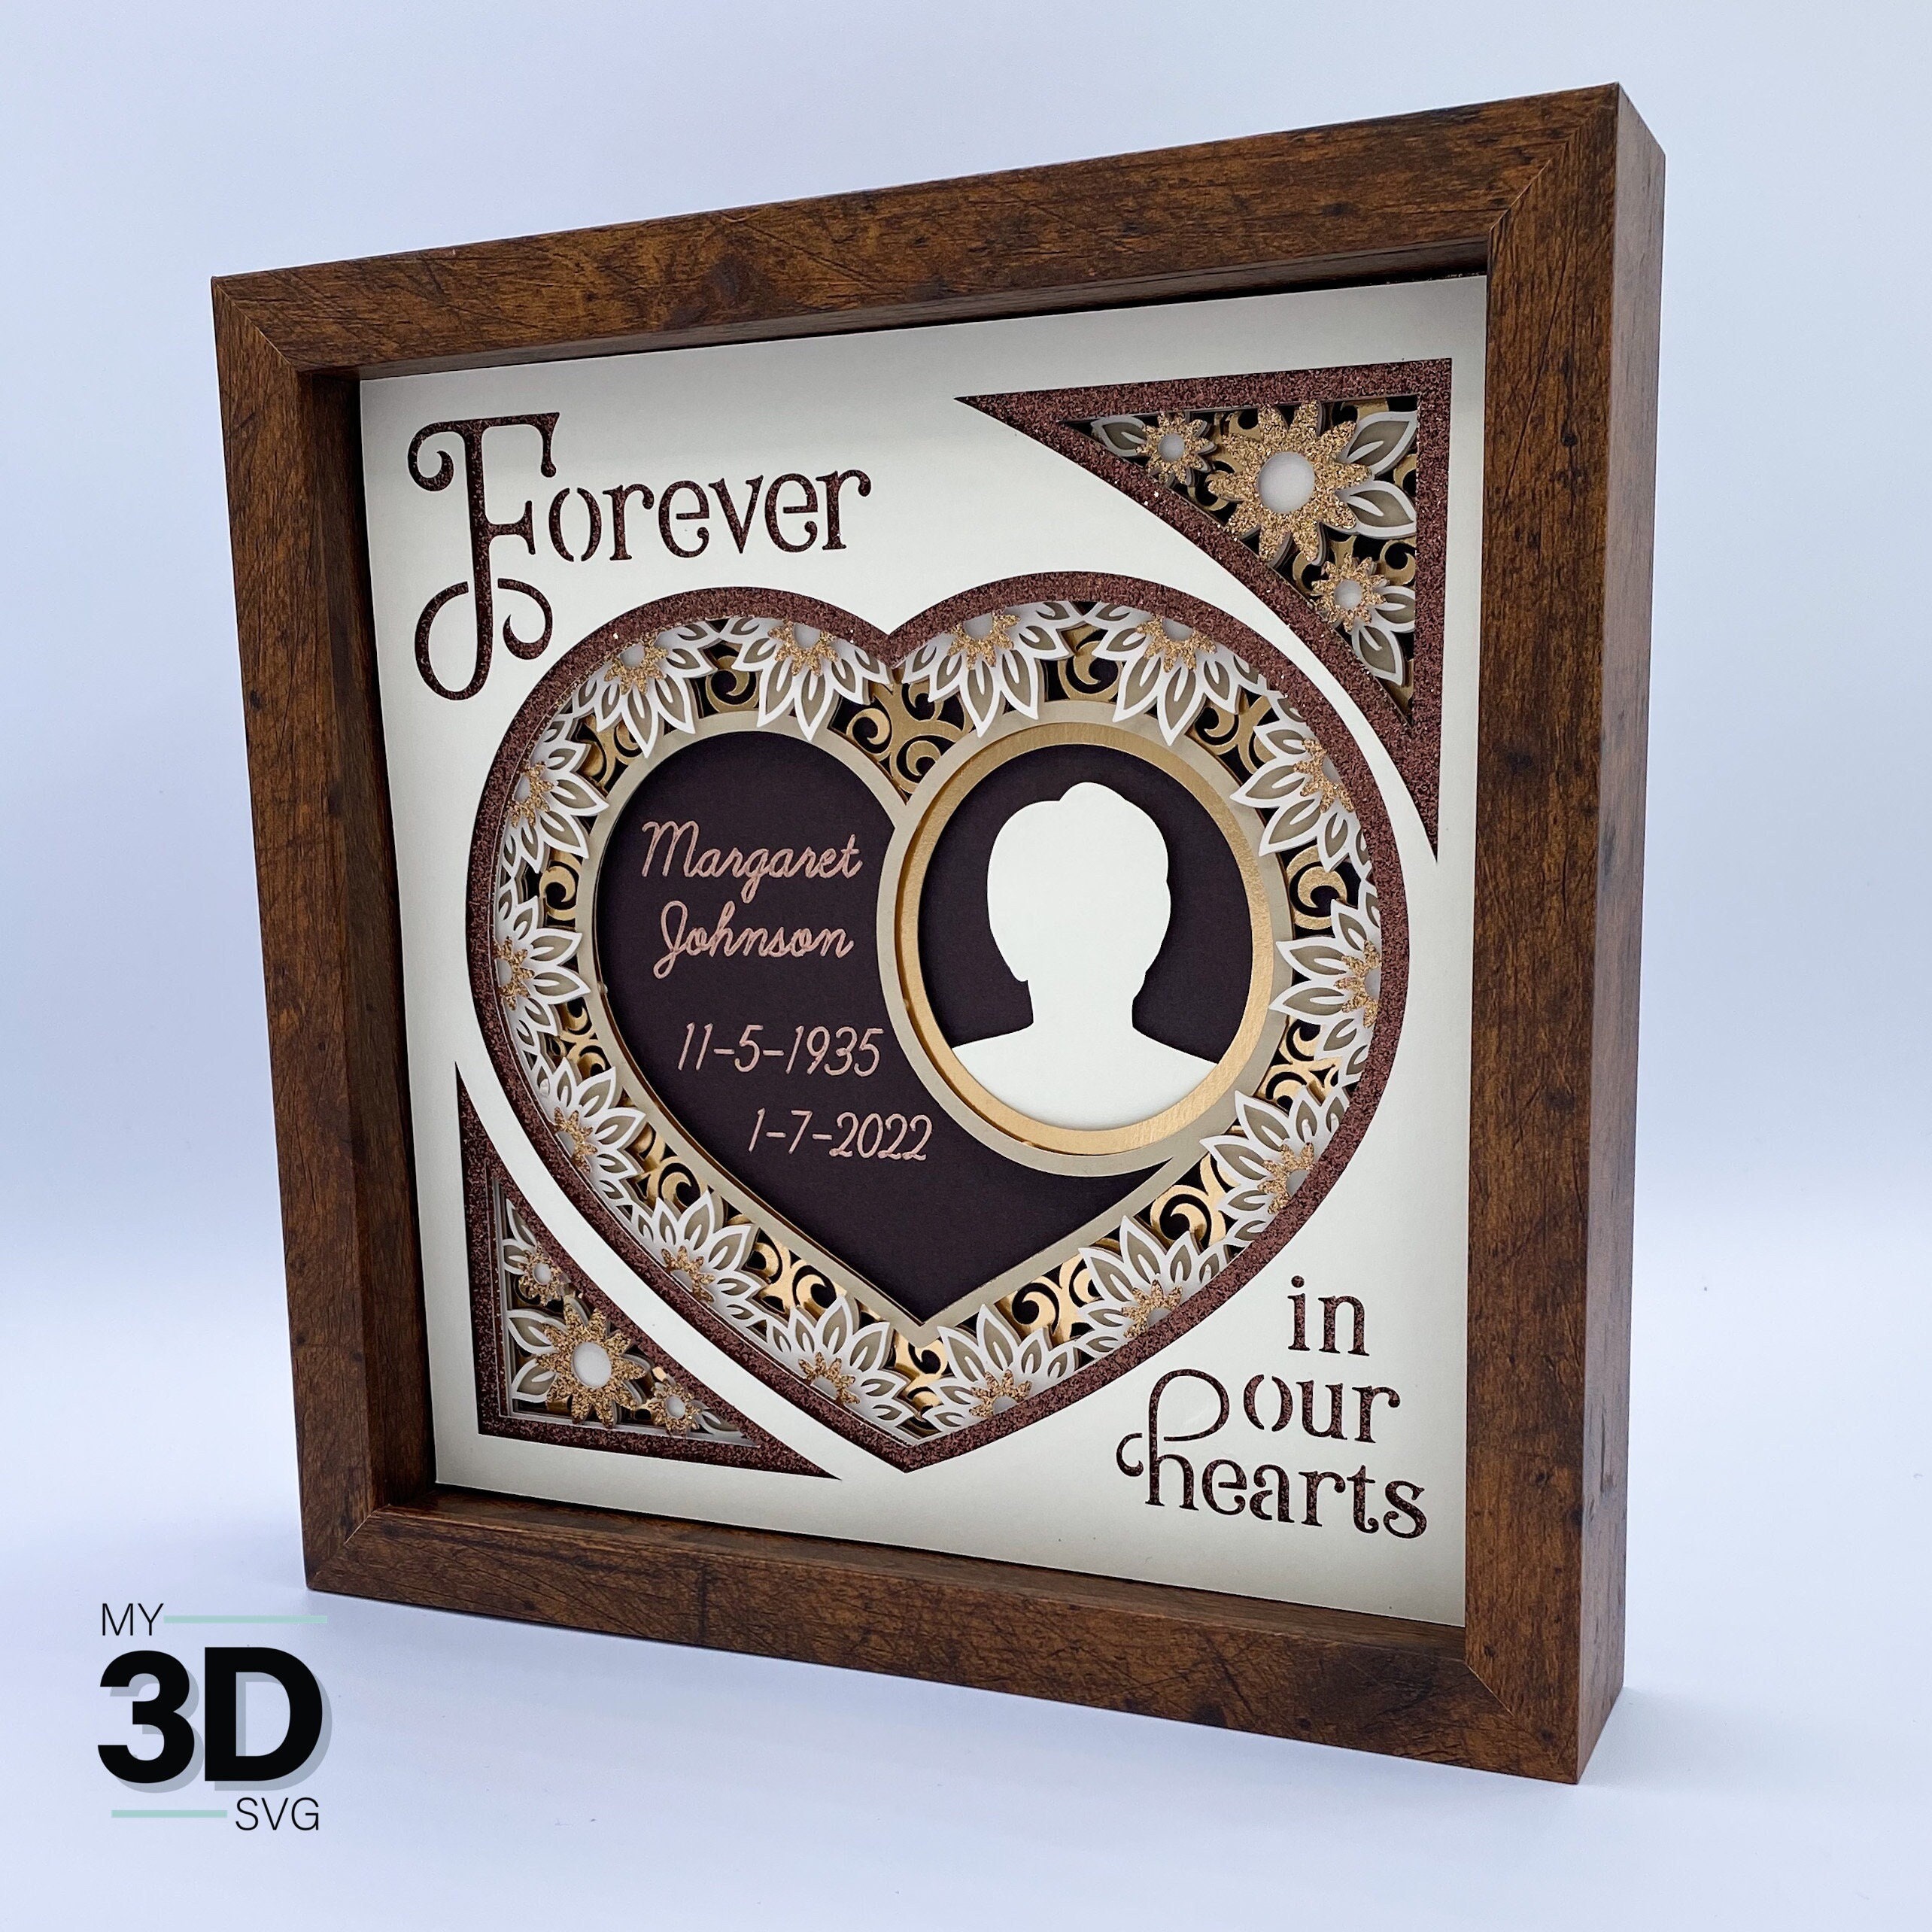
- Memory Boxes: Preserve special moments by creating shadow boxes that display photos, keepsakes, and memorabilia.
- Themed Shadow Boxes: Create shadow boxes that celebrate specific themes, such as holidays, seasons, or hobbies.
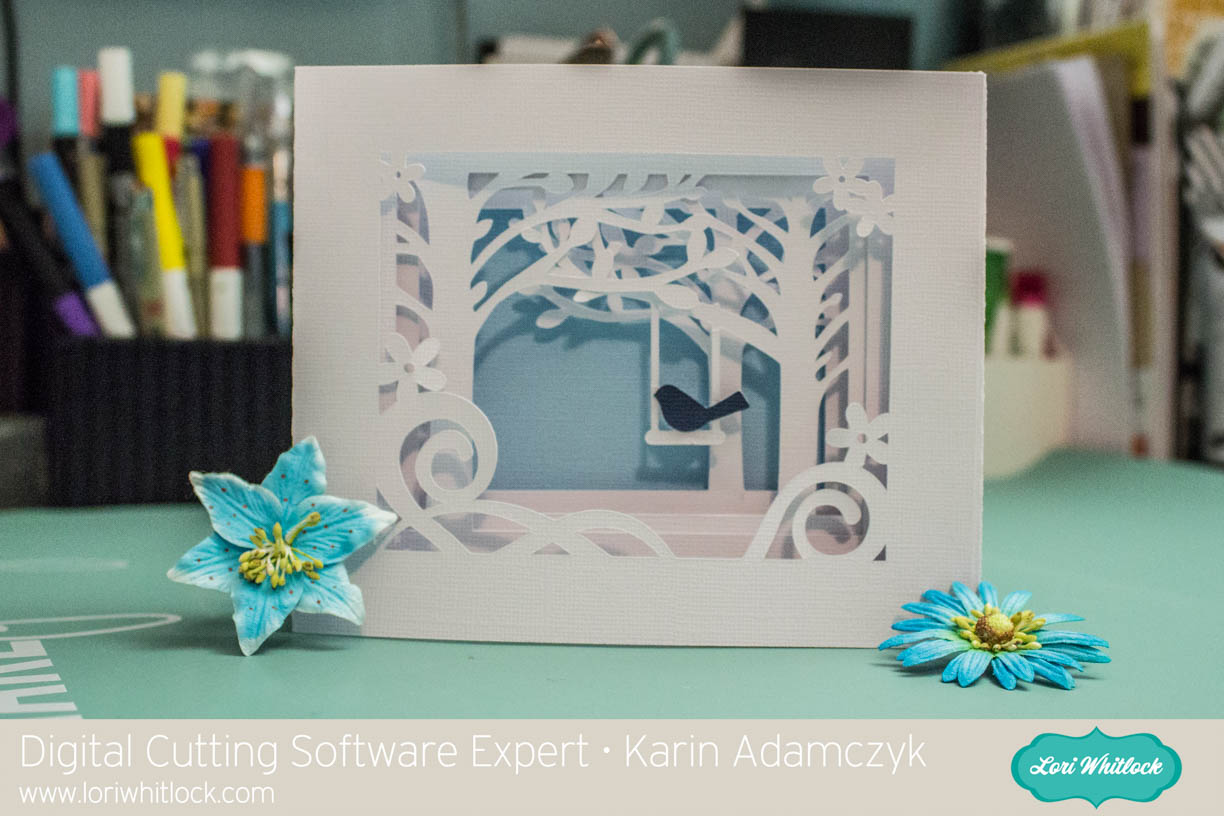
- Nature-Inspired Designs: Bring the outdoors in by creating shadow boxes that feature cutouts of leaves, flowers, or animals.
- Abstract Art: Use Cricut designs to create abstract and geometric patterns that add a touch of modern flair to your home.
- Layered Designs: Create depth by layering multiple cutouts on top of each other.
- 3D Elements: Add dimension to your shadow boxes by using 3D elements, such as paper flowers or sculpted shapes.
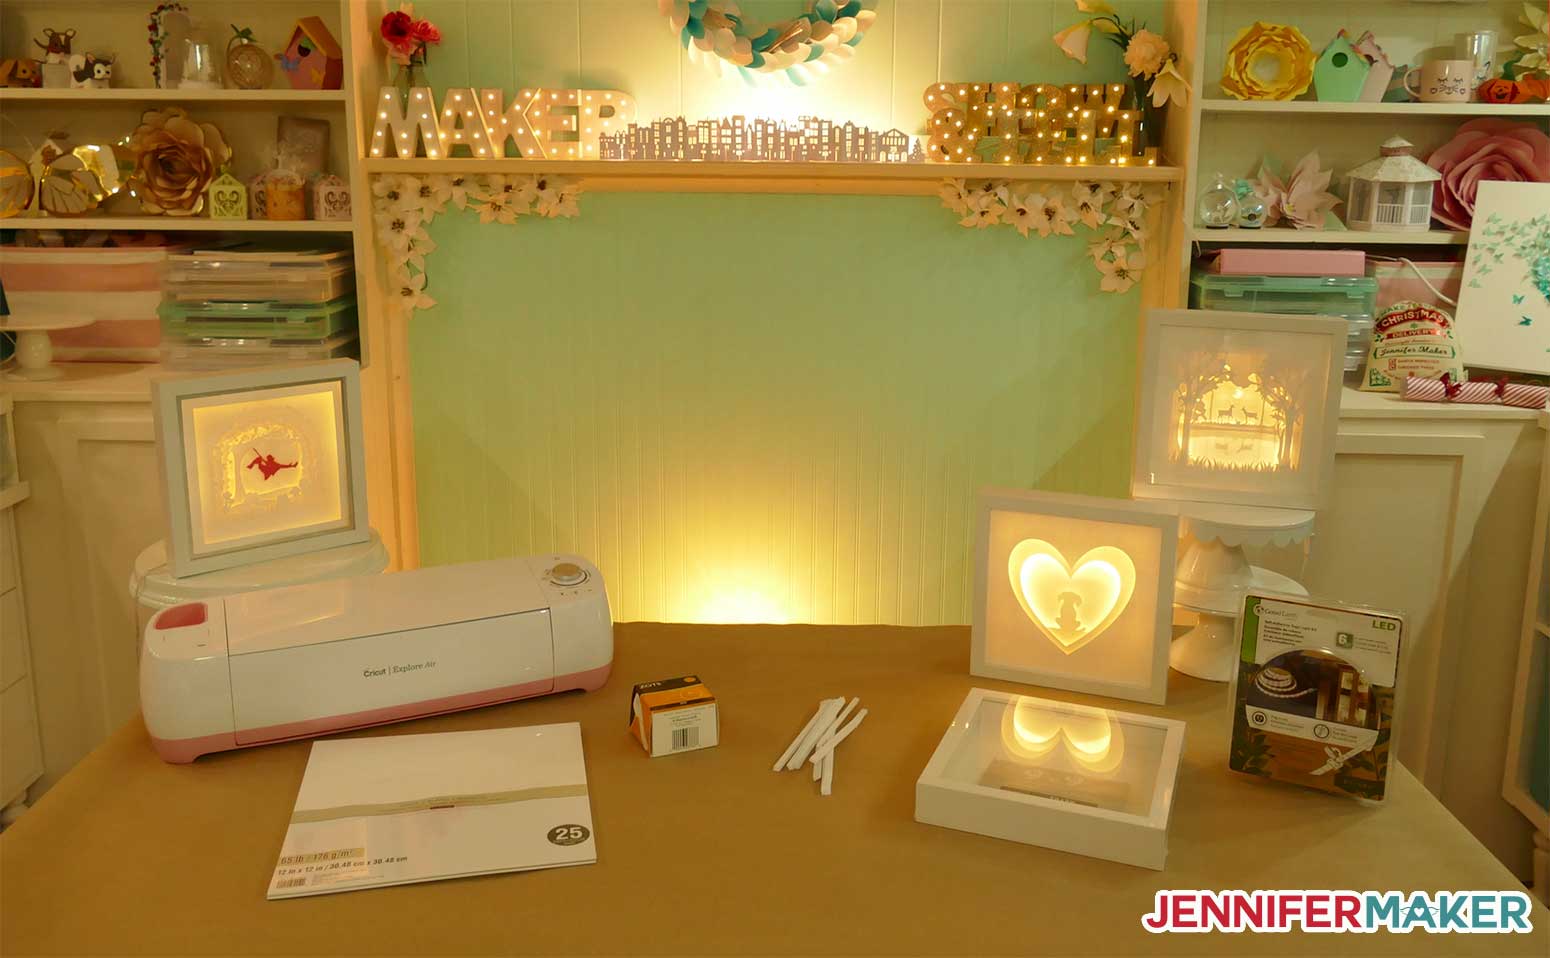
- Illuminated Shadow Boxes: Incorporate LED lights into your shadow boxes to create a warm and inviting glow.
- Mixed Media: Combine Cricut cutouts with other materials, such as fabric, wood, or metal, to create unique and eclectic shadow boxes.
- Design Issues: Ensure your design is properly sized and fits within the shadow box dimensions.
- Cutting Problems: Check your cutting settings and blade condition to ensure clean and precise cuts.
- Adhesive Problems: Use strong and durable adhesive to secure your materials together.
- Shadowing Effect: Adjust the depth of the spacers to achieve the desired shadow effect.

Shadow boxes, once reserved for displaying precious keepsakes and heirlooms, have evolved into a versatile and captivating art form thanks to the advent of Cricut machines. With their ability to cut intricate designs from a wide range of materials, Cricuts empower crafters to create mesmerizing shadow boxes that showcase their creativity and preserve memories in a unique and engaging way.
What is a Cricut Shadow Box?
A Cricut shadow box is a three-dimensional frame that consists of a backing, a front panel, and a depth spacer. The backing and front panel typically feature cutouts or designs created with a Cricut machine, while the depth spacer provides space between the two panels, creating a shadow effect. The result is a layered work of art that adds depth and dimension to any room.
Materials and Tools
To create a Cricut shadow box, you will need the following materials and tools:

Step-by-Step Instructions
1. Design and Cut


2. Assemble the Shadow Box
3. Insert the Design
4. Embellish and Display
Design Ideas and Inspiration
The possibilities for shadow box designs are endless. Here are a few ideas to get you started:
Advanced Techniques
Once you have mastered the basics, you can explore advanced techniques to elevate your shadow box creations:
Troubleshooting Tips
Conclusion
Shadow boxes Cricut are a versatile and rewarding art form that allows crafters to express their creativity and preserve memories in a unique and engaging way. By following the step-by-step instructions and exploring design ideas and advanced techniques, you can create stunning shadow boxes that will add depth and dimension to any space.
FAQs
Q: What materials can I use for Cricut shadow boxes?
A: You can use cardstock, vinyl, wood, fabric, and other materials compatible with your Cricut machine.
Q: How do I choose the right depth spacers?
A: The depth of the spacers will depend on the desired shadow effect and the thickness of your materials. Experiment with different depths to achieve the look you want.
Q: Can I use shadow boxes to display non-flat items?
A: Yes, you can use 3D elements and sculpted shapes to create shadow boxes that display non-flat items.
Q: How can I illuminate my shadow boxes?
A: You can incorporate LED lights into your shadow boxes by attaching them to the backing board or using battery-operated LED strips.