


Cricut Christmas Shadow Box Ideas: Unleashing Your Creativity for Festive Decorations
Introduction
As the holiday season approaches, it’s time to bring out your Cricut machine and let your creativity shine. Cricut shadow boxes are a fantastic way to add a touch of Christmas magic to your home décor while showcasing your crafting skills. With countless design possibilities, the options are endless when it comes to creating unique and personalized Christmas shadow boxes with your Cricut.


Table of Content
- 1 Cricut Christmas Shadow Box Ideas: Unleashing Your Creativity for Festive Decorations
- 1.1 Introduction
- 1.2 Materials You’ll Need
- 1.3 Step-by-Step Guide to Creating a Cricut Christmas Shadow Box
- 1.4 Materials You’ll Need
- 1.5 Creative Cricut Christmas Shadow Box Ideas
- 1.6 Conclusion
- 1.7 Frequently Asked Questions (FAQs)
Materials You’ll Need
Step-by-Step Guide to Creating a Cricut Christmas Shadow Box
1. Design Your Artwork

- Layered Paper Art Template Free Layered Paper Art Template Free: Unleash Your Creativity With Intricate Designs
- Anime Shadow Box Anime Shadow Boxes: A Guide To Creating Stunning Displays
- Free Shadow Box Template Svg Free Shadow Box Template SVG: A Comprehensive Guide To Creating Stunning 3D Art
- Free Box Template For Cricut Free Box Template For Cricut: A Comprehensive Guide
- Cut Paper Shadow Box Cut Paper Shadow Box: A Guide To Creating Stunning 3D Art
- Cricut machine
- Cricut Design Space
- Cardstock or vinyl
- Open Cricut Design Space and create a new project.
- Choose from a wide range of Christmas-themed images and designs in the library or upload your own.
- Arrange and resize the elements to create your desired design.
- Select the desired cardstock or vinyl and load it into your Cricut machine.
- Adjust the cut settings according to the material you’re using.
- Cut out the designed elements.
- Open the shadow box frame and remove the backing.
- Arrange the cut-out elements inside the shadow box, layering them for depth.
- Secure the elements with glue or adhesive.
- For an extra touch of festivity, add embellishments such as ribbon, glitter, or beads to your shadow box.
- Use glue or a hot glue gun to attach the embellishments.
- Reassemble the shadow box by placing the backing over the frame.
- Hang or display your Christmas shadow box in a prominent location to enjoy its festive cheer.
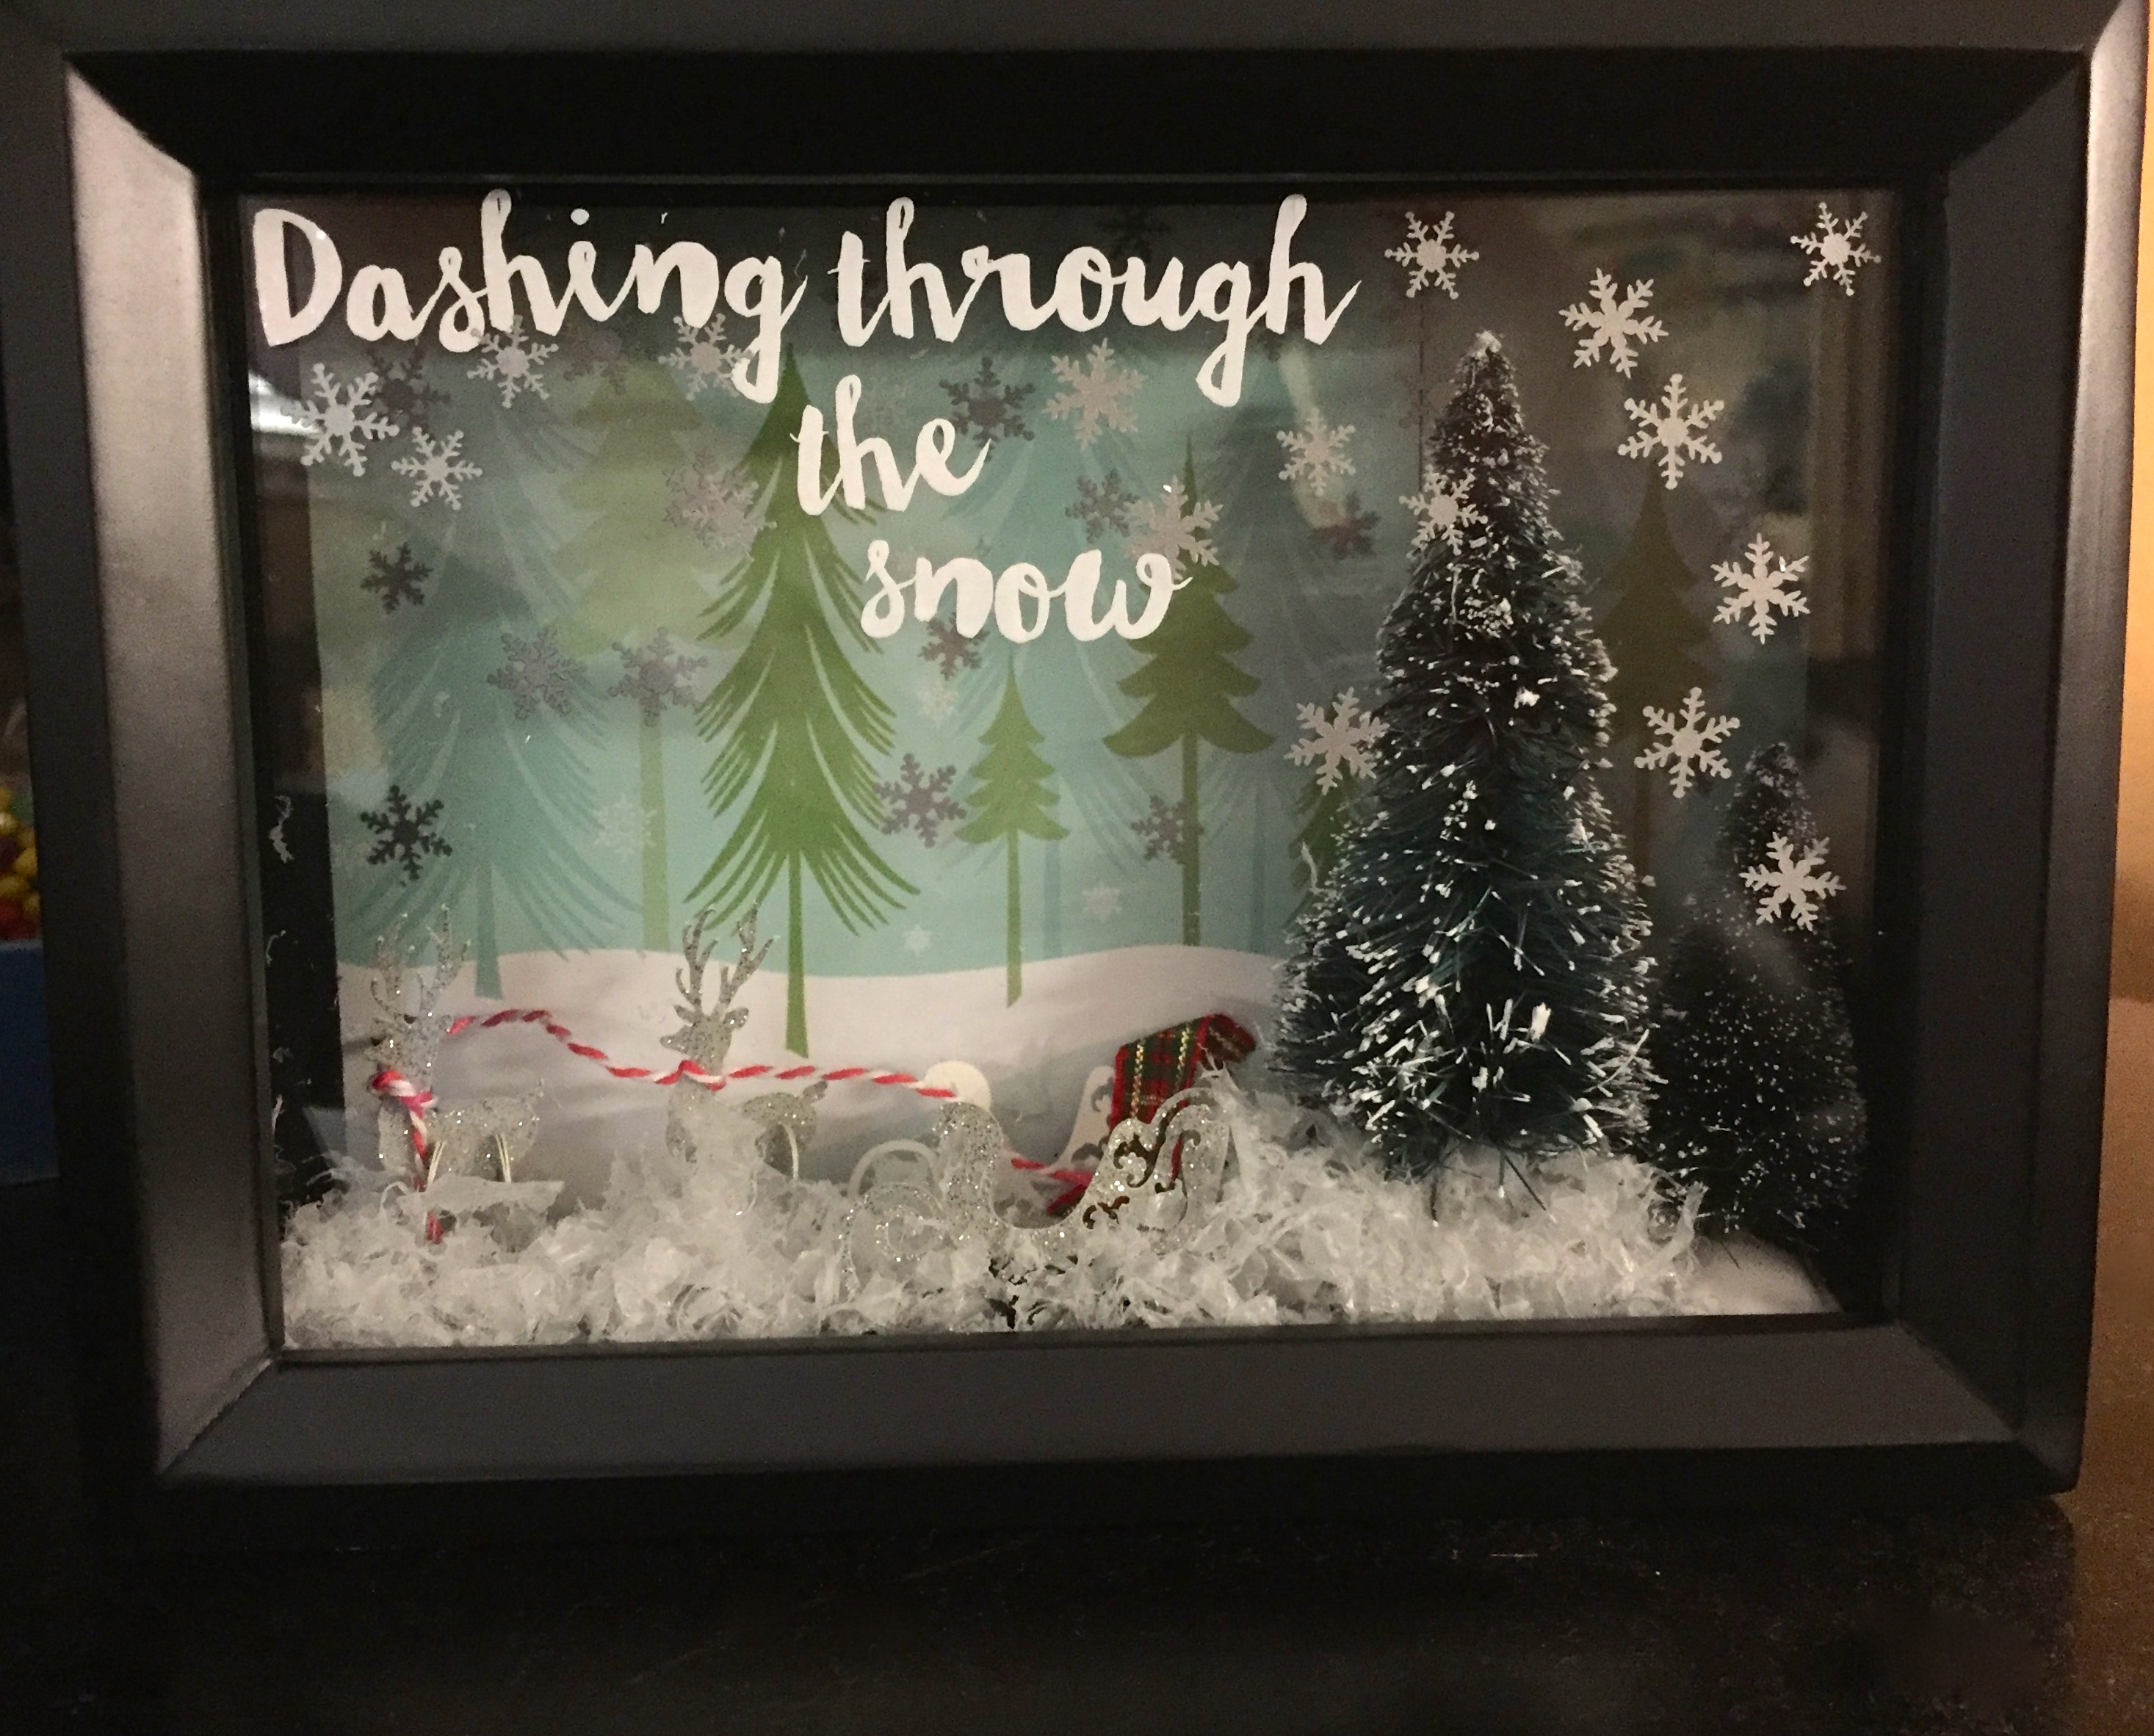
- Create a snowy scene with white cardstock and cut-out trees, snowflakes, and a snowman.
- Add glitter for a touch of sparkle and dimension.
- Cut out silhouettes of the Holy Family, angels, and shepherds from black cardstock.
- Layer them in a shadow box with a starry background.
- Add a touch of gold paint or glitter to the haloes and stars.
- Cut out a green tree shape from cardstock and layer it with different shades of green vinyl to create a dimensional effect.
- Decorate with ornaments, lights, and a star topper.
- Cut out gingerbread shapes from brown cardstock and assemble them into a miniature house.
- Decorate with white vinyl for frosting, candy canes, and sprinkles.
- Create a festive scene with Santa, his elves, and a workshop filled with toys.
- Use red, green, and white cardstock to bring the workshop to life.
- Heavy-weight cardstock (at least 65 lb) is recommended for durability and dimension.
- Yes, vinyl can be used to create a more durable and weather-resistant shadow box.
- Use a strong adhesive such as craft glue, hot glue, or spray adhesive to secure the elements.
- Yes, you can add battery-operated LED lights to illuminate your shadow box.
- Explore Cricut Design Space for pre-designed images and projects.
- Search online for tutorials and ideas on crafting websites and social media platforms.
As the holiday season approaches, it’s time to bring out your Cricut machine and let your creativity shine. Cricut shadow boxes are a fantastic way to add a touch of Christmas magic to your home décor while showcasing your crafting skills. With countless design possibilities, the options are endless when it comes to creating unique and personalized Christmas shadow boxes with your Cricut.
Materials You’ll Need


2. Cut Your Materials


3. Assemble the Shadow Box
4. Add Embellishments (Optional)
5. Display Your Creation
Creative Cricut Christmas Shadow Box Ideas
1. Winter Wonderland Shadow Box
2. Nativity Shadow Box
3. Christmas Tree Shadow Box
4. Gingerbread House Shadow Box
5. Santa’s Workshop Shadow Box
Conclusion
With a Cricut machine and a little creativity, the possibilities for Christmas shadow boxes are endless. Whether you choose to create a winter wonderland, a nativity scene, or a festive gingerbread house, your shadow box will be a cherished holiday decoration for years to come.
Frequently Asked Questions (FAQs)
1. What is the best type of cardstock to use for Cricut shadow boxes?
2. Can I use vinyl instead of cardstock?
3. How do I keep the elements in place inside the shadow box?
4. Can I add lights to my Cricut Christmas shadow box?
5. Where can I find inspiration for Christmas shadow box designs?


