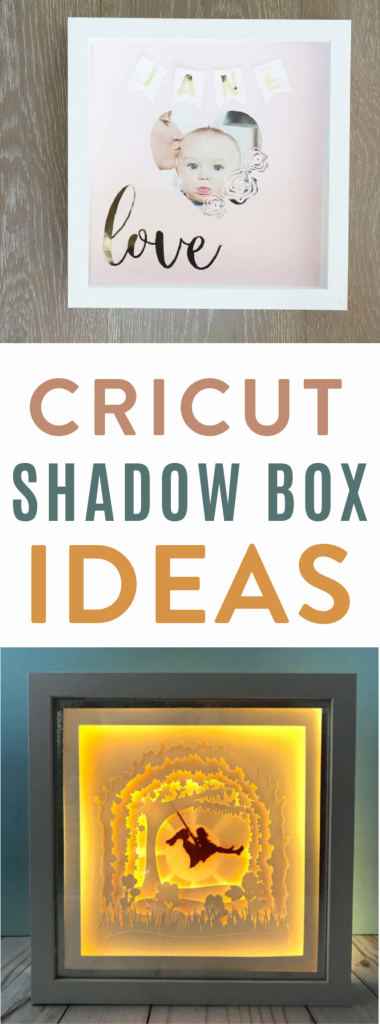
Cricut Shadow Box Projects: A Step-by-Step Guide to Creating Stunning 3D Masterpieces
Introduction
Cricut shadow boxes are an innovative way to preserve and showcase your cherished memories, artwork, and collectibles. With a Cricut machine, you can easily create custom shadow boxes that add depth and dimension to any room. This comprehensive guide will provide you with step-by-step instructions, design ideas, and troubleshooting tips to help you create stunning Cricut shadow box projects.


Table of Content
- 1 Cricut Shadow Box Projects: A Step-by-Step Guide to Creating Stunning 3D Masterpieces
- 1.1 Introduction
- 2 Materials and Equipment
- 3 Materials and Equipment
- 4 Step-by-Step Instructions
- 4.2 1. Prepare the Shadow Box Frame
- 4.3 2. Design and Cut the Layers
- 4.4 3. Assemble the Layers
- 4.5 4. Embellish and Personalize
- 5 Design Ideas
- 5.6 Memory Boxes:
- 5.7 Artwork Showcases:
- 5.8 Collectible Displays:
- 5.9 Seasonal Decorations:
- 6 Troubleshooting Tips
- 6.10 Uneven Layers:
- 6.11 Warped Frame:
- 6.12 Loose Embellishments:
- 7 Conclusion
- 8 Frequently Asked Questions
- 8.13 What is the best material to use for shadow box layers?
- 8.14 How do I prevent layers from shifting or warping?
- 8.15 Can I use a shadow box to display 3D objects?
Materials and Equipment
- Cricut machine
- Shadow box frame
- Cardstock or other cutting material
- Adhesive
- Ruler or measuring tape
- Pencil or pen
Optional Materials:

- Shadow Box Quilt Pattern Free Shadow Box Quilt Pattern Free: A Comprehensive Guide
- Cricut Shadow Box Svg Cricut Shadow Box SVG: A Comprehensive Guide For Creating Stunning 3D Paper Art
- 3d Shadow Box Cricut 3D Shadow Box Cricut: Crafting Dimensional Masterpieces
- Hocus Pocus Shadow Box Hocus Pocus Shadow Box: A Bewitching Display Of Halloween Magic
- Box Template Svg Box Template SVG: A Comprehensive Guide For Designers And Crafters
- Cricut machine
- Shadow box frame
- Embellishments (e.g., stickers, sequins, glitter)
- Paint or stain (for shadow box frame)
- Background paper or fabric
- Foam core or other support material
- Paint or stain the shadow box frame to your desired color, if necessary.
- Cut a piece of background paper or fabric to fit the back of the shadow box.
- Secure the background material to the back of the frame using adhesive.
- Create a design in Cricut Design Space using various layers of cardstock or other cutting material.
- Adjust the size and spacing of the layers to fit the depth of the shadow box.
- Cut out the layers using your Cricut machine.
- Apply adhesive to the back of the bottom layer and place it in the shadow box.
- Continue layering the pieces, adding adhesive to each layer as needed.
- Use foam core or other support material to create depth and dimension between the layers.
- Embellish the shadow box with stickers, sequins, glitter, or other decorative elements.
- Add personal touches, such as photos, handwritten notes, or small keepsakes.
- Experiment with different colors, textures, and patterns to create a unique and eye-catching display.
- Display cherished photos, travel souvenirs, or childhood mementos.
- Create a timeline of important life events using layers of cardstock.
- Add handwritten captions or quotes to personalize the box.
- Frame original paintings, drawings, or prints in a shadow box.
- Use multiple layers to create a 3D effect and highlight the details of the artwork.
- Add embellishments to complement the colors and style of the piece.
- Showcase your favorite stamps, coins, figurines, or other collectibles.
- Use foam core to create compartments and secure the items in place.
- Add background paper or fabric to create a visually appealing backdrop.
- Create shadow boxes themed around holidays or seasons.
- Use festive colors, patterns, and embellishments to evoke a specific mood or atmosphere.
- Display seasonal artwork, photos, or decorations to add a touch of charm to your home.
- Ensure that all layers are cut and assembled precisely.
- Use a ruler or measuring tape to measure the distance between layers.
- Apply adhesive evenly to the back of each layer.
- If the shadow box frame is warped, place it under a heavy object to flatten it.
- You can also use a hair dryer to gently heat the frame and reshape it.
- Use strong adhesive to secure embellishments to the shadow box.
- Consider using a clear sealant or glue to add extra durability.
- Avoid overloading the shadow box with too many embellishments.
Cricut shadow boxes are an innovative way to preserve and showcase your cherished memories, artwork, and collectibles. With a Cricut machine, you can easily create custom shadow boxes that add depth and dimension to any room. This comprehensive guide will provide you with step-by-step instructions, design ideas, and troubleshooting tips to help you create stunning Cricut shadow box projects.
Materials and Equipment
Essential Materials:


Step-by-Step Instructions

1. Prepare the Shadow Box Frame

2. Design and Cut the Layers

3. Assemble the Layers
4. Embellish and Personalize
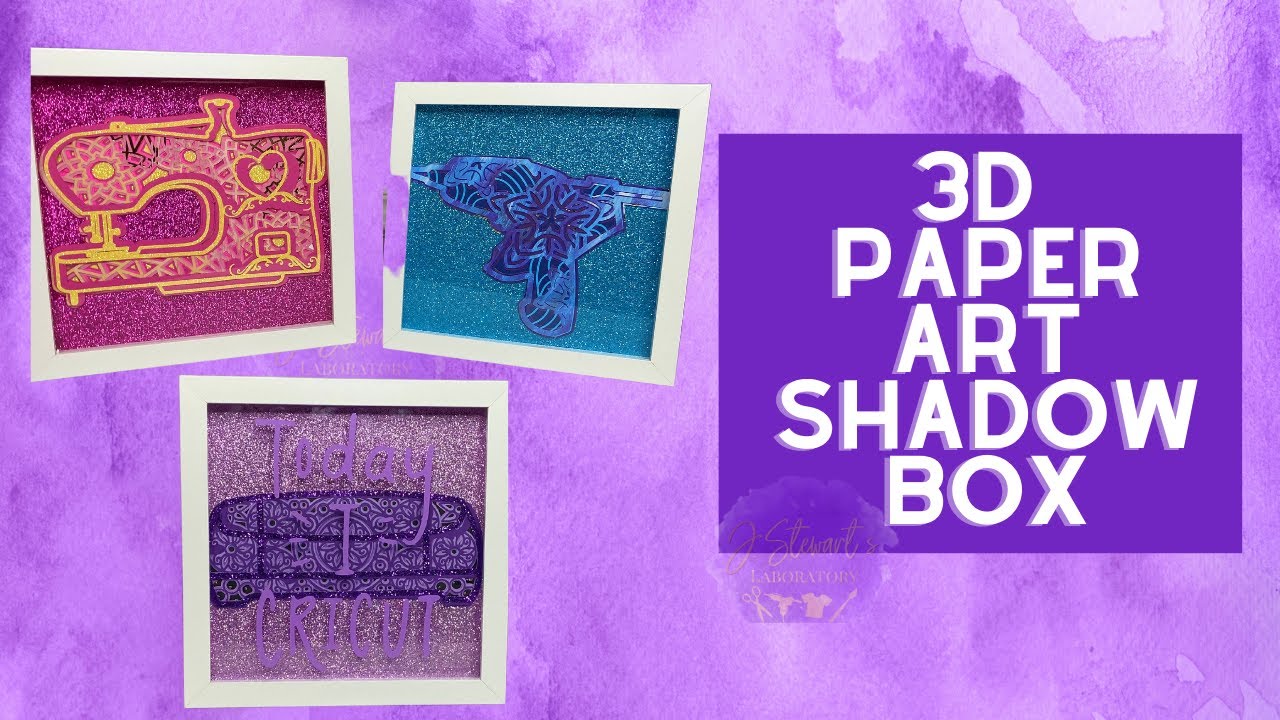
Design Ideas
Memory Boxes:
Artwork Showcases:
Collectible Displays:
Seasonal Decorations:
Troubleshooting Tips
Uneven Layers:
Warped Frame:
Loose Embellishments:
Conclusion
Creating Cricut shadow box projects is a rewarding and versatile craft that allows you to preserve and showcase your memories, artwork, and collectibles in a unique and stunning way. By following the step-by-step instructions, experimenting with different design ideas, and troubleshooting any issues that may arise, you can create beautiful and meaningful shadow boxes that will add depth and dimension to your home décor.
Frequently Asked Questions
What is the best material to use for shadow box layers?
Cardstock is a popular choice due to its durability and ease of cutting. Other options include chipboard, foam core, or even wood.
How do I prevent layers from shifting or warping?
Use strong adhesive and apply it evenly to the back of each layer. You can also use foam core or other support material to create depth and stability.
Can I use a shadow box to display 3D objects?
Yes, you can use foam core or other support material to create compartments and secure 3D objects in the shadow box.