


Download Printable 3D Paper Cut Light Box Template: A Comprehensive Guide
Introduction
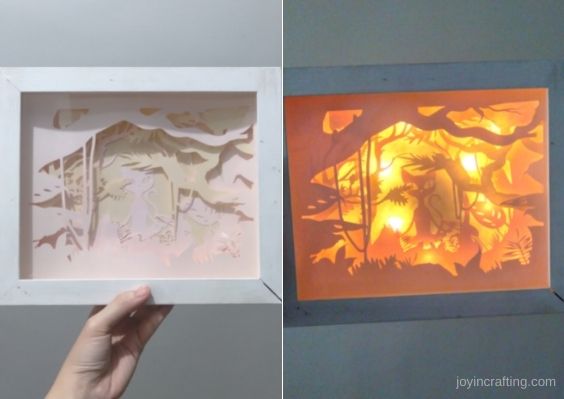
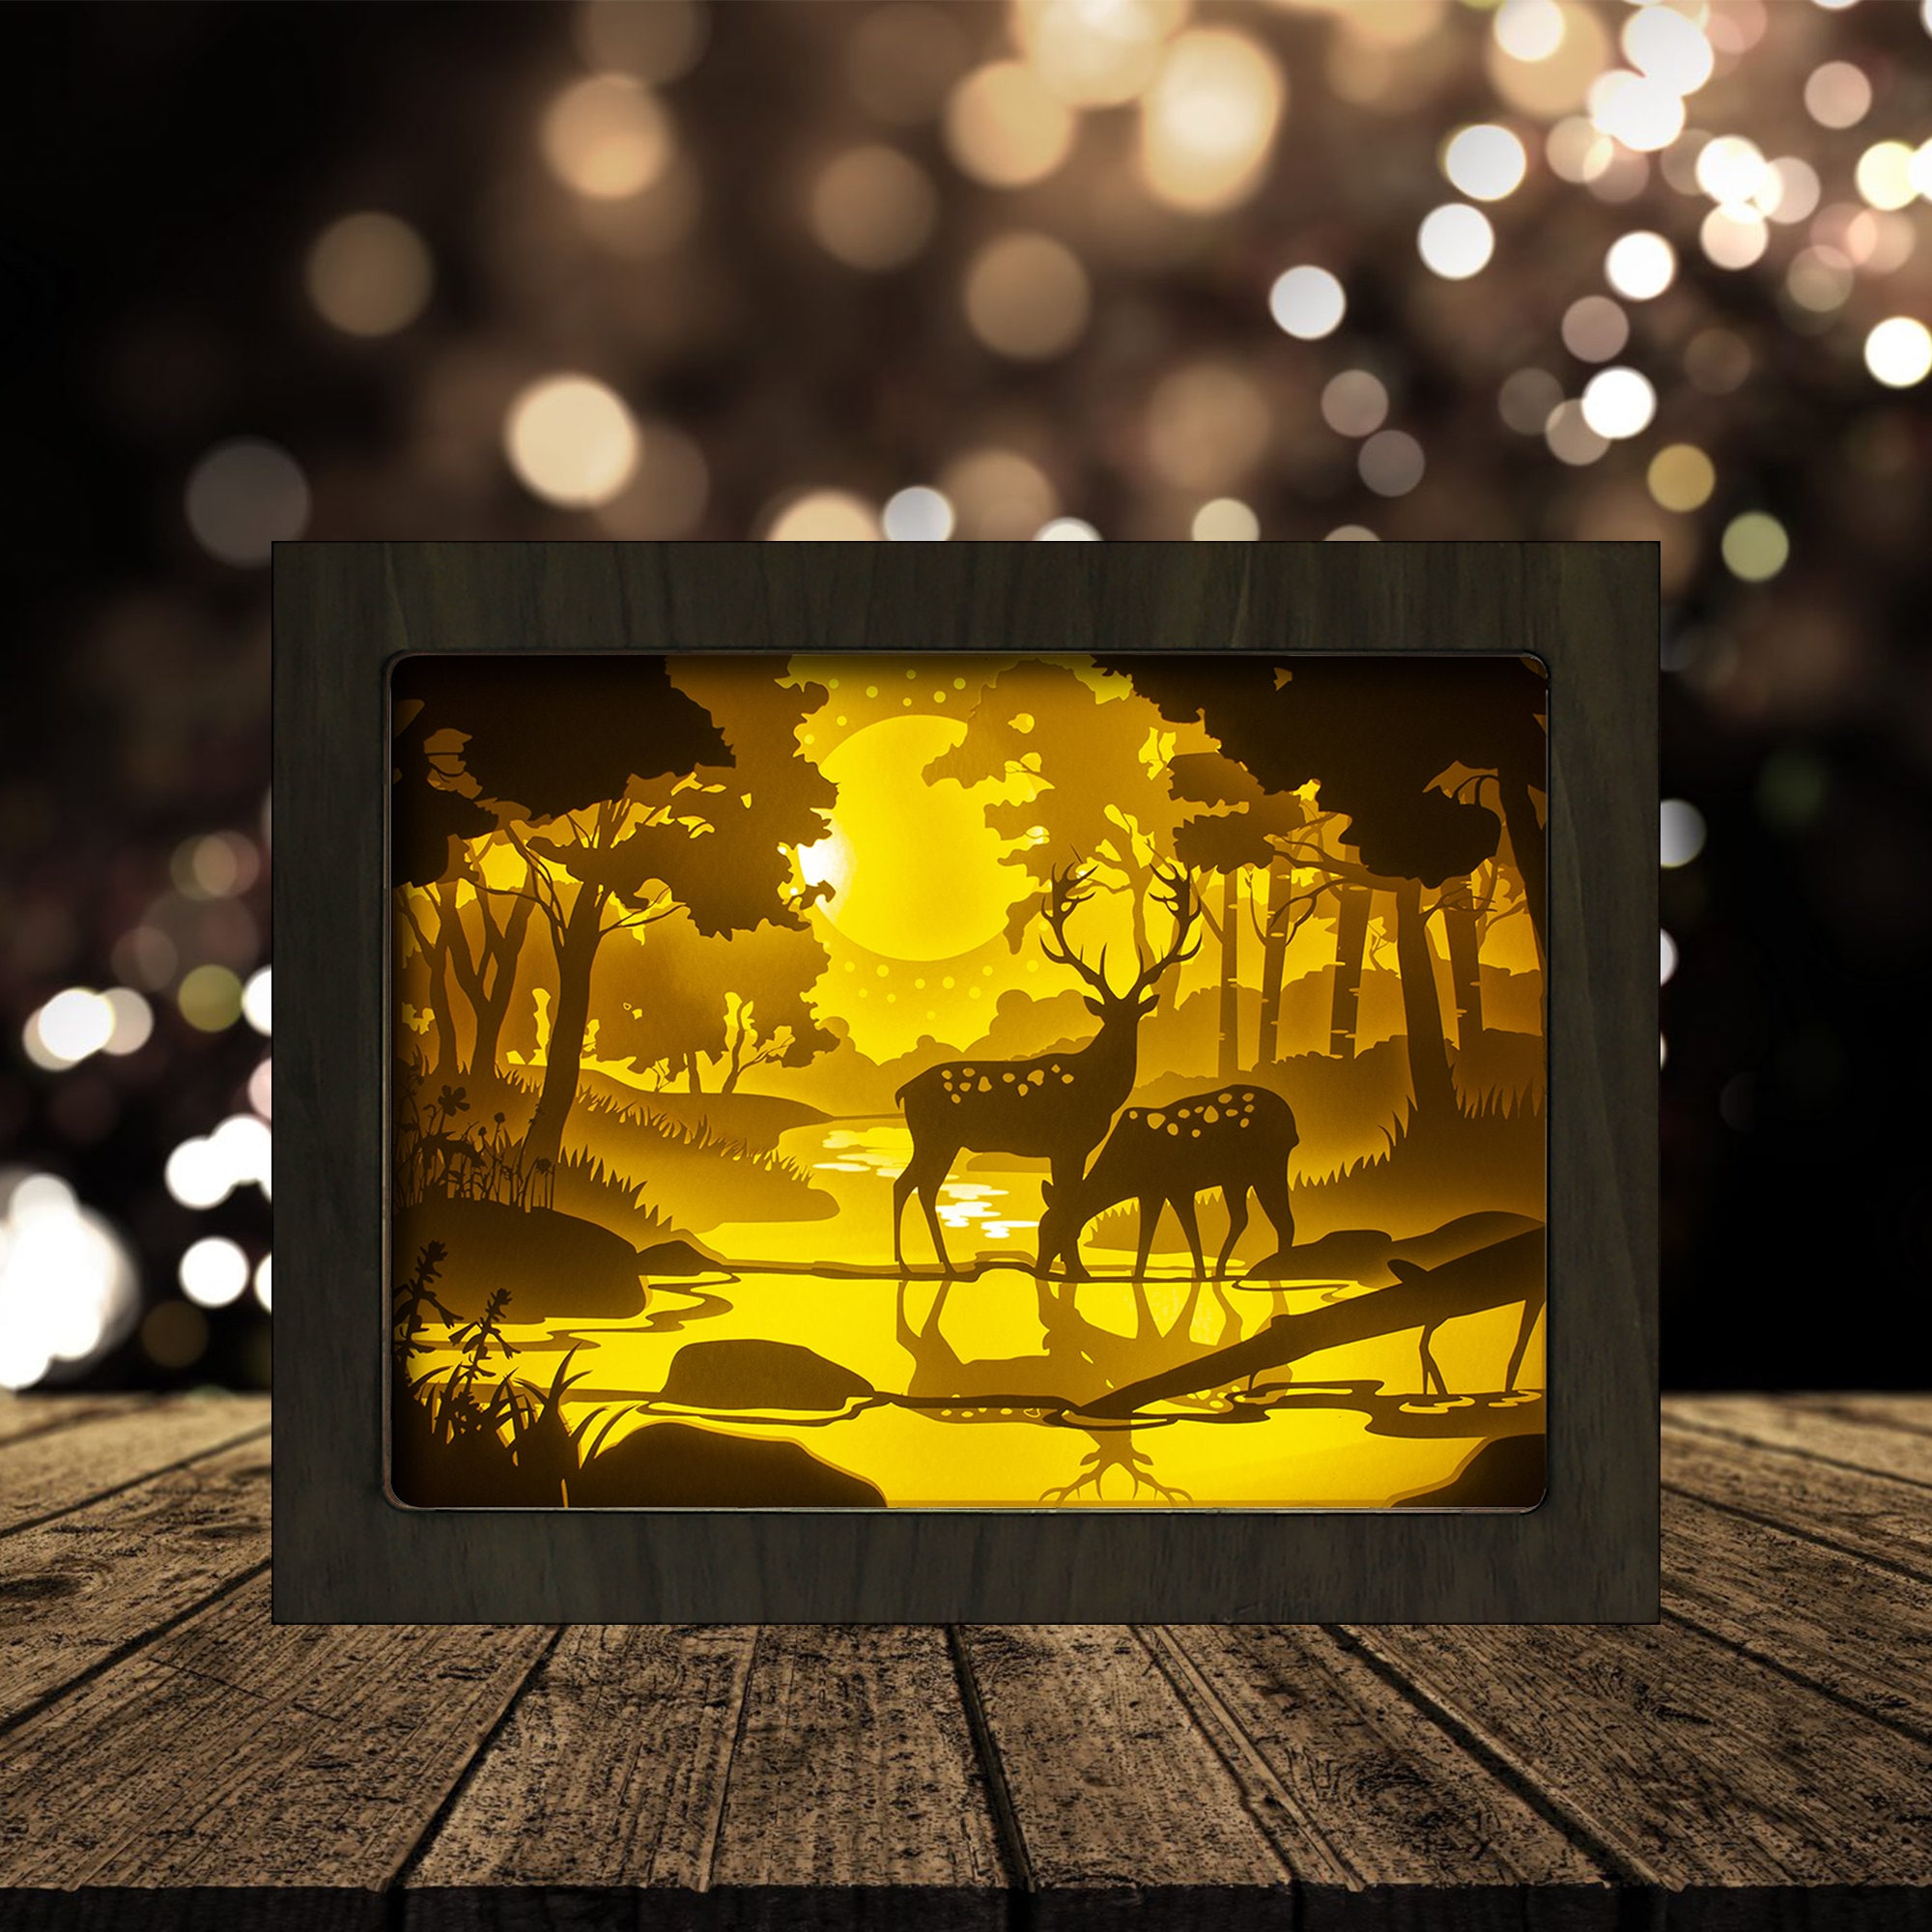
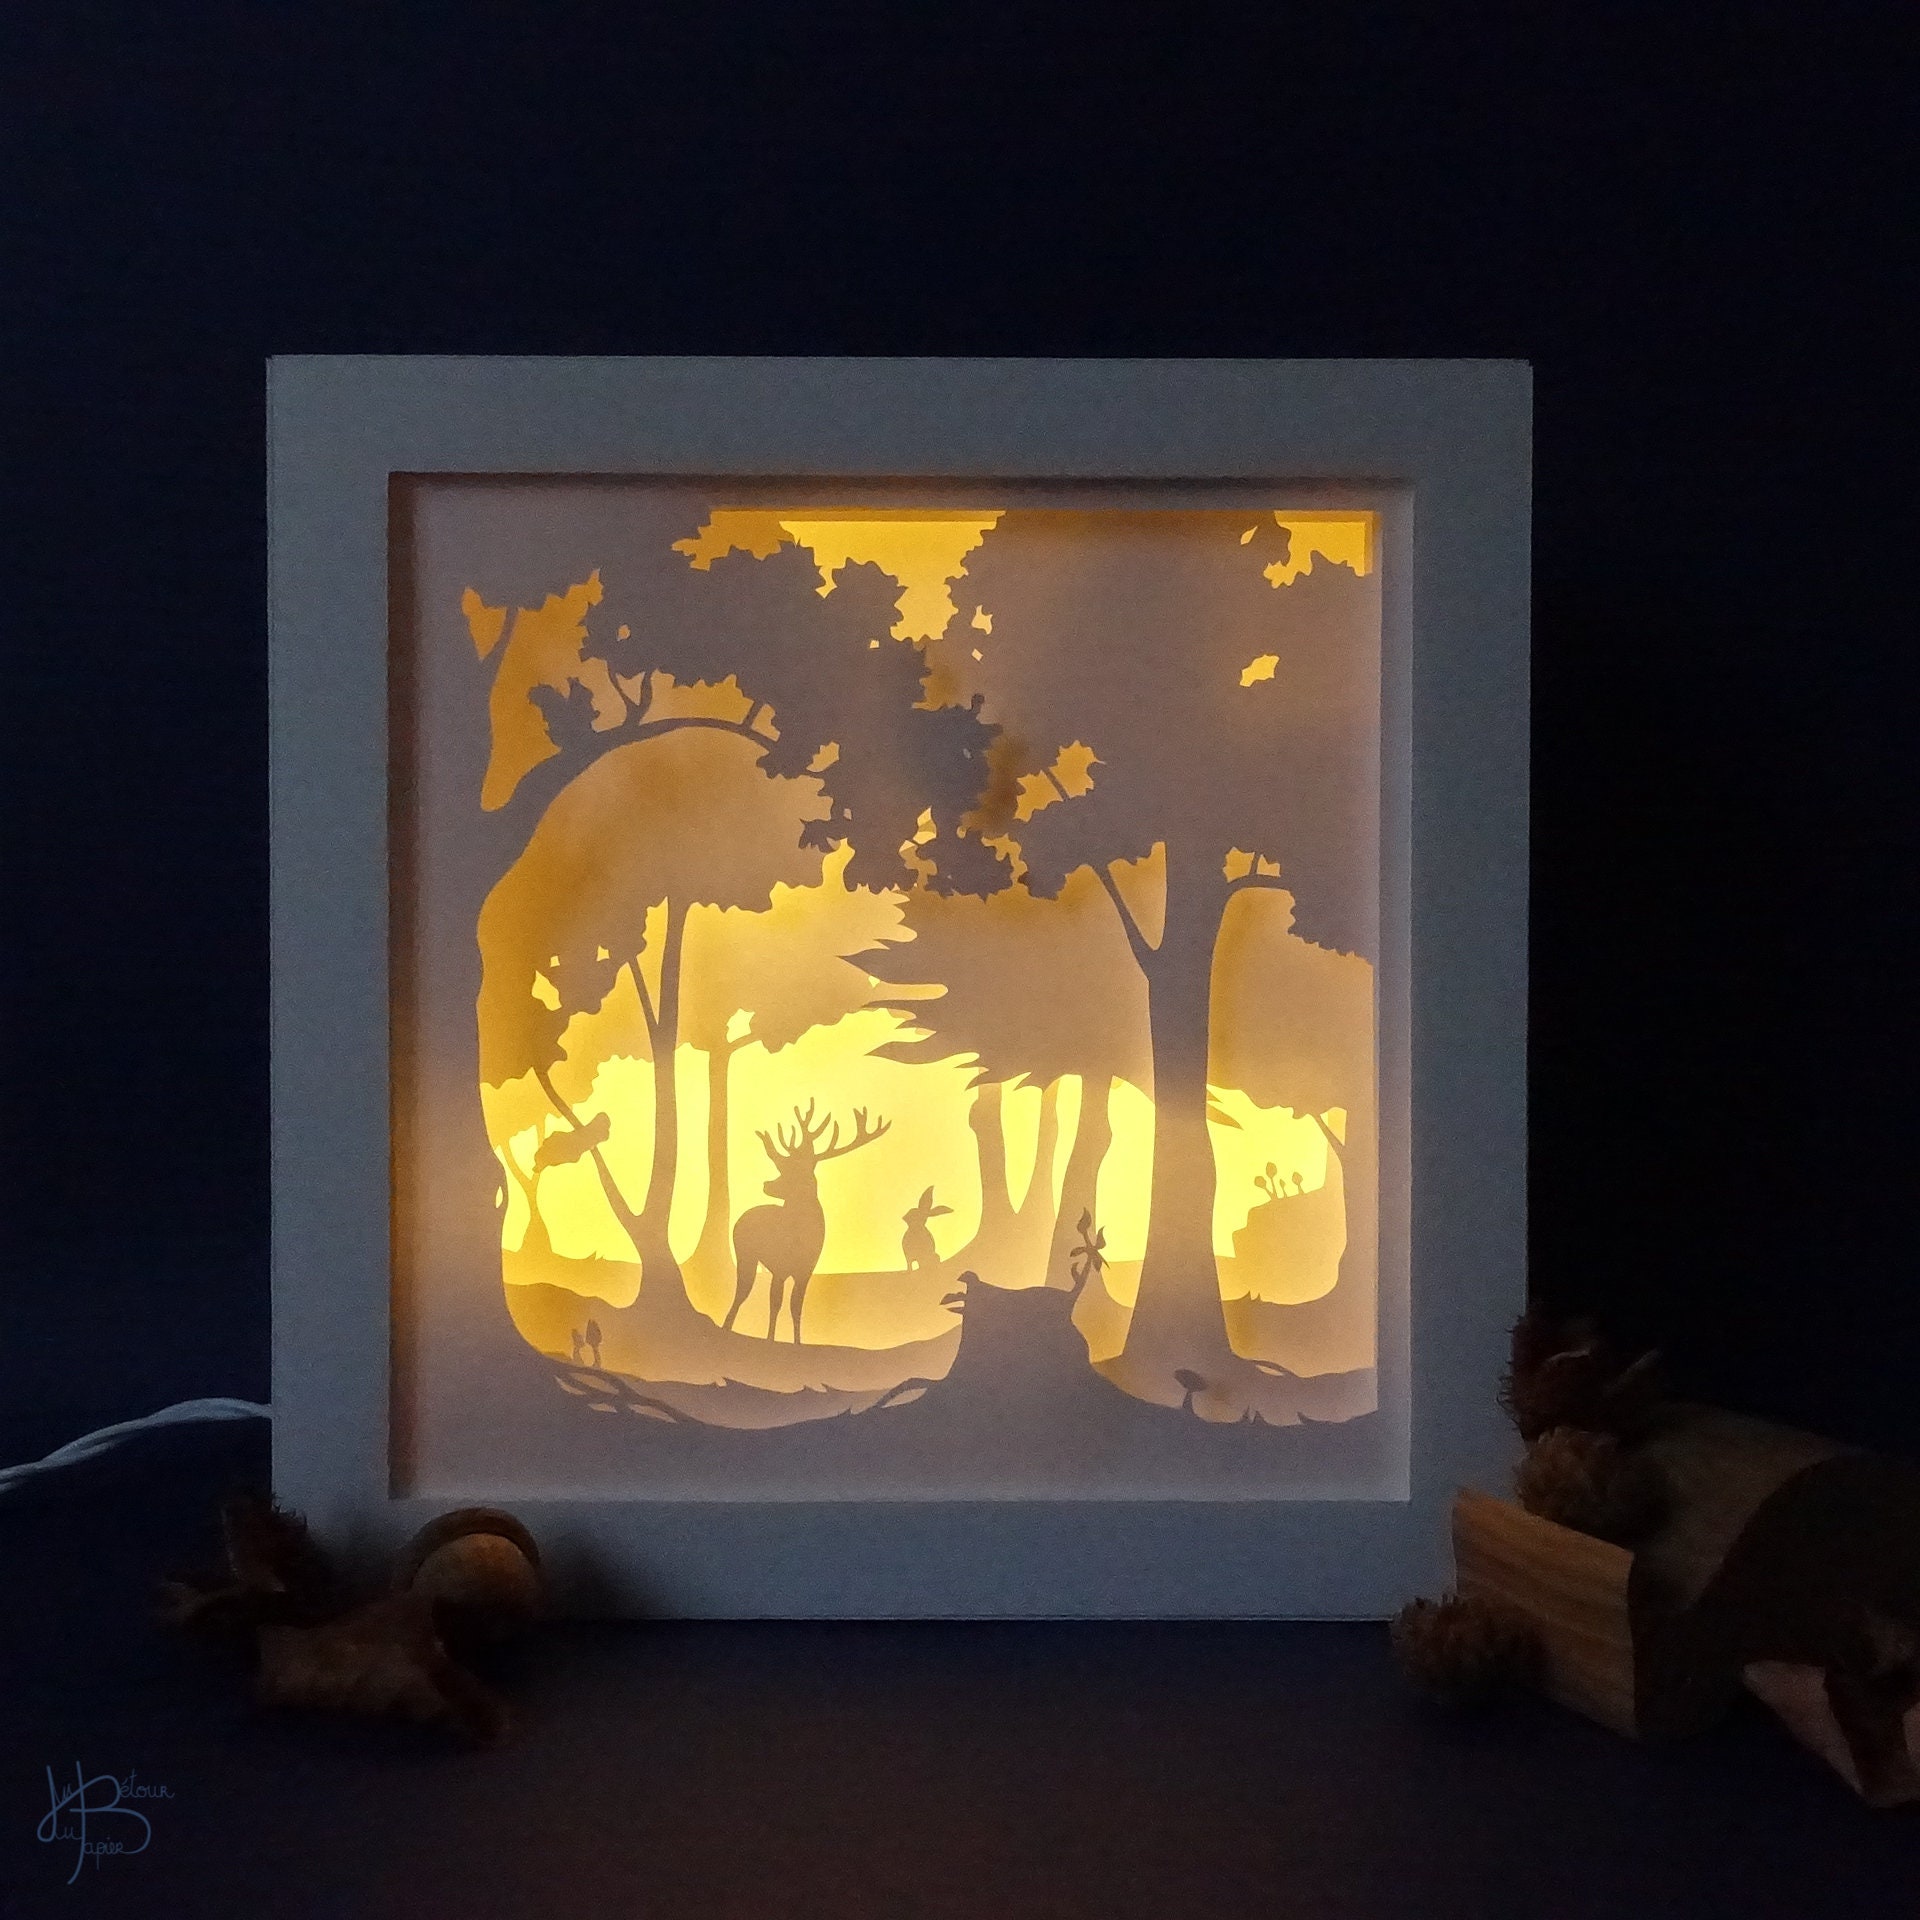
A 3D paper cut light box is a captivating and artistic way to illuminate your home or workspace. With a downloadable template, you can easily create your own stunning light box, adding a touch of personalized charm to any setting. This comprehensive guide will provide you with everything you need to know about downloading and using a 3D paper cut light box template.


Table of Content
- 1 Download Printable 3D Paper Cut Light Box Template: A Comprehensive Guide
- 1.1 Introduction
- 1.2 H1: Step-by-Step Guide to Downloading and Using a 3D Paper Cut Light Box Template
- 1.3 H2: Downloading the Template
- 1.4 H1: Step-by-Step Guide to Downloading and Using a 3D Paper Cut Light Box Template
- 1.5 H2: Choosing the Right Template
- 1.6 H2: Preparing the Materials
- 1.7 H2: Cutting the Template
- 1.8 H2: Assembling the Light Box
- 1.9 H3: Tips and Tricks for Success
- 1.10 H3: Troubleshooting Common Issues
- 1.11 Conclusion
- 1.12 FAQs
H1: Step-by-Step Guide to Downloading and Using a 3D Paper Cut Light Box Template
The first step is to select a template that suits your style and preferences. There are numerous websites and online platforms that offer a wide range of free and paid templates. Consider the following factors when choosing a template:
- Design: Opt for a design that complements your home décor or personal taste.
- Complexity: Choose a template that matches your skill level. Intricate designs may require more time and patience.
- Size: Ensure that the template size is appropriate for your desired light box size.

H2: Downloading the Template
Once you have chosen a template, follow these steps to download it:
- Locate the template: Find the template on the website or platform of your choice.
- Free Cricut Shadow Box Template Free Cricut Shadow Box Template: Elevate Your Home Decor With Personalized Art
- Horse Memorial Shadow Box The Enduring Legacy: Horse Memorial Shadow Boxes – A Cherished Tribute To Equine Companions
- Svg Shadow Box SVG Shadow Boxes: A Comprehensive Guide To Creation And Optimization
- Shadow Box Printable Shadow Box Printable: A Comprehensive Guide To Creating Stunning Displays
- Box Shadow On Svg Box Shadow On SVG: A Comprehensive Guide To Enhance Visuals
- Design: Opt for a design that complements your home décor or personal taste.
- Click the download button: Most templates will have a designated download button.
- Save the file: Choose a convenient location on your computer to save the template file.

A 3D paper cut light box is a captivating and artistic way to illuminate your home or workspace. With a downloadable template, you can easily create your own stunning light box, adding a touch of personalized charm to any setting. This comprehensive guide will provide you with everything you need to know about downloading and using a 3D paper cut light box template.
H1: Step-by-Step Guide to Downloading and Using a 3D Paper Cut Light Box Template
H2: Choosing the Right Template
The first step is to select a template that suits your style and preferences. There are numerous websites and online platforms that offer a wide range of free and paid templates. Consider the following factors when choosing a template:

H2: Preparing the Materials

Before you begin cutting, gather the following materials:
- Cardstock or paper: Heavyweight cardstock or thick paper is recommended for durability.
- Cutting tool: A sharp craft knife or scalpel will provide precise cuts.
- Cutting mat: A cutting mat will protect your work surface and prevent damage to the blade.
- Ruler or measuring tape: For accurate measurements and straight lines.
- Light source: An LED strip or battery-operated fairy lights will illuminate the light box.

H2: Cutting the Template
- Print the template: Print the downloaded template on cardstock or thick paper.
- Cut out the template: Carefully cut out the template along the outlined shapes using a sharp craft knife or scalpel.
- Fold the template: Along the designated fold lines, fold the template into a three-dimensional shape.
H2: Assembling the Light Box
- Insert the light source: Place the LED strip or fairy lights inside the light box, ensuring that they are evenly distributed.
- Secure the edges: Glue or tape the edges of the light box together to hold it in place.
- Display your light box: Find a suitable location to display your illuminated creation.
H3: Tips and Tricks for Success
- Use a sharp blade for precise cuts.
- Fold along the lines carefully to avoid tearing.
- Experiment with different light sources to create various effects.
- Add embellishments such as glitter, paint, or stickers for a personalized touch.
- Consider framing the light box for a more polished look.
H3: Troubleshooting Common Issues
- Uneven illumination: Ensure that the light source is evenly distributed inside the light box.
- Loose edges: If the edges of the light box are not securely fastened, they may come apart. Re-glue or tape them as needed.
- Torn paper: If the paper tears during cutting, use a patch of tape or glue to repair it.
- Warped template: If the template is warped, gently flatten it under a heavy object before cutting.
Conclusion
Creating a 3D paper cut light box with a downloadable template is a rewarding and enjoyable experience. By following the steps outlined in this guide, you can bring your artistic vision to life and add a touch of personalized ambiance to any space.
FAQs
Q: What type of paper is best for a light box?
A: Heavyweight cardstock or thick paper provides the best durability and light diffusion.
Q: Can I use a regular light bulb in a light box?
A: No, regular light bulbs generate heat, which can damage the paper or template. Use LED strips or battery-operated fairy lights instead.
Q: How do I change the light source in my light box?
A: Most light boxes have an access point where you can easily replace the light source. Refer to the instructions provided with your light box.
Q: Can I use a different template design?
A: Yes, there are numerous template designs available online. Choose one that suits your style and preferences.
Q: How do I make my light box more unique?
A: Add embellishments such as glitter, paint, or stickers to personalize your light box. Consider framing it for a more polished look.


