


Download Paper Art Shadow Box: A Comprehensive Guide to Crafting Stunning 3D Art
Introduction
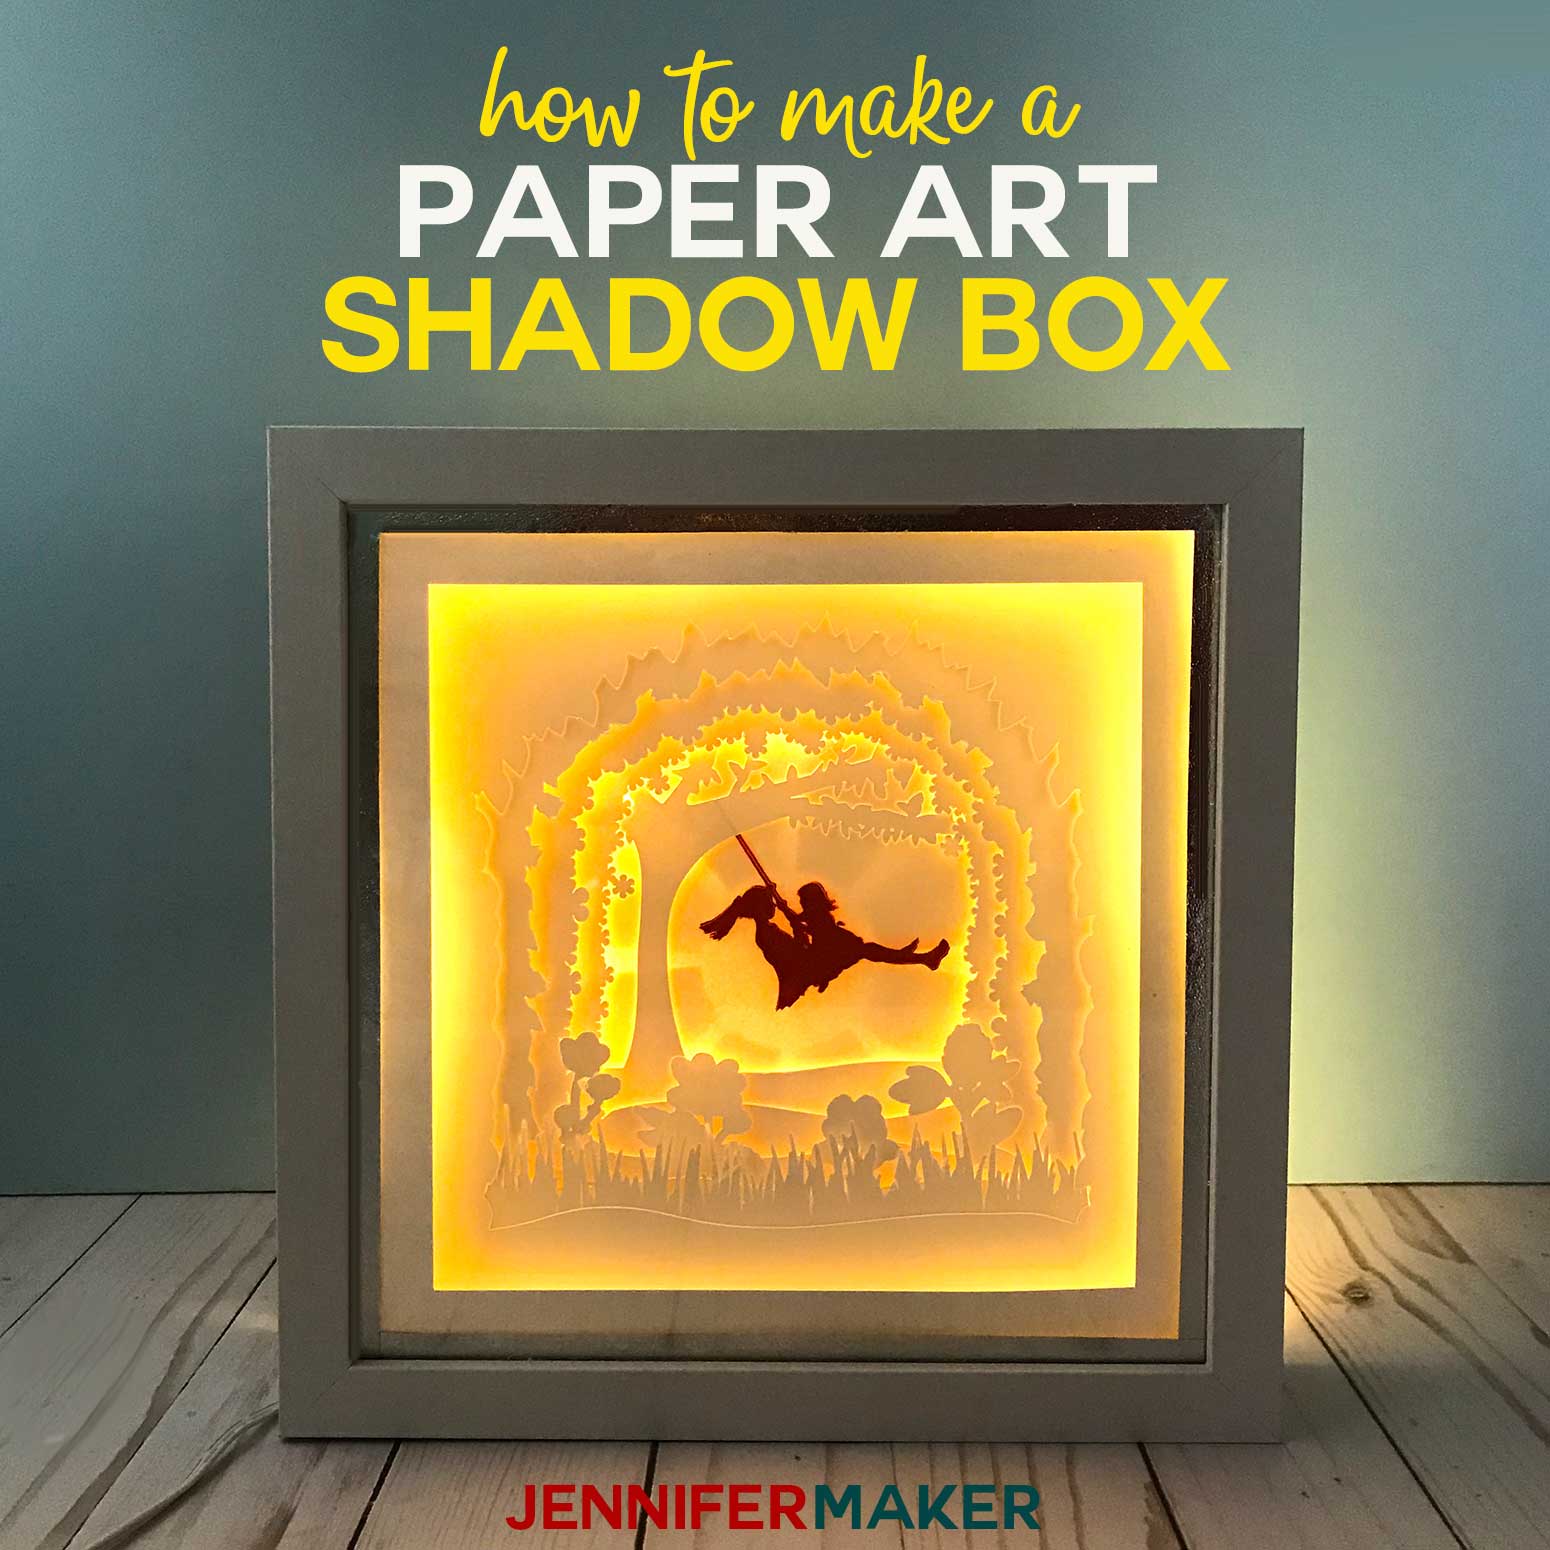
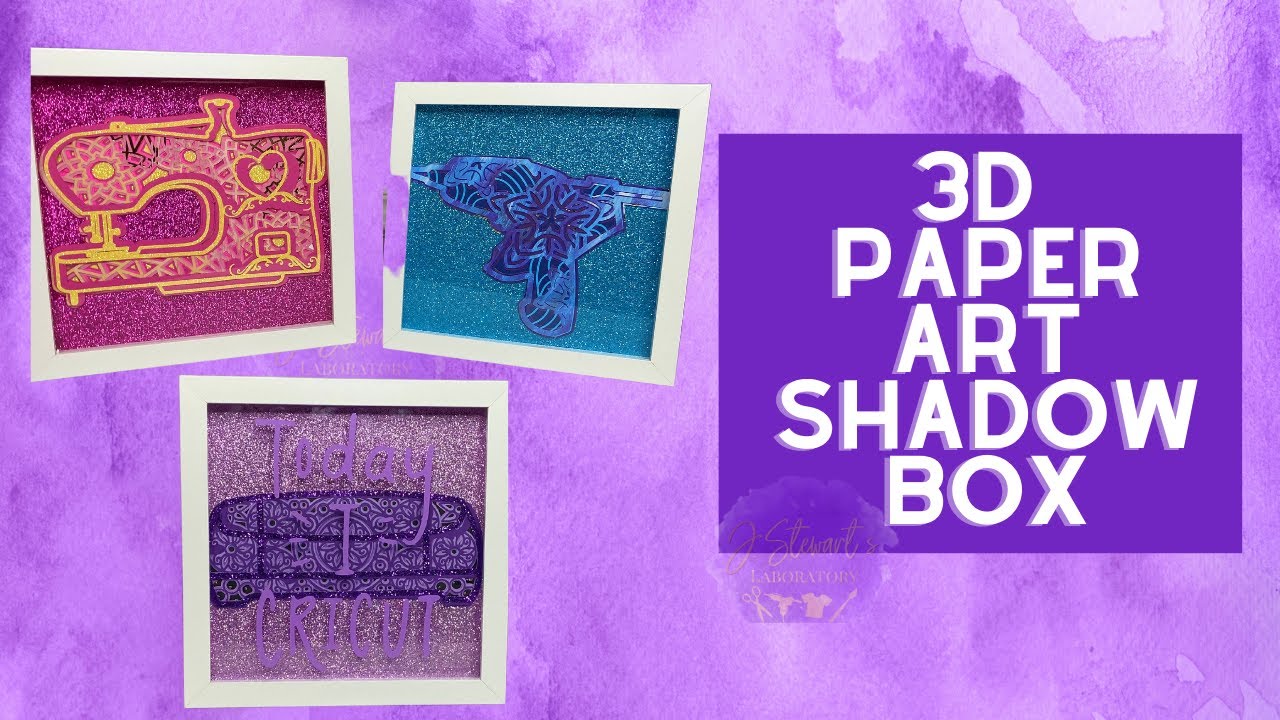
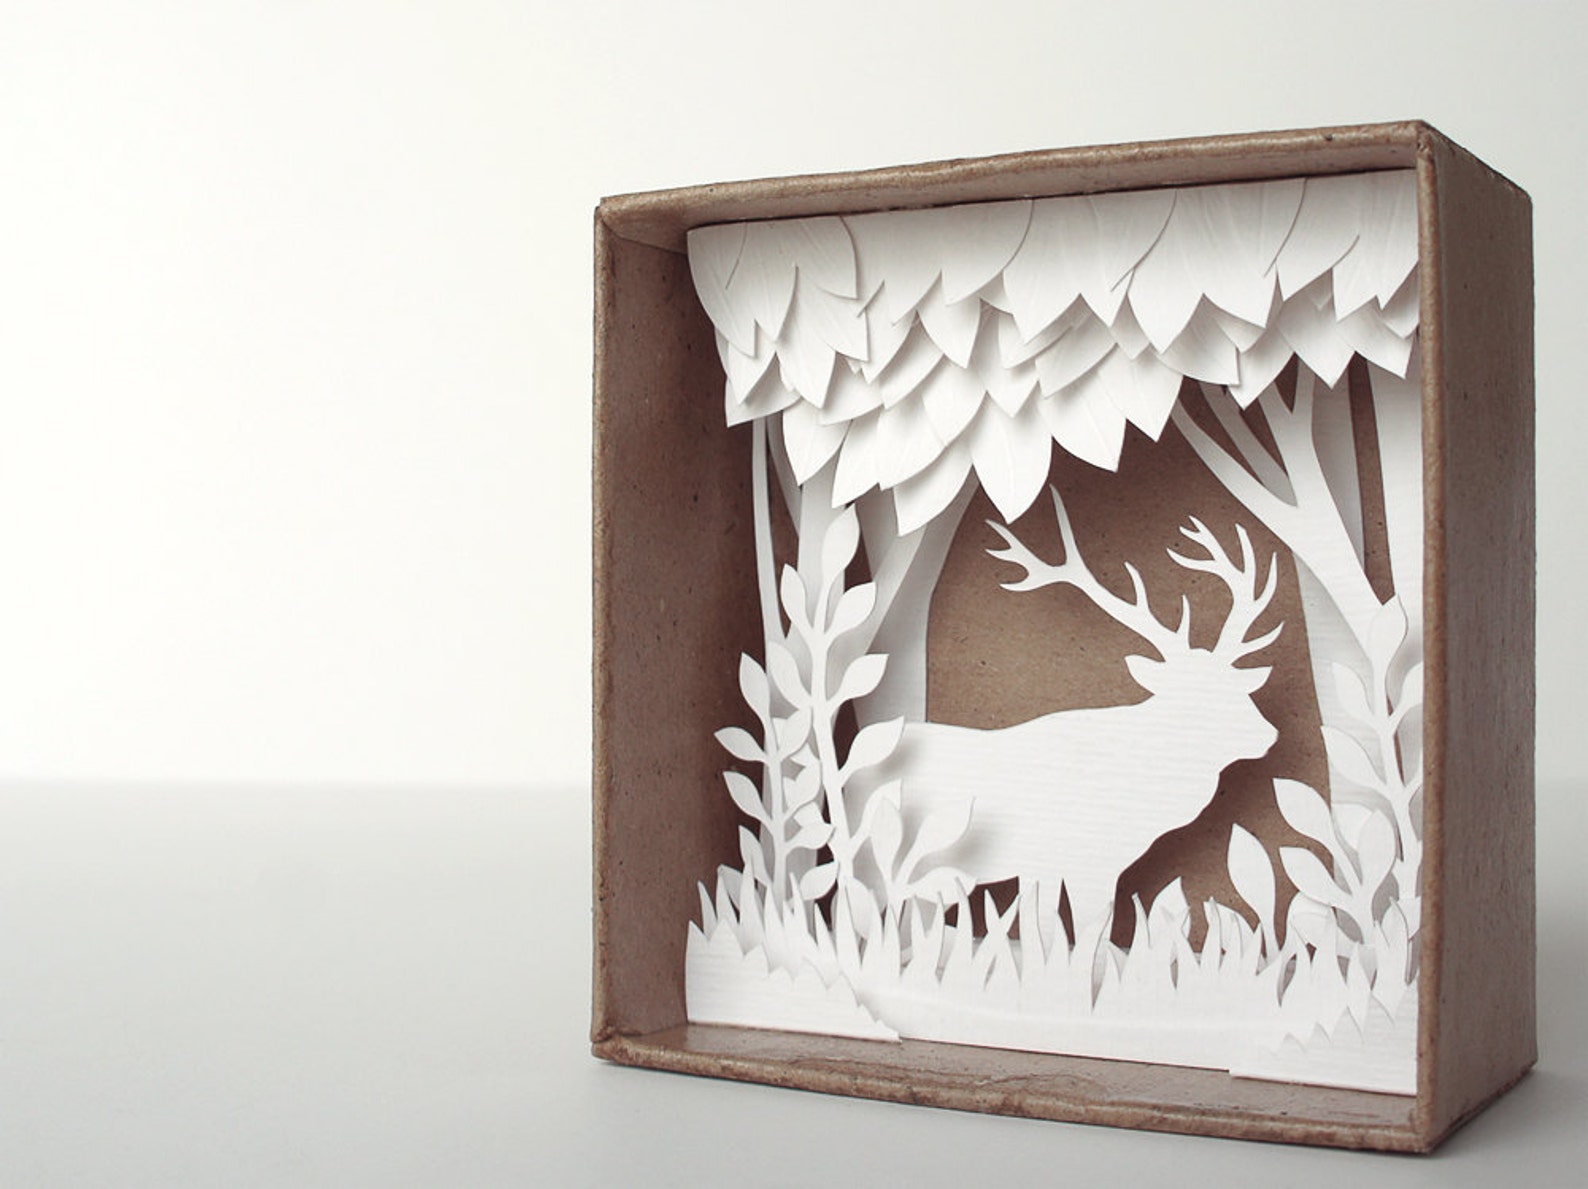
Paper art shadow boxes are captivating three-dimensional artworks that combine the beauty of papercraft with the depth and dimension of a shadow box. They are a versatile art form that allows you to showcase your creativity and create unique decorative pieces for your home or office. This guide will provide you with all the information you need to download and craft stunning paper art shadow boxes.
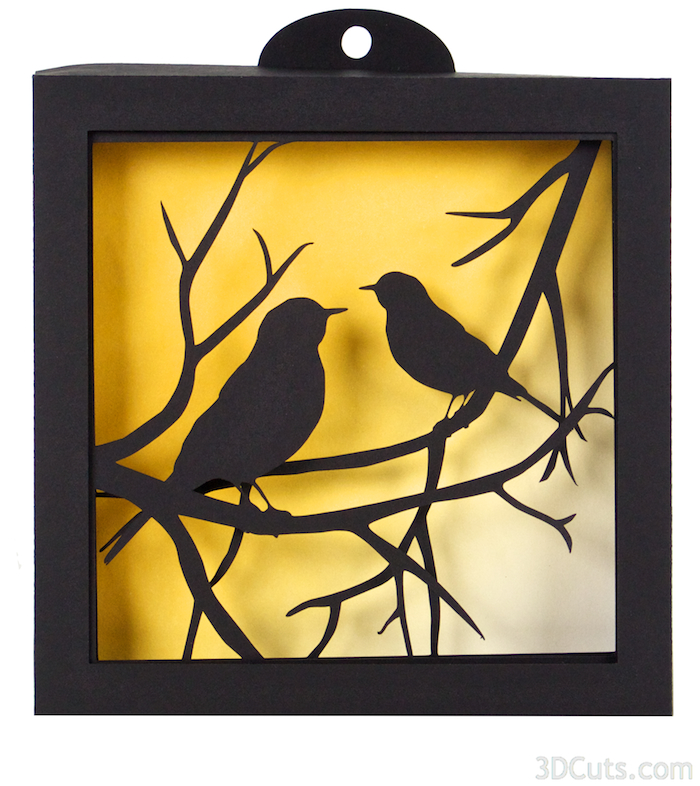

Table of Content
- 1 Download Paper Art Shadow Box: A Comprehensive Guide to Crafting Stunning 3D Art
- 1.1 Introduction
- 1.2 H1: Materials and Tools
- 1.3 H1: Materials and Tools
- 1.4 H2: Choosing and Downloading Templates
- 1.5 H3: Printing and Cutting
- 1.6 H2: Assembling the Paper Art
- 1.7 H2: Mounting in the Shadow Box
- 1.8 H2: Finishing Touches
- 1.9 H3: Tips and Troubleshooting
- 1.10 Conclusion
- 1.11 FAQs
H1: Materials and Tools
- Downloadable paper art templates
- Cardstock or watercolor paper
- Scissors
- X-acto knife or craft knife
- Glue stick or liquid glue
- Foam board or mat board
- Shadow box frame


Tools:
Paper art shadow boxes are captivating three-dimensional artworks that combine the beauty of papercraft with the depth and dimension of a shadow box. They are a versatile art form that allows you to showcase your creativity and create unique decorative pieces for your home or office. This guide will provide you with all the information you need to download and craft stunning paper art shadow boxes.
- Download Shadow Box Template Free Download Shadow Box Template Free: The Ultimate Guide To Creating Stunning Shadow Box Displays
- Shadow Box Svg Files Free Shadow Box SVG Files: Unleashing Creativity And Personalization
- 3d Shadow Box Templates 3D Shadow Box Templates: A Comprehensive Guide To Enhancing Your Creative Projects
- Lighted Christmas Shadow Box Lighted Christmas Shadow Box: A Festive Addition To Your Holiday Décor
- How To Make A Layered Shadow Box With Cricut How To Make A Layered Shadow Box With Cricut: A Comprehensive Guide
H1: Materials and Tools
Materials:

- Downloadable paper art templates
- Cardstock or watercolor paper
- Ruler or measuring tape
- Pencil or pen
- Cutting mat
- Scoring tool (optional)
- Select Templates: Browse online marketplaces like Etsy or Creative Market for downloadable paper art templates. Consider your skill level, the desired complexity of the design, and the size of your shadow box.
- Download Files: Once you have selected your templates, download them to your computer. Most templates come in PDF format, which can be opened with Adobe Acrobat Reader.
- Print Templates: Print the templates on cardstock or watercolor paper using a high-quality printer. Ensure that the paper is thick enough to hold its shape in the shadow box.
- Cut Pieces: Carefully cut out the individual pieces using scissors or an X-acto knife. Use a cutting mat to protect your work surface.
- Add Background: Consider adding a colored or patterned paper to the back of the shadow box to enhance the depth and contrast of the paper art.
- Frame and Display: Place the finished shadow box in a suitable frame and hang it on a wall or display it on a shelf.
- Use Thick Paper: Choose cardstock or watercolor paper that is thick enough to maintain its shape in the shadow box.
- Score Fold Lines: Scoring the fold lines will prevent the paper from tearing and ensure precise folding.
- Apply Glue Sparingly: Avoid using too much glue, as it can warp the paper.
- Allow Ample Drying Time: Allow the glued pieces to dry completely before handling them to prevent them from becoming disfigured.
- Handle with Care: Paper art shadow boxes are delicate, so handle them carefully during assembly and display.
- What is the best paper to use for paper art shadow boxes? Cardstock or watercolor paper with a thickness of at least 80 lb. is recommended.
- Can I use regular paper for paper art shadow boxes? Regular paper is not recommended as it is too thin and will not hold its shape in the shadow box.
- How do I keep the paper art from warping? Use thick paper and allow the glue to dry completely before handling the pieces.
- Can I use other materials besides paper? Yes, you can incorporate fabric, ribbons, or other embellishments into your paper art shadow boxes.
- Where can I find inspiration for paper art shadow box designs? Browse online marketplaces, art books, or social media platforms for ideas and inspiration.

H2: Choosing and Downloading Templates

H3: Printing and Cutting
H2: Assembling the Paper Art
Step 1: Score and Fold: Use a scoring tool or a dull knife to score along the fold lines indicated on the templates. This will make it easier to fold the pieces precisely.
Step 2: Glue Pieces: Apply glue to the designated areas on the pieces and assemble them according to the template instructions. Start with the base layer and work your way up to the top layers.
Step 3: Allow to Dry: Let the assembled paper art dry completely before moving on to the next step.
H2: Mounting in the Shadow Box
Step 1: Measure and Cut Foam Board: Measure the inside dimensions of the shadow box and cut a piece of foam board to fit snugly.
Step 2: Glue Paper Art: Apply glue to the back of the paper art and carefully place it on the foam board. Press down gently to secure it.
Step 3: Insert into Shadow Box: Place the foam board with the paper art into the shadow box frame. Secure it in place with the provided backing board and clips.
H2: Finishing Touches
H3: Tips and Troubleshooting
Conclusion
Creating paper art shadow boxes is a rewarding and versatile art form that allows you to express your creativity and decorate your living space with unique and eye-catching pieces. By following the steps outlined in this guide, you can download, assemble, and display stunning paper art shadow boxes that will enhance any room.
FAQs


