


Download Cut Paper Shadow Box: A Comprehensive Guide to Creating Stunning 3D Art
Introduction
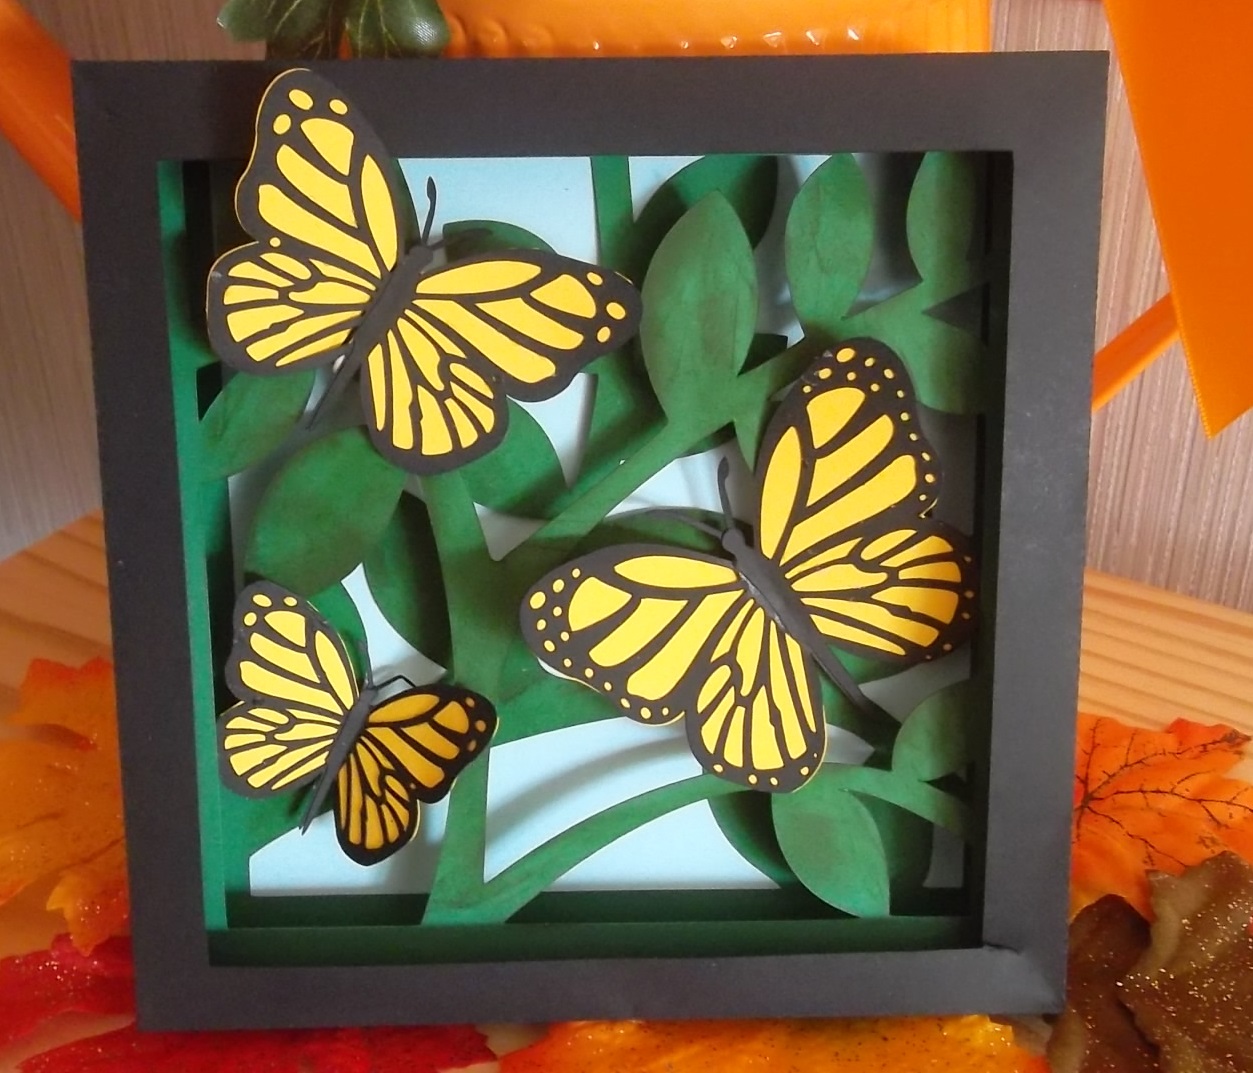
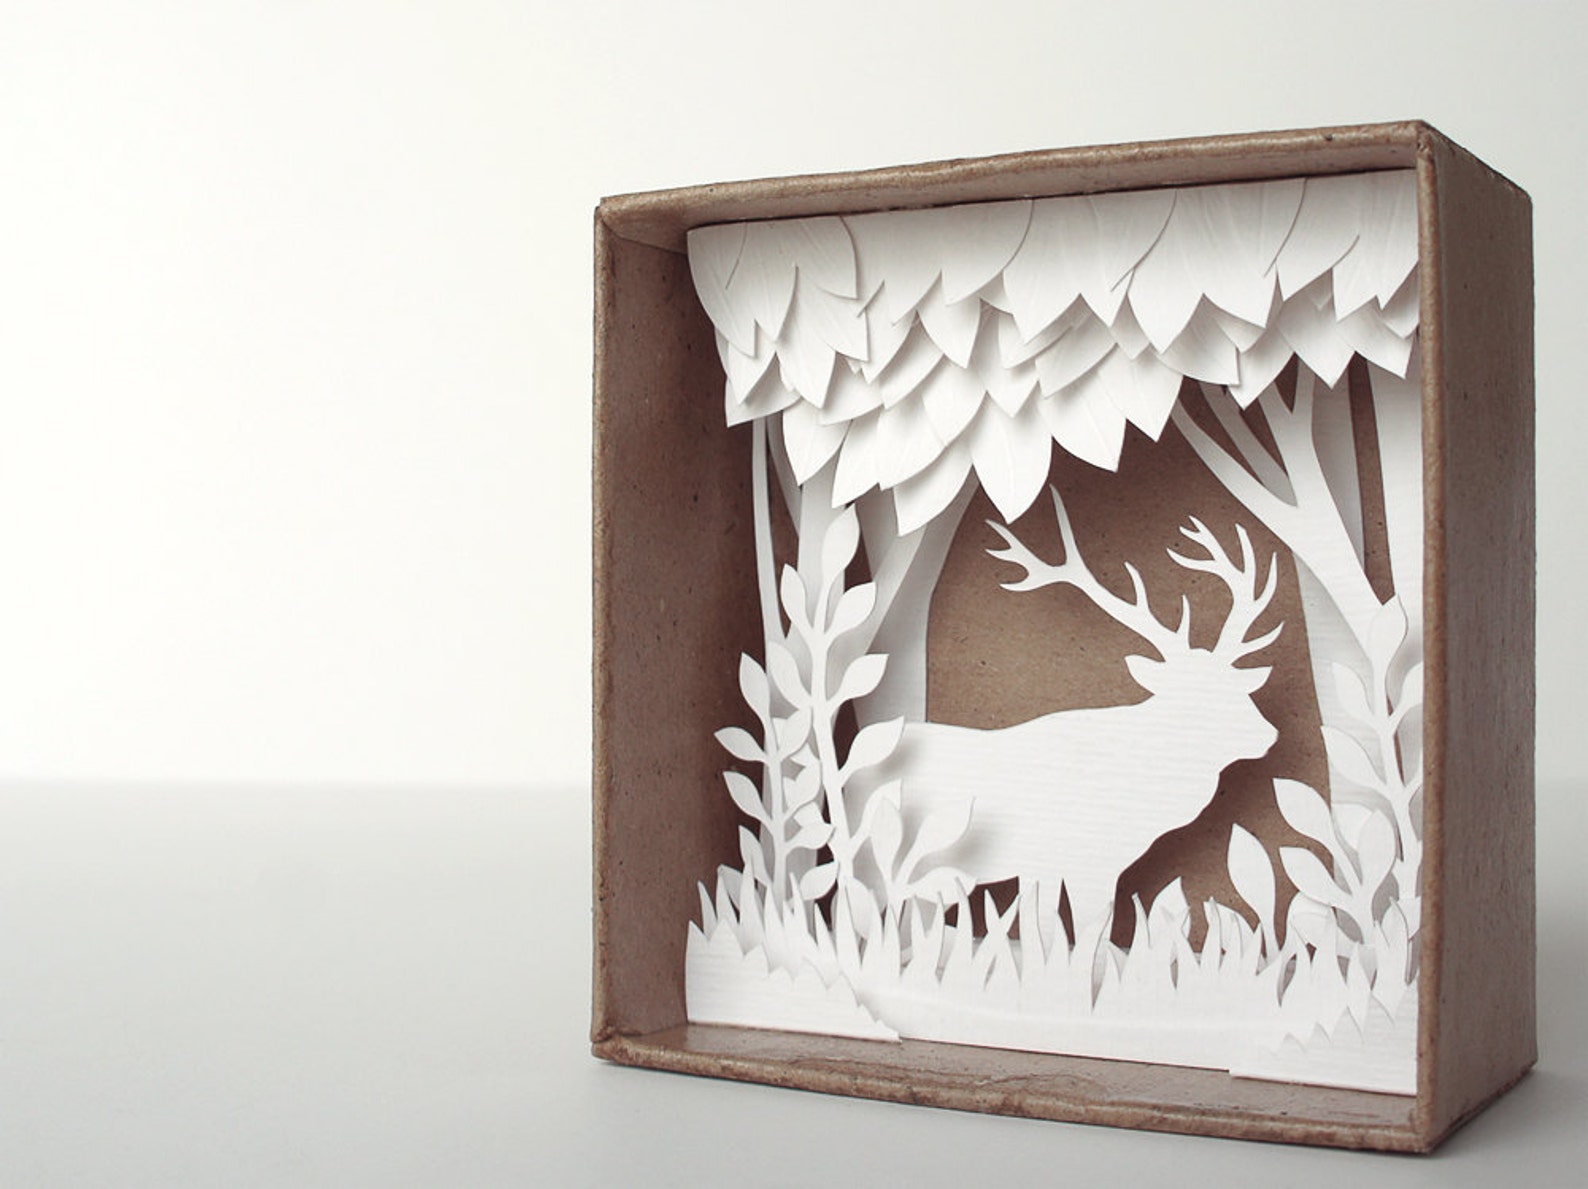
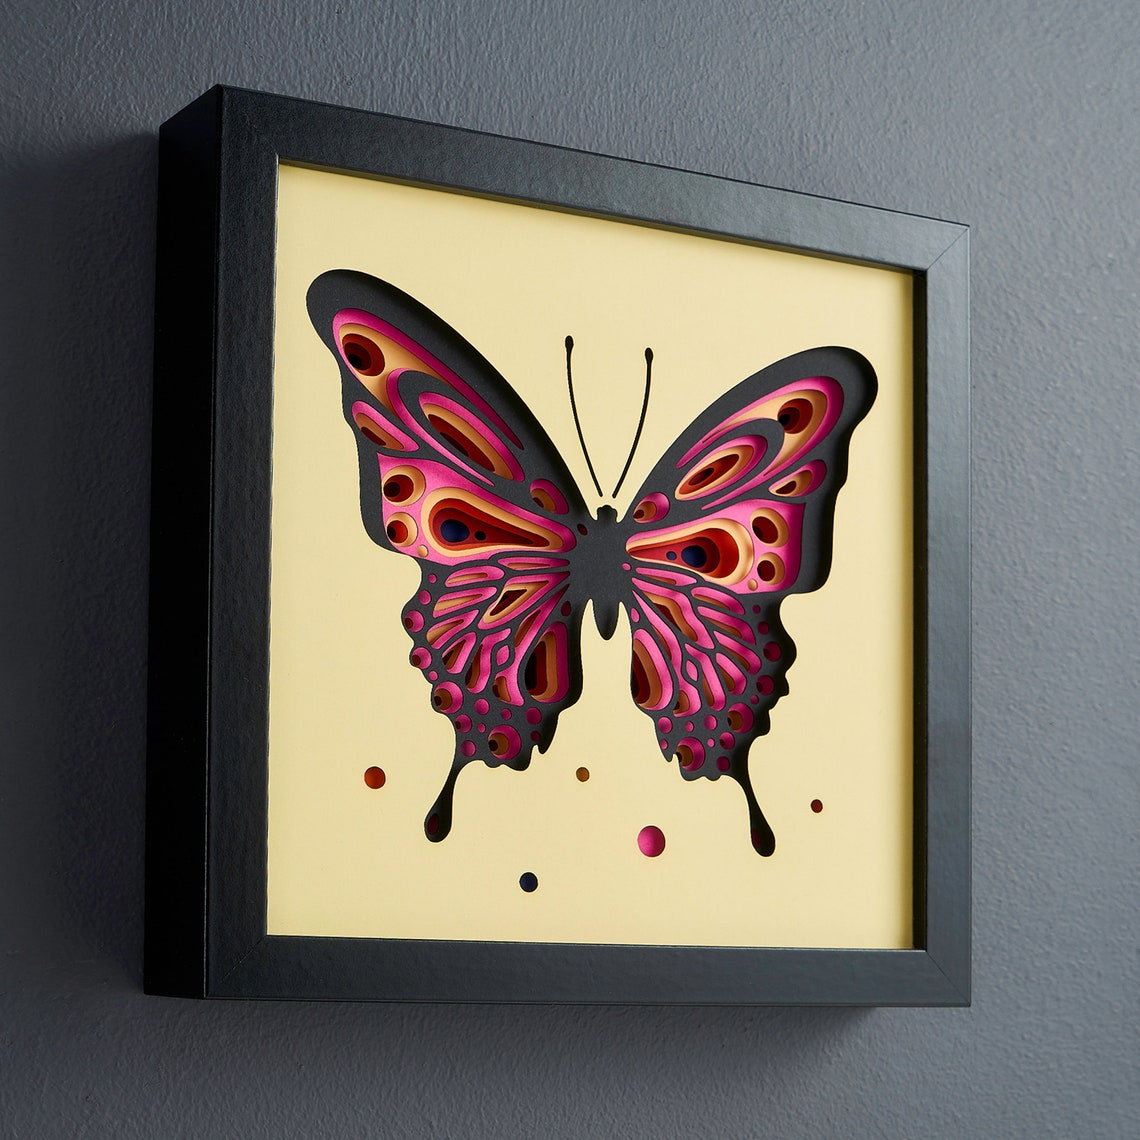
Cut paper shadow boxes are a captivating form of art that combines the intricate beauty of papercutting with the depth and dimension of a shadow box. This guide will provide you with a comprehensive understanding of cut paper shadow boxes, from choosing the right materials to creating stunning designs.


Table of Content
- 1 Download Cut Paper Shadow Box: A Comprehensive Guide to Creating Stunning 3D Art
- 1.1 Introduction
- 1.2 H1: Materials for Cut Paper Shadow Boxes
- 1.3 H1: Materials for Cut Paper Shadow Boxes
- 1.4 H2: Creating a Cut Paper Shadow Box
- 1.5 H3: Advanced Techniques for Cut Paper Shadow Boxes
- 1.6 H4: Tips for Success
- 1.7 H5: Conclusion
- 1.8 FAQs
H1: Materials for Cut Paper Shadow Boxes
- Choose high-quality paper that is thick and durable, such as cardstock or watercolor paper.
- Consider the color and texture of the paper to enhance the overall aesthetic.
Cutting Tools:
- Craft knife or X-Acto knife: For precise cuts and intricate designs.
- Scissors: For cutting larger shapes or making curved cuts.
- Die-cutting machine: For creating complex shapes with ease.

Cut paper shadow boxes are a captivating form of art that combines the intricate beauty of papercutting with the depth and dimension of a shadow box. This guide will provide you with a comprehensive understanding of cut paper shadow boxes, from choosing the right materials to creating stunning designs.
- Cricut Shadow Box Projects Cricut Shadow Box Projects: A Step-by-Step Guide To Creating Stunning 3D Masterpieces
- Paper Shadow Box SVG File Paper Shadow Box SVG File: A Comprehensive Guide To Creating Stunning 3D Paper Art
- 3d Shadow Box Templates 3D Shadow Box Templates: A Comprehensive Guide To Enhancing Your Creative Projects
- Download Christmas Shadow Box Svg Free Download Christmas Shadow Box SVG Free: Capture The Holiday Magic With Intricate Designs
- Layered Paper Shadow Box Layered Paper Shadow Box: A Guide To Creating Stunning 3D Art
H1: Materials for Cut Paper Shadow Boxes
Paper:

- Choose high-quality paper that is thick and durable, such as cardstock or watercolor paper.
- Consider the color and texture of the paper to enhance the overall aesthetic.
- Choose a shadow box with a depth that complements the thickness of your paper.
- Consider the size and shape of the box to accommodate your design.
- Glue or double-sided tape: For attaching paper layers and securing the artwork.
- Foam core or mat board: For providing support and depth within the shadow box.
- Sketch out your design on paper or use a computer-aided design (CAD) software.
- Determine the layers and depth of your design.
- Use your cutting tools to carefully cut out the paper layers according to your design.
- Pay attention to precision and detail to ensure the layers fit together seamlessly.
- Apply glue or double-sided tape to the edges of the paper layers.
- Stack the layers in order, starting with the bottom layer and working towards the top.
- Use foam core or mat board to create depth and spacing between layers.
- Secure the assembled artwork to the back of the shadow box using glue or double-sided tape.
- Adjust the position of the artwork to ensure it is centered and balanced.
- Choose a frame that complements the style and color of your artwork.
- Hang or display the shadow box in a well-lit area to showcase its beauty.
- Create depth and complexity by using multiple layers of paper with varying thicknesses and colors.
- Use the negative space around the cutouts to create additional visual interest and contrast.
- Enhance the illusion of depth by placing a light source behind the shadow box.
- Add three-dimensional elements, such as beads, fabric, or wire, to create a dynamic and interactive artwork.
- Use sharp cutting tools to ensure clean and precise cuts.
- Experiment with different paper textures and colors to create unique effects.
- Pay attention to the spacing between layers to create a sense of depth.
- Consider using a ruler or template to ensure accuracy in cutting and assembly.
- Allow sufficient drying time for glue or double-sided tape to ensure a secure bond.
Shadow Box:

Other Materials:

H2: Creating a Cut Paper Shadow Box
Step 1: Design Your Artwork

Step 2: Cut the Paper
Step 3: Assemble the Layers
Step 4: Mount the Artwork in the Shadow Box
Step 5: Frame and Display
H3: Advanced Techniques for Cut Paper Shadow Boxes
Multi-Layer Designs:
Negative Space:
Backlighting:
3D Elements:
H4: Tips for Success
H5: Conclusion
Creating cut paper shadow boxes is a rewarding and versatile art form that allows you to express your creativity and produce stunning 3D artworks. By following the steps outlined in this guide and experimenting with advanced techniques, you can create captivating shadow boxes that will add depth and beauty to any space.
FAQs
Q: What type of paper is best for cut paper shadow boxes?
A: High-quality cardstock or watercolor paper is recommended for its durability and thickness.
Q: How can I create depth in my shadow box?
A: Use multiple layers of paper with varying thicknesses, or add foam core or mat board to create spacing between layers.
Q: Can I use other materials besides paper in my shadow box?
A: Yes, you can incorporate beads, fabric, wire, or other materials to add texture and dimension.
Q: How do I frame and display my shadow box?
A: Choose a frame that complements your artwork and hang or display it in a well-lit area.
Q: How can I prevent my paper from warping or curling?
A: Use a heavy-duty backing board and seal the shadow box with acid-free glue to prevent moisture and warping.


