How to Make a Lighted Shadow Box with Cricut: A Step-by-Step Guide
Introduction
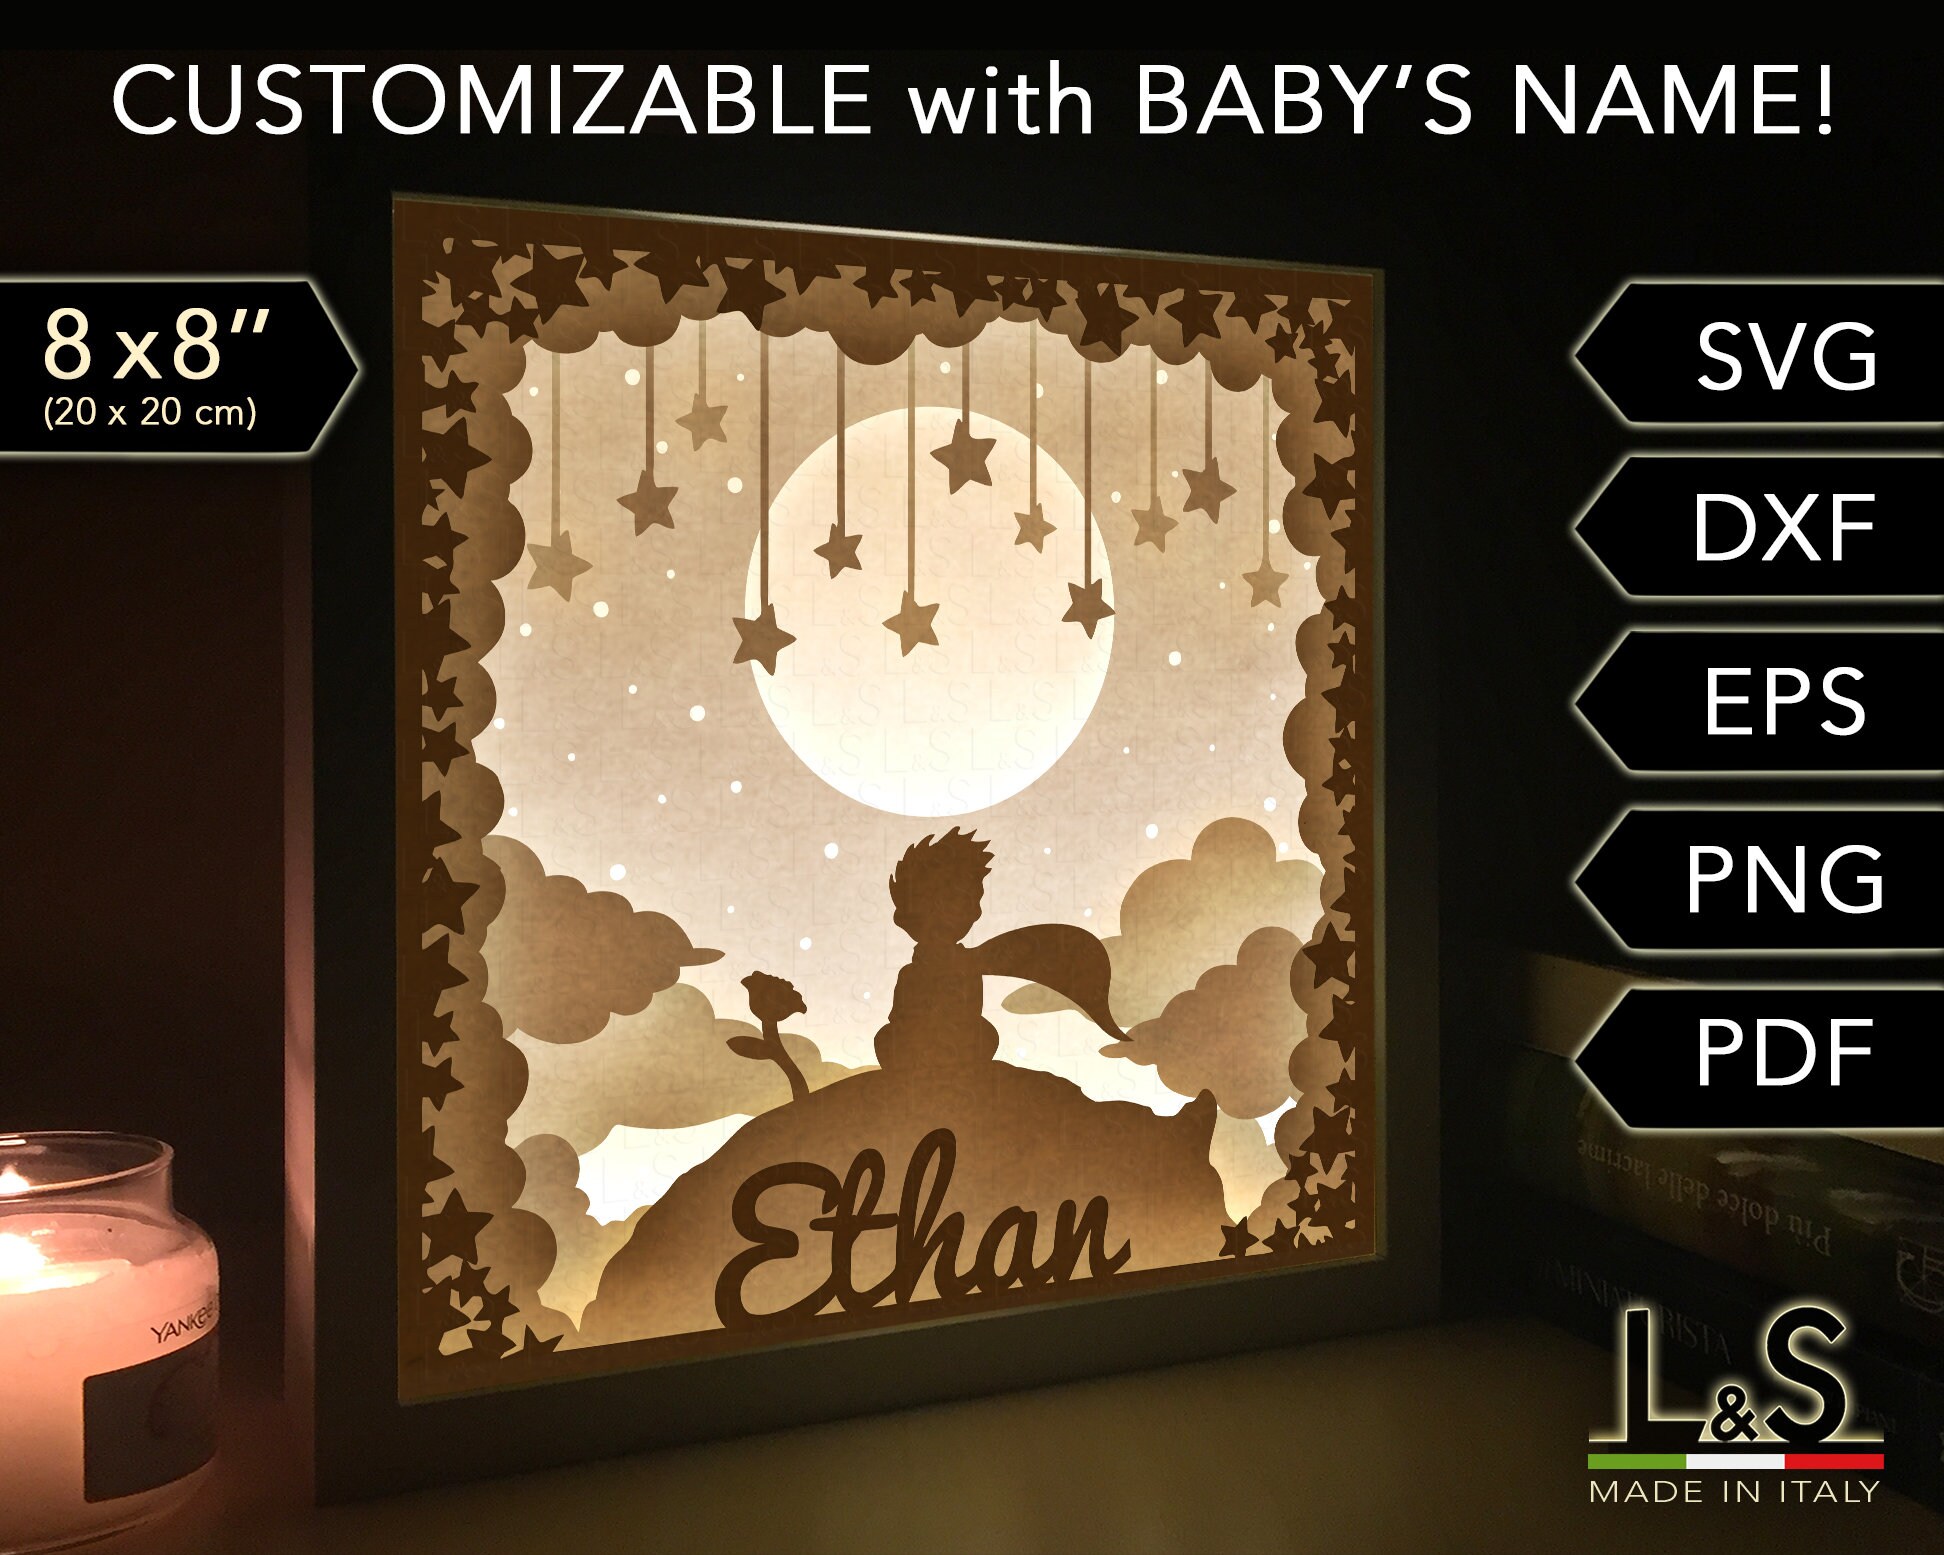
A lighted shadow box is a stunning way to display your favorite memories, artwork, or collectibles. With a Cricut machine, you can easily create a custom lighted shadow box that will add a touch of elegance to any room. In this comprehensive guide, we’ll walk you through every step of the process, from designing your project to assembling the final product.


Table of Content
- 1 How to Make a Lighted Shadow Box with Cricut: A Step-by-Step Guide
- 1.1 Introduction
- 1.2 Materials You’ll Need
- 1.3 Materials You’ll Need
- 1.4 Step 1: Design Your Shadow Box
- 1.5 Step 2: Install the LED Light Strips
- 1.6 Step 3: Assemble the Shadow Box
- 1.7 Step 4: Power the Lights
- 1.8 Tips for Success
- 1.9 Conclusion
- 1.10 FAQs
Materials You’ll Need


A lighted shadow box is a stunning way to display your favorite memories, artwork, or collectibles. With a Cricut machine, you can easily create a custom lighted shadow box that will add a touch of elegance to any room. In this comprehensive guide, we’ll walk you through every step of the process, from designing your project to assembling the final product.
- Free Papercut Light Box Templates Free Papercut Light Box Templates: A Comprehensive Guide To Illuminate Your Creations
- 3d Svg Shadow Box 3D SVG Shadow Box: A Comprehensive Guide To Creating Stunning Artwork
- Paper Shadow Box Collection Paper Shadow Box Collection: An Artful Way To Preserve Memories
- Free Christmas Shadow Box Svg Free Christmas Shadow Box SVG: A Festive Way To Decorate Your Home For The Holidays
- Elephant Shadow Box H1: The Art Of Elephant Shadow Boxes: Preserving Memories In A Unique And Captivating Way
Materials You’ll Need
- Cricut machine and cutting mat
- Shadow box frame
- Cardstock or other suitable material

Step 1: Design Your Shadow Box
- Choose your design: Decide what you want to display in your shadow box. This could be a photo, artwork, or other memorabilia.
- Create your design: If using design software, import your image or create your own design. Arrange the elements within the shadow box frame.
- Cut your design: Send your design to your Cricut machine and cut it out of cardstock or other suitable material.


Step 2: Install the LED Light Strips
- Measure and cut the light strips: Determine the length of light strips needed to line the inside of the shadow box. Cut the strips to size.
- Connect the light strips: Connect the light strips to the power supply and switch. Test the lights to ensure they work properly.
- Adhere the light strips: Use adhesive or glue to attach the light strips to the inside of the shadow box. Make sure they are evenly spaced and secure.


Step 3: Assemble the Shadow Box
- Place the backing: Insert the backing into the shadow box frame.
- Position your design: Arrange your cut design on the backing. Use adhesive or glue to secure it.
- Add the glass or acrylic: Carefully place the glass or acrylic sheet over the design.
- Secure the frame: Close the shadow box frame and secure it with the included hardware.
Step 4: Power the Lights
- Connect the power supply: Plug the power supply into an electrical outlet.
- Turn on the lights: Flip the switch to turn on the LED lights.
Tips for Success
- Use high-quality materials: The materials you choose will impact the durability and appearance of your shadow box. Opt for sturdy cardstock and long-lasting LED light strips.
- Measure carefully: Accurate measurements are crucial for a well-fitting and visually appealing shadow box.
- Test your lights: Before assembling the shadow box, test the LED light strips to ensure they are working properly.
- Experiment with different designs: Don’t be afraid to experiment with different design ideas. You can create shadow boxes with multiple layers, different colors, or even custom cutouts.
Conclusion
Creating a lighted shadow box with Cricut is a rewarding and versatile project that can enhance the beauty of your home or workspace. By following these step-by-step instructions, you can design and assemble a custom shadow box that will showcase your cherished memories or inspire your creativity.
FAQs
Q: What types of materials can I use for my design?
A: You can use cardstock, vinyl, fabric, or any other material that is compatible with your Cricut machine.
Q: Can I use different colored LED light strips?
A: Yes, you can choose any color of LED light strips that you prefer.
Q: Can I add multiple layers to my shadow box?
A: Yes, you can create multiple layers by cutting out different designs and adhering them together.
Q: How do I clean my lighted shadow box?
A: Use a soft cloth to gently wipe down the shadow box. Avoid using harsh chemicals or abrasive cleaners.
Q: Where can I find inspiration for my shadow box design?
A: You can find inspiration online, in magazines, or from your own creative ideas.