H1: Download Paper Cut Light Box Free Template: Illuminate Your Creations
H2: Introduction to Paper Cut Light Boxes
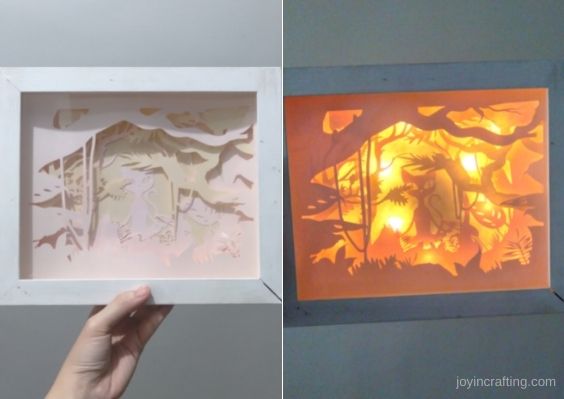
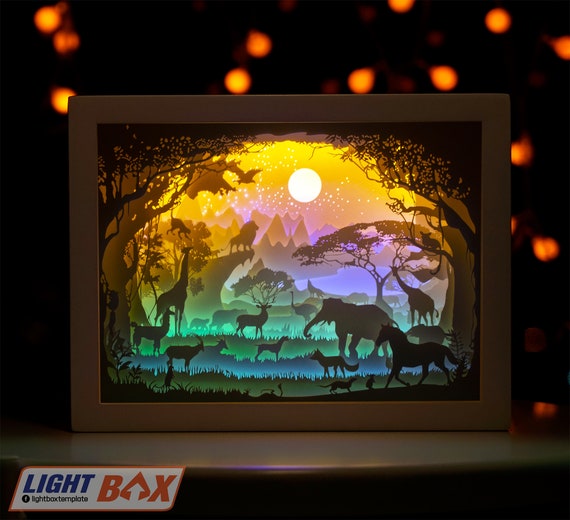
Paper cut light boxes are a captivating form of artistic expression that combines the intricate beauty of paper cutting with the illuminating power of light. These enchanting creations cast intricate shadows and create a mesmerizing ambiance, making them a perfect addition to any home or studio.


Table of Content
- 1 H1: Download Paper Cut Light Box Free Template: Illuminate Your Creations
- 1.1 H2: Introduction to Paper Cut Light Boxes
- 1.2 H3: Benefits of Paper Cut Light Boxes
- 1.3 H2: Downloading Free Paper Cut Light Box Template
- 1.4 H3: Benefits of Paper Cut Light Boxes
- 1.5 H3: Materials and Tools Required
- 1.6 H2: Step-by-Step Guide to Creating a Paper Cut Light Box
- 1.7 H3: Design Tips for Paper Cut Light Boxes
- 1.8 H2: Conclusion
- 1.9 H3: Frequently Asked Questions
H3: Benefits of Paper Cut Light Boxes
H2: Downloading Free Paper Cut Light Box Template
To start creating your own paper cut light boxes, download a free template from our website. Our template provides:
- Precise Cutting Guide: Detailed outlines and measurements for effortless paper cutting.
- Base Box Design: A sturdy base box template to house the light source and paper cutout.
- Free Box Templates For Cricut Free Box Templates For Cricut: Elevate Your Packaging Game
- Star Wars Shadow Box Svg Free Star Wars Shadow Box SVG: A Comprehensive Guide To Crafting Cinematic Masterpieces
- Free Cricut Box Template Free Cricut Box Template: Unleash Your Creativity With Customizable Designs
- Shadow Box Paper Art SVG Shadow Box Paper Art SVG: The Ultimate Guide
- Cat Shadow Box SVG File Cat Shadow Box SVG File: A Purrfect Addition To Your Home Décor
- Artistic Expression: Paper cutting allows you to unleash your creativity and transform ordinary paper into delicate masterpieces.
- Illuminating Decor: The diffused light from the box illuminates the intricate designs, creating a unique and eye-catching display.
- Personalized Gifts: Custom-designed light boxes make thoughtful and memorable gifts for loved ones, commemorating special occasions or expressing sentiments.
- Scalable Design: The template is designed to be easily scaled up or down to fit any size requirement.
- Paper: Acid-free or heavy-weight paper for durability.
- Cutting Mat: A sturdy surface to protect your work surface and prevent blade damage.
- Craft Knife: A sharp craft knife or scalpel for precise cutting.
- Light Source: LED light strip, fairy lights, or a battery-operated tea light.
- Ruler or Measuring Tape: For accurate measurements and straight lines.
- Scoring Tool: A stylus or bone folder to create fold lines without tearing the paper.
- Adhesive: Glue stick, double-sided tape, or craft glue to secure the box and cutout.
- Choose Intricate Designs: Complex and detailed designs cast more intricate shadows and create a more striking effect.
- Use Multiple Layers: Layer different designs to create depth and dimension in your light box.
- Experiment with Light Sources: Different light sources produce varying intensities and colors, allowing you to customize the ambiance of your light box.
- Personalize Your Creations: Add personal touches to your light boxes, such as names, quotes, or images, to make them truly unique.

Paper cut light boxes are a captivating form of artistic expression that combines the intricate beauty of paper cutting with the illuminating power of light. These enchanting creations cast intricate shadows and create a mesmerizing ambiance, making them a perfect addition to any home or studio.
H3: Benefits of Paper Cut Light Boxes


H3: Materials and Tools Required
Materials:


Tools:

H2: Step-by-Step Guide to Creating a Paper Cut Light Box
Step 1: Print and Cut the Template
Print the template onto your chosen paper and cut out the base box and paper cutout designs.
Step 2: Score and Fold the Base Box
Use a scoring tool to create fold lines along the dotted lines on the base box template. Fold the box along these lines to form the base.
Step 3: Cut the Paper Cutout
Carefully cut out the intricate designs on the paper cutout template using a sharp craft knife.
Step 4: Assemble the Light Box
Place the paper cutout inside the base box and secure it with adhesive. Insert the light source and close the box.
Step 5: Illuminate and Enjoy
Turn on the light source and witness the captivating shadows and illumination created by your paper cut light box.
H3: Design Tips for Paper Cut Light Boxes
H2: Conclusion
Paper cut light boxes are a versatile and enchanting art form that allows you to express your creativity and illuminate your living space. By downloading our free template and following the step-by-step guide, you can create stunning light boxes that will add a touch of magic to any environment.
H3: Frequently Asked Questions
Q: What type of paper should I use?
A: Acid-free or heavy-weight paper is recommended for durability and longevity.
Q: How can I make the light box brighter?
A: Use a brighter light source, such as an LED light strip with higher wattage.
Q: Can I use colored paper?
A: Yes, you can use colored paper to create vibrant and unique light boxes.
Q: How do I secure the paper cutout inside the box?
A: Use a glue stick, double-sided tape, or craft glue to attach the paper cutout to the base box.
Q: Can I sell paper cut light boxes I make?
A: Yes, you can sell your creations as long as you use your own original designs and do not infringe on any copyright or trademarks.