


H1: Crafting Illumination: A Comprehensive Guide to Creating a Light Box with Cricut
H2: Embarking on Your Light Box Adventure
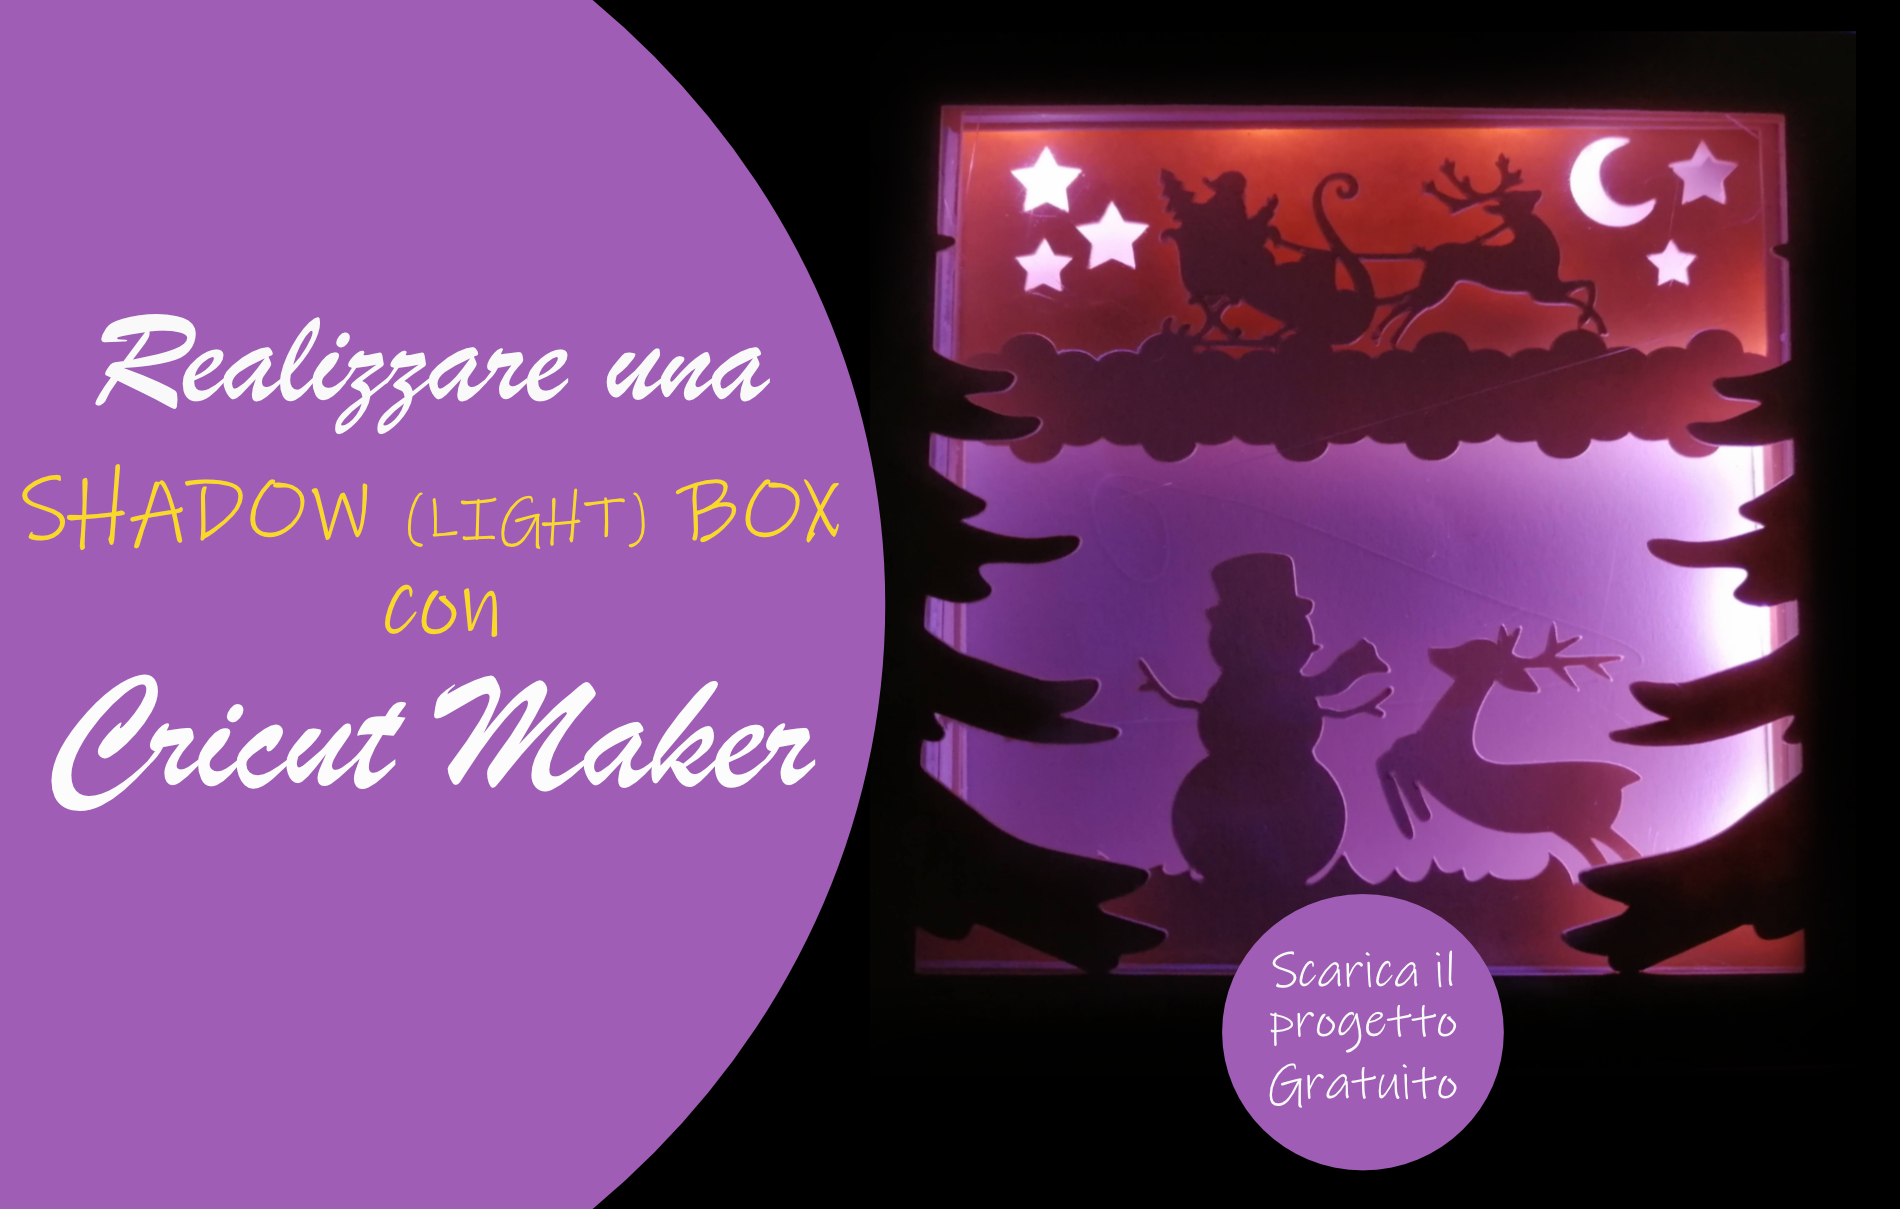
Light boxes, with their mesmerizing glow and endless creative possibilities, have captivated the hearts of crafters worldwide. If you’re eager to join the light box revolution, armed with your trusty Cricut, you’re in for an illuminating journey. In this comprehensive guide, we’ll delve into the intricacies of crafting a stunning light box, empowering you to transform your designs into radiant masterpieces.


Table of Content
- 1 H1: Crafting Illumination: A Comprehensive Guide to Creating a Light Box with Cricut
- 1.1 H2: Embarking on Your Light Box Adventure
- 1.2 H3: Gathering the Essential Components
- 1.3 H4: Crafting the Light Box Base
- 1.4 H3: Gathering the Essential Components
- 1.5 H5: Preparing the Acrylic Sheet
- 1.6 H6: Installing the Light Source
- 1.7 H7: Adding Creative Touches
- 1.8 H8: Powering Up and Displaying
- 1.9 H9: Troubleshooting Tips
- 1.10 H10: Conclusion
- 1.11 FAQs
H3: Gathering the Essential Components
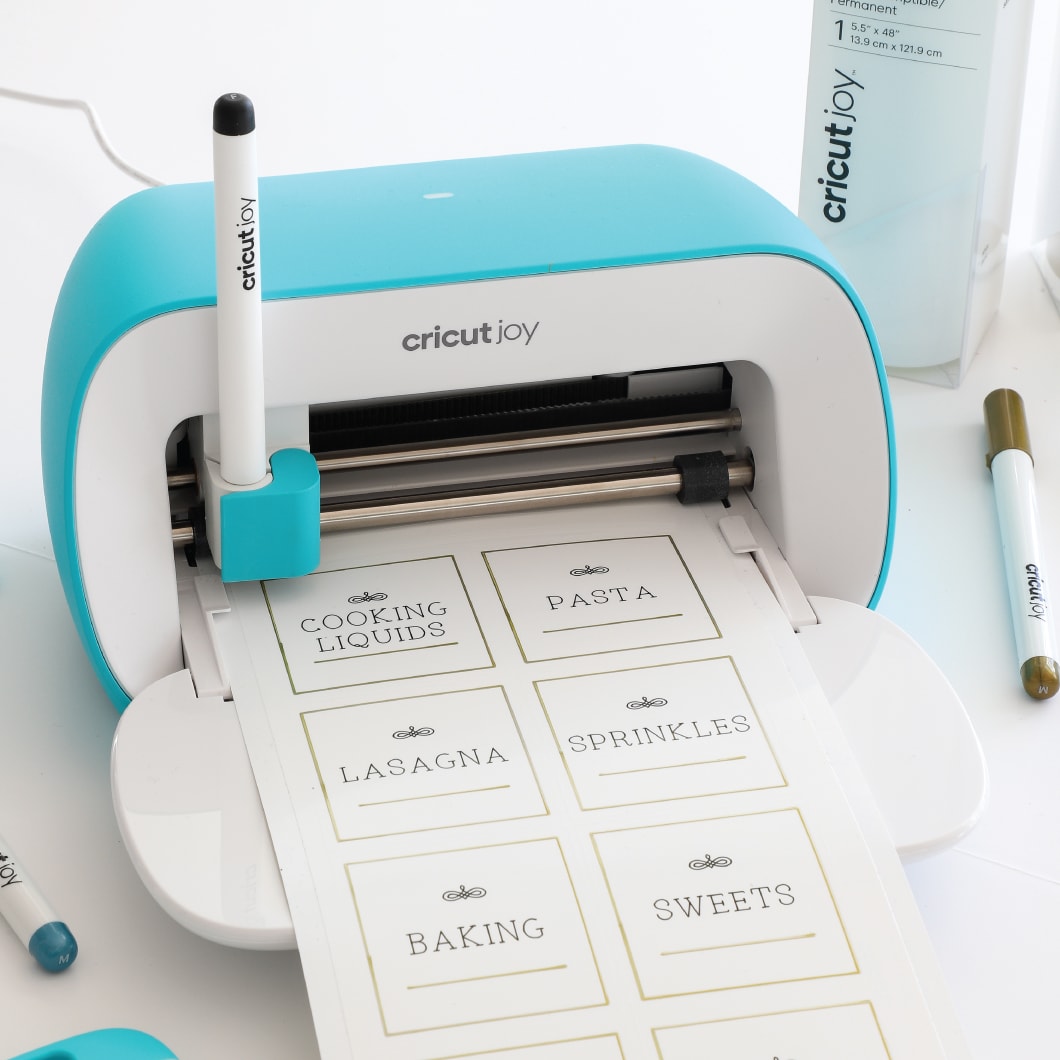
- Cricut Machine: The heart of your crafting endeavors, compatible with a wide range of materials.
- Cricut Design Space: Your digital design hub, where you’ll unleash your creativity.
- Cardstock or Chipboard: The sturdy foundation for your light box structure.
- Light Source: LED strips or fairy lights to illuminate your design.
- Acrylic Sheet: A transparent surface for diffusing light evenly.
- Adhesive: To securely bond the components.
- Optional Embellishments: Enhance your light box with decorative elements such as glitter, stickers, or fabric.

H4: Crafting the Light Box Base
Light boxes, with their mesmerizing glow and endless creative possibilities, have captivated the hearts of crafters worldwide. If you’re eager to join the light box revolution, armed with your trusty Cricut, you’re in for an illuminating journey. In this comprehensive guide, we’ll delve into the intricacies of crafting a stunning light box, empowering you to transform your designs into radiant masterpieces.
- Paper Shadow Box SVG File Paper Shadow Box SVG File: A Comprehensive Guide To Creating Stunning 3D Paper Art
- Download SVG Paper Cut Light Box Template Free Download H1: Download SVG Paper Cut Light Box Template: Unleash Your Creativity With Free Printable Designs
- Lightbox Template Free Lightbox Template Free: A Comprehensive Guide To Enhance Your Website’s Visual Appeal
- Shadowbox Lighting SVG File Shadowbox Lighting SVG File: A Comprehensive Guide
- Free 3d Svg Paper Frames Shadow Box Free 3D SVG Paper Frames: Shadow Box Creations For Memorable Moments
H3: Gathering the Essential Components
Before embarking on your light box escapade, it’s crucial to gather the necessary materials:

- Cricut Machine: The heart of your crafting endeavors, compatible with a wide range of materials.
- Cricut Design Space: Your digital design hub, where you’ll unleash your creativity.
- Design the Base: In Cricut Design Space, create a square or rectangular design that will serve as the base.
- Cut the Base: Load the cardstock or chipboard onto your Cricut mat and cut the base design.
- Fold and Glue: Fold the base along the score lines and adhere the edges with adhesive.
- Measure and Cut: Measure and cut the acrylic sheet to the same size as the base.
- Secure the Acrylic Sheet: Place the acrylic sheet over the base and secure it with adhesive.
- Determine the Light Placement: Decide on the placement of the light source, ensuring it evenly illuminates the design.
- Adhere the Light Source: Using adhesive, attach the LED strips or fairy lights to the base.
- Test the Illumination: Turn on the light source to check if the design is illuminated as desired.
- Design and Cut the Overlay: Create a design in Cricut Design Space and cut it from cardstock or another desired material.
- Adhere the Overlay: Place the overlay over the acrylic sheet and secure it with adhesive.
- Embellish the Light Box: Add glitter, stickers, or fabric to enhance the visual appeal.
- Insert Batteries or Connect to Power: If using LED strips, insert batteries or connect them to a power source.
- Display Your Light Box: Proudly display your illuminated creation in your home, office, or any desired space.
- Dim Illumination: Ensure the light source is securely attached and the batteries have enough power.
- Uneven Lighting: Adjust the placement of the light source to achieve uniform illumination.
- Loose Overlay: Reapply adhesive to ensure the overlay remains securely attached.
With your materials at hand, let’s begin crafting the light box base:


H5: Preparing the Acrylic Sheet
The acrylic sheet will diffuse the light, creating a uniform glow:

H6: Installing the Light Source
Time to illuminate your creation:
H7: Adding Creative Touches
With the light box structure complete, it’s time to unleash your creativity:
H8: Powering Up and Displaying
To complete your masterpiece:
H9: Troubleshooting Tips
H10: Conclusion
Creating a light box with Cricut is an incredibly rewarding endeavor, empowering you to transform your designs into radiant works of art. By following these comprehensive steps, you can craft a stunning light box that will illuminate your space with its captivating glow. Whether for personal enjoyment or as a thoughtful gift, a Cricut-made light box is a true testament to your creativity and craftsmanship.
FAQs
Q: What materials can I use for the light box base?
A: Cardstock, chipboard, or other sturdy materials can be used.
Q: How do I ensure even illumination?
A: Position the light source strategically and adjust its placement as needed.
Q: Can I use other types of light sources?
A: Yes, you can experiment with different light sources, such as LED strips, fairy lights, or battery-operated lights.
Q: How can I customize my light box?
A: Use embellishments, such as glitter, stickers, or fabric, to add your unique touch.
Q: What are some creative uses for light boxes?
A: Light boxes can be used as home décor, night lights, personalized gifts, or even for shadow puppetry.


