


Download Light Up Shadow Box Cricut: A Comprehensive Guide
Introduction
A light-up shadow box is a captivating display that adds depth and dimension to any room. With the Cricut cutting machine, you can effortlessly create custom light-up shadow boxes that showcase your cherished memories, artwork, or collectibles. This comprehensive guide will provide you with step-by-step instructions, design tips, and troubleshooting advice to help you master the art of crafting stunning light-up shadow boxes with your Cricut.
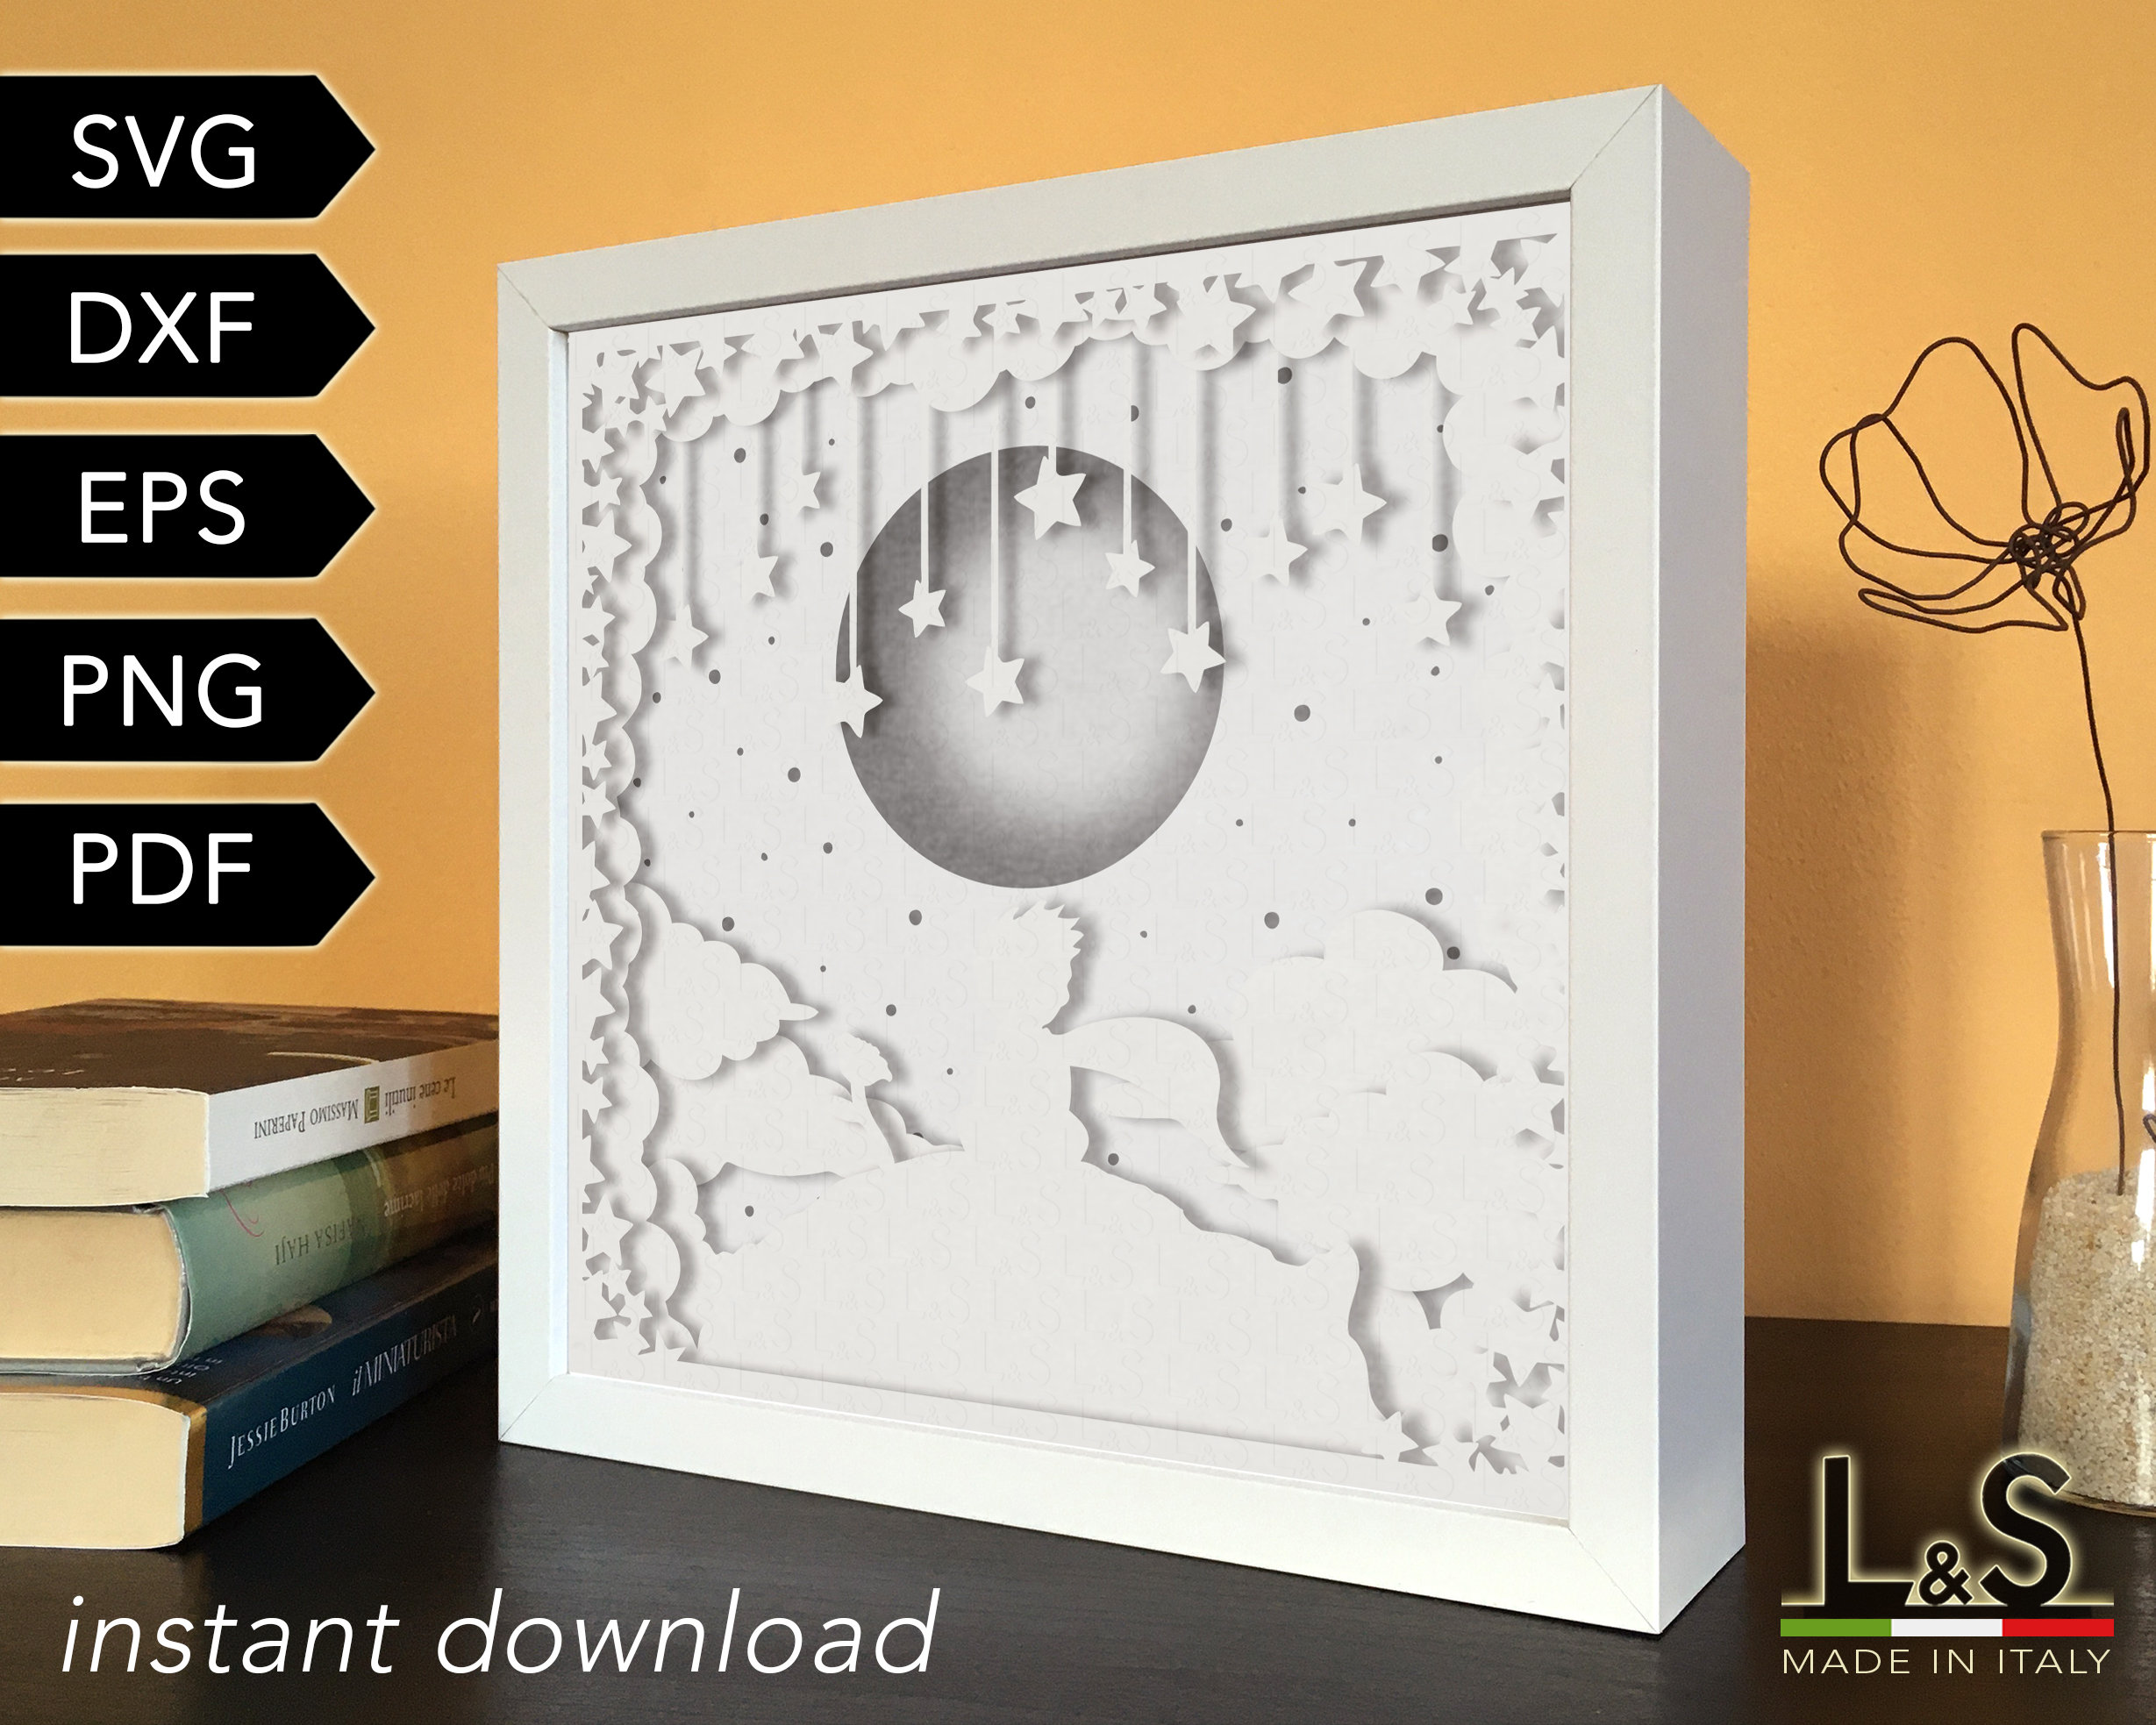

Table of Content
Materials and Equipment
- Cricut cutting machine (Maker, Explore Air, or Joy)
- Cardstock or other cutting material
- Acetate or vellum paper
- LED light strip
- Battery pack or AC adapter
Optional Materials:
- Shadow box frame
- 3D Svg Shadow Box 3D SVG Shadow Box: A Comprehensive Guide To Creating Stunning Visual Effects
- 3d Shadow Box Templates Free 3D Shadow Box Templates Free: Unleash Your Creativity With Stunning Shadow Art
- Download Free Shell Svg Shadow Box H1: Download Free Shell SVG Shadow Box: Elevate Your Coastal Decor With Nature’s Charm
- Download Svg Light Box Free Download Download SVG Light Box: The Ultimate Guide To Enhance Your Visual Presentations
- Download Cut Paper Shadow Box Download Cut Paper Shadow Box: A Comprehensive Guide To Creating Stunning 3D Art
- Cricut cutting machine (Maker, Explore Air, or Joy)
- Cardstock or other cutting material
- Embellishments (such as glitter, ribbon, or stickers)
- Transfer tape
- Open Cricut Design Space and create a new project.
- Choose the desired size and shape for your shadow box.
- Design the layers of your shadow box, including the front panel, back panel, and any dividers.
- Load the cardstock or other cutting material onto the Cricut cutting mat.
- Select the appropriate material setting in Cricut Design Space.
- Cut out the designed layers.
- If using a shadow box frame, insert the back panel into the frame.
- Glue or tape the dividers to the back panel to create the desired compartments.
- Attach the front panel to the frame.
- Cut a piece of acetate or vellum paper to fit the size of the shadow box.
- Use the Cricut to cut out any desired designs or patterns from the acetate or vellum.
- Attach the light strip to the back of the acetate or vellum panel.
- Place the light panel into the shadow box, behind the front panel.
- Secure the light panel in place with glue or tape.
- Use transfer tape to apply glitter, ribbon, stickers, or other embellishments to the front panel or shadow box frame.
- Get creative and personalize your light-up shadow box to your liking.
- Connect the light strip to a battery pack or AC adapter.
- Turn on the light to illuminate the shadow box.
- Choose a light strip with the appropriate brightness and color temperature for your desired effect.
- Experiment with different LED strip patterns, such as constant light, flashing, or color-changing.
- Use different layers of cardstock or other materials to create depth and dimension within the shadow box.
- Add embellishments that add texture and visual interest.
- Incorporate meaningful photos, artwork, or quotes into your light-up shadow box.
- Choose colors and patterns that complement your décor and personal style.
- Check if the battery pack or AC adapter is properly connected.
- Ensure the light strip is securely attached to the acetate or vellum panel.
- Replace the batteries or check the electrical connection.
- Adjust the placement of the light strip to ensure even distribution of light.
- Use a diffuser (such as tissue paper) to soften the light and prevent glare.
- Check the Cricut blade sharpness and replace if necessary.
- Ensure the material is properly loaded onto the cutting mat.
- Adjust the cutting pressure and speed settings in Cricut Design Space.
- Yes, you can use other materials such as wood, acrylic, or fabric, depending on the desired effect and the capabilities of your Cricut machine.
- Use dividers made from cardstock or other materials to create compartments within the shadow box. Glue or tape the dividers to the back panel.
- Yes, you can use either a battery pack for portability or an AC adapter for a more permanent setup.

A light-up shadow box is a captivating display that adds depth and dimension to any room. With the Cricut cutting machine, you can effortlessly create custom light-up shadow boxes that showcase your cherished memories, artwork, or collectibles. This comprehensive guide will provide you with step-by-step instructions, design tips, and troubleshooting advice to help you master the art of crafting stunning light-up shadow boxes with your Cricut.
Materials and Equipment
Essential Materials:


Step-by-Step Instructions

1. Design the Shadow Box

2. Cut the Materials

3. Assemble the Shadow Box
4. Create the Light Panel
5. Insert the Light Panel
6. Add Embellishments (Optional)
7. Power the Light Strip
Design Tips
Consider the Lighting:
Create Depth:
Personalize the Design:
Troubleshooting
Light Strip Not Working:
Shadow Box Not Illuminating Evenly:
Materials Not Cutting Properly:
FAQs
Can I use other materials besides cardstock?
How do I make a shadow box with multiple compartments?
Can I use a battery pack or AC adapter to power the light strip?
Conclusion
Crafting light-up shadow boxes with your Cricut is a rewarding and versatile project that allows you to showcase your creativity and preserve cherished memories. By following the step-by-step instructions, design tips, and troubleshooting advice outlined in this guide, you can create stunning light-up shadow boxes that will add a touch of magic to any room. Embrace the possibilities and let your imagination soar as you explore the world of light-up shadow boxes with Cricut.


