


H1: Download Shadow Boxes Cricut: A Comprehensive Guide to Enhance Your Craftsmanship
H2: Introduction
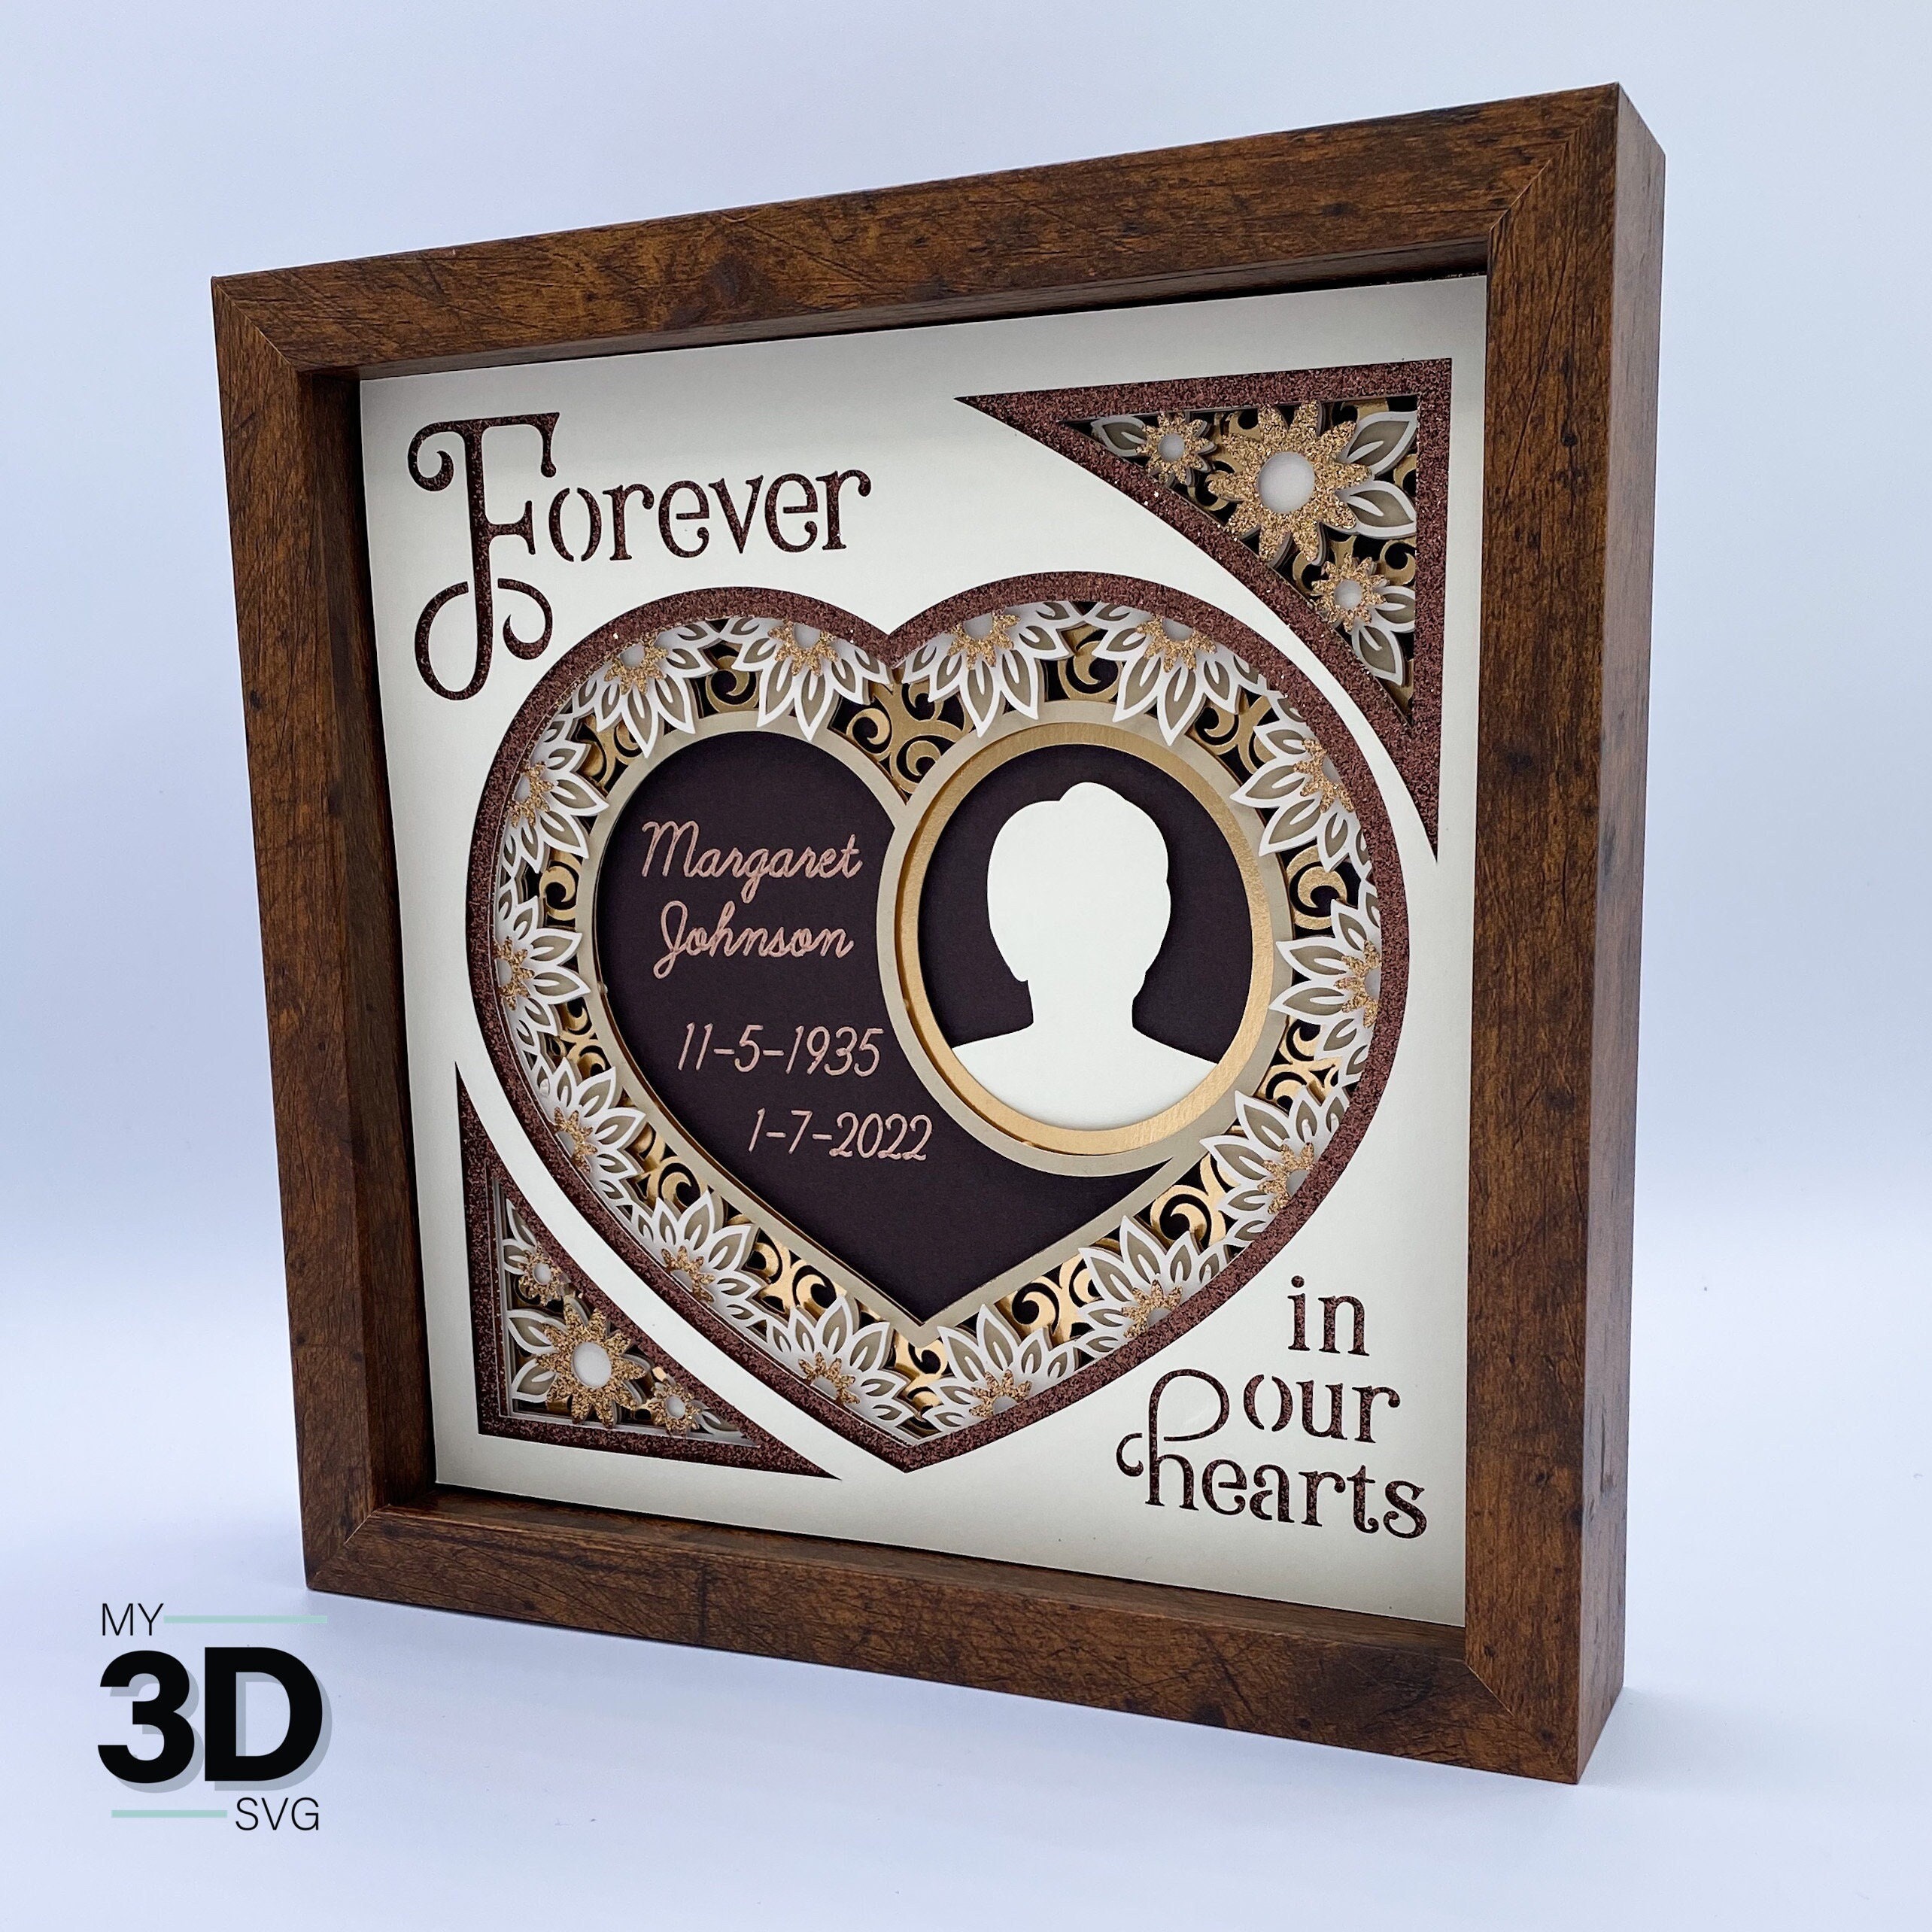
Shadow boxes are captivating displays that add depth and dimension to any space. With the advent of Cricut machines, creating exquisite shadow boxes has become more accessible than ever. This comprehensive guide will delve into the intricacies of downloading shadow boxes Cricut, empowering you to elevate your crafting endeavors.

Table of Content
- 1 H1: Download Shadow Boxes Cricut: A Comprehensive Guide to Enhance Your Craftsmanship
- 1.1 H2: Introduction
- 2 H2: Choosing the Right Cricut Machine
- 2.2 H2.2: Cricut Maker
- 3 H3: Essential Materials
- 4 H2: Choosing the Right Cricut Machine
- 4.3 H2.1: Cricut Explore Air 2
- 4.4 H2.2: Cricut Maker
- 5 H2: Downloading Shadow Box Templates
- 5.5 H2.1: Cricut Design Space
- 5.6 H2.2: Third-Party Websites
- 6 H2: Preparing Your Shadow Box
- 6.7 H2.1: Measure and Cut
- 6.8 H2.2: Adhere the Paper
- 7 H2: Designing and Cutting the Layers
- 7.9 H2.1: Create Layers
- 7.10 H2.2: Cut the Layers
- 8 H2: Assembling the Shadow Box
- 8.11 H2.1: Apply Adhesive
- 8.12 H2.2: Add Embellishments (Optional)
- 9 H2: Conclusion
- 10 H2: FAQs
- 10.13 H2.1: What is the best material for shadow boxes?
- 10.14 H2.2: Can I use my own designs for shadow boxes?
- 10.15 H2.3: How do I ensure my shadow box is sturdy?
H2: Choosing the Right Cricut Machine
This budget-friendly option is perfect for beginners and occasional crafters. It offers a cutting area of 5.5 inches by 12 inches, enabling you to create small to medium-sized shadow boxes.
H2.2: Cricut Maker
For advanced crafters and professionals, the Cricut Maker is the ultimate choice. Its larger cutting area of 12 inches by 24 inches accommodates larger shadow boxes, and its wide range of compatible materials allows for endless creative possibilities.
H3: Essential Materials
In addition to your Cricut machine, you will need:
- Shadow box frames
- Cardstock or scrapbook paper
- Adhesive
- Embellishments (optional)
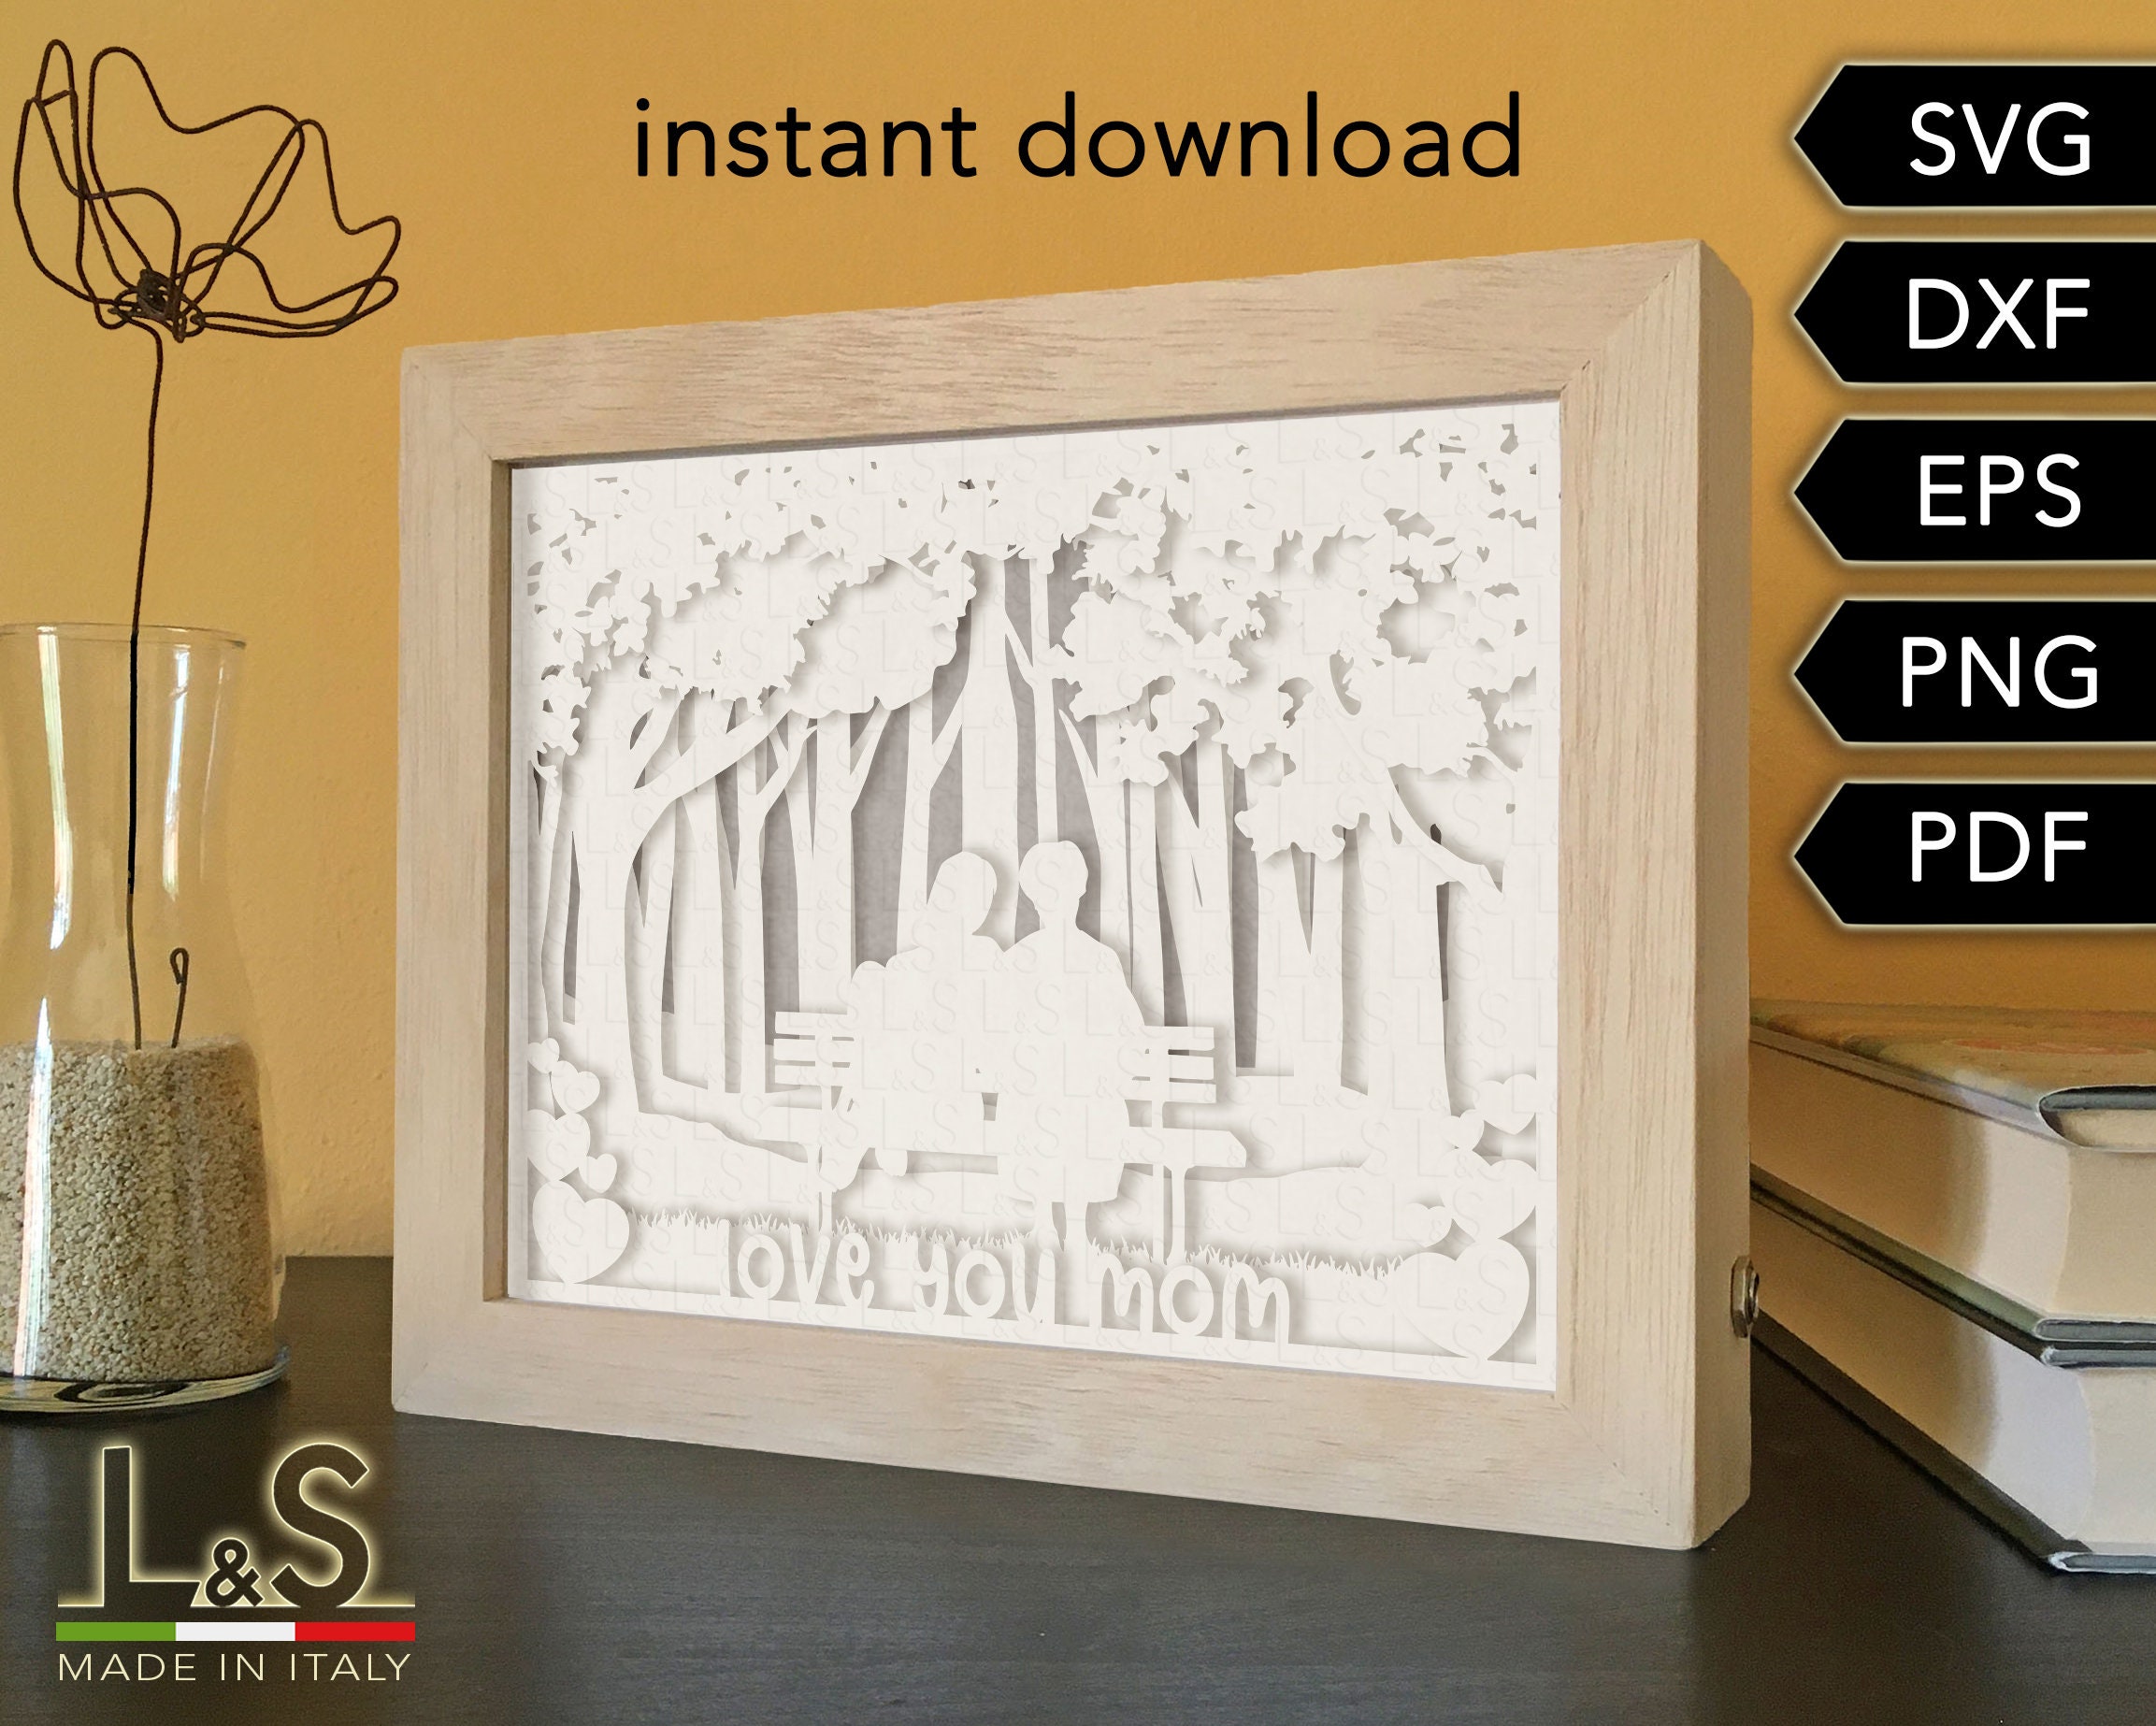
- Download Free 3d Shadow Box Svg Download Free 3D Shadow Box SVG: Elevate Your Papercraft Creations
- Free Cricut Shadow Box Svg Free Cricut Shadow Box SVG: A Comprehensive Guide
- Free Shadow Box Card Paper Light Box Template Free Shadow Box Card Paper Light Box Template: A Comprehensive Guide
- Download Dinosaur Shadow Box Svg Free H1: Download Dinosaur Shadow Box SVG Free: Unleash Your Prehistoric Creativity
- Free Shadow Box Svg File Christmas Free Shadow Box SVG File Christmas: Create Festive Decorations With Ease


Shadow boxes are captivating displays that add depth and dimension to any space. With the advent of Cricut machines, creating exquisite shadow boxes has become more accessible than ever. This comprehensive guide will delve into the intricacies of downloading shadow boxes Cricut, empowering you to elevate your crafting endeavors.
H2: Choosing the Right Cricut Machine
H2.1: Cricut Explore Air 2
This budget-friendly option is perfect for beginners and occasional crafters. It offers a cutting area of 5.5 inches by 12 inches, enabling you to create small to medium-sized shadow boxes.
H2.2: Cricut Maker
For advanced crafters and professionals, the Cricut Maker is the ultimate choice. Its larger cutting area of 12 inches by 24 inches accommodates larger shadow boxes, and its wide range of compatible materials allows for endless creative possibilities.
H2: Downloading Shadow Box Templates
H2.1: Cricut Design Space
Cricut Design Space is a free software that allows you to access a vast library of shadow box templates. Simply create an account and browse the "Shadow Boxes" category to find the perfect design for your project.

H2.2: Third-Party Websites
Numerous websites offer free and premium shadow box templates. Explore sites like Etsy, Creative Fabrica, and SVG Cut Files to discover a wider selection of designs.
H2: Preparing Your Shadow Box
H2.1: Measure and Cut
Using the template you downloaded, measure and cut the cardstock or scrapbook paper to the appropriate size.

H2.2: Adhere the Paper
Apply adhesive to the back of the paper and carefully align it within the shadow box frame. Press firmly to secure it in place.
H2: Designing and Cutting the Layers
H2.1: Create Layers
Open the template in Cricut Design Space and separate the different layers of the shadow box. Each layer represents a different element of the design.
H2.2: Cut the Layers
Select the desired materials for each layer and load them into your Cricut machine. Follow the on-screen instructions to cut the layers precisely.
H2: Assembling the Shadow Box
H2.1: Apply Adhesive
Apply adhesive to the back of each layer and assemble them according to the template.
H2.2: Add Embellishments (Optional)
To enhance the visual appeal of your shadow box, consider adding embellishments such as stickers, sequins, or ribbon.
H2: Conclusion
Downloading shadow boxes Cricut opens up a world of creative possibilities. By following these steps, you can effortlessly create stunning shadow boxes that will add a touch of sophistication and elegance to your home or workspace. Remember to experiment with different designs and materials to unleash your artistic potential.
H2: FAQs
H2.1: What is the best material for shadow boxes?
Cardstock or scrapbook paper is the most common material, but you can also use fabric, felt, or even wood.
H2.2: Can I use my own designs for shadow boxes?
Yes, you can create your own designs using Cricut Design Space or other software.
H2.3: How do I ensure my shadow box is sturdy?
Use high-quality materials and adhere the layers firmly to prevent warping or bending.


