How to Make a Lighted Shadow Box with Cricut SVG Files: A Comprehensive Guide
Introduction
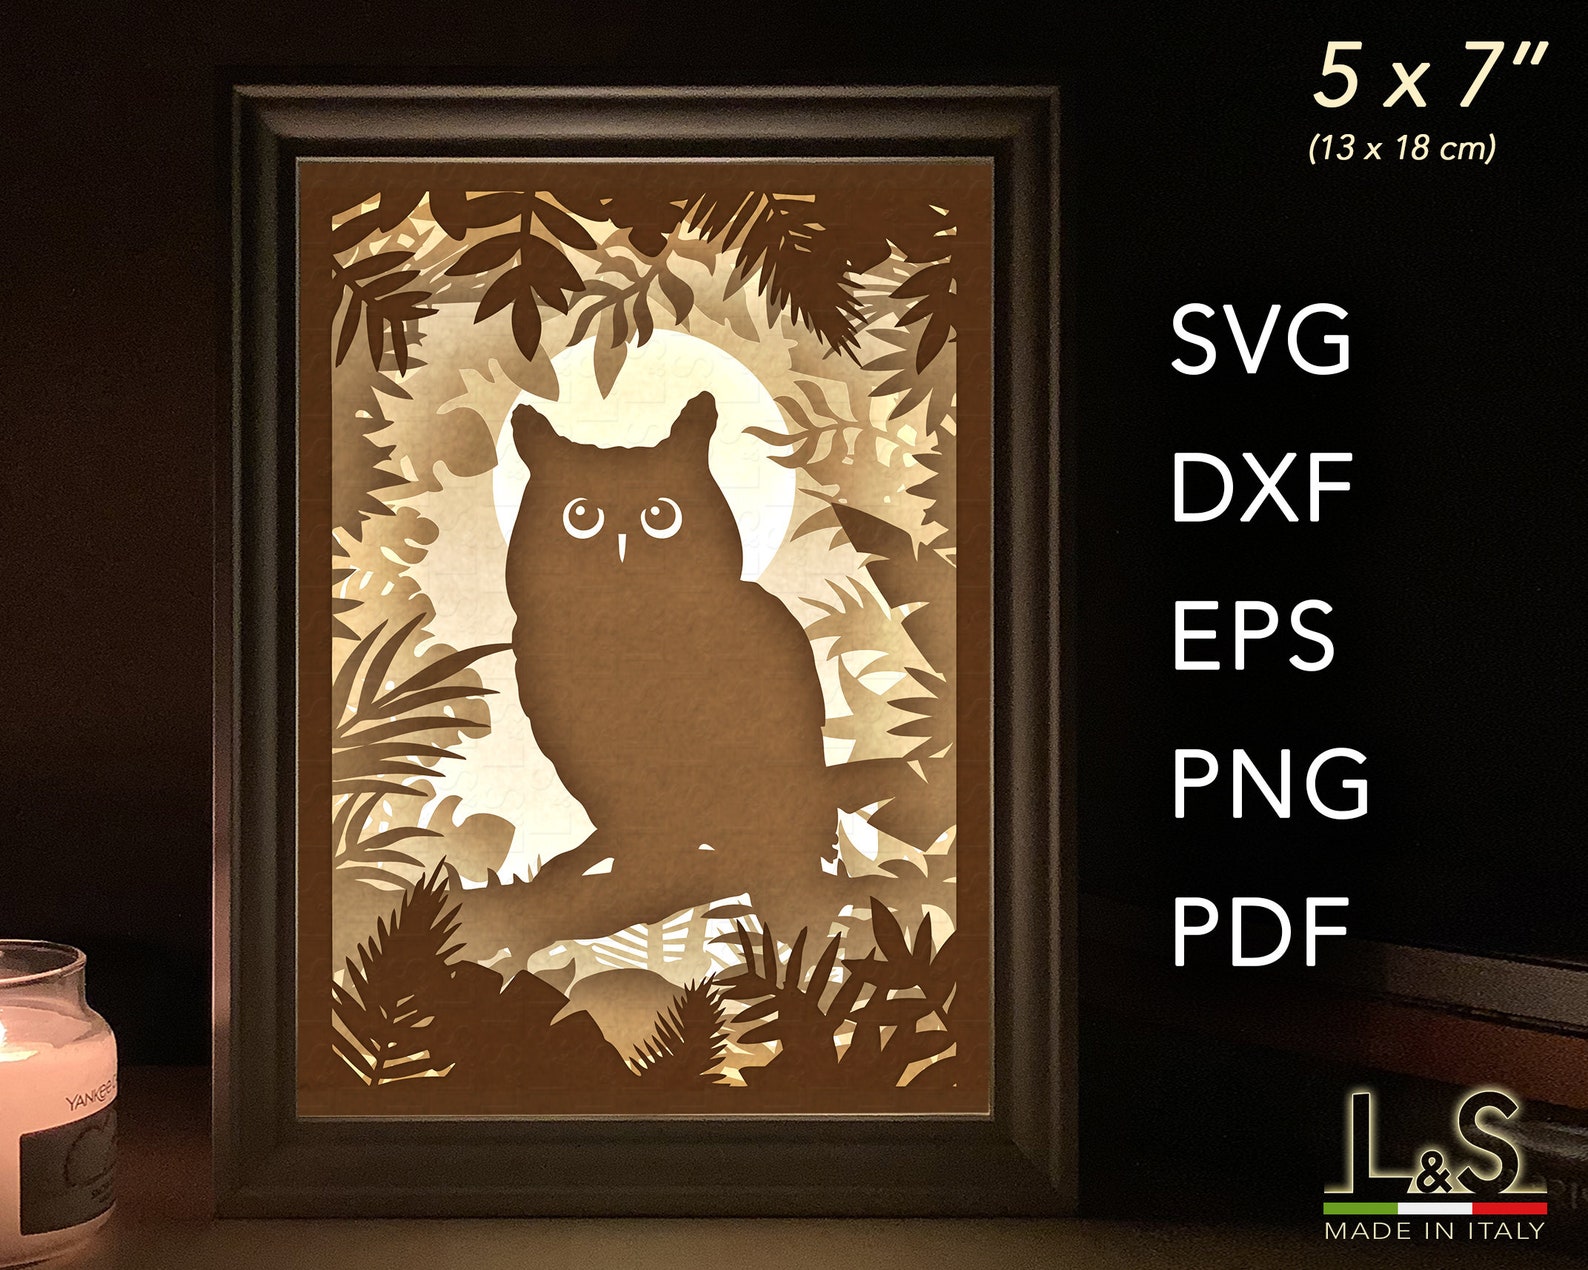
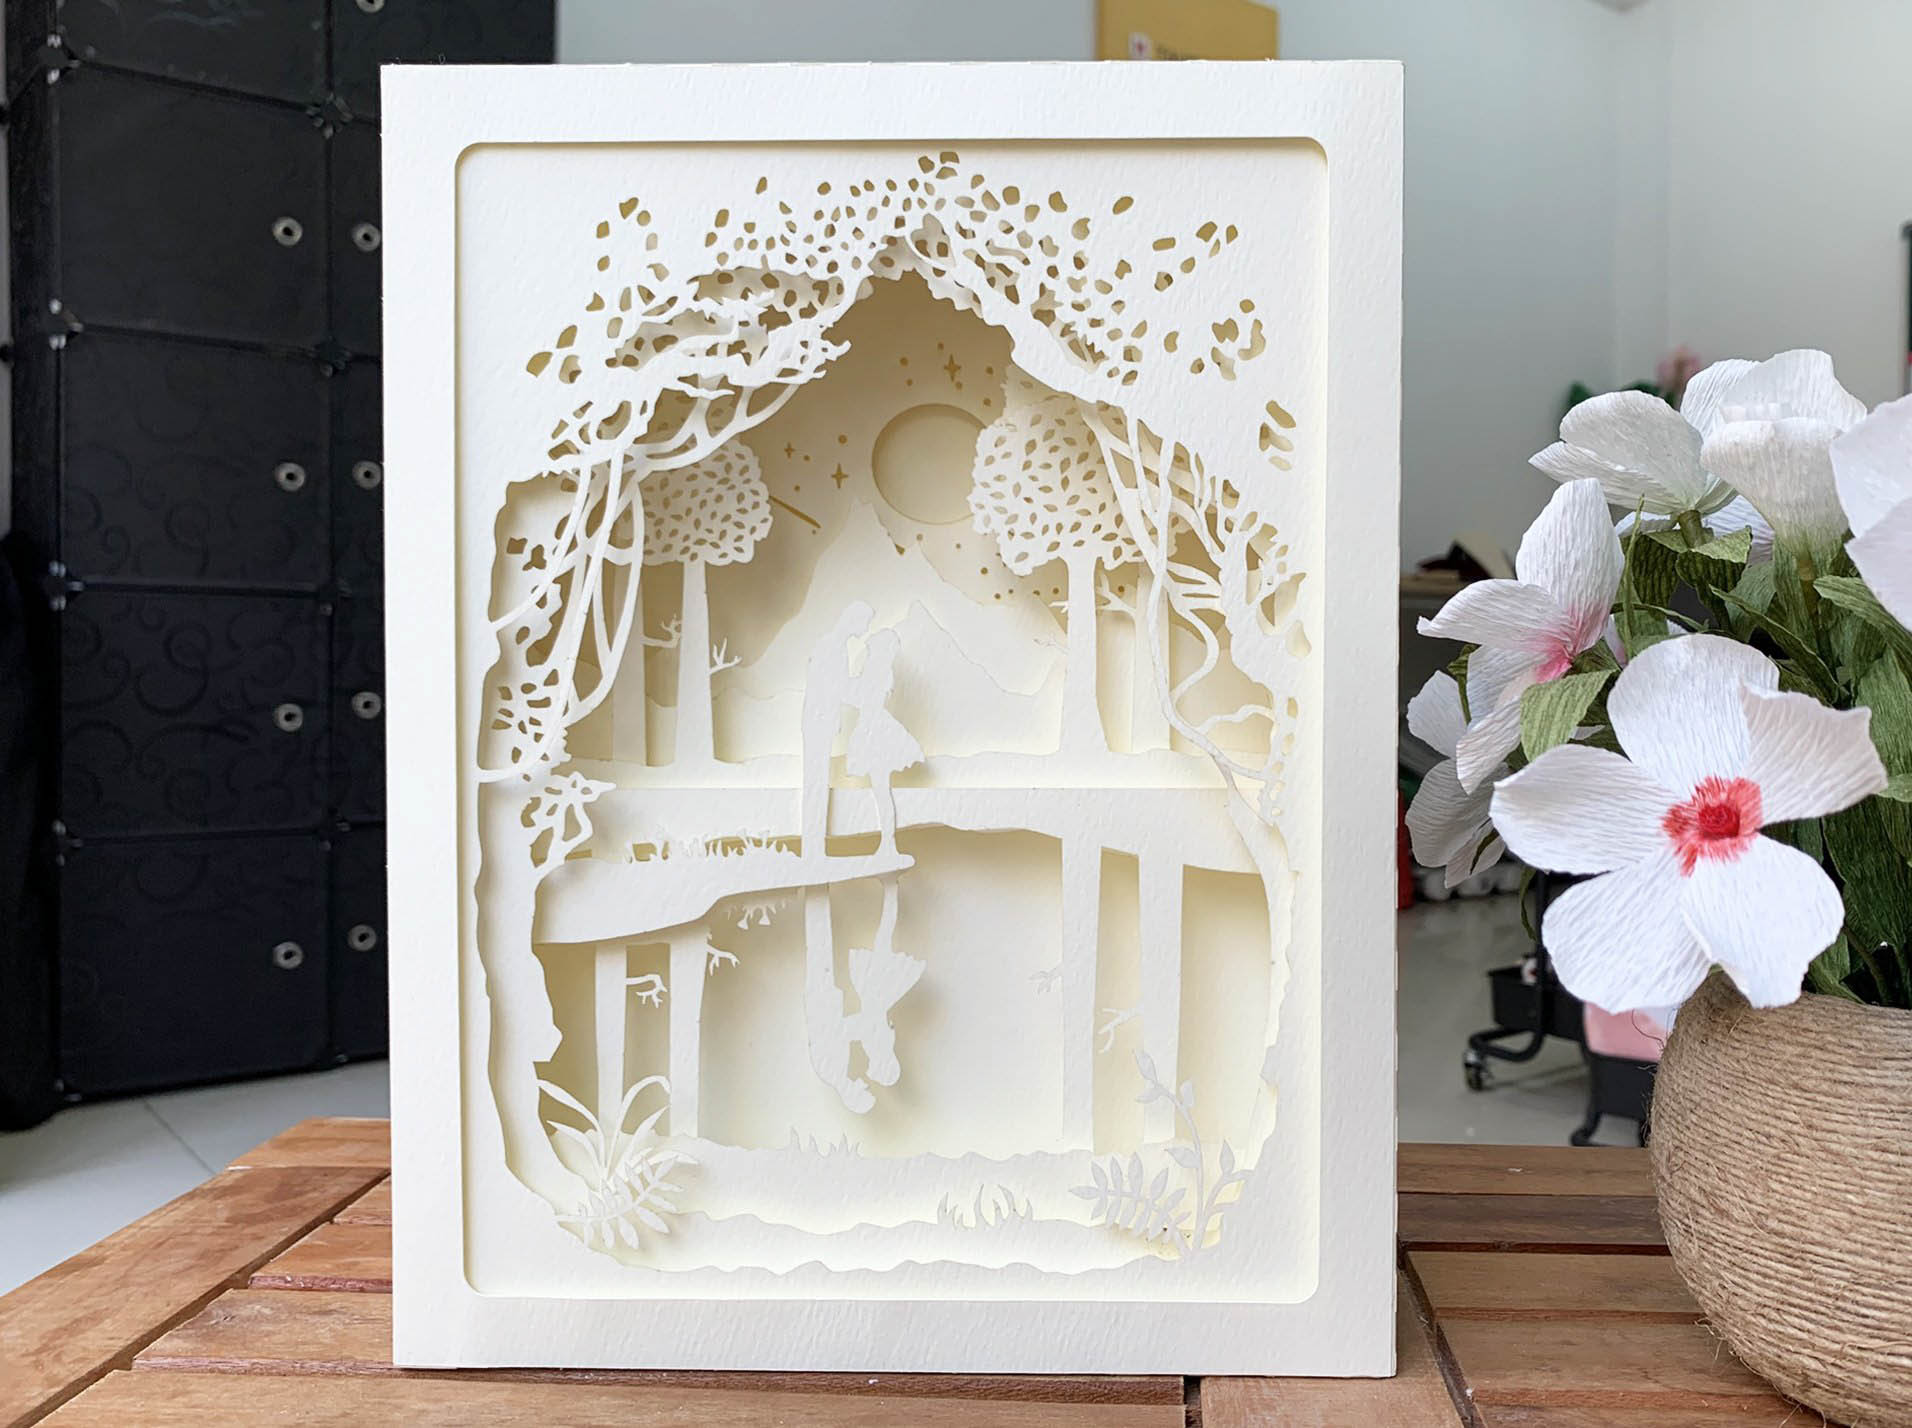
Shadow boxes are a beautiful and versatile way to display cherished memories, artwork, or collectibles. By adding LED lights to your shadow box, you can create a stunning illuminated display that will add warmth and ambiance to any room. In this comprehensive guide, we will walk you through the step-by-step process of creating a lighted shadow box using Cricut SVG files.


Table of Content
Materials and Tools
- Shadow box frame
- LED light strip
- Cardboard or foam board
- Cricut machine
- Cricut cutting mat
- Vinyl or cardstock
- Transfer tape
- Adhesive
- Battery pack or power adapter
- Plantillas Cricut Gratis Plantillas Cricut Gratis: Eleva Tus Proyectos De Artesanía A Nuevas Alturas
- Cricut Shadow Box Template Cricut Shadow Box Template: A Comprehensive Guide
- Download Free Disney Shadow Box Svg H1: Download Free Disney Shadow Box SVGs For Creative Crafting
- Paper Art Shadow Box SVG Files Paper Art Shadow Box SVG Files: A Comprehensive Guide
- Cricut Lighted Shadow Box Cricut Lighted Shadow Box: A Comprehensive Guide
- Shadow box frame
- LED light strip
- Ruler or measuring tape
- Scissors or craft knife
- Weeding tool
- Hot glue gun or strong adhesive
- Choose or create an SVG file that you want to use for your shadow box.
- Import the SVG file into Cricut Design Space.
- Adjust the size and orientation of the design as needed.
- Select the material type (vinyl or cardstock) and cut settings.
- Place the material on the Cricut cutting mat and cut out the design.
- Remove the back panel of the shadow box.
- Measure and cut a piece of cardboard or foam board to fit the back of the shadow box.
- If desired, you can paint or decorate the cardboard or foam board to match the theme of your shadow box.
- Unroll the LED light strip and measure the length needed to fit around the perimeter of the shadow box.
- Cut the light strip to the desired length.
- Peel off the backing of the adhesive strip on the back of the light strip.
- Attach the light strip to the inside of the shadow box, along the edges.
- Connect the light strip to a battery pack or power adapter.
- Weed the excess vinyl or cardstock from around the design.
- Apply transfer tape to the design.
- Position the design on the cardboard or foam board inside the shadow box.
- Press down firmly to adhere the design.
- Remove the transfer tape.
- Apply adhesive to the edges of the cardboard or foam board.
- Place the cardboard or foam board inside the shadow box.
- Reattach the back panel of the shadow box.
- Insert the artwork, collectibles, or other items you want to display into the shadow box.
- Turn on the LED lights and enjoy your illuminated display.
- Use different colors of LED lights to create different moods and effects.
- Add a dimmer switch to control the brightness of the lights.
- Use a shadow box with a deep recess to create a more dramatic effect.
- Place the shadow box in a well-lit area to maximize the impact of the lights.

Shadow boxes are a beautiful and versatile way to display cherished memories, artwork, or collectibles. By adding LED lights to your shadow box, you can create a stunning illuminated display that will add warmth and ambiance to any room. In this comprehensive guide, we will walk you through the step-by-step process of creating a lighted shadow box using Cricut SVG files.
Materials and Tools
Materials:


Tools:

Step-by-Step Instructions
1. Design and Cut the SVG File
2. Prepare the Shadow Box
3. Attach the LED Light Strip
4. Apply the Vinyl or Cardstock Design
5. Assemble the Shadow Box
6. Finishing Touches
Tips and Tricks
FAQs
1. Can I use any SVG file for a lighted shadow box?
Yes, you can use any SVG file that you like. However, keep in mind that the size and complexity of the design will affect the cutting time and the amount of material you need.
2. What type of adhesive should I use to attach the vinyl or cardstock design?
For a strong and permanent bond, use a hot glue gun or a strong adhesive such as E6000.
3. How do I connect the LED light strip to a power source?
You can connect the LED light strip to a battery pack or a power adapter. If using a power adapter, make sure to choose one that matches the voltage and amperage requirements of the light strip.
Conclusion
Creating a lighted shadow box with Cricut SVG files is a fun and rewarding project that can add a touch of elegance and illumination to your home. By following the step-by-step instructions and tips provided in this guide, you can create a beautiful and unique display that will showcase your cherished memories or collectibles for years to come.