Cardstock Shadow Box Cricut: A Comprehensive Guide to Creating Dimensional Paper Art
Introduction
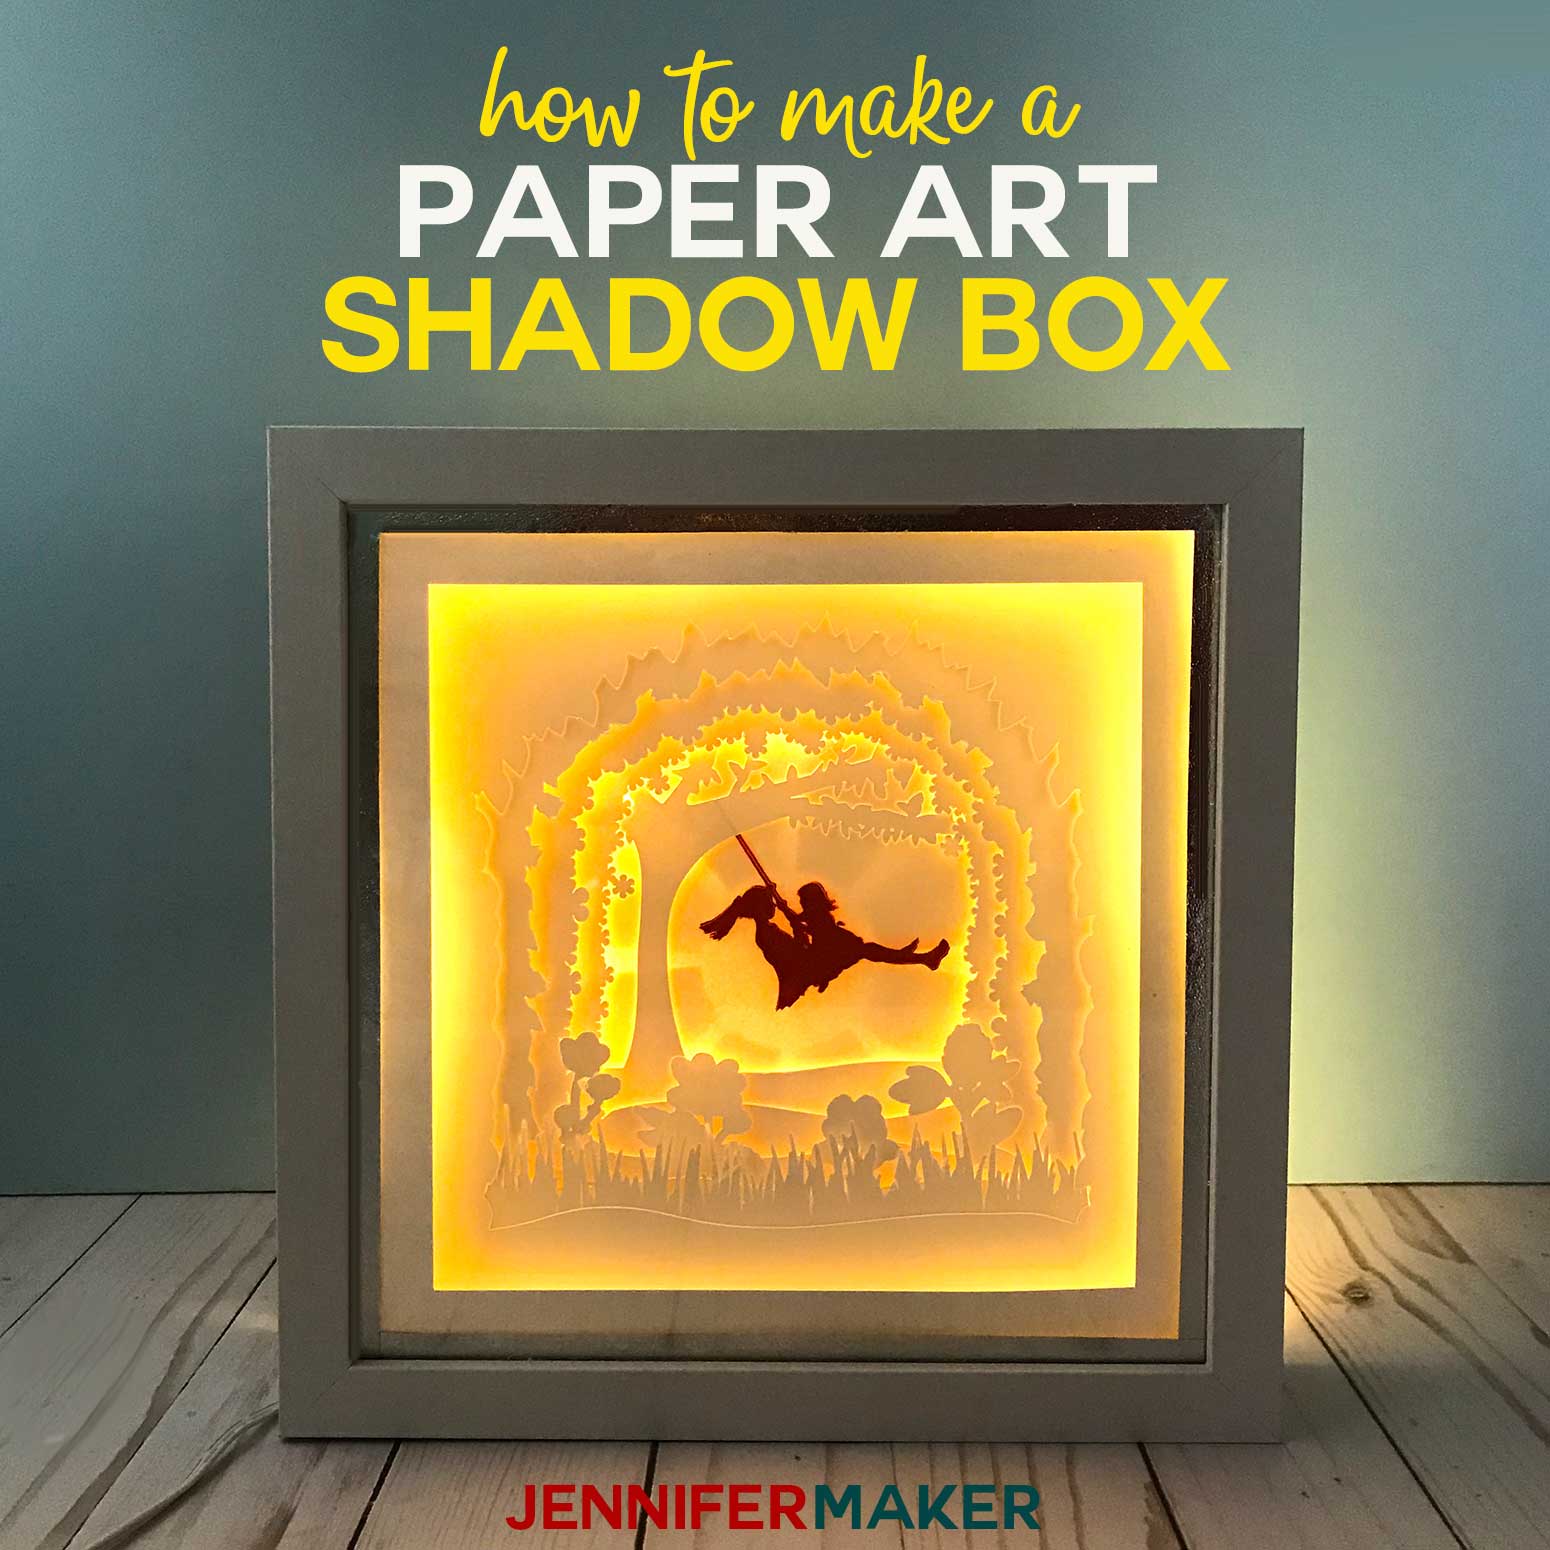
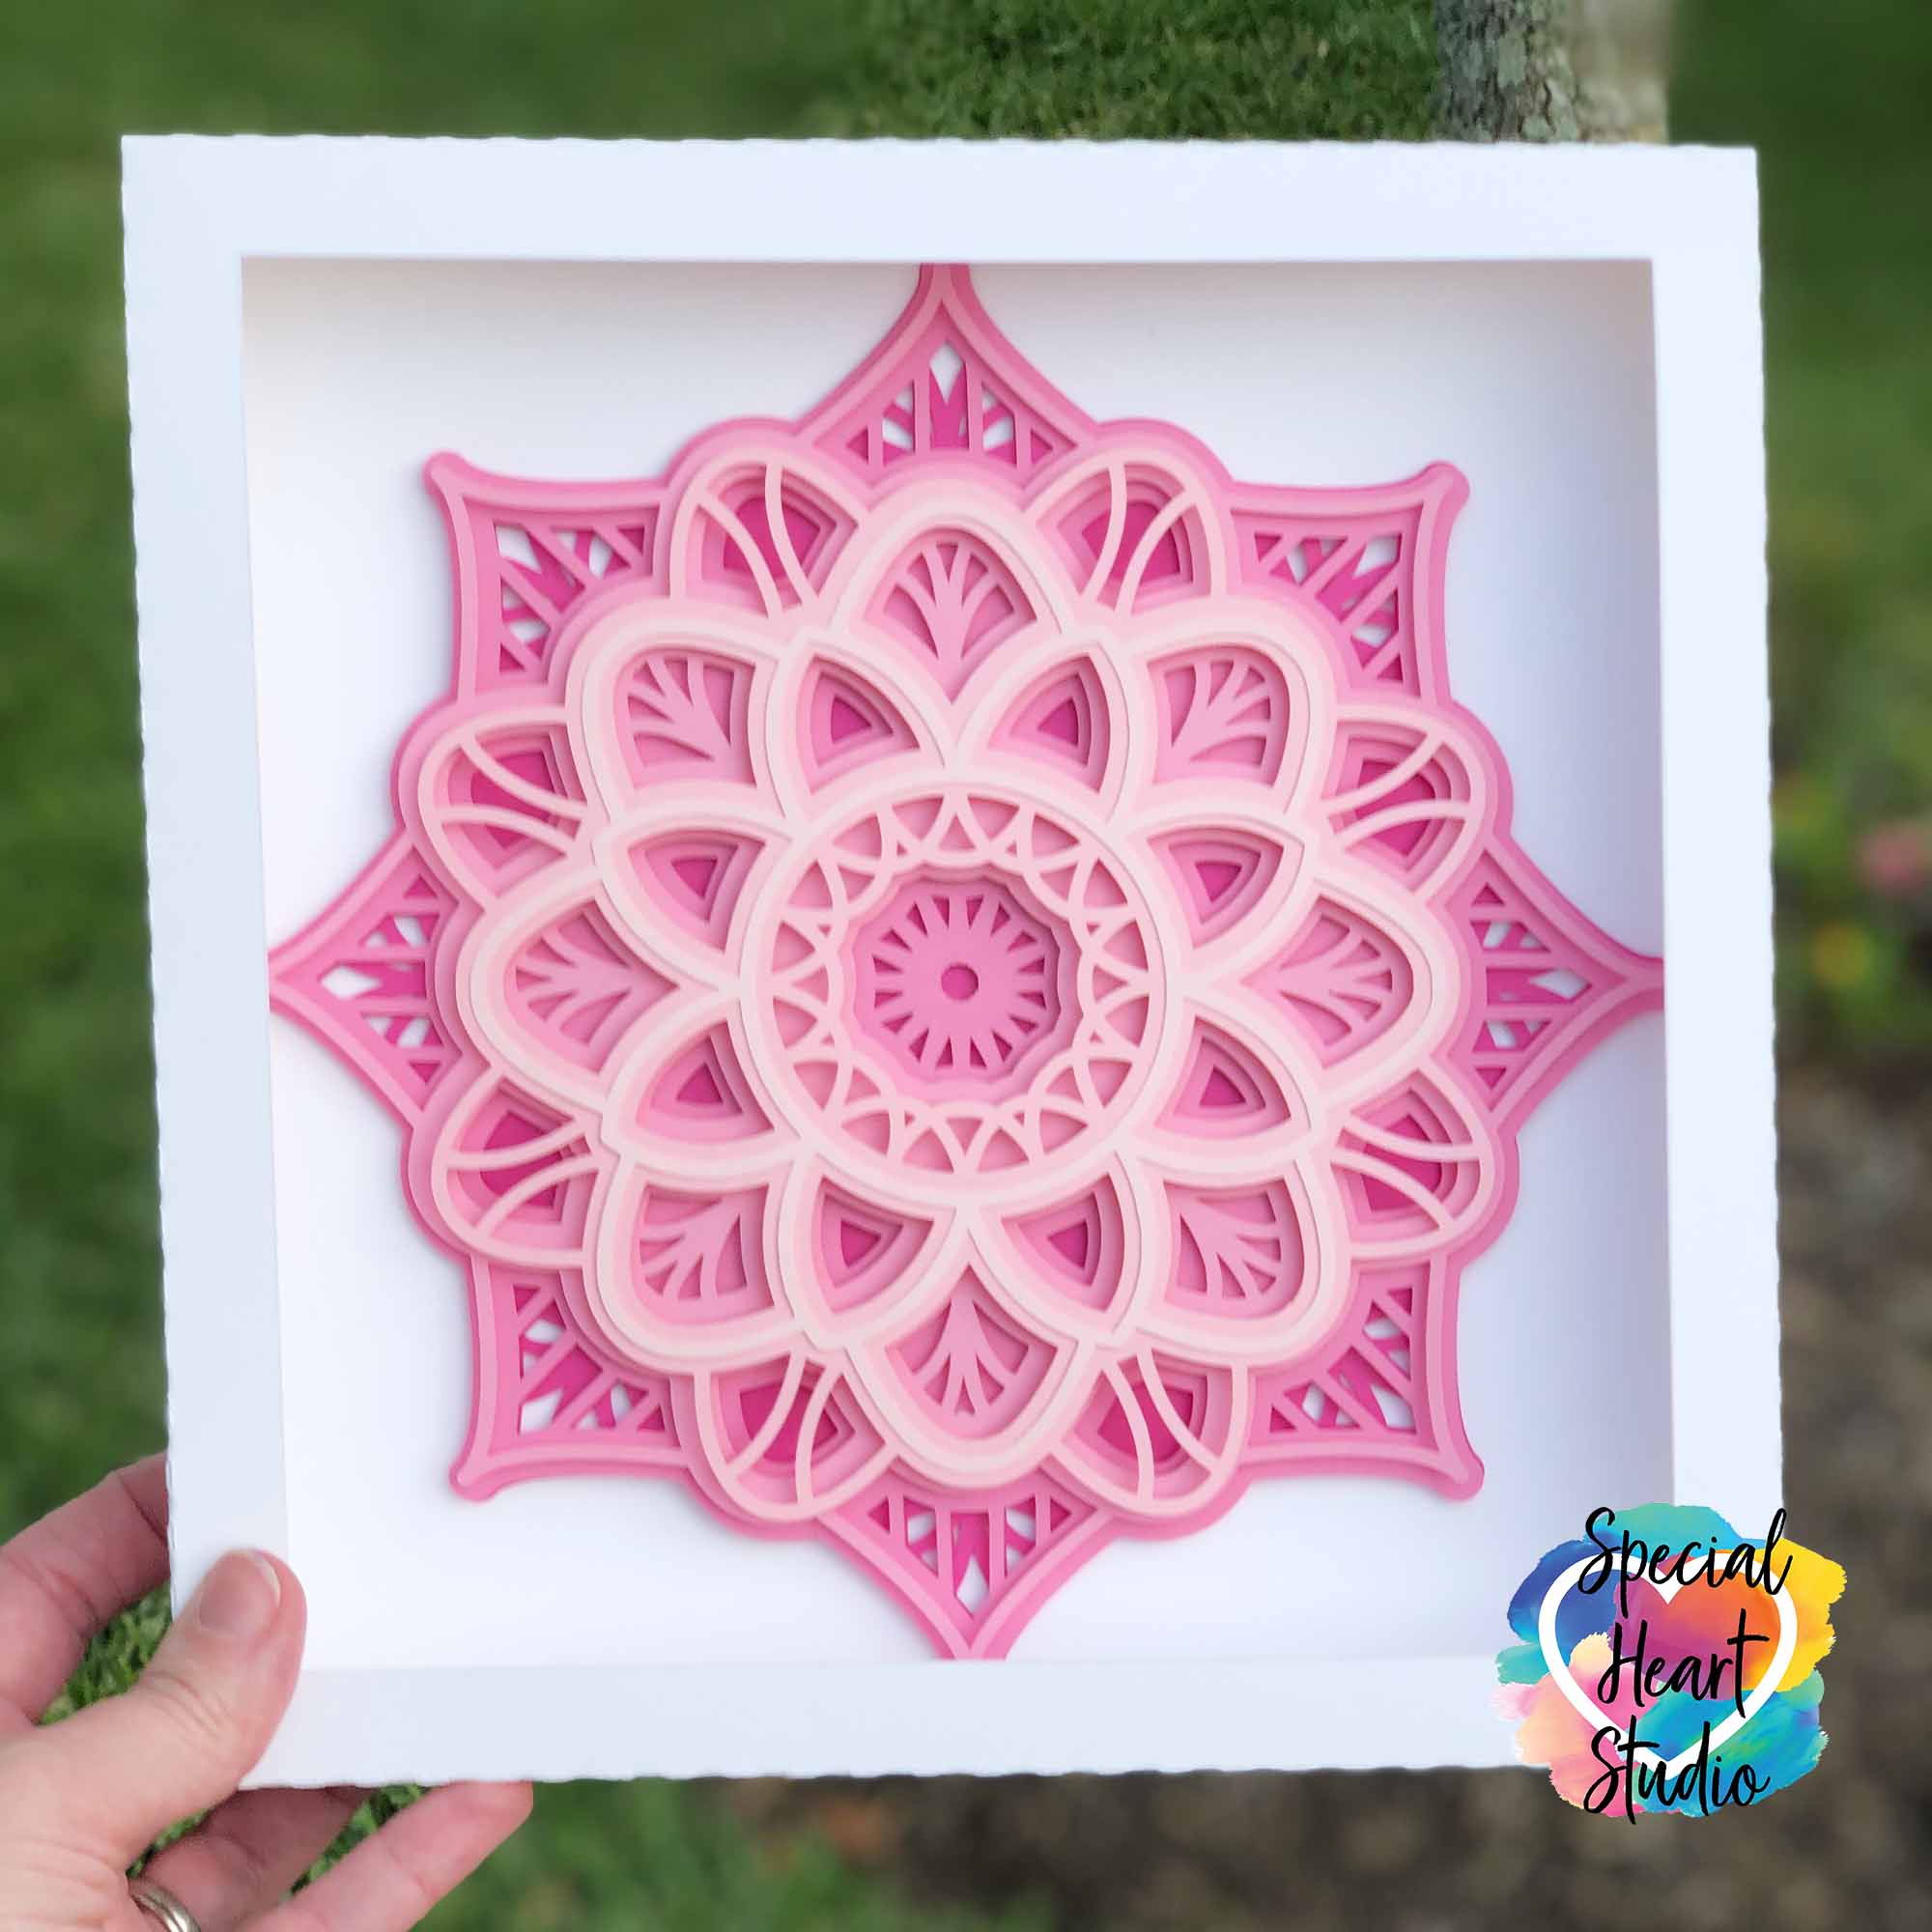
Cardstock shadow boxes, crafted using the Cricut cutting machine, offer a captivating way to display cherished memories, artwork, and special keepsakes. By layering and shadowing cardstock, you can create stunning 3D effects that bring depth and dimension to your projects. This comprehensive guide will provide you with all the essential information you need to master the art of Cardstock Shadow Box Cricut.

Table of Content
- 1 Cardstock Shadow Box Cricut: A Comprehensive Guide to Creating Dimensional Paper Art
- 1.1 Introduction
- 1.2 H2: Materials and Equipment
- 1.3 H2: Materials and Equipment
- 1.4 H2: Design and Preparation
- 1.5 H2: Assembly and Finishing
- 1.6 H2: Creative Inspirations
- 1.7 H2: Troubleshooting and Tips
- 1.8 Conclusion
- 1.9 FAQs
H2: Materials and Equipment
- Choose high-quality cardstock with a weight of 65-80 lb. for durability and precision cutting.
- Opt for colors that complement your project’s theme and enhance the layered effect.
Cricut Machine:
- Utilize a Cricut Explore Air 2, Maker, or Joy machine for precise cutting and scoring.
- Ensure your machine is updated with the latest software for optimal performance.


Other Essential Tools:
Cardstock shadow boxes, crafted using the Cricut cutting machine, offer a captivating way to display cherished memories, artwork, and special keepsakes. By layering and shadowing cardstock, you can create stunning 3D effects that bring depth and dimension to your projects. This comprehensive guide will provide you with all the essential information you need to master the art of Cardstock Shadow Box Cricut.
- Lightbox Templates Lightbox Templates: A Comprehensive Guide To Enhance User Experience And Drive Engagement
- Shadow Box Svg Shadow Box SVG: The Ultimate Guide To Crafting 3D Masterpieces
- Paper Cut Light Box Paper Cut Light Box: A Guide To Creating Stunning Illuminated Art
- Free Svg Shadow Box Template Free SVG Shadow Box Template: A Comprehensive Guide For Enhancing Your Craft Projects
- Free Papercut Light Box Templates Free Papercut Light Box Templates: A Comprehensive Guide To Illuminate Your Creations
H2: Materials and Equipment
Cardstock:

- Choose high-quality cardstock with a weight of 65-80 lb. for durability and precision cutting.
- Opt for colors that complement your project’s theme and enhance the layered effect.
- Cutting mat: Protects your work surface and ensures accurate cuts.
- Scoring stylus or blade: Creates delicate fold lines for easy box assembly.
- Adhesive: Use a strong adhesive like liquid glue or double-sided tape to secure layers together.
- Tweezers: Assists in handling small pieces and placing them with precision.
- Design your shadow box using a software program like Cricut Design Space or Adobe Illustrator.
- Consider the size, shape, and number of layers you wish to include.
- Create separate layers for the front panel, sides, and back.
- Load the cardstock onto the cutting mat and insert it into the Cricut machine.
- Select the appropriate settings for your cardstock weight and cutting tool.
- Cut the front panel, sides, and back according to your design.
- Use a scoring stylus or blade to create fold lines on the sides and back for easy assembly.
- Fold the sides along the scored lines and secure them to the back using adhesive.
- Attach the front panel to the assembled box, ensuring it aligns correctly.
- Design and cut additional cardstock layers to create depth and dimension.
- Use a variety of colors and textures to enhance the visual appeal.
- Adhere the shadow layers to the inside of the box, slightly offset from the front panel.
- Add embellishments like stickers, sequins, or glitter to personalize your shadow box.
- Insert your desired keepsake or artwork into the box and secure it with adhesive.
- Place a glass or acrylic cover over the front panel to protect your creation.
- Create personalized shadow boxes for special occasions, such as birthdays, anniversaries, and graduations.
- Include photos, messages, and mementos to make them truly meaningful.
- Use shadow boxes to display small plants, figurines, or artwork as decorative accents in your home.
- Experiment with different colors and textures to complement your existing decor.
- Preserve precious keepsakes like baby shoes, wedding invitations, or childhood drawings by creating custom shadow boxes.
- Protect these memories from dust and damage while showcasing their sentimental value.
- Check the sharpness of your blade and replace it if necessary.
- Ensure the cutting mat is securely attached to the base.
- Adjust the cutting pressure and speed settings to suit your cardstock weight.
- Make sure the fold lines are scored deeply enough to allow for easy folding.
- Use a strong adhesive to secure the layers firmly.
- Check the alignment of the front panel before attaching it to the assembled box.
- Use a light touch when handling cardstock to avoid tearing or warping.
- Experiment with different adhesives to find the one that works best for your project.
- Consider adding a thin layer of foam core or cardboard behind the shadow layers to create additional depth.


H2: Design and Preparation
Design Creation:

Cutting and Scoring:
H2: Assembly and Finishing
Box Assembly:
Shadow Layer Creation:
Finishing Touches:
H2: Creative Inspirations
Custom Shadow Boxes:
Home Decor Accents:
Keepsake Preservation:
H2: Troubleshooting and Tips
Cutting Issues:
Assembly Problems:
Tips:
Conclusion
Cardstock Shadow Box Cricut is a versatile and rewarding craft that allows you to create stunning 3D paper art. By following the steps outlined in this guide, you can master the techniques and create personalized shadow boxes that will preserve memories, enhance your home decor, and inspire creativity. Remember to experiment with different designs, materials, and embellishments to make your creations truly unique.
FAQs
Q: What type of cardstock should I use?
A: Opt for high-quality cardstock with a weight of 65-80 lb. for durability and precision cutting.
Q: Can I use other cutting machines besides Cricut?
A: While Cricut machines are specifically designed for this type of project, other electronic cutting machines may also be suitable.
Q: How do I ensure the box is sturdy and durable?
A: Use a strong adhesive to secure the layers together and consider adding a thin layer of foam core or cardboard behind the shadow layers for extra support.
Q: Can I add lighting to my shadow box?
A: Yes, you can use battery-operated LED lights or thin wire lights to illuminate the inside of the box and create a dramatic effect.