


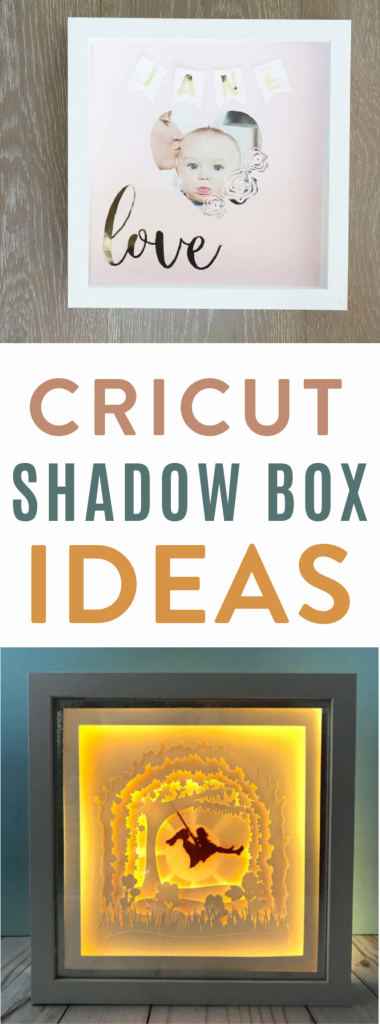
Cricut Shadow Box With Lights: A Comprehensive Guide to DIY Illumination
Introduction
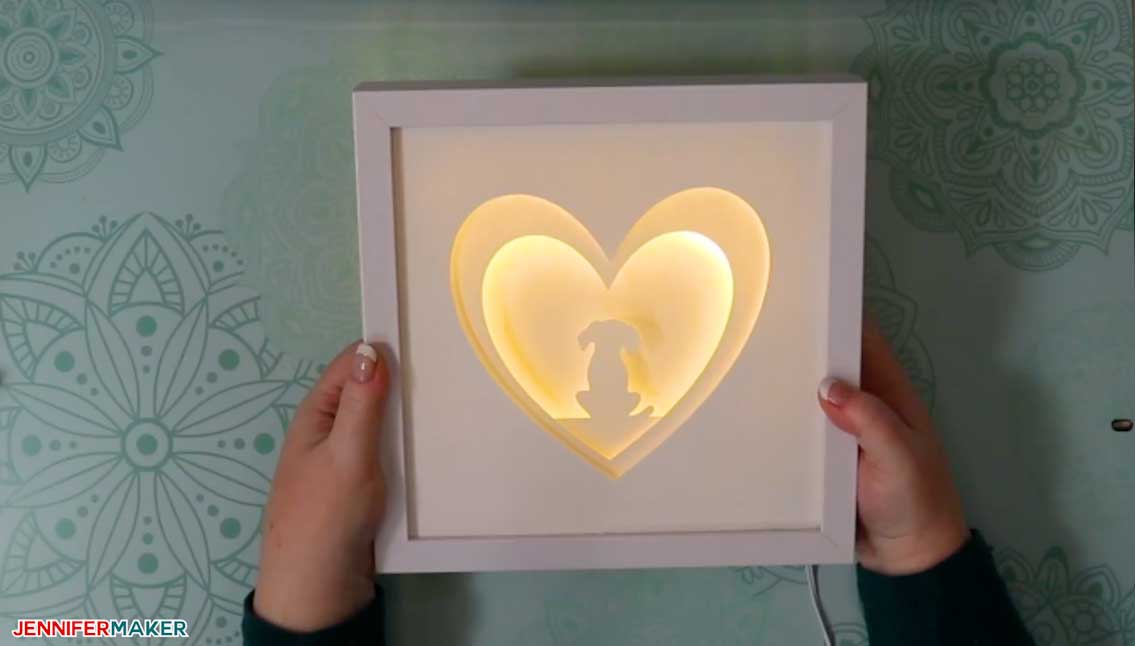
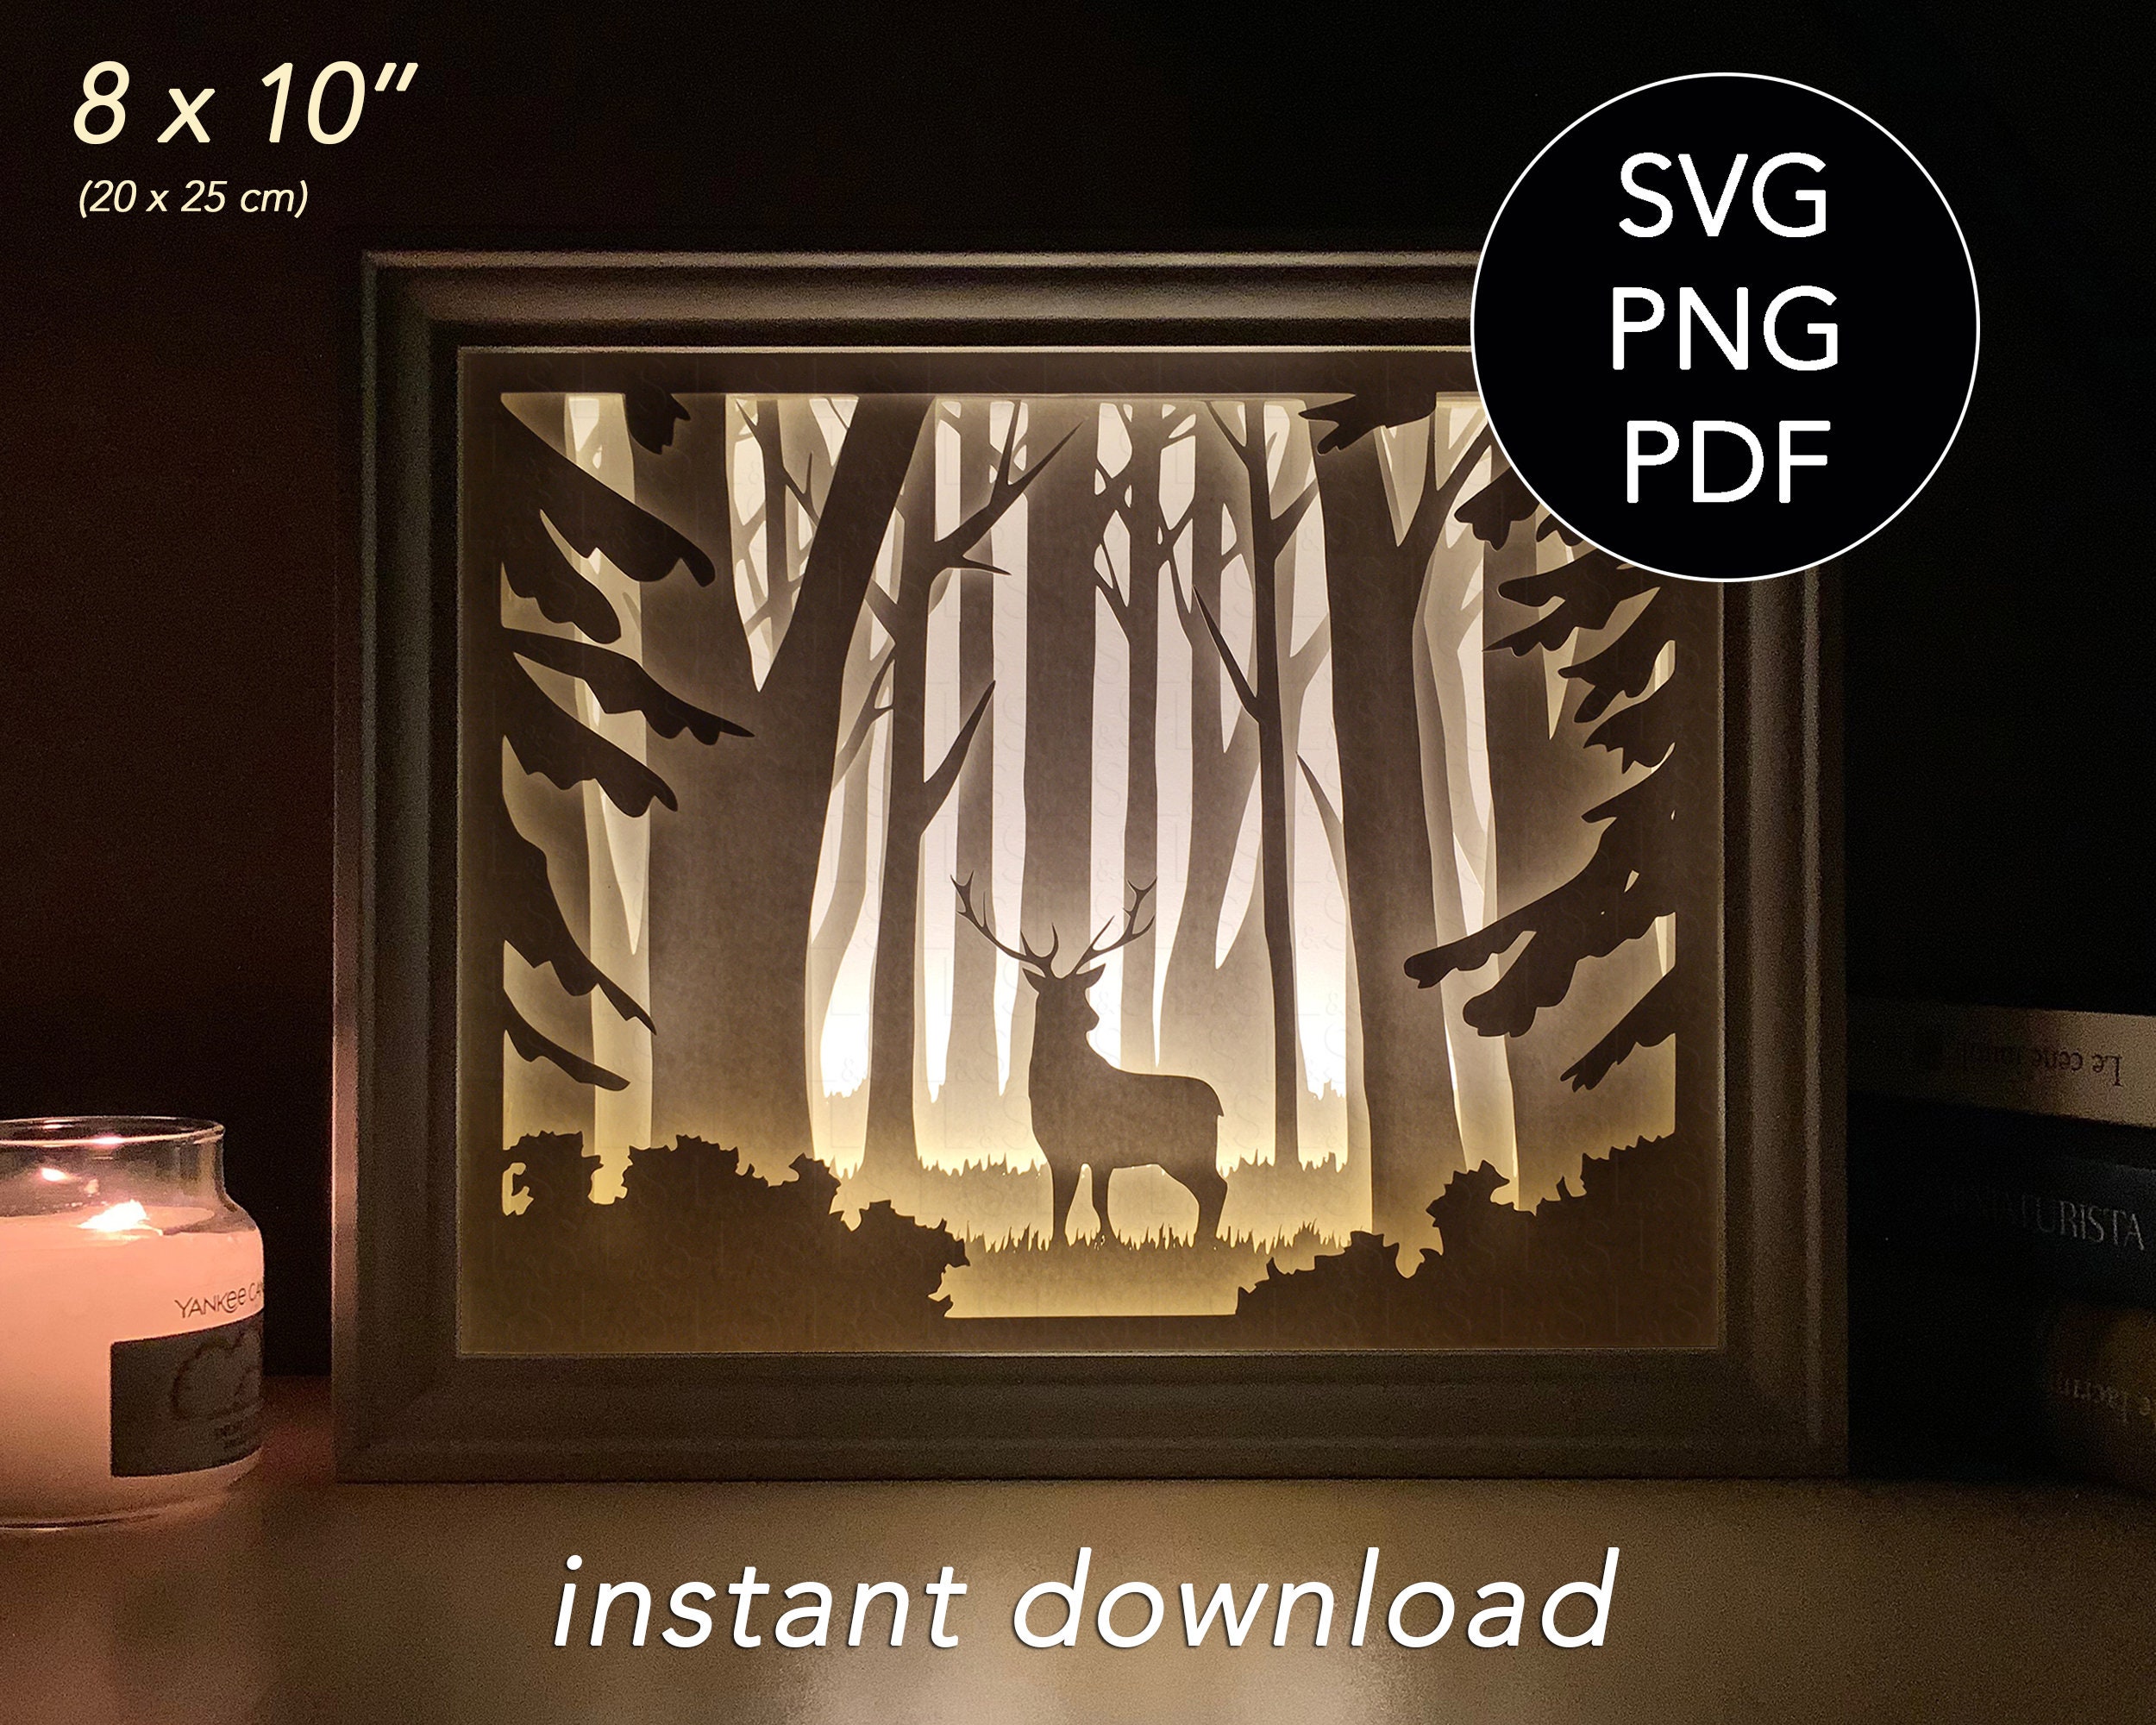
A Cricut shadow box with lights is a captivating and versatile craft project that combines the precision of your Cricut machine with the enchanting glow of LED illumination. This guide will provide you with everything you need to know about creating your own illuminated shadow box, from choosing the right materials to assembling and lighting it up.


Table of Content
- 1 Cricut Shadow Box With Lights: A Comprehensive Guide to DIY Illumination
- 1.1 Introduction
- 1.2 Materials You’ll Need
- 1.3 Materials You’ll Need
- 1.4 Step-by-Step Instructions
- 1.4.1 1. Design and Cut the Shadow Box Base
- 1.4.2 2. Assemble the Shadow Box Base
- 1.4.3 3. Create the Shadow Box Design
- 1.4.4 4. Install the LED Lights
- 1.4.5 5. Connect the Power Supply
- 1.4.6 6. Finishing Touches
- 1.5 Tips for Enhancing Your Shadow Box
- 1.6 Troubleshooting Common Issues
- 1.7 Conclusion
- 1.8 Frequently Asked Questions
Materials You’ll Need


A Cricut shadow box with lights is a captivating and versatile craft project that combines the precision of your Cricut machine with the enchanting glow of LED illumination. This guide will provide you with everything you need to know about creating your own illuminated shadow box, from choosing the right materials to assembling and lighting it up.
- Nativity Shadow Box Svg Free Nativity Shadow Box SVG Free: A Comprehensive Guide
- Christmas Paper Cutting Templates Free Christmas Paper Cutting Templates: Free And Festive
- Layered Shadow Box Svg Layered Shadow Box SVG: A Comprehensive Guide To Creating Stunning 3D Paper Art
- Shadow Box 3d Art Shadow Box 3D Art: A Comprehensive Guide To Creating Depth And Dimension
- Paper Shadow Box Art Paper Shadow Box Art: An Immersive Journey Into Depth And Dimension
Materials You’ll Need
- Cricut machine (any model)
- Cricut Design Space software
- Cardstock or chipboard (for the shadow box base)
- Open Cricut Design Space and create a new project.
- Choose a shadow box template or design your own.
- Select the appropriate material (cardstock or chipboard) and cut out the base pieces.
- Fold and glue the base pieces together to form the box.
- Reinforce the corners with additional glue or adhesive.
- Choose a decorative paper or fabric for the shadow box design.
- Cut out the design using your Cricut machine.
- Adhere the design to the inside of the shadow box base.
- Determine the length of LED strip lights needed to illuminate the shadow box.
- Cut the LED strip lights to the desired length.
- Attach the LED strip lights to the inside of the shadow box base using adhesive.
- Connect the LED strip lights to the power supply.
- Plug the power supply into an electrical outlet.
- Place the shadow box on a flat surface or hang it on a wall.
- Adjust the brightness and color of the LED lights using the power supply remote control (if applicable).
- Use multiple layers of paper or fabric to create depth and dimension.
- Add embellishments such as stickers, beads, or ribbon to enhance the design.
- Consider using a dimmer switch to control the brightness of the LED lights.
- Experiment with different colors and patterns of LED lights to create unique effects.
- LED lights not working: Ensure that the LED strip lights are securely connected to the power supply and that the power supply is plugged into a working electrical outlet.
- Shadow box not illuminating evenly: Adjust the placement of the LED strip lights to ensure that they are evenly distributed throughout the box.
- Cardstock warping: Use thicker cardstock or chipboard for the shadow box base to prevent warping due to heat from the LED lights.
Step-by-Step Instructions

1. Design and Cut the Shadow Box Base

2. Assemble the Shadow Box Base

3. Create the Shadow Box Design
4. Install the LED Lights
5. Connect the Power Supply
6. Finishing Touches
Tips for Enhancing Your Shadow Box
Troubleshooting Common Issues
Conclusion
Creating a Cricut shadow box with lights is a rewarding and versatile craft project that allows you to express your creativity and illuminate your home with personalized artwork. By following the steps outlined in this guide, you can create a stunning and unique shadow box that will bring joy and ambiance to any space.
Frequently Asked Questions
Q: What size Cricut machine do I need for this project?
A: Any Cricut machine model can be used for this project.
Q: Can I use other materials besides cardstock or chipboard for the shadow box base?
A: Yes, you can use materials such as wood, acrylic, or metal. However, ensure that your Cricut machine is compatible with the chosen material.
Q: How long do the LED lights last?
A: The lifespan of LED lights typically ranges from 50,000 to 100,000 hours.
Q: Can I add other elements to my shadow box, such as photos or figurines?
A: Yes, you can add any elements that fit within the shadow box and complement the design.


