


Cricut Shadow Boxes: A Comprehensive Guide to Crafting Dimensional Masterpieces
Introduction
Cricut shadow boxes are an innovative and versatile way to add depth and dimension to your crafting projects. These unique creations allow you to showcase cherished memories, display beloved collectibles, or create stunning home décor pieces that are both functional and visually captivating. This comprehensive guide will delve into the world of Cricut shadow boxes, providing everything you need to know from materials and design to assembly and finishing techniques.
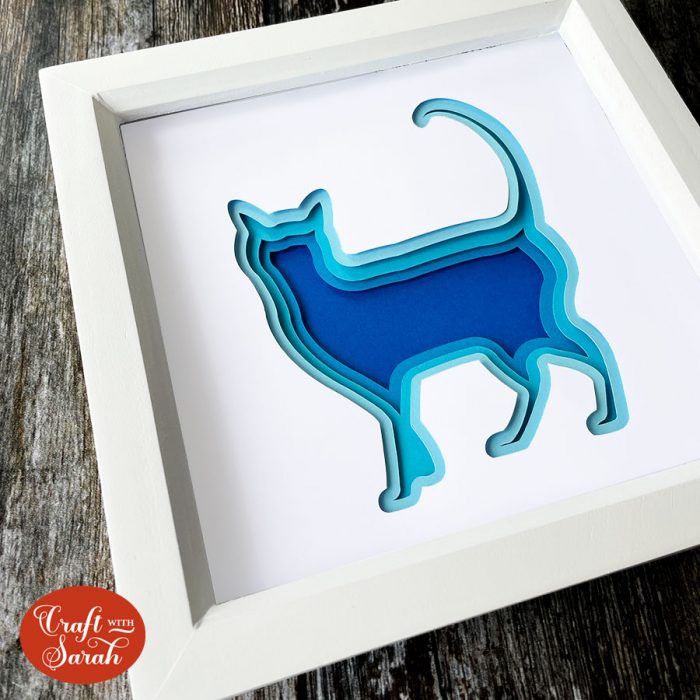

Table of Content
- 1 Cricut Shadow Boxes: A Comprehensive Guide to Crafting Dimensional Masterpieces
- 1.1 Introduction
- 1.2 H1: Materials and Tools for Cricut Shadow Boxes
- 1.3 H1: Materials and Tools for Cricut Shadow Boxes
- 1.4 H2: Designing Your Cricut Shadow Box
- 1.5 H3: Assembling Your Cricut Shadow Box
- 1.6 H3: Finishing Techniques for Cricut Shadow Boxes
- 1.7 H4: Conclusion
- 1.8 FAQs
H1: Materials and Tools for Cricut Shadow Boxes
- Cricut Maker or Explore: These cutting machines are essential for creating the intricate designs and cuts required for shadow boxes.
- Cardstock or Paper: Choose high-quality cardstock or paper that is sturdy enough to support the structure of the box.
- Shadow Box Frame: Select a shadow box frame that complements the size and style of your project.
- Adhesive: Use a strong adhesive such as glue, tape, or double-sided adhesive to assemble the box.
- Embellishments (Optional): Add embellishments like ribbon, lace, or buttons to enhance the design of your shadow box.

Tools:
- Scoring Stylus or Tool: This tool creates crisp score lines in the cardstock, making it easier to fold and assemble the box.
- Pencil Shadow Box Pencil Shadow Box: A Unique Way To Preserve Your Art
- How To Make 3d Shadow Box Art How To Create Stunning 3D Shadow Box Art
- Free Shadow Box Card Svg File Free Shadow Box Card SVG File: A Comprehensive Guide To Creating Stunning Shadow Box Cards
- 3d Light Shadow Box 3D Light Shadow Box: An Immersive Art Form
- Horse Memorial Shadow Box The Enduring Legacy: Horse Memorial Shadow Boxes – A Cherished Tribute To Equine Companions
- Cricut Maker or Explore: These cutting machines are essential for creating the intricate designs and cuts required for shadow boxes.
- Cardstock or Paper: Choose high-quality cardstock or paper that is sturdy enough to support the structure of the box.
- Craft Knife or Scissors: Use a sharp craft knife or scissors to cut out intricate designs and shapes.
- Ruler or Measuring Tape: Ensure accuracy when measuring and cutting materials.
- Cutting Mat: Protect your work surface and provide a stable base for cutting.
- Theme: Determine the theme of your shadow box, whether it’s a special occasion, a collection, or a specific design concept.
- Layout: Plan the layout of your shadow box, considering the size and placement of each element.
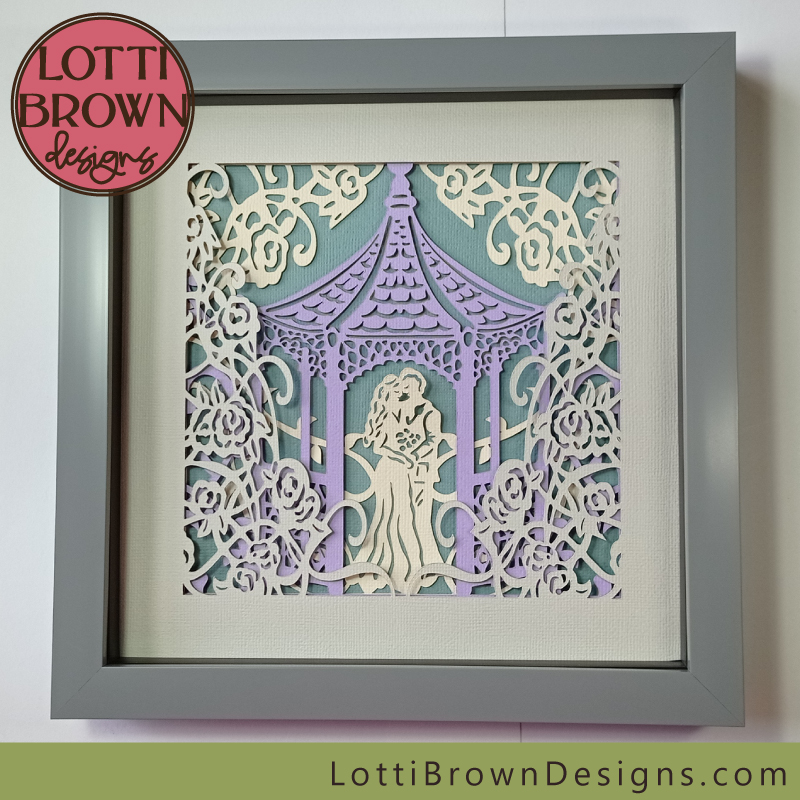
- Depth: Create a sense of depth by layering elements within the box, using different heights and textures.
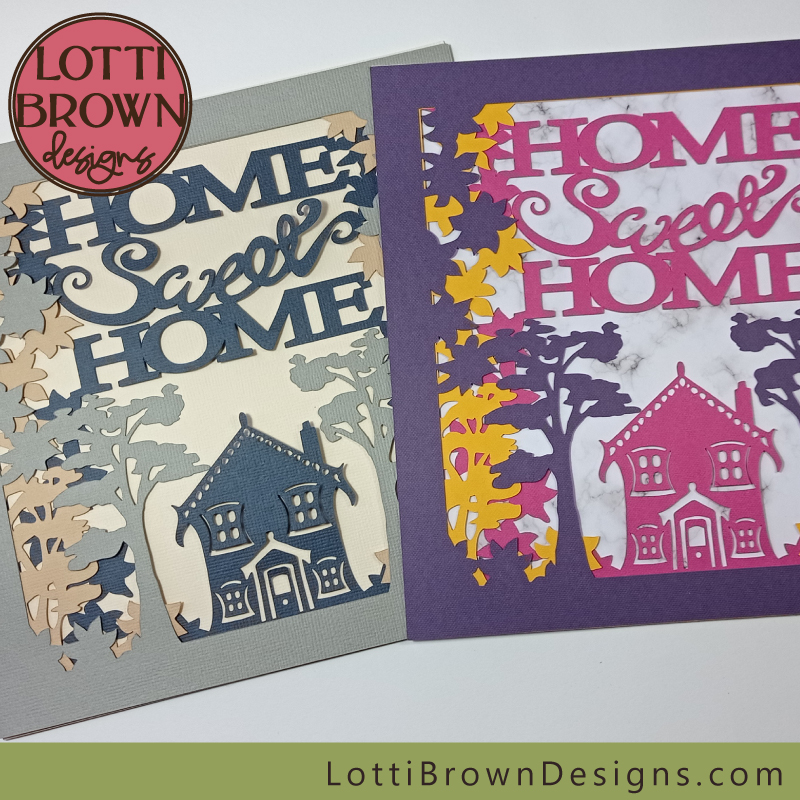
- Color Scheme: Choose a color scheme that complements the theme and enhances the visual appeal of the shadow box.
- Create a New Project: Open Cricut Design Space and create a new project.
- Select Design Elements: Browse Cricut’s library of designs or upload your own images.
- Resize and Adjust: Resize and adjust the design elements to fit the size and layout of your shadow box.
- Cut and Score: Send the design to your Cricut machine to cut out the cardstock and create score lines.
- Use a scoring stylus or tool to create score lines on the cardstock along the edges of the box.
- Fold the cardstock along the score lines to form the sides and base of the box.
- Apply adhesive to the tabs or edges of the cardstock and press them together to secure the box.
- Reinforce the corners with additional adhesive if needed.
- Arrange the elements of your shadow box within the box, layering them to create depth and dimension.
- Use adhesive to secure the elements in place.
- Place the lid on top of the box and secure it with adhesive or a locking mechanism, if available.
- Decorate the lid with embellishments or a title to complete the design.
- Choose a frame that enhances the design and protects the shadow box.
- Secure the shadow box in the frame using mounting tape or a backing board.
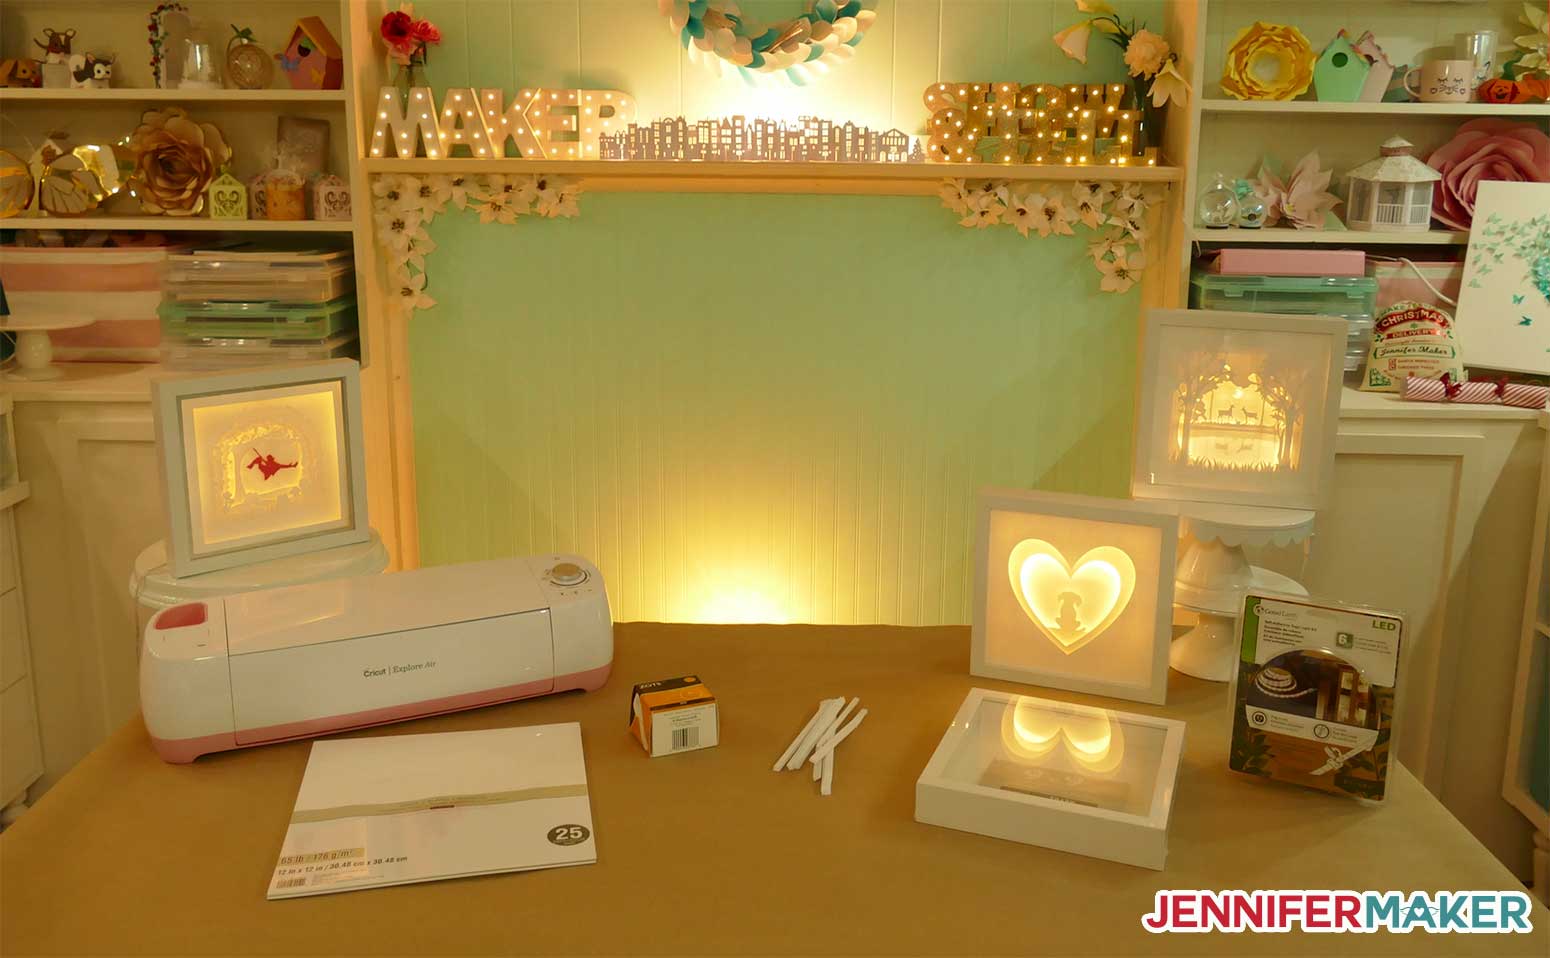
- Add LED lights or fairy lights to illuminate the interior of the shadow box, creating a warm and inviting ambiance.
- Position the lights strategically to highlight specific elements or create a dramatic effect.
- Embellish the shadow box with ribbon, lace, buttons, or other decorative elements to enhance its visual appeal.
- Personalize the shadow box with a handwritten note, a quote, or a small memento.
Cricut shadow boxes are an innovative and versatile way to add depth and dimension to your crafting projects. These unique creations allow you to showcase cherished memories, display beloved collectibles, or create stunning home décor pieces that are both functional and visually captivating. This comprehensive guide will delve into the world of Cricut shadow boxes, providing everything you need to know from materials and design to assembly and finishing techniques.
H1: Materials and Tools for Cricut Shadow Boxes
Materials:


H2: Designing Your Cricut Shadow Box
Design Considerations:

Using Cricut Design Space:

H3: Assembling Your Cricut Shadow Box
Step 1: Score and Fold:
Step 2: Adhere the Box:
Step 3: Insert Elements:
Step 4: Close the Box:
H3: Finishing Techniques for Cricut Shadow Boxes
Framing:
Lighting:
Finishing Touches:
H4: Conclusion
Cricut shadow boxes offer endless possibilities for creativity and personalization. By mastering the materials, design, and assembly techniques discussed in this guide, you can create stunning shadow boxes that preserve memories, showcase collections, and elevate your home décor. From intricate designs to layered compositions, the possibilities are boundless. Embrace the versatility of Cricut shadow boxes and let your imagination soar.
FAQs
Q: What is the difference between a Cricut Maker and an Explore machine?
A: The Cricut Maker has more cutting force and can cut a wider variety of materials, including thicker cardstock and leather.
Q: Can I use any type of paper or cardstock for Cricut shadow boxes?
A: Yes, but thicker and sturdier cardstock is recommended for better durability and support.
Q: How do I ensure that the elements in my shadow box stay in place?
A: Use a strong adhesive and reinforce the corners with additional adhesive if necessary. You can also add small tabs or supports to secure elements.
Q: Can I add lighting to my Cricut shadow box?
A: Yes, you can add LED lights or fairy lights to illuminate the interior of the box. Position the lights strategically to highlight specific elements or create a dramatic effect.
Q: How can I personalize my Cricut shadow box?
A: Embellish the shadow box with ribbon, lace, buttons, or other decorative elements. You can also add a handwritten note, a quote, or a small memento to make it truly unique.


