


Cut Out Free Shadow Box SVG File: A Comprehensive Guide
Introduction
Shadow boxes are a creative and versatile way to display treasured memories, artwork, or collectibles. With the advent of digital cutting machines, it’s easier than ever to create custom shadow boxes using SVG files. This article provides a comprehensive guide to cutting out free shadow box SVG files, offering step-by-step instructions, troubleshooting tips, and design inspiration.


Table of Content
- 1 Cut Out Free Shadow Box SVG File: A Comprehensive Guide
- 1.1 Introduction
- 2 H1: Choosing the Right SVG File
- 2.2 H2: Where to Find Free SVG Files
- 3 H1: Choosing the Right SVG File
- 3.3 H2: Considerations for Shadow Box Design
- 4 H2: Step-by-Step Cutting Instructions
- 4.4 H3: Materials and Equipment
- 4.5 H3: Importing the SVG File
- 4.6 H3: Cutting the Shadow Box Parts
- 4.7 H3: Weeding and Assembly
- 5 H1: Troubleshooting Common Issues
- 5.8 H2: Cutting Problems
- 5.9 H2: Assembly Issues
- 6 H1: Design Inspiration and Variations
- 6.10 H2: Shadow Box Themes
- 6.11 H2: Creative Variations
- 7 Conclusion
- 8 FAQs
- 8.12 Q: What is an SVG file?
- 8.13 Q: What cutting machines can cut SVG files?
- 8.14 Q: Can I use any material for a shadow box?
H1: Choosing the Right SVG File
- Size and Shape: Determine the desired dimensions and shape of your shadow box.
- Complexity: Choose an SVG file that aligns with your skill level and the capabilities of your cutting machine.
- Material: Consider the material you’ll be cutting, such as cardstock, wood, or acrylic.
H2: Where to Find Free SVG Files
- Online Marketplaces: Etsy, Creative Market, and The Hungry JPEG offer a wide selection of free SVG files.
- Design Blogs: Many design blogs feature free SVG files as part of their content.
- Social Media: Follow SVG designers on social media platforms like Pinterest and Facebook for free file downloads.
- Free Shadow Box Svg File Free Shadow Box SVG File: Elevate Your Papercrafting Projects
- Layered Shadow Box Svg Free Layered Shadow Box SVG Free: A Comprehensive Guide To Creating Stunning 3D Paper Art
- Shadow Box Svg Free Shadow Box SVG Free: Unleash Your Creativity With Limitless Designs
- Size and Shape: Determine the desired dimensions and shape of your shadow box.
- Complexity: Choose an SVG file that aligns with your skill level and the capabilities of your cutting machine.
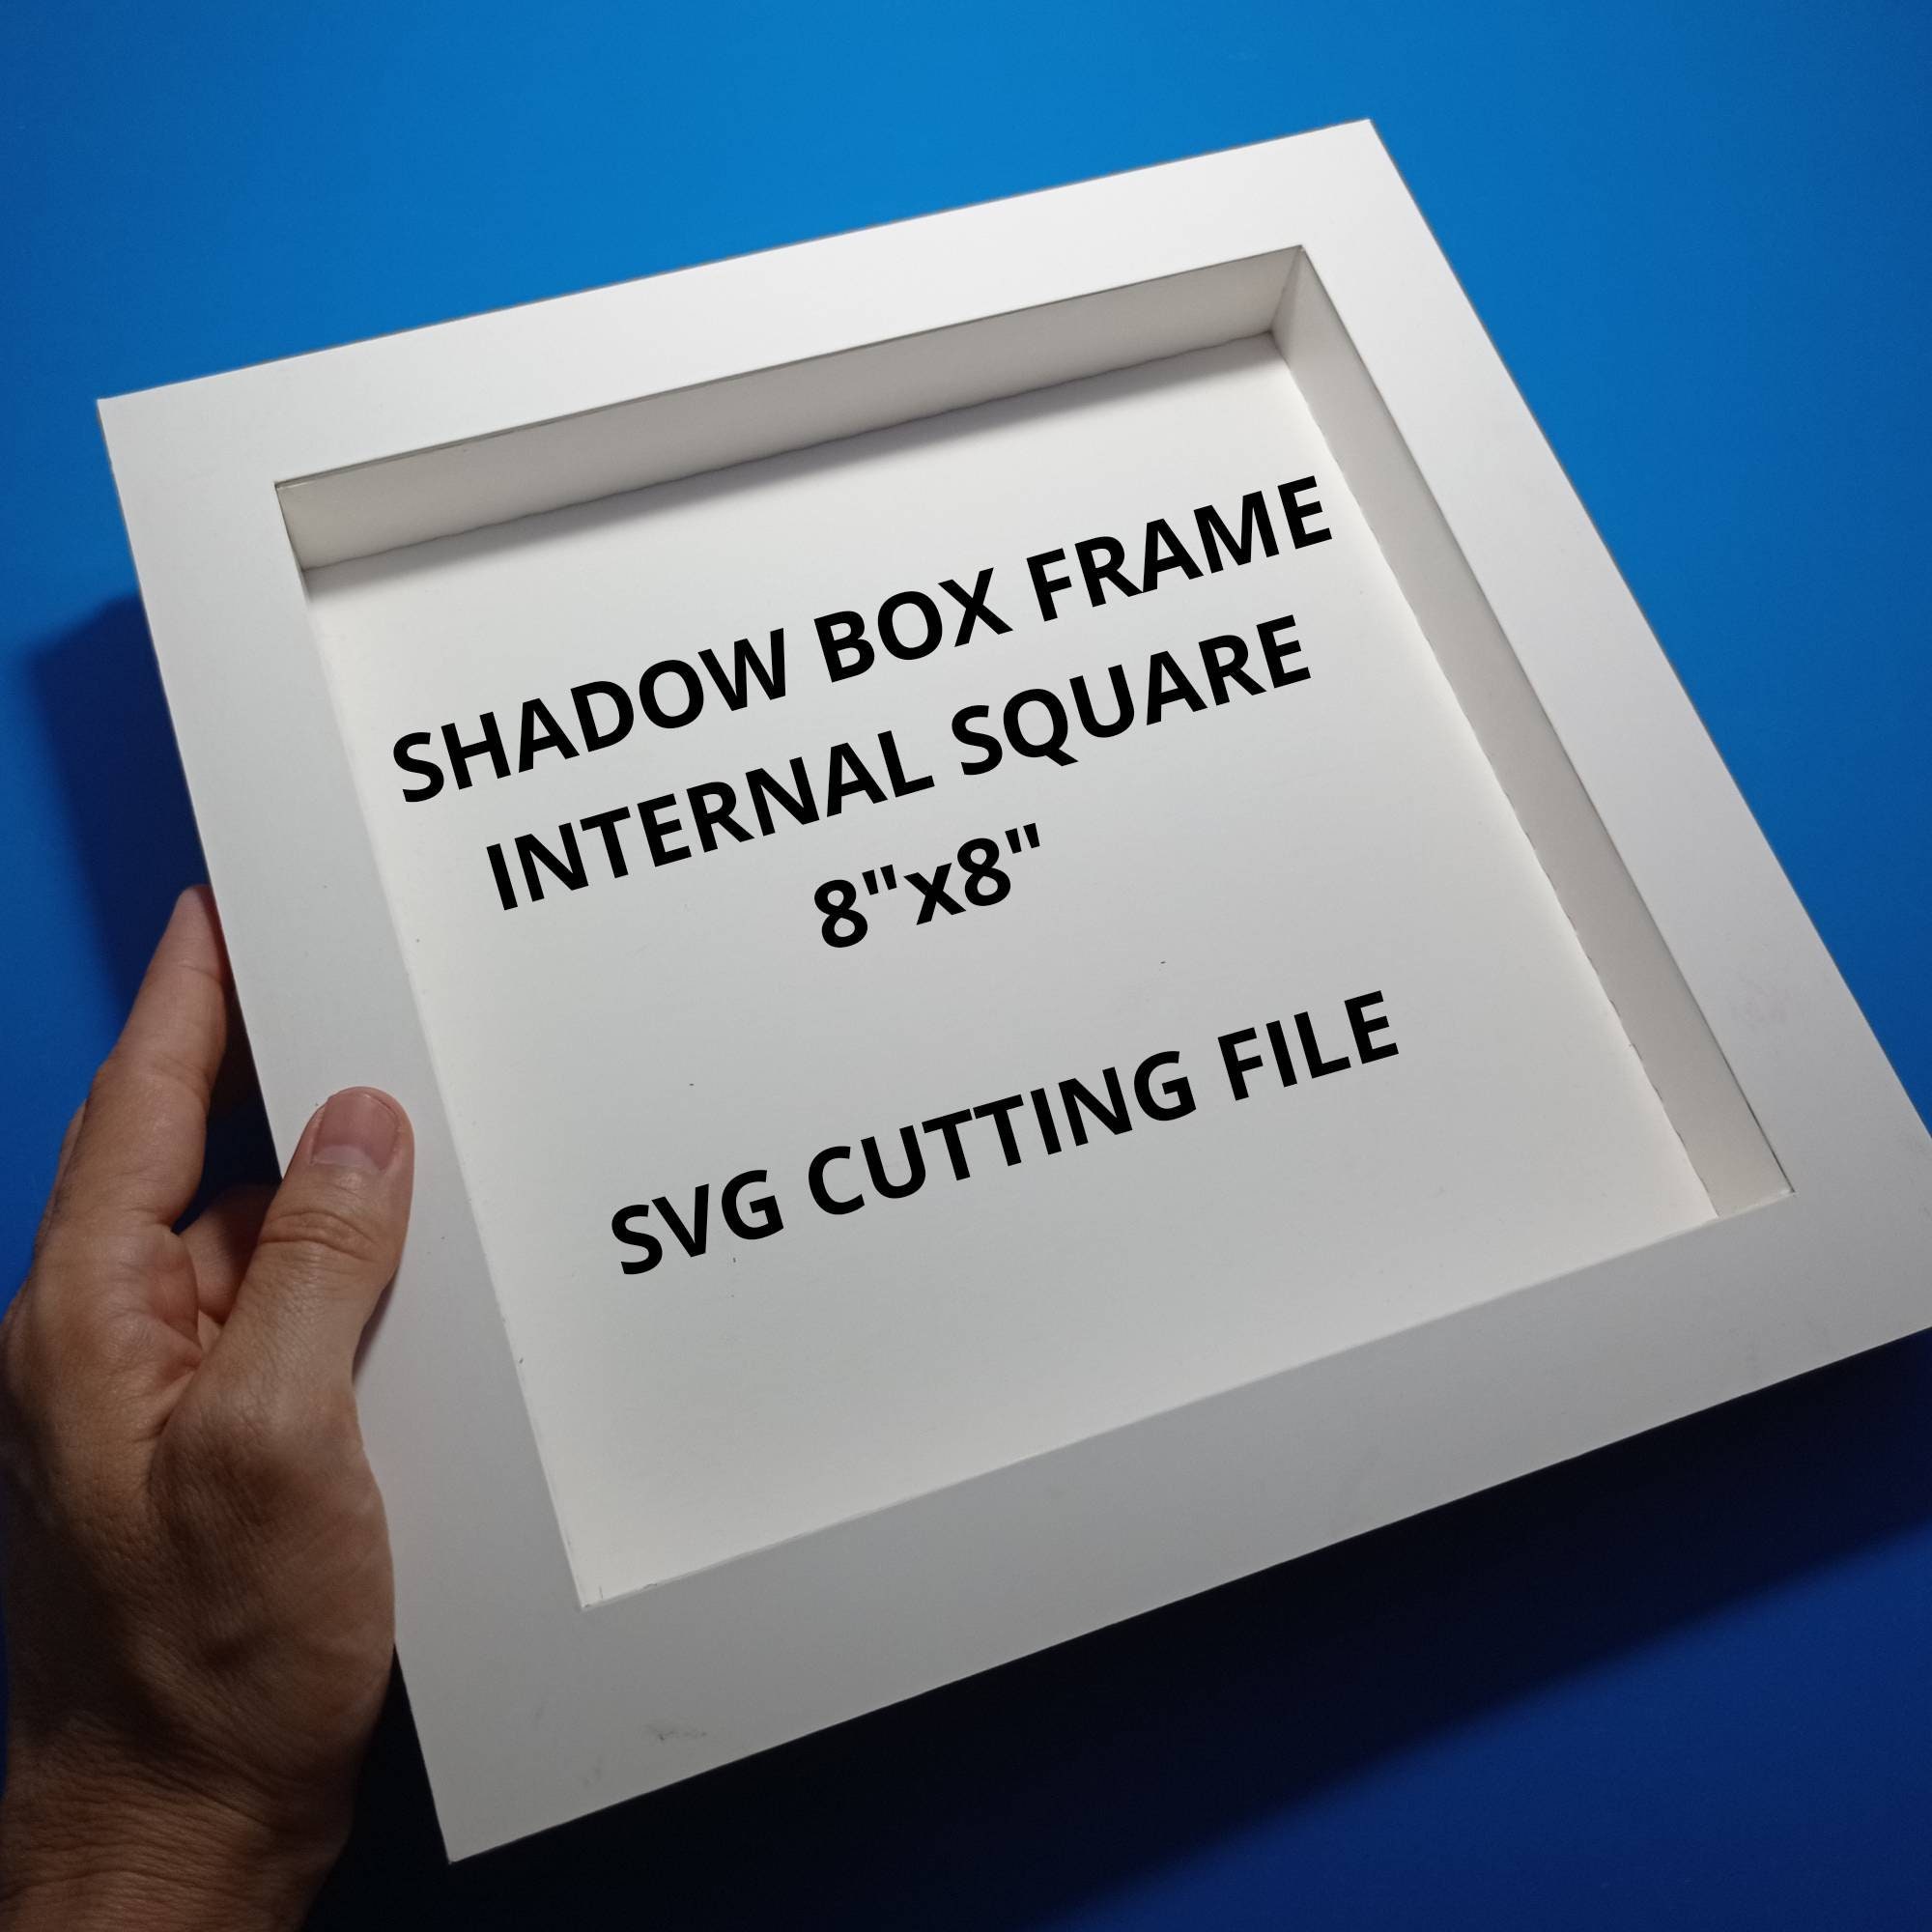
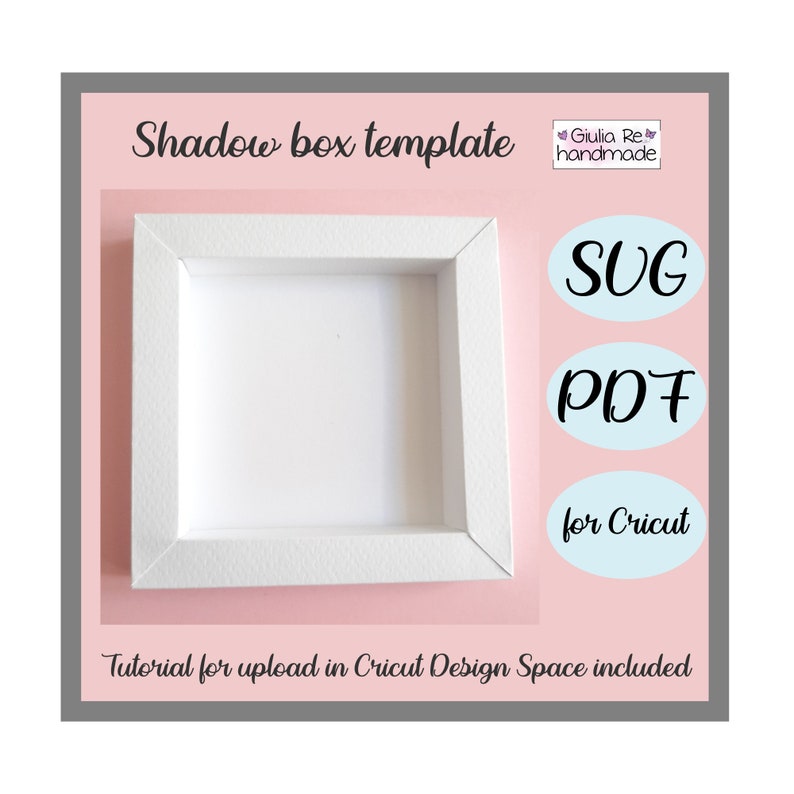
- Shadow box frame
- SVG file
- Cutting machine (e.g., Cricut, Silhouette)
- Cutting mat
- Weeding tool
- Adhesive
- Open your cutting machine software and import the SVG file.
- Adjust the size and orientation as needed.
- Place the cutting mat on the cutting surface.
- Load the material onto the cutting mat.
- Send the cut job to the machine.
- Once the cutting is complete, remove the excess material from the cut pieces.
- Assemble the shadow box by attaching the cut pieces to the frame using adhesive.
- Material not cutting through: Ensure the blade is sharp and the cutting settings are appropriate for the material.
- Uneven cuts: Check the alignment of the material on the cutting mat.
- Tearing or distortion: Use a cutting mat with a sticky surface to prevent the material from shifting.
- Parts don’t fit together: Verify the dimensions of the cut pieces and ensure they match the shadow box frame.
- Gaps between pieces: Use a strong adhesive to secure the pieces tightly.
- Warped or uneven box: Apply pressure to the assembled box to flatten it out.
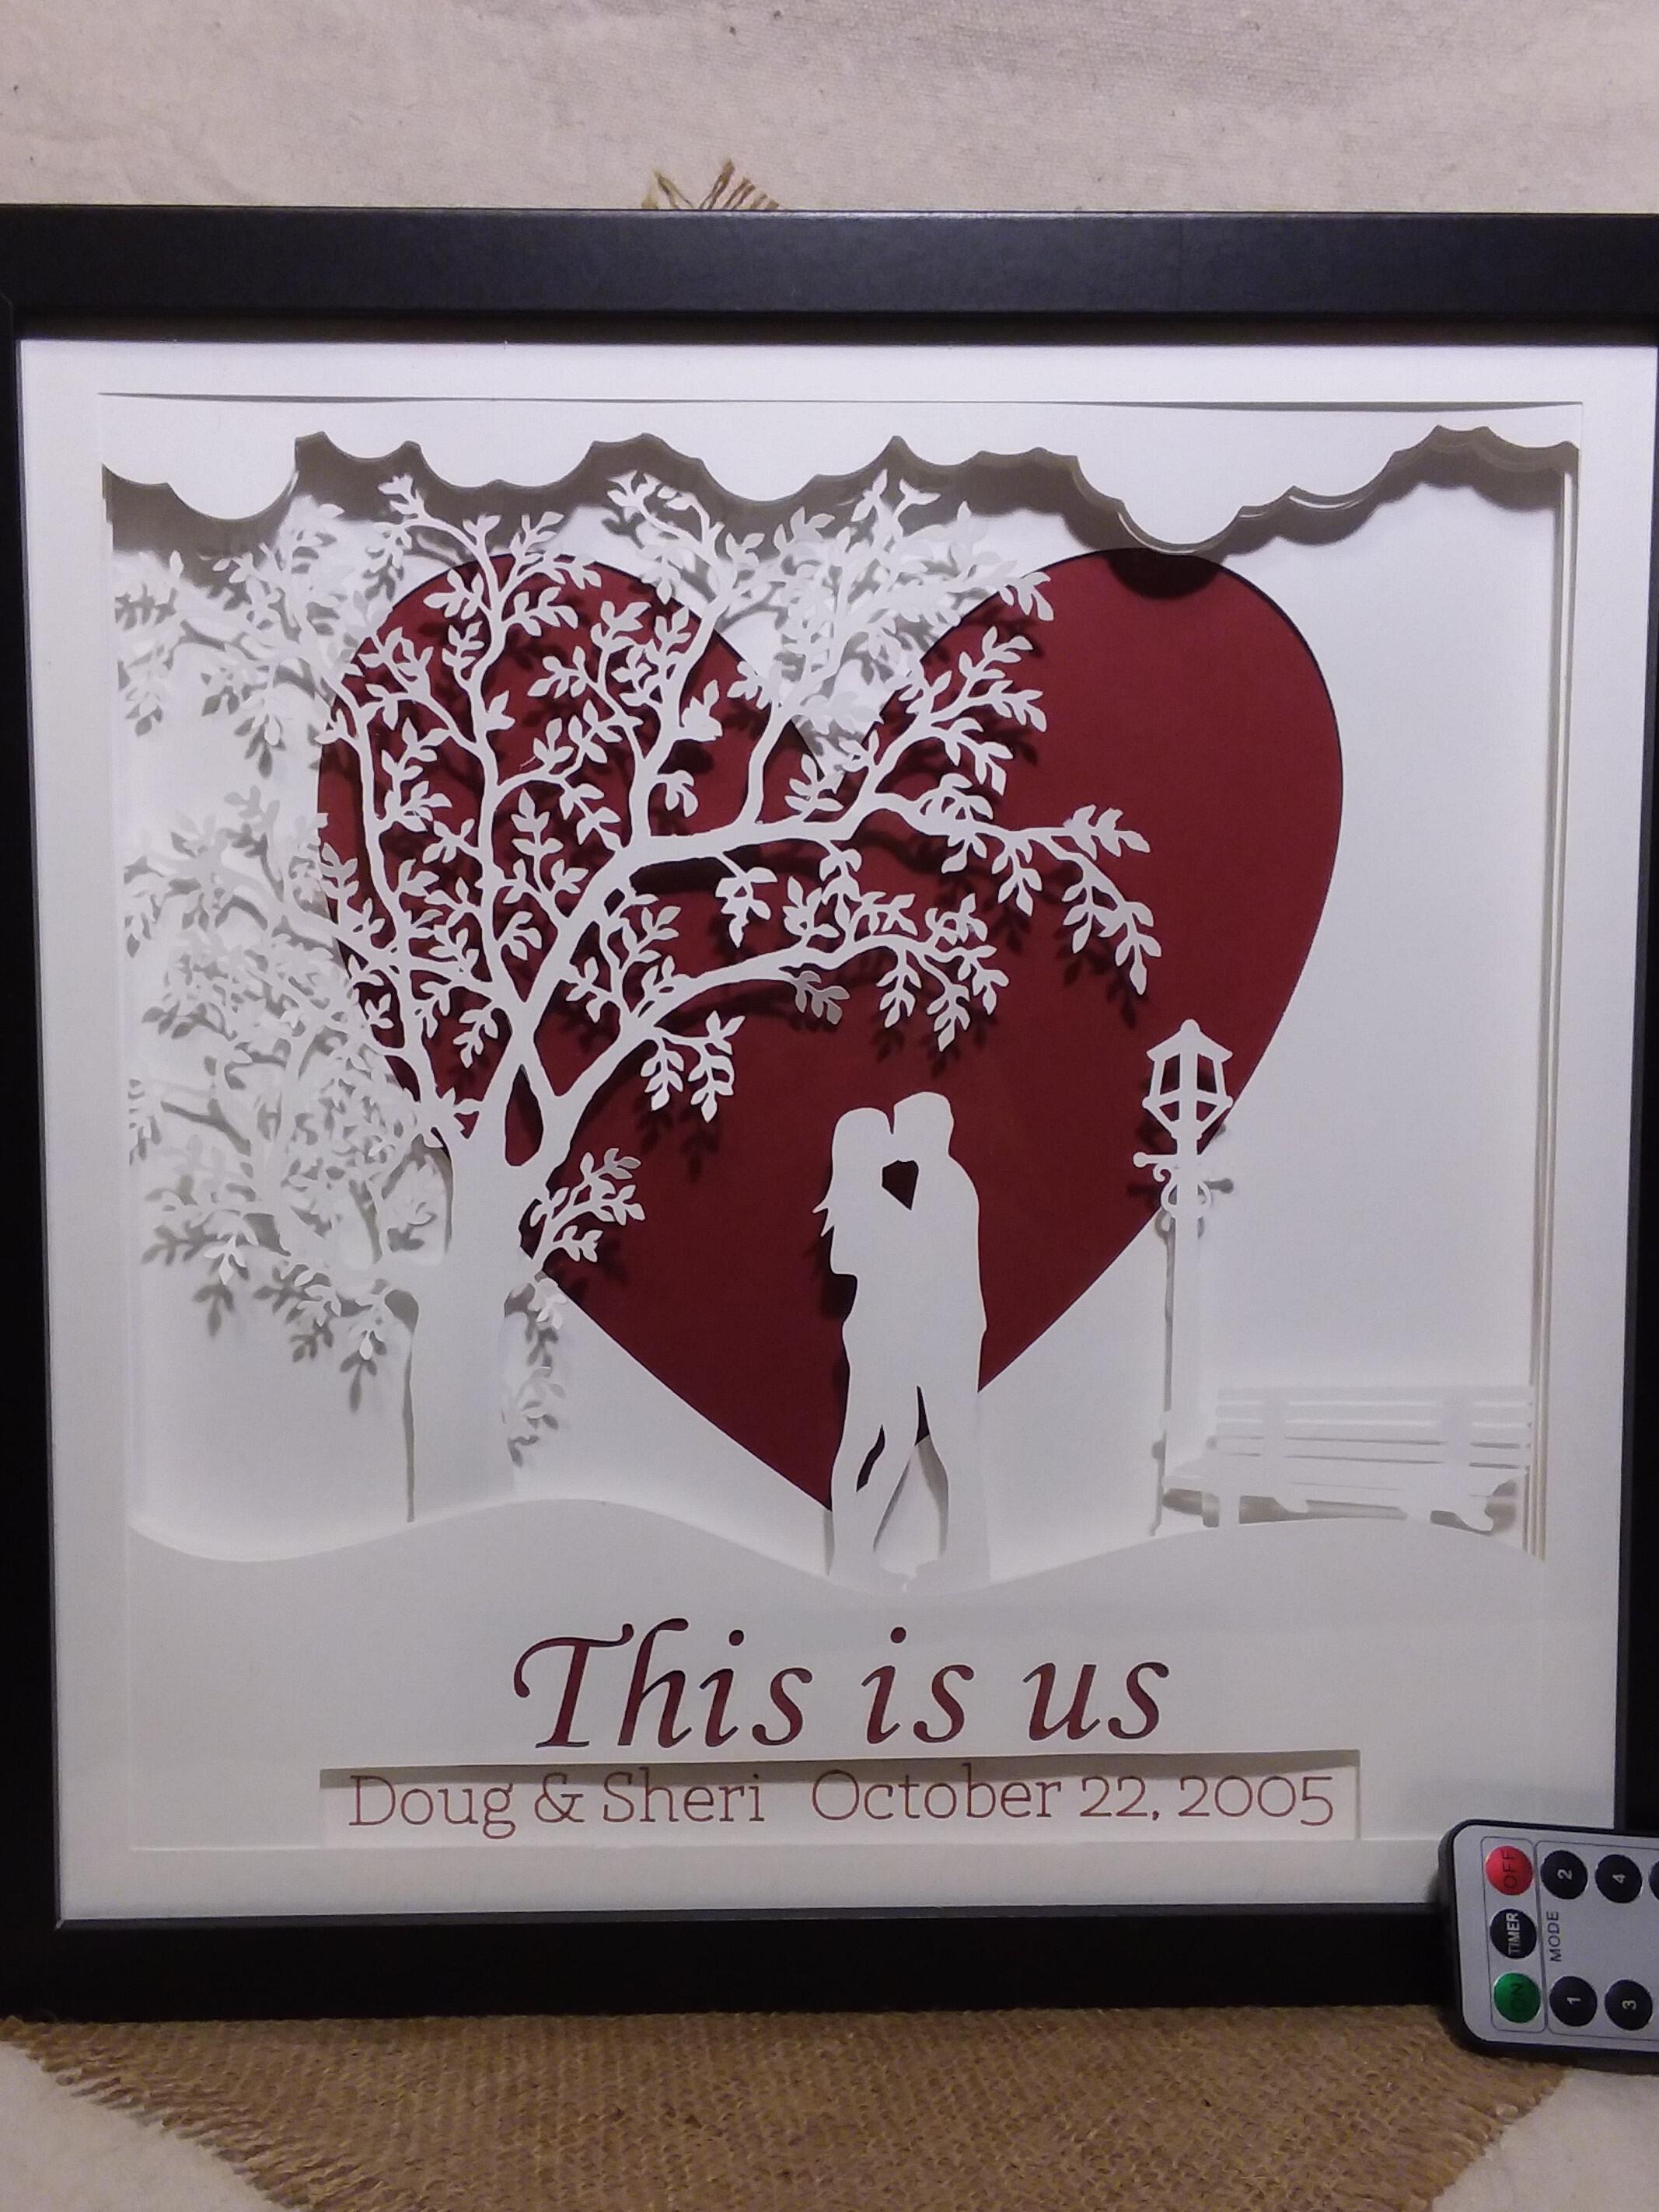
- Memories: Display photos, letters, or other sentimental items.
- Artwork: Frame paintings, drawings, or prints.
- Collectibles: Showcase stamps, coins, or figurines.
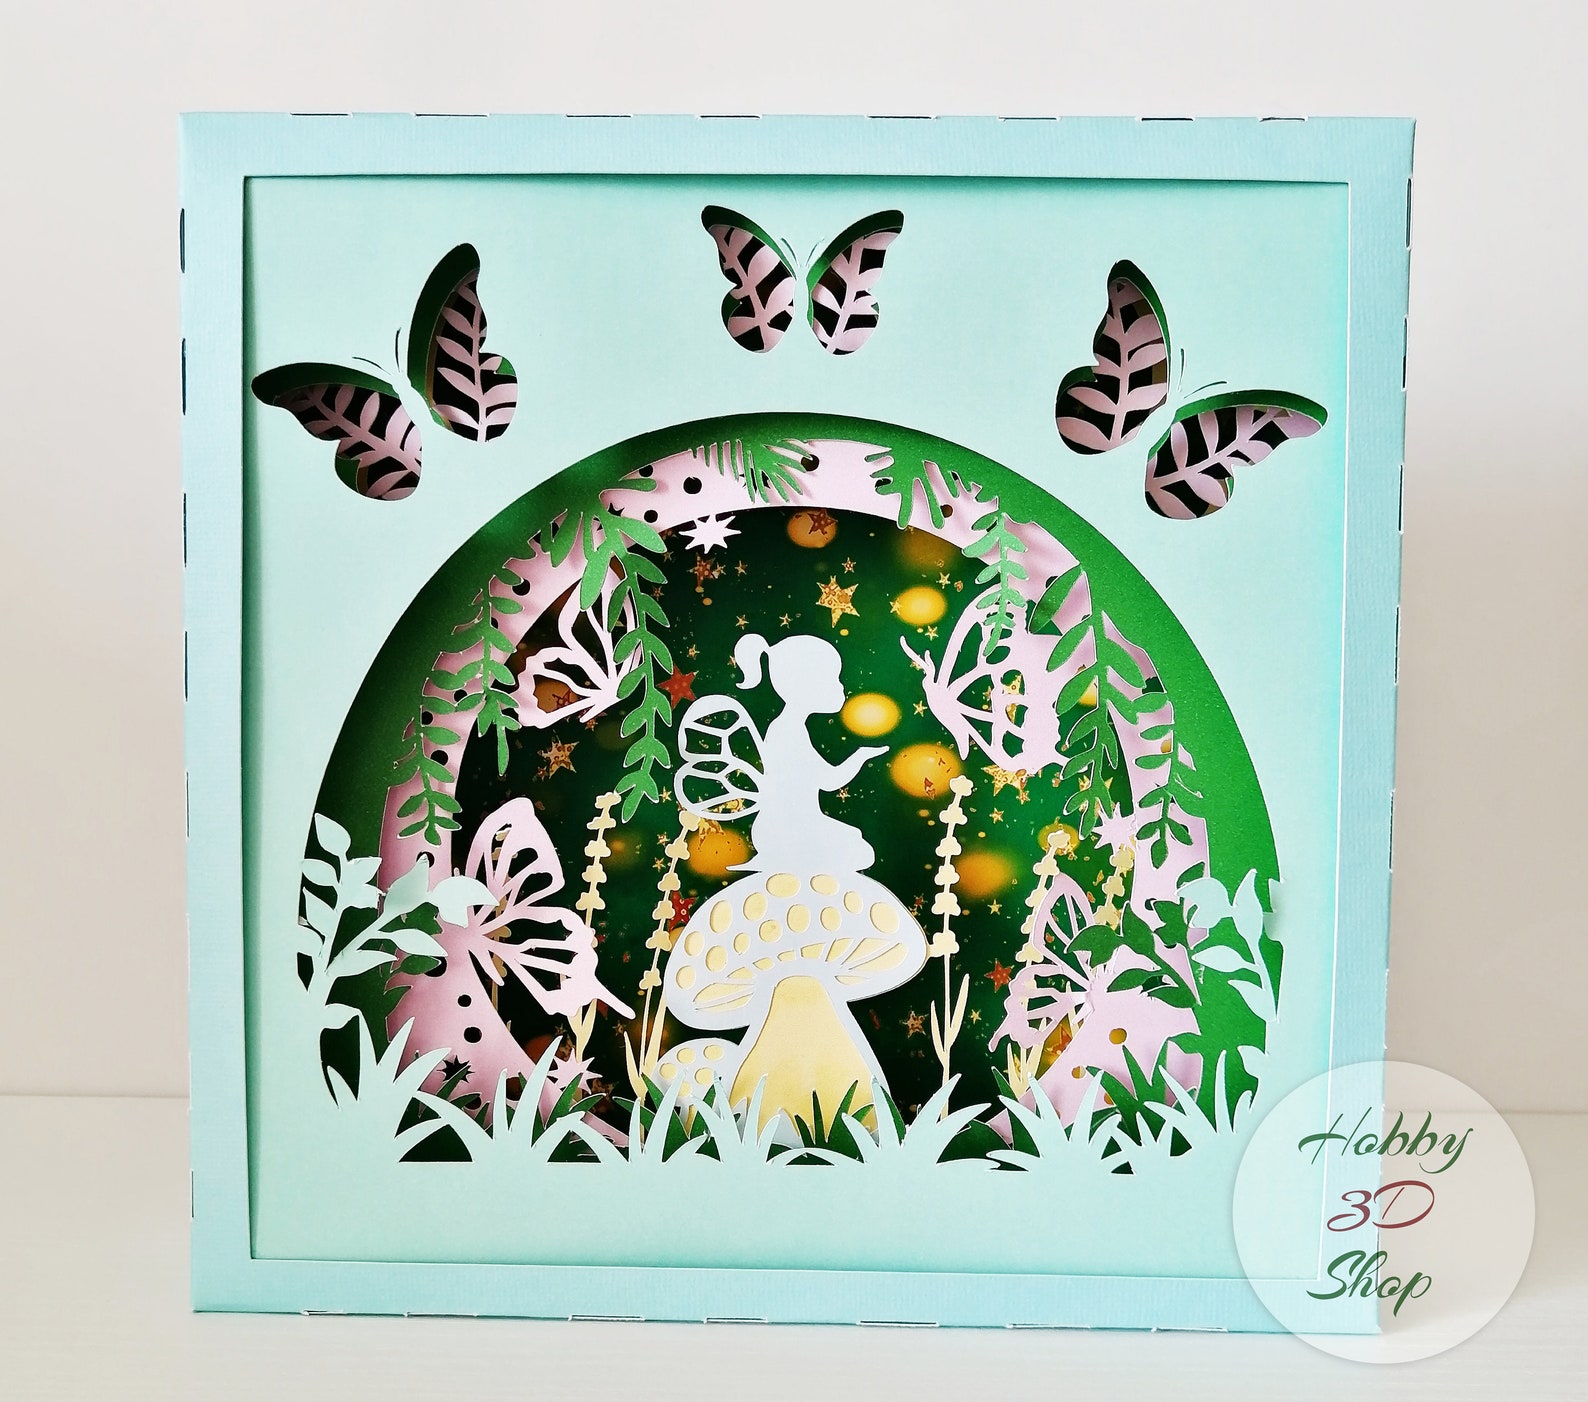
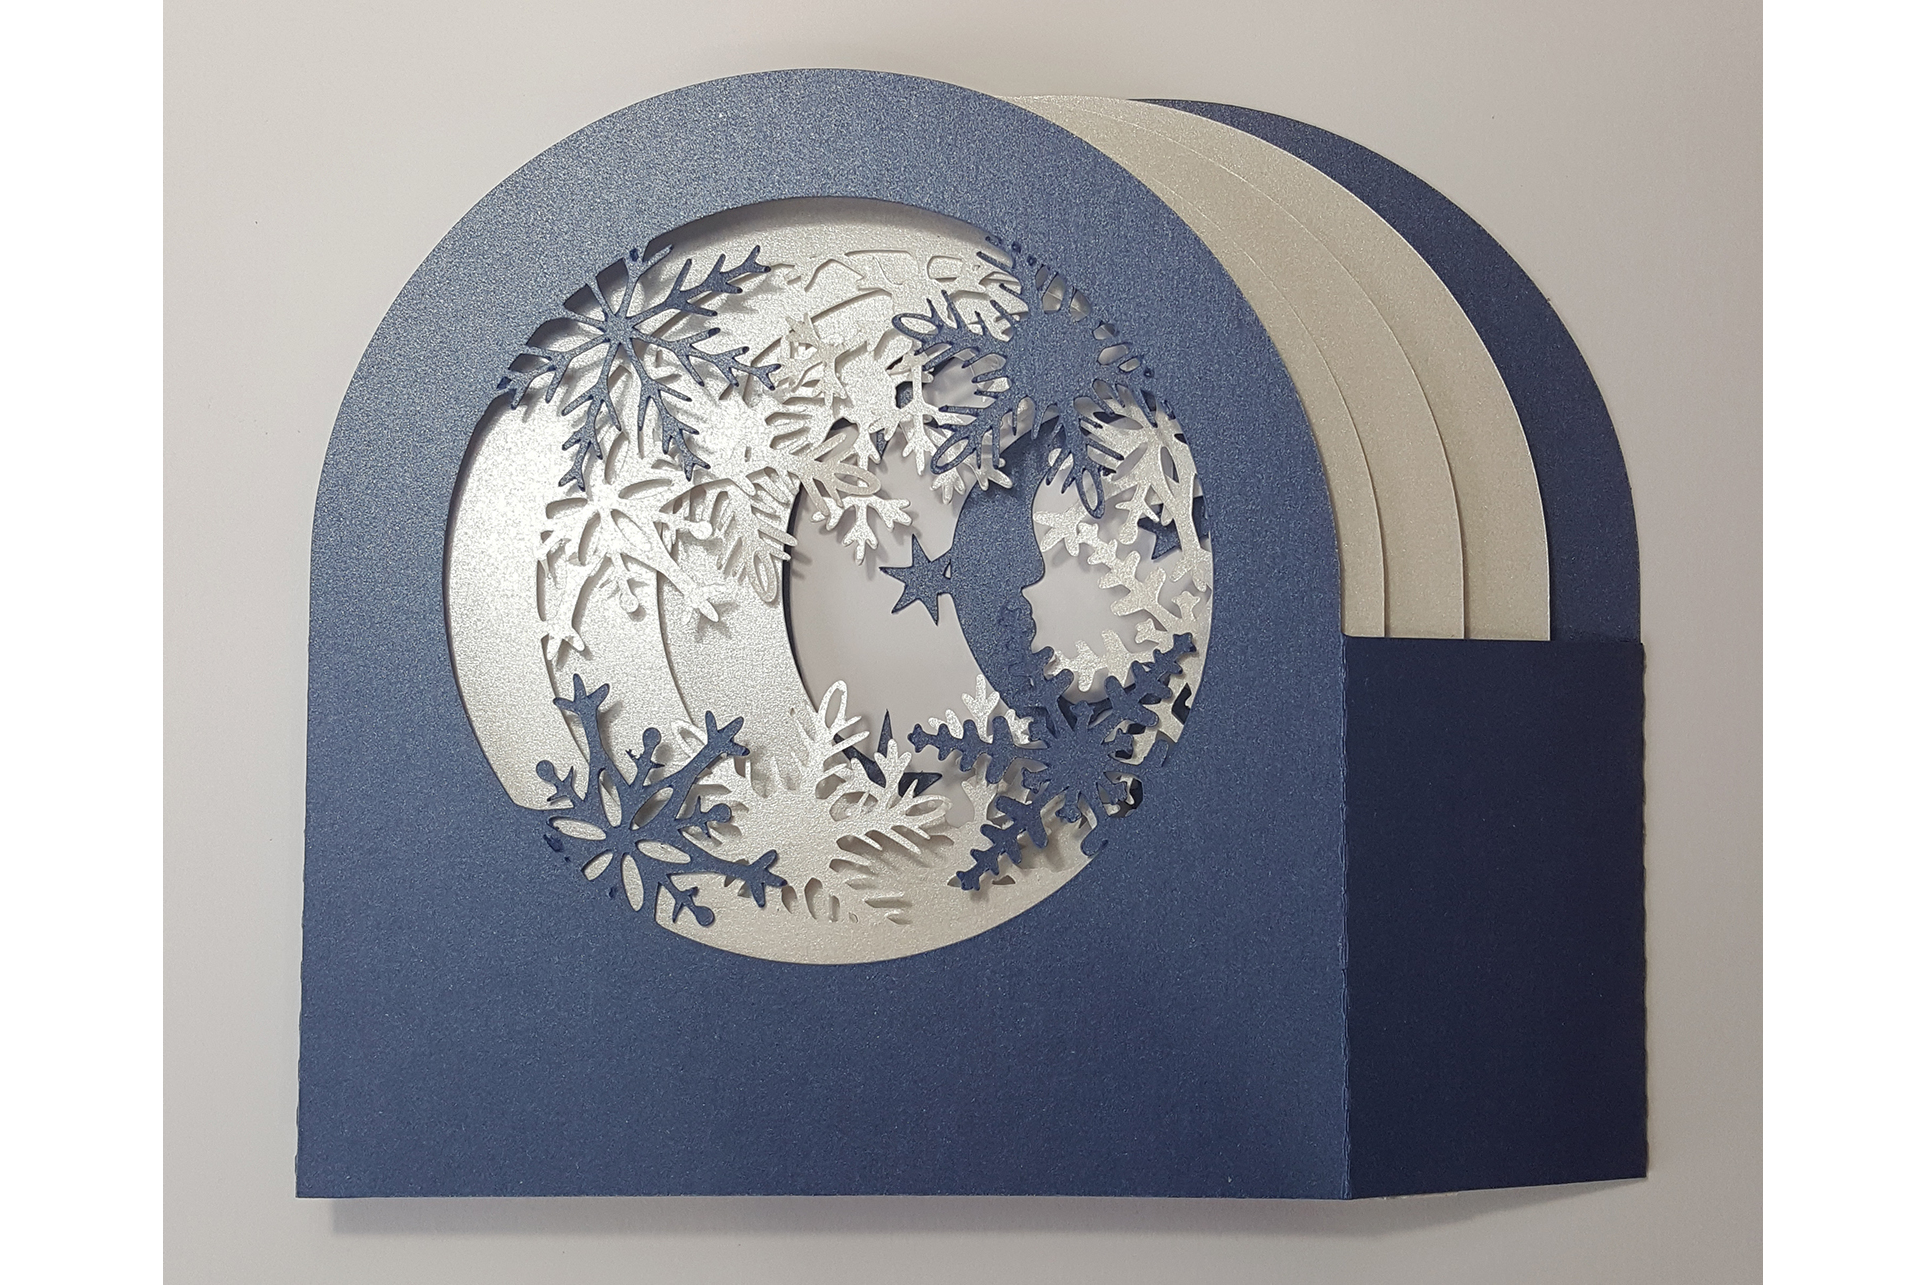
- Layered Shadow Boxes: Create depth by layering multiple cut pieces.
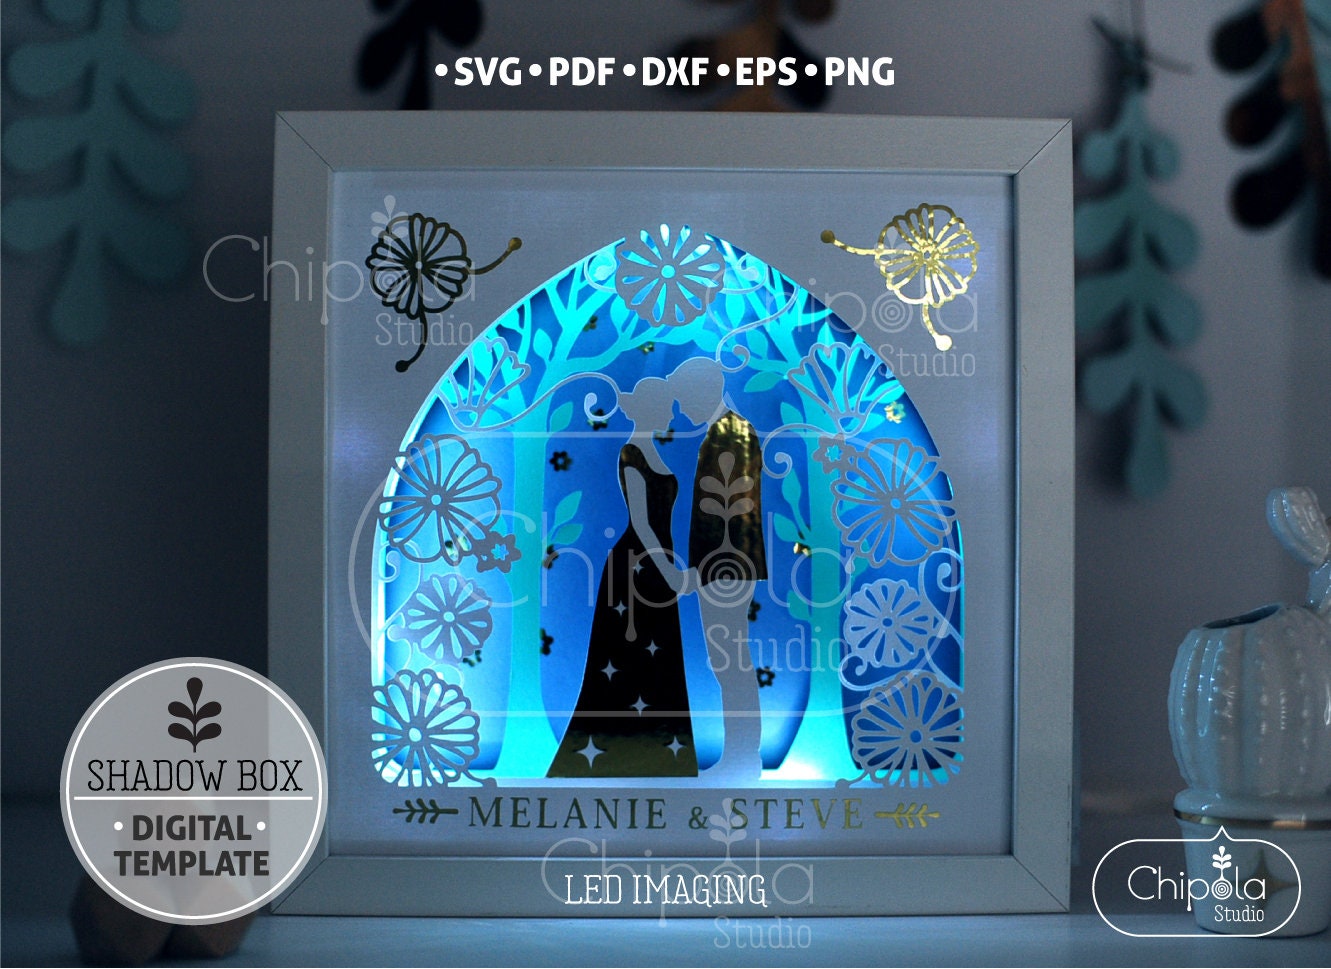
- Illuminated Shadow Boxes: Add LED lights to illuminate the contents.
- Interactive Shadow Boxes: Include interactive elements like pull tabs or sliders.
Shadow boxes are a creative and versatile way to display treasured memories, artwork, or collectibles. With the advent of digital cutting machines, it’s easier than ever to create custom shadow boxes using SVG files. This article provides a comprehensive guide to cutting out free shadow box SVG files, offering step-by-step instructions, troubleshooting tips, and design inspiration.
H1: Choosing the Right SVG File
H2: Considerations for Shadow Box Design

H2: Step-by-Step Cutting Instructions
H3: Materials and Equipment

H3: Importing the SVG File
H3: Cutting the Shadow Box Parts
H3: Weeding and Assembly
H1: Troubleshooting Common Issues
H2: Cutting Problems
H2: Assembly Issues
H1: Design Inspiration and Variations
H2: Shadow Box Themes
H2: Creative Variations
Conclusion
Creating custom shadow boxes using free SVG files is a rewarding and cost-effective way to display your cherished items. By following the step-by-step instructions, troubleshooting tips, and design inspiration provided in this guide, you can create stunning shadow boxes that will enhance your home décor and preserve your memories for years to come.
FAQs
Q: What is an SVG file?
A: SVG (Scalable Vector Graphics) is a file format that describes two-dimensional vector graphics. SVG files can be scaled to any size without losing quality.
Q: What cutting machines can cut SVG files?
A: Popular cutting machines like Cricut, Silhouette, and Brother ScanNCut can cut SVG files.
Q: Can I use any material for a shadow box?
A: Shadow boxes can be made from a variety of materials, including cardstock, wood, acrylic, and metal. Choose a material that complements the contents and the overall design.


