


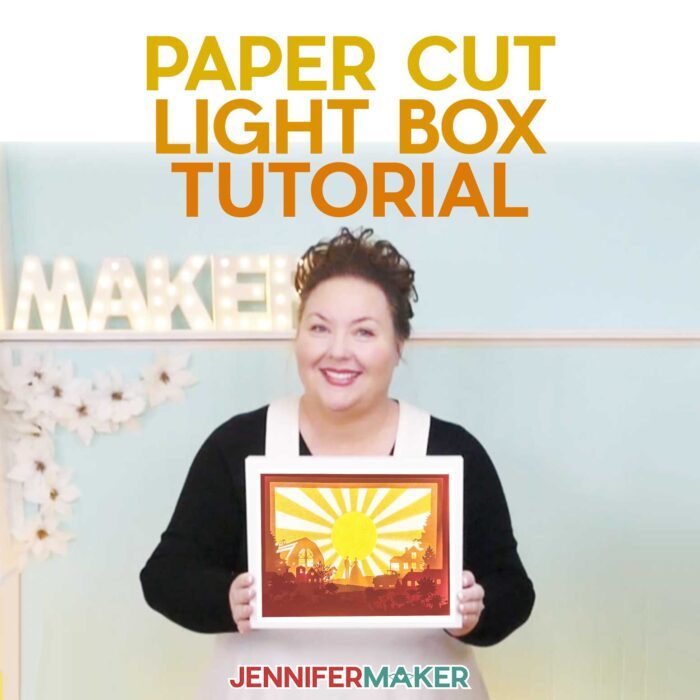
DIY Papercut Light Box: A Step-by-Step Guide to Illuminate Your Artwork
Introduction
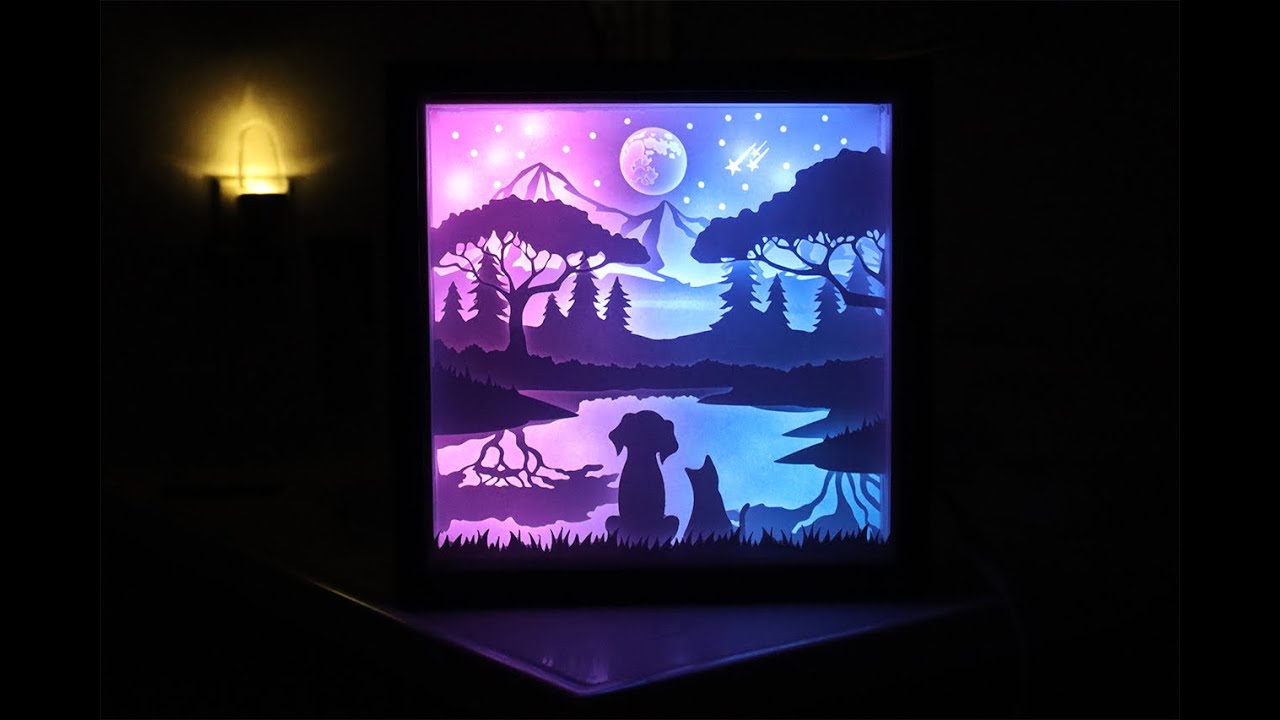
Papercutting, an ancient art form that involves intricately cutting designs into paper, has gained renewed popularity in recent years. With a DIY papercut light box, you can transform your papercut creations into captivating illuminated masterpieces. This guide will provide you with a comprehensive step-by-step process to create your own papercut light box, complete with tips and tricks for achieving stunning results.


Table of Content
Materials


Papercutting, an ancient art form that involves intricately cutting designs into paper, has gained renewed popularity in recent years. With a DIY papercut light box, you can transform your papercut creations into captivating illuminated masterpieces. This guide will provide you with a comprehensive step-by-step process to create your own papercut light box, complete with tips and tricks for achieving stunning results.
- Shadow Box Svg Free Shadow Box SVG Free: Unleash Your Creativity With Limitless Designs
- Free Papercut Light Box Templates Free Papercut Light Box Templates: A Comprehensive Guide To Illuminate Your Creations
- Free Christmas Shadow Box Svg Free Christmas Shadow Box SVG: A Festive Way To Decorate Your Home For The Holidays
- Shadow Box Template Shadow Box Template: A Comprehensive Guide To Creating Stunning Shadow Box Displays
- Printable 3d Shadow Box Templates Printable 3D Shadow Box Templates: A Comprehensive Guide
Materials
- Papercut artwork: Your original or pre-designed papercut design
- Light source: LED strip or fairy lights
- Wooden frame: To hold the papercut and light source


Step-by-Step Instructions
1. Prepare the Papercut Artwork
- Ensure your papercut artwork is flat and free of creases.
- If necessary, trim the edges of the papercut to fit the desired frame size.

2. Assemble the Wooden Frame
- Cut the wooden frame pieces to the desired size using a miter saw or a hand saw.
- Assemble the frame using wood glue or nails.
- Allow the glue to dry completely before proceeding.

3. Cut the Acetate Sheet
- Measure and cut the acetate sheet to the same size as the wooden frame.
- Use a craft knife and a ruler or measuring tape to ensure precise cuts.
4. Create the Light Box Backing
- Cut a piece of black cardstock to the same size as the wooden frame.
- This backing will provide a dark background for the papercut and enhance the illumination.
5. Attach the Acetate Sheet
- Place the acetate sheet over the black cardstock backing.
- Use acid-free glue or double-sided tape to secure the acetate sheet around the edges.
6. Insert the Light Source
- Arrange the LED strip or fairy lights inside the wooden frame.
- Position the light source evenly to ensure optimal illumination.
- Secure the light source using glue or tape.
7. Mount the Papercut
- Place the papercut artwork on top of the acetate sheet.
- Use acid-free glue or double-sided tape to secure the papercut in place.
8. Assemble the Light Box
- Place the backing with the attached acetate sheet and papercut inside the wooden frame.
- Secure the backing using nails or screws.
Tips for Stunning Results
- Use high-quality paper for the papercut to prevent tearing or warping.
- Cut the papercut design with precision to ensure clean lines and intricate details.
- Choose a light source that emits a warm and diffused glow to enhance the papercut’s beauty.
- Experiment with different light colors and patterns to create unique and eye-catching effects.
Conclusion
Creating a DIY papercut light box is a rewarding project that allows you to showcase your creativity and illuminate your papercut artwork. By following these step-by-step instructions and incorporating the tips provided, you can achieve stunning results that will add a touch of warmth and elegance to any space.
Frequently Asked Questions
1. Can I use other materials besides wood for the frame?
Yes, you can use materials such as metal, plastic, or even cardboard for the frame. However, wood is a sturdy and durable option that provides a classic look.
2. What is the best type of light source to use?
LED strips are a popular choice due to their energy efficiency and long lifespan. Fairy lights can also be used for a more whimsical effect.
3. How do I prevent the papercut from fading or yellowing over time?
Use acid-free glue or double-sided tape to prevent the papercut from reacting with acidic materials. Store the light box away from direct sunlight to minimize fading.
4. Can I create a larger papercut light box?
Yes, you can create a larger light box by adjusting the measurements of the materials accordingly. However, ensure that you use a sturdy frame to support the weight of the larger papercut and light source.


