Download 3D Shadow Box Cricut: A Comprehensive Guide for Beginners
Introduction
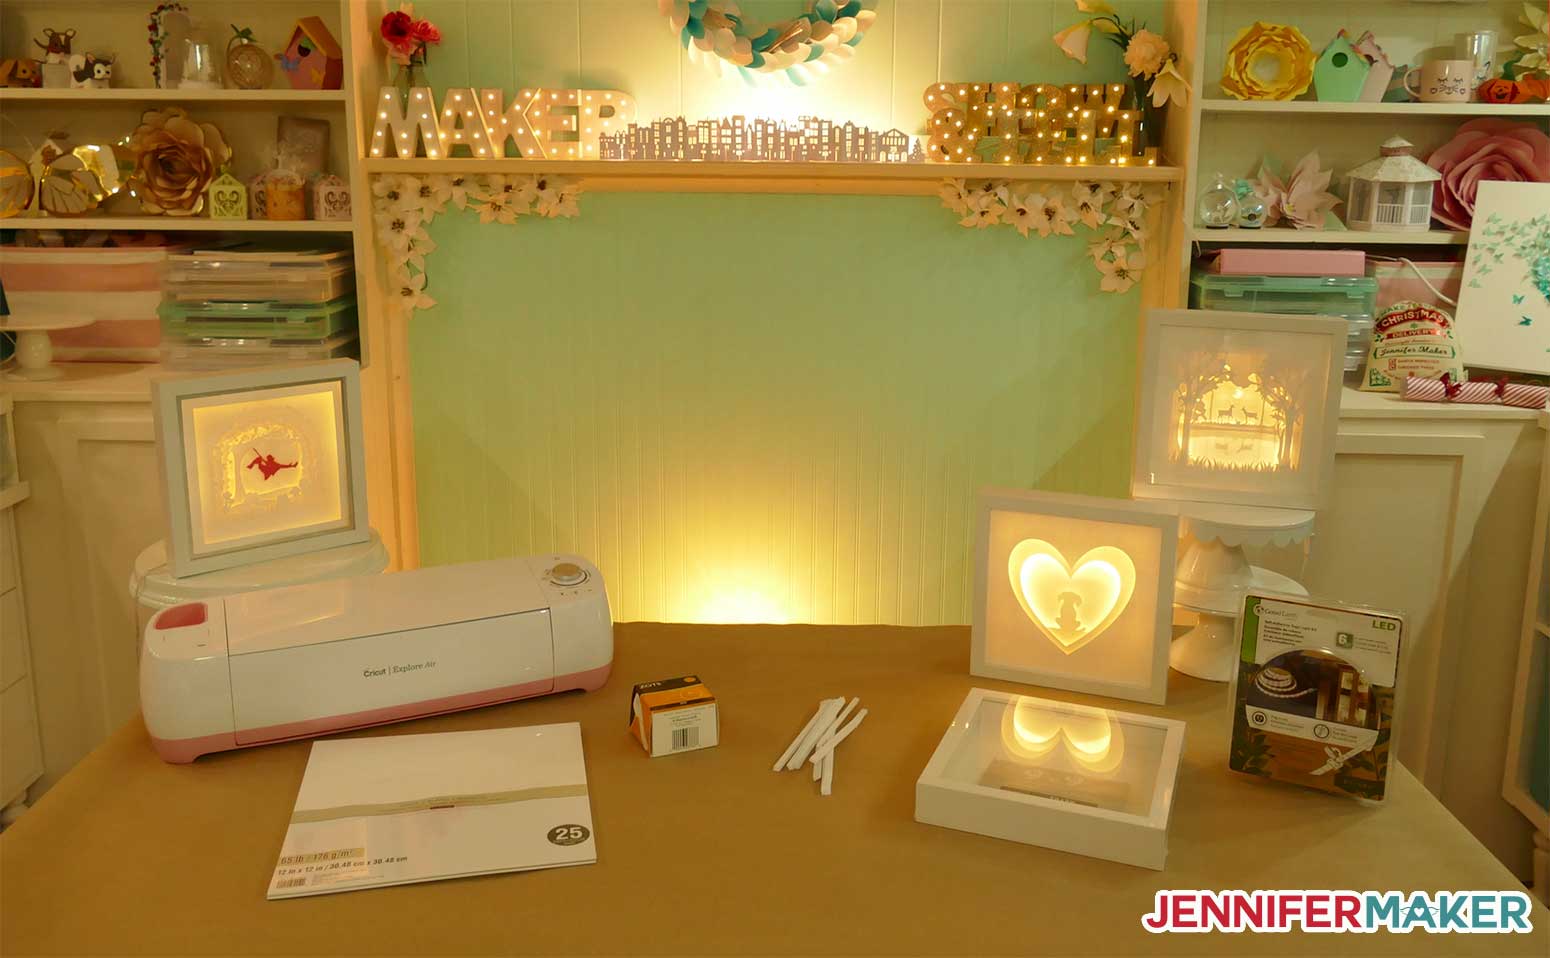
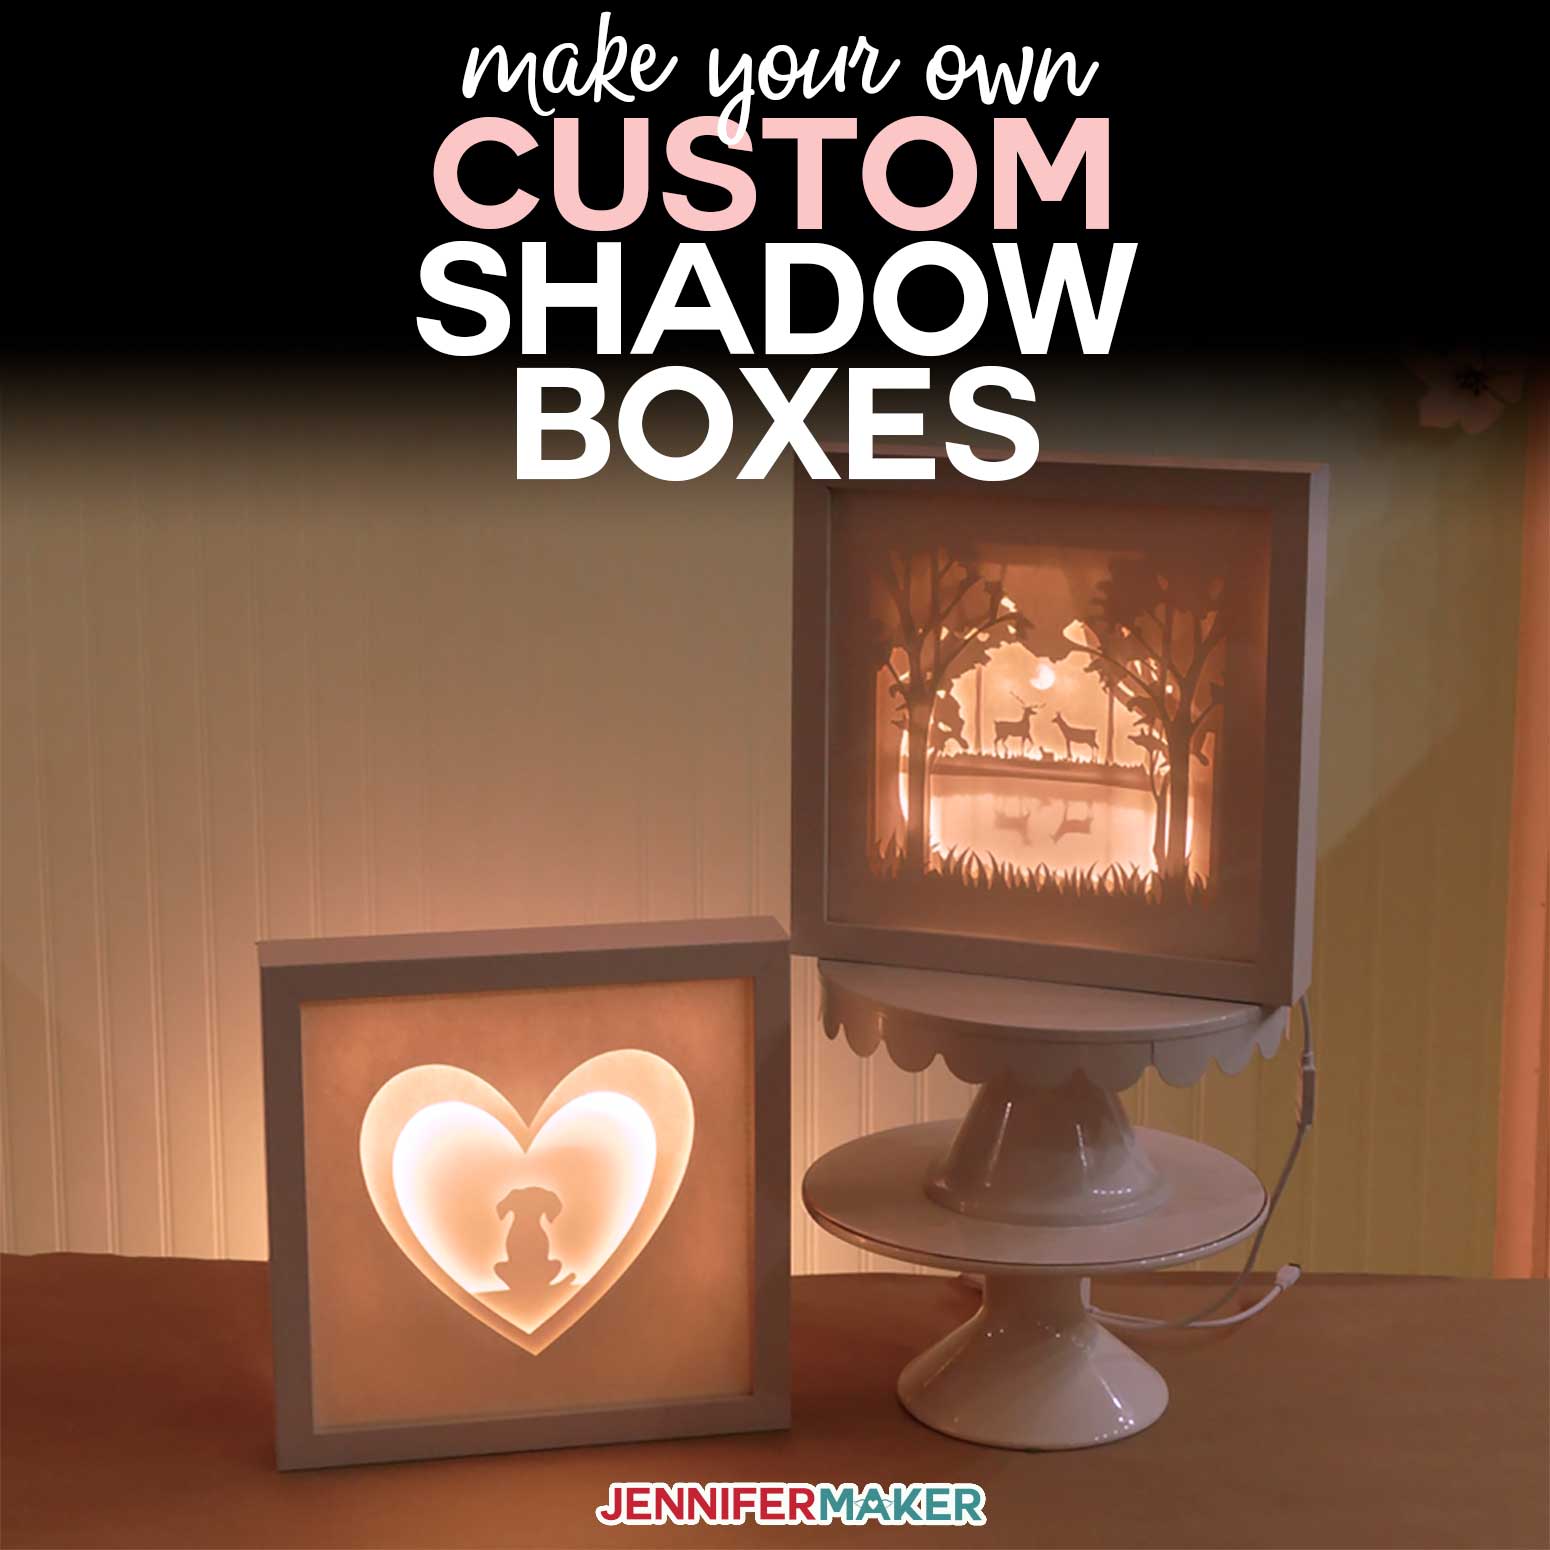
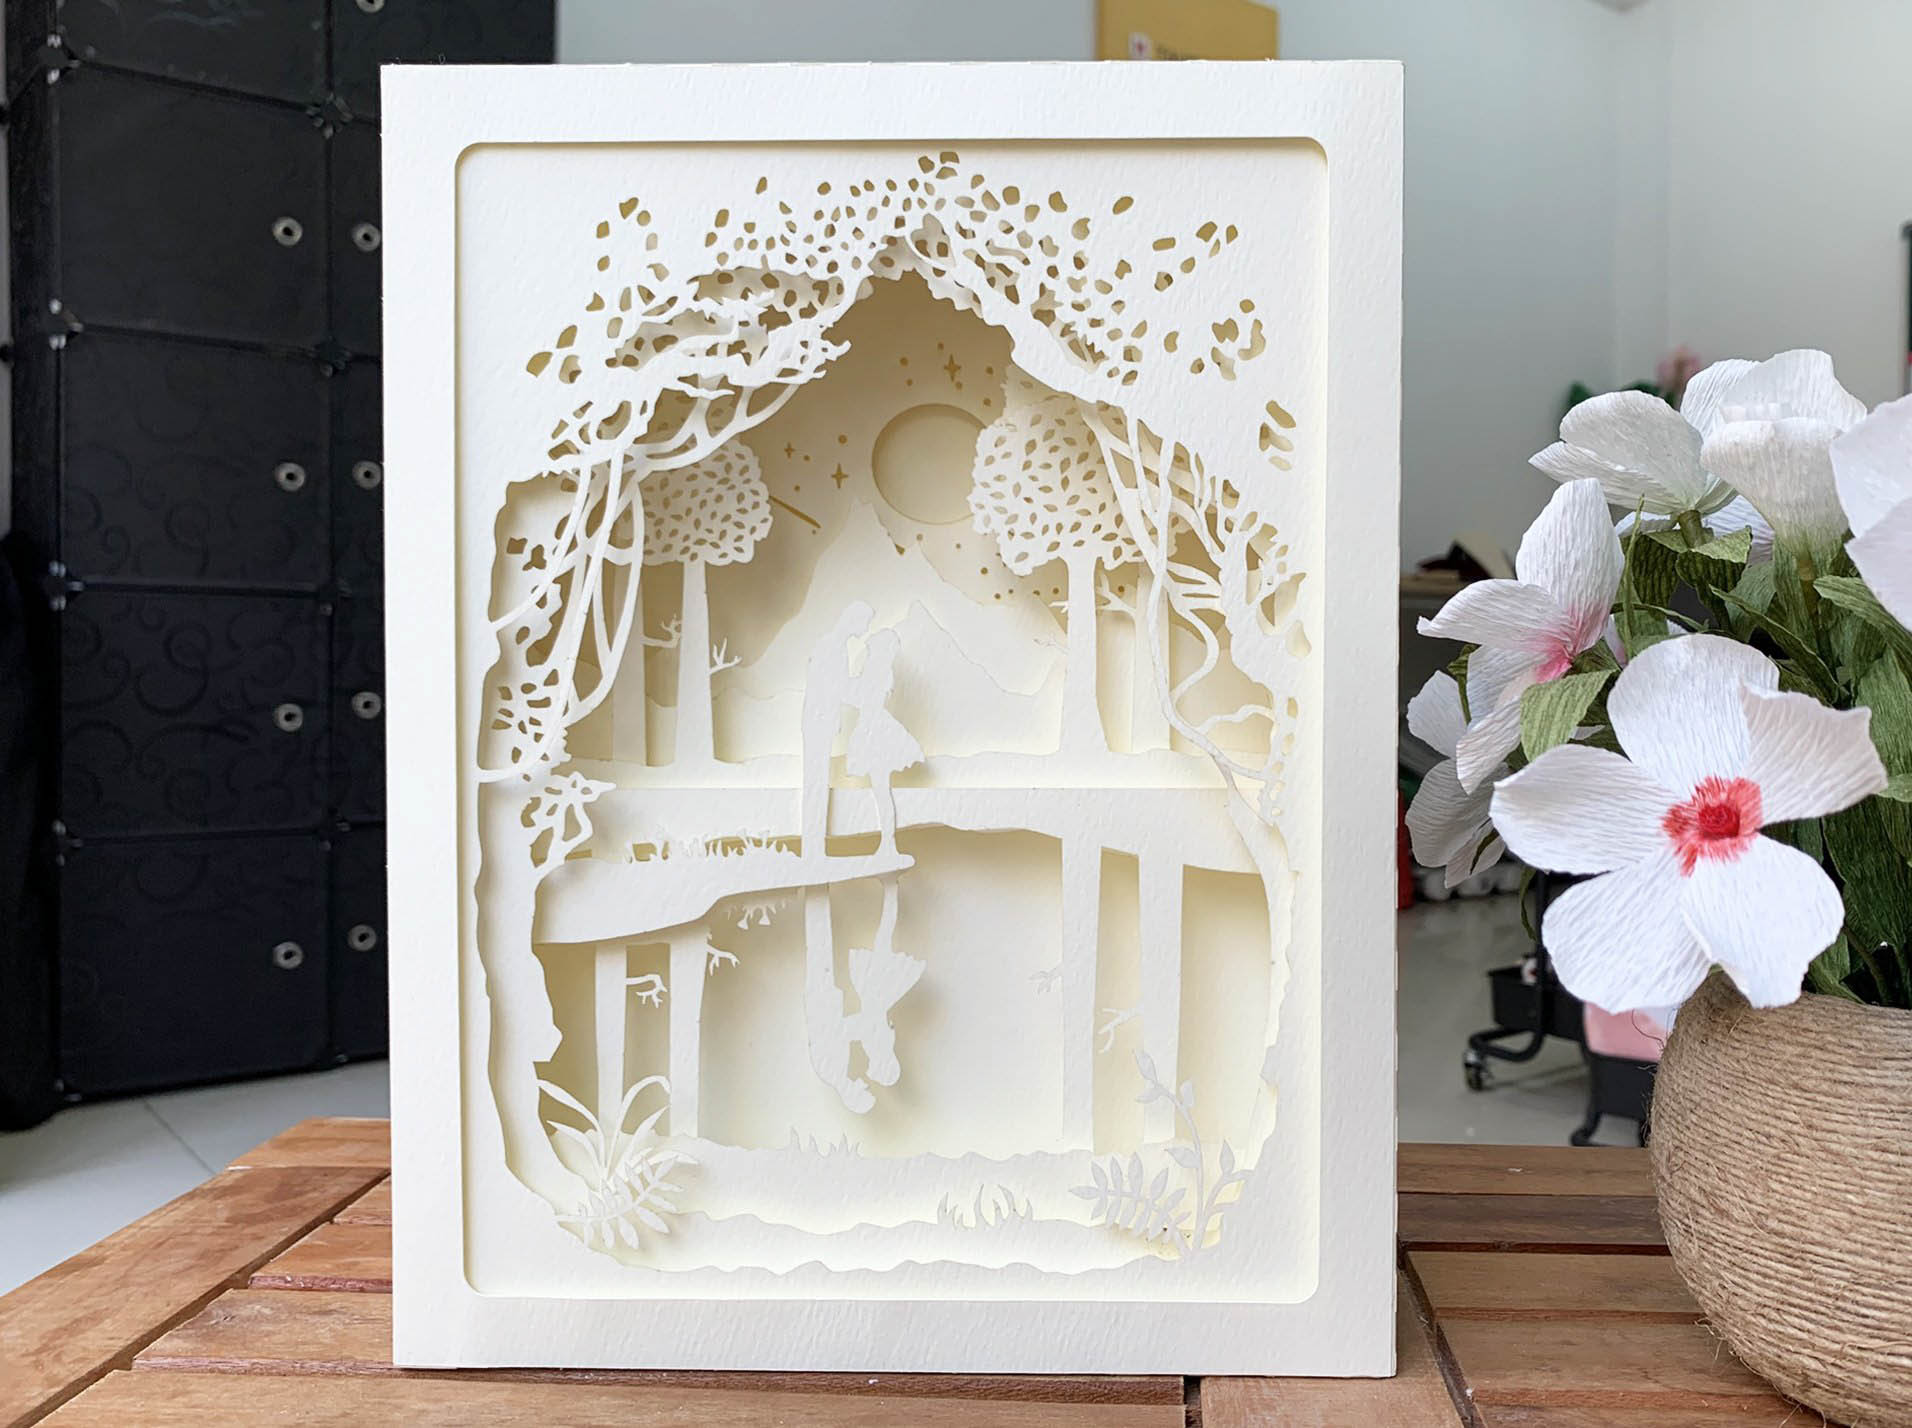
3D shadow boxes are a unique and eye-catching way to display photos, mementos, and other cherished items. With the help of a Cricut cutting machine, you can easily create your own custom 3D shadow boxes. This guide will provide you with all the necessary information to download and use the 3D Shadow Box Cricut file, including tips and tricks for achieving the best results.


Table of Content
- 1 Download 3D Shadow Box Cricut: A Comprehensive Guide for Beginners
- 1.1 Introduction
- 1.2 H1: Downloading the 3D Shadow Box Cricut File
- 1.3 H2: Importing the 3D Shadow Box File into Cricut Design Space
- 1.4 H1: Downloading the 3D Shadow Box Cricut File
- 1.5 H3: Cutting and Assembling the 3D Shadow Box
- 1.6 H4: Tips and Tricks for Success
- 1.7 H5: Conclusion
- 1.8 FAQs
H1: Downloading the 3D Shadow Box Cricut File
If you don’t already have a Cricut Design Space account, create one at design.cricut.com. This is where you will download and edit the 3D Shadow Box file.
Step 2: Search for the 3D Shadow Box File
Once you have created an account, search for "3D Shadow Box" in the Cricut Design Space library. Select the file that best suits your needs and click "Add to Cart."
Step 3: Purchase the File
The 3D Shadow Box file is a premium design and requires a one-time purchase. Click "Purchase" to complete the transaction.
Step 4: Download the File
After purchasing the file, click "Download" to save it to your computer. The file will be in SVG format, which is compatible with Cricut Design Space.
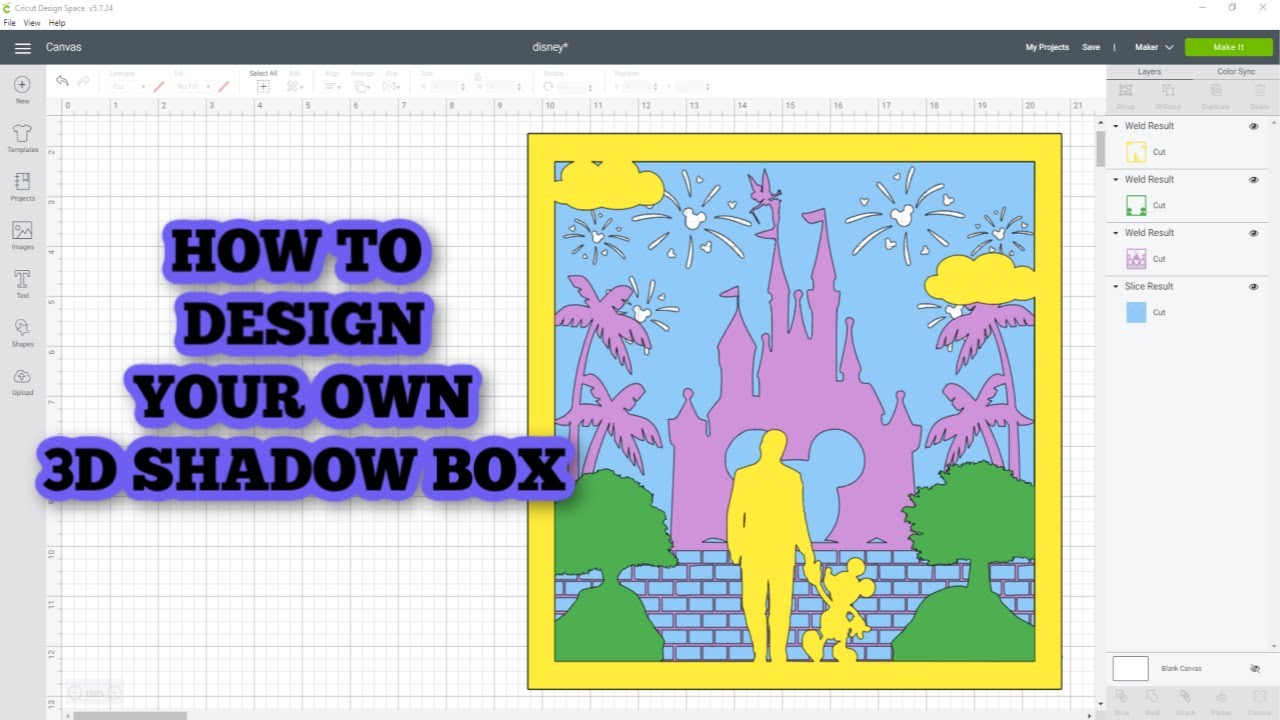
H2: Importing the 3D Shadow Box File into Cricut Design Space
Step 1: Open Cricut Design Space
Launch Cricut Design Space on your computer or mobile device.
3D shadow boxes are a unique and eye-catching way to display photos, mementos, and other cherished items. With the help of a Cricut cutting machine, you can easily create your own custom 3D shadow boxes. This guide will provide you with all the necessary information to download and use the 3D Shadow Box Cricut file, including tips and tricks for achieving the best results.
- Download How To Make Shadow Box Svg Files Free H1: Download How To Make Shadow Box SVG Files For Free
- Download Free Cricut Shadow Box Template Download Free Cricut Shadow Box Template: Elevate Your Papercraft Creations
- Download Wedding Shadow Box Svg Free Download Wedding Shadow Box SVG Free
- Download Svg File Free Cricut Box Template Download Free SVG File: Create Stunning Cricut Boxes With Ease
- Free Svg 3d Shadow Box Free SVG 3D Shadow Box: A Comprehensive Guide To Designing And Creating Stunning Wall Art
H1: Downloading the 3D Shadow Box Cricut File
Step 1: Create a Cricut Design Space Account
If you don’t already have a Cricut Design Space account, create one at design.cricut.com. This is where you will download and edit the 3D Shadow Box file.
Step 2: Search for the 3D Shadow Box File
Once you have created an account, search for "3D Shadow Box" in the Cricut Design Space library. Select the file that best suits your needs and click "Add to Cart."
Step 2: Import the File
Click the "Upload" button in the top menu and select the SVG file you downloaded.
Step 3: Choose Materials
Once the file is imported, select the material you will be using for your 3D shadow box. The file is designed for cardstock, but you can also use other materials such as leather or fabric.
Step 4: Adjust Settings
Before cutting, adjust the settings for your material and machine. Refer to the Cricut Design Space help center for specific settings.
H3: Cutting and Assembling the 3D Shadow Box
Step 1: Cut the Pieces
Load the material onto your Cricut machine and click "Make It." The machine will cut all the pieces required for the 3D shadow box.
Step 2: Fold and Score
Some pieces of the shadow box may require folding or scoring. Use a bone folder or scoring tool to create crisp lines.
Step 3: Assemble the Box
Follow the instructions provided in the file to assemble the 3D shadow box. Use glue or adhesive to secure the pieces together.

Step 4: Decorate and Display
Once the box is assembled, you can decorate it as desired. Insert your photos or mementos and display your custom 3D shadow box.
H4: Tips and Tricks for Success
- Use high-quality cardstock or other durable material for best results.
- Ensure your machine is properly calibrated for accurate cutting.
- Use a sharp blade for clean cuts.
- Pay attention to the fold and score lines for a precise assembly.
- Use a strong adhesive to hold the pieces together securely.
- Add embellishments such as glitter, stickers, or paint to personalize your shadow box.
H5: Conclusion
Creating a 3D shadow box with a Cricut machine is a fun and rewarding project. By following the steps outlined in this guide, you can easily download, import, and assemble your own custom shadow box. With a little creativity and attention to detail, you can create a unique and eye-catching display for your cherished memories.
FAQs
Q: What materials can I use to create a 3D shadow box?
A: Cardstock, leather, fabric, and wood are all suitable materials for creating a 3D shadow box.
Q: Can I resize the 3D Shadow Box file?
A: Yes, you can resize the file in Cricut Design Space before cutting. However, keep in mind that resizing may affect the overall dimensions and proportions of the shadow box.
Q: How can I make the shadow box more durable?
A: Use strong adhesive to secure the pieces together and consider adding a protective coating to the finished box.
Q: Can I sell 3D shadow boxes I create using the Cricut file?
A: The Cricut 3D Shadow Box file is for personal use only. You cannot sell or distribute products made using the file without purchasing a commercial license from the designer.