


Download Glowforge Shadow Box: A Comprehensive Guide
Introduction
A shadow box is a versatile and captivating way to showcase your cherished memories, treasured heirlooms, and artistic creations. With the Glowforge laser cutter, you can effortlessly craft stunning shadow boxes that will elevate any space. This comprehensive guide will provide you with all the essential information you need to download and utilize the Glowforge shadow box file.
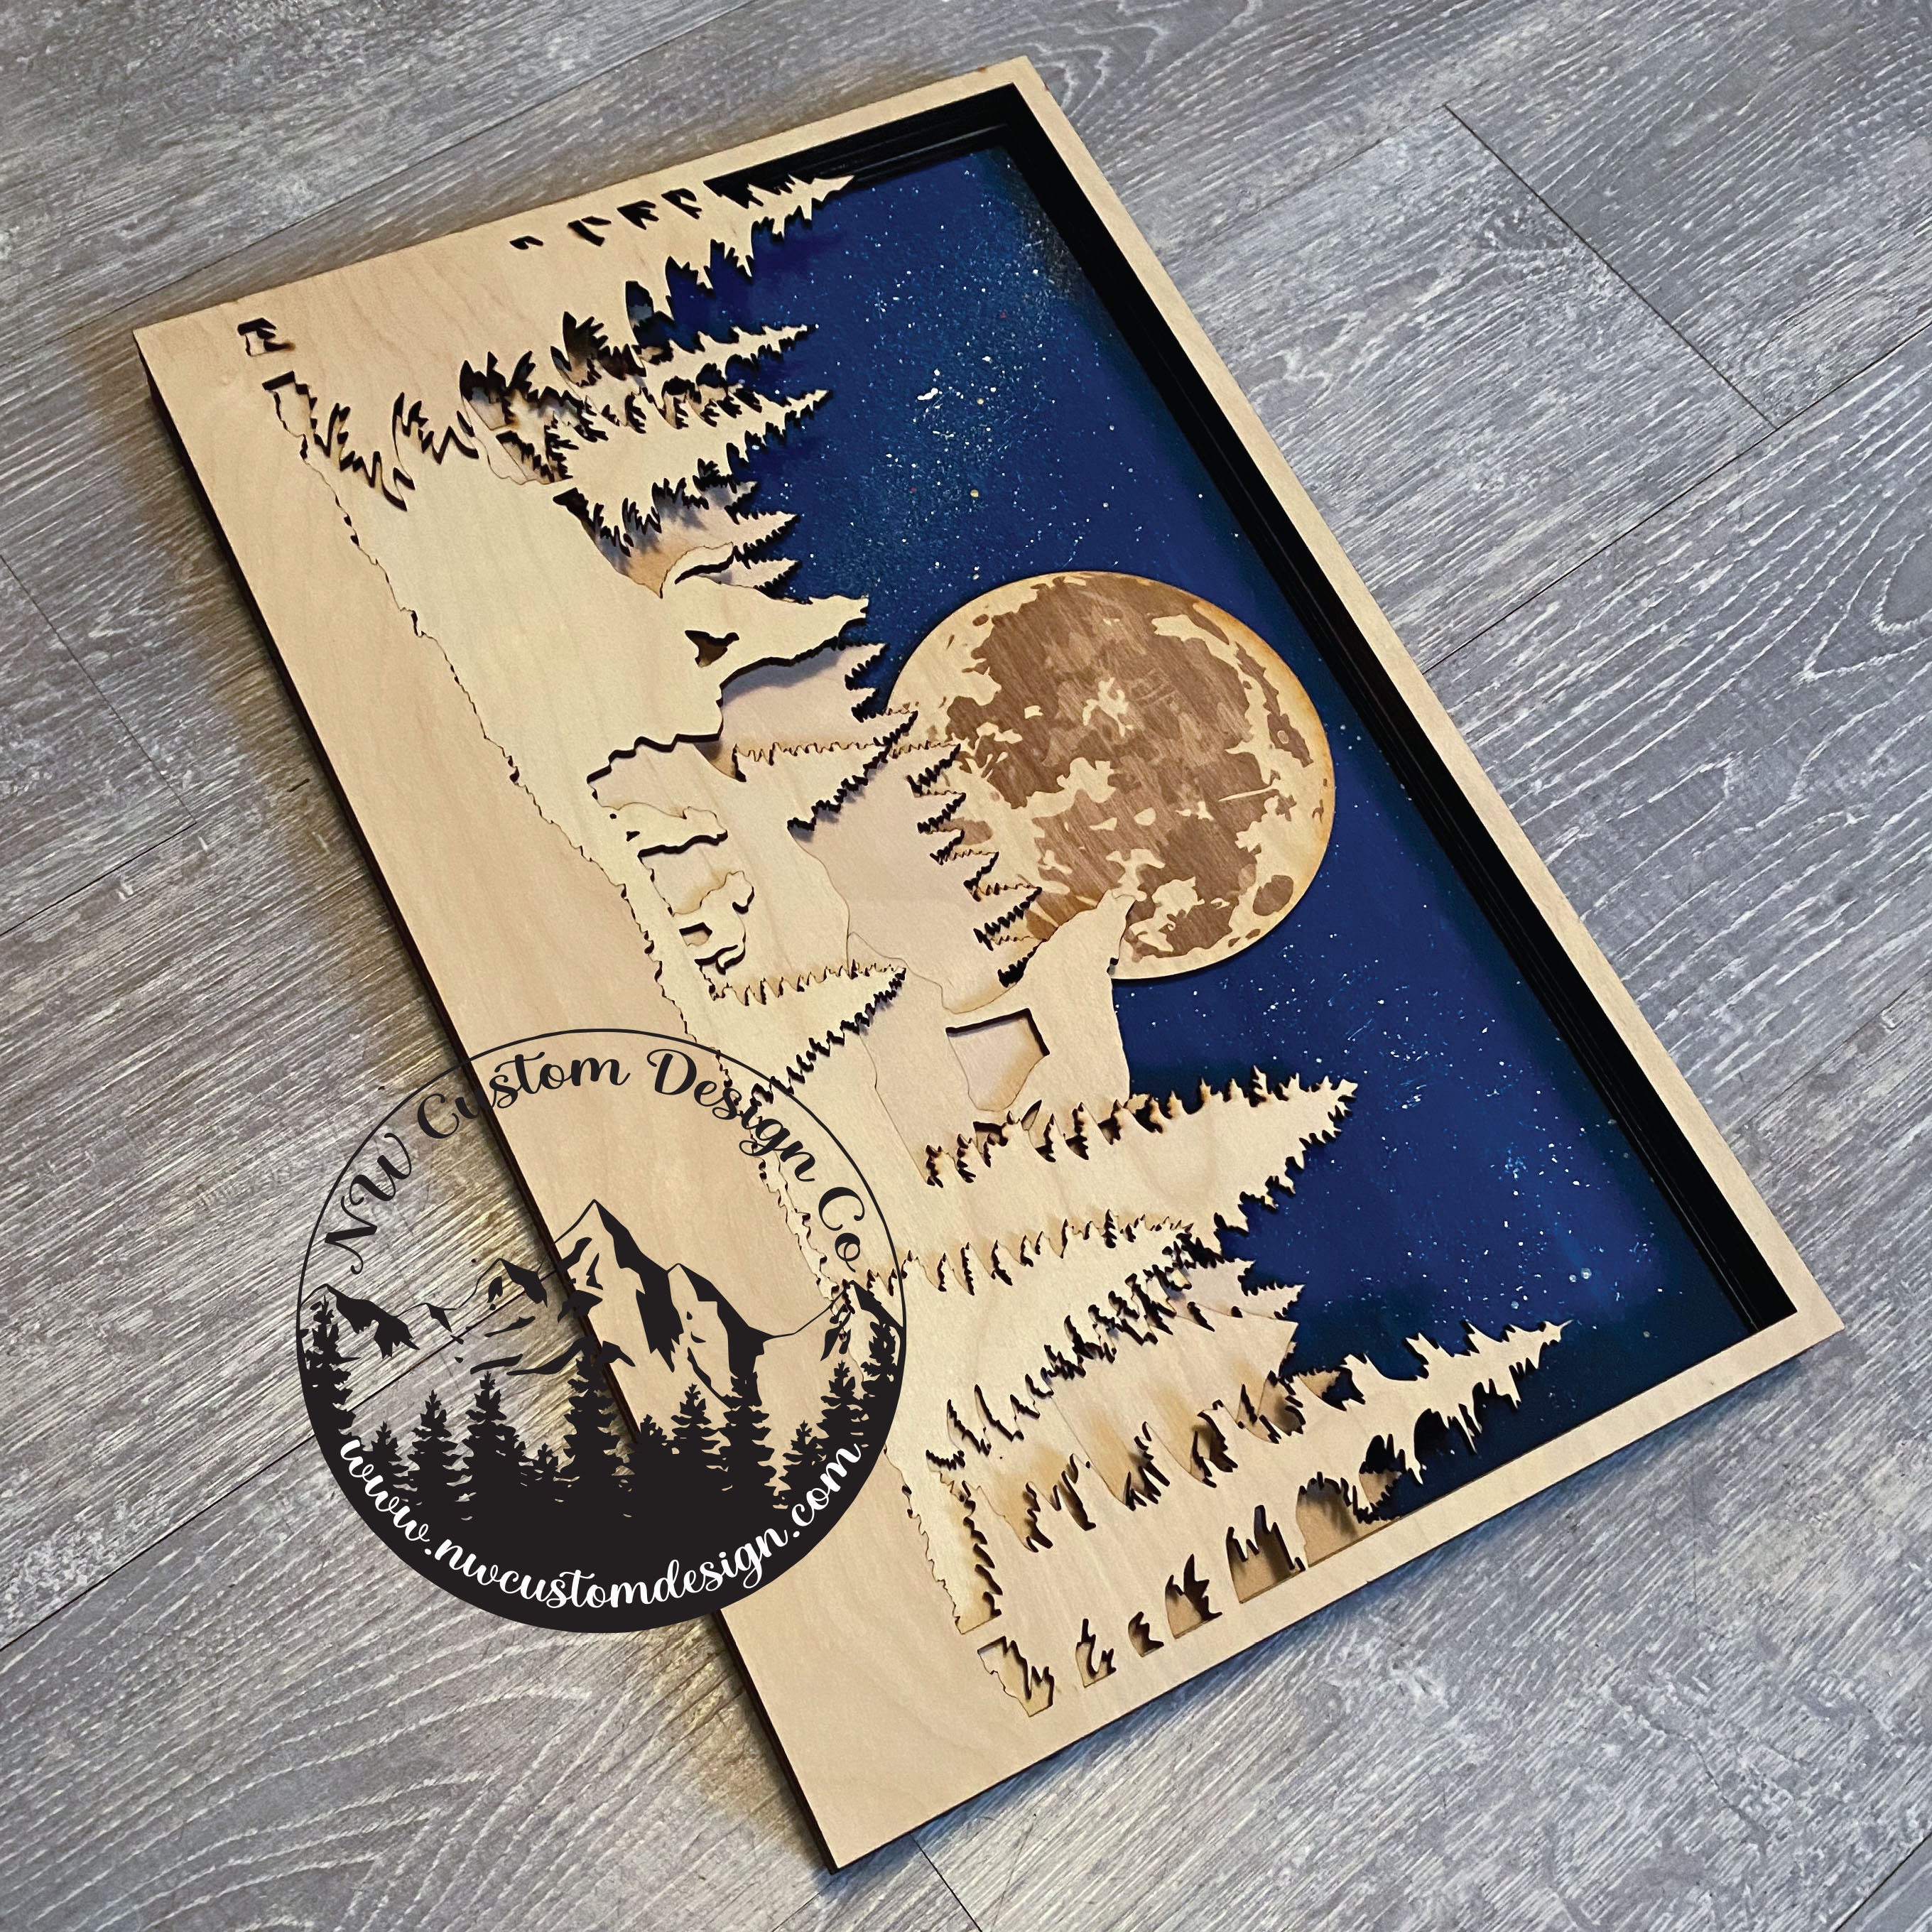

Table of Content
- 1 Download Glowforge Shadow Box: A Comprehensive Guide
- 1.1 Introduction
- 2 H1: Acquiring the Glowforge Shadow Box File
- 2.2 H3: Selecting the Desired Shadow Box File
- 3 H1: Acquiring the Glowforge Shadow Box File
- 3.3 H2: Accessing the Glowforge Catalog
- 4 H2: Preparing the Glowforge Machine
- 4.4 H3: Gathering Materials
- 4.5 H4: Setting Up the Glowforge
- 5 H3: Importing the Shadow Box File
- 6 H2: Customizing the Shadow Box
- 6.6 H3: Adjusting Design Parameters
- 6.7 H4: Adding Personal Touches
- 7 H2: Cutting and Assembling the Shadow Box
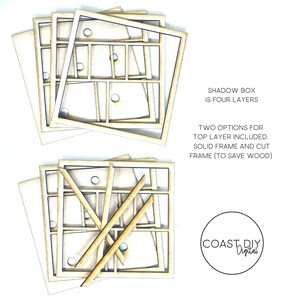
- 7.8 H3: Cutting the Components
- 7.9 H4: Assembling the Shadow Box
- 8 H3: Finishing Touches
- 9 Conclusion
- 10 FAQs
- 10.10 Q: What materials can I use for a Glowforge shadow box?
- 10.11 Q: How do I adjust the size of the shadow box?
- 10.12 Q: Can I engrave designs on the shadow box?
- 10.13 Q: How do I add a backing to the shadow box?
H1: Acquiring the Glowforge Shadow Box File
- Visit the Glowforge app or website and sign in to your account.
- Navigate to the "Catalog" section.
- Search for "Shadow Box" using the search bar.
H3: Selecting the Desired Shadow Box File
- The Glowforge catalog offers various shadow box designs to choose from.
- Select the file that best suits your project requirements and preferences.
- Click on the "Download" button to save the file to your computer.
- How To Make Shadow Boxes With Cricut H1: A Comprehensive Guide To Creating Shadow Boxes With Cricut
- Free 3d Shadow Box Svg Free 3D Shadow Box SVG: Elevate Your Papercraft Creations
- 3d Paper Cut Light Box 3D Paper Cut Light Box: A Guide To Crafting And Illumination
- Download Cricut Box Templates Free Download Cricut Box Templates Free: A Comprehensive Guide
- Love Shadow Box SVG File Love Shadow Box SVG File: A Guide To Creating Heartfelt Keepsakes
- Visit the Glowforge app or website and sign in to your account.
- Navigate to the "Catalog" section.
- Collect the necessary materials, including plywood, acrylic, or other suitable materials.
- Ensure you have the appropriate tools, such as a measuring tape, ruler, and laser safety glasses.
- Turn on the Glowforge machine and connect it to your computer.
- Insert the selected material into the machine.
- Calibrate the laser head according to the manufacturer’s instructions.
- Open the Glowforge app or software.
- Click on the "File" menu and select "Import."
- Navigate to the location where you saved the shadow box file and select it.
- Click on the "Open" button to import the file into the software.
- The Glowforge software allows you to adjust various design parameters, such as size, placement, and engraving settings.
- Make any necessary modifications to personalize the shadow box to your liking.
- Consider incorporating unique elements, such as engraving names, dates, or special messages.
- Experiment with different materials and colors to create a truly bespoke piece.
- Set the laser settings according to the material you are using.
- Initiate the cutting process by clicking on the "Print" button.
- Ensure the laser head is operating smoothly and the material is being cut cleanly.
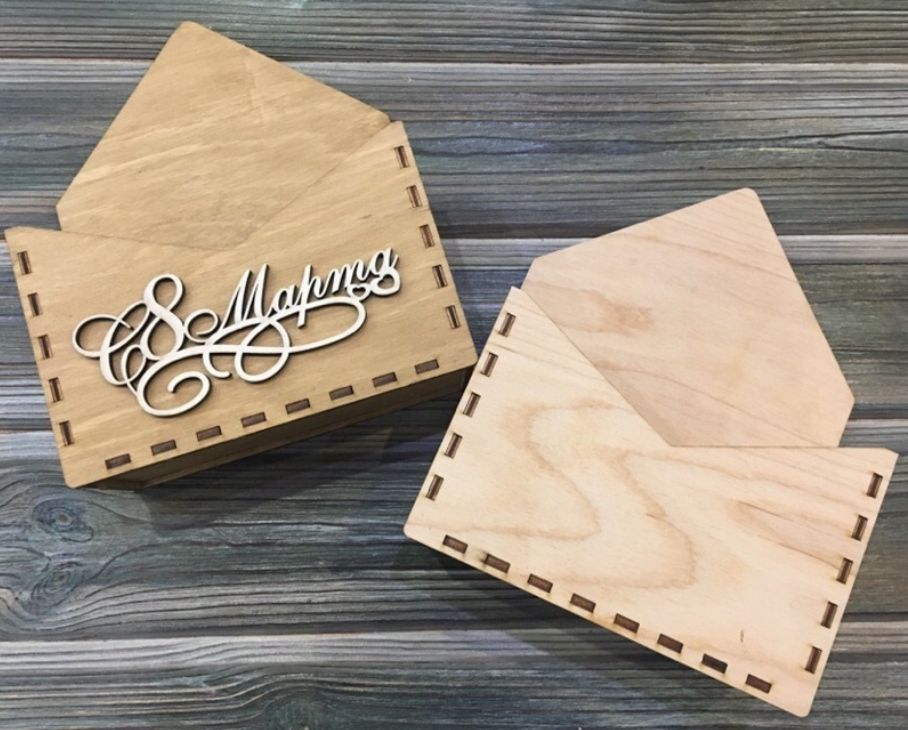
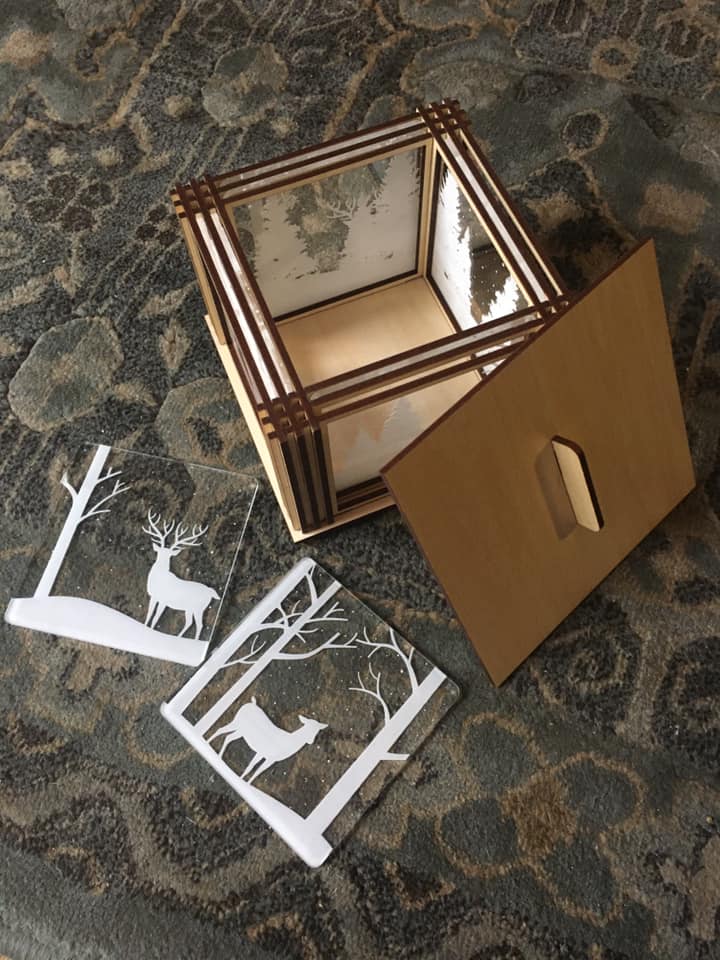
- Once all the components are cut, assemble them using glue, nails, or screws.
- Carefully align the pieces and secure them firmly.
- Sand or paint the shadow box to achieve the desired finish.
- Add backing material, such as fabric or cardboard, to protect the contents.
- Insert your cherished items or artwork into the shadow box.

A shadow box is a versatile and captivating way to showcase your cherished memories, treasured heirlooms, and artistic creations. With the Glowforge laser cutter, you can effortlessly craft stunning shadow boxes that will elevate any space. This comprehensive guide will provide you with all the essential information you need to download and utilize the Glowforge shadow box file.
H1: Acquiring the Glowforge Shadow Box File
H2: Accessing the Glowforge Catalog

H2: Preparing the Glowforge Machine
H3: Gathering Materials

H4: Setting Up the Glowforge


H3: Importing the Shadow Box File
H2: Customizing the Shadow Box
H3: Adjusting Design Parameters
H4: Adding Personal Touches
H2: Cutting and Assembling the Shadow Box
H3: Cutting the Components
H4: Assembling the Shadow Box
H3: Finishing Touches
Conclusion
Creating a Glowforge shadow box is a rewarding and versatile project that allows you to showcase your creativity and preserve your precious memories. By following the steps outlined in this guide, you can effortlessly download, customize, and craft a stunning shadow box that will be treasured for years to come.
FAQs
Q: What materials can I use for a Glowforge shadow box?
A: You can use plywood, acrylic, or other suitable materials that are compatible with the Glowforge laser cutter.
Q: How do I adjust the size of the shadow box?
A: In the Glowforge software, you can modify the design parameters, including the size, to fit your specific needs.
Q: Can I engrave designs on the shadow box?
A: Yes, you can engrave designs, names, or special messages using the Glowforge laser cutter.
Q: How do I add a backing to the shadow box?
A: You can use fabric, cardboard, or other materials to create a backing that protects the contents of the shadow box.


