


How to Make a Layered Shadow Box with Cricut: A Step-by-Step Guide
Introduction
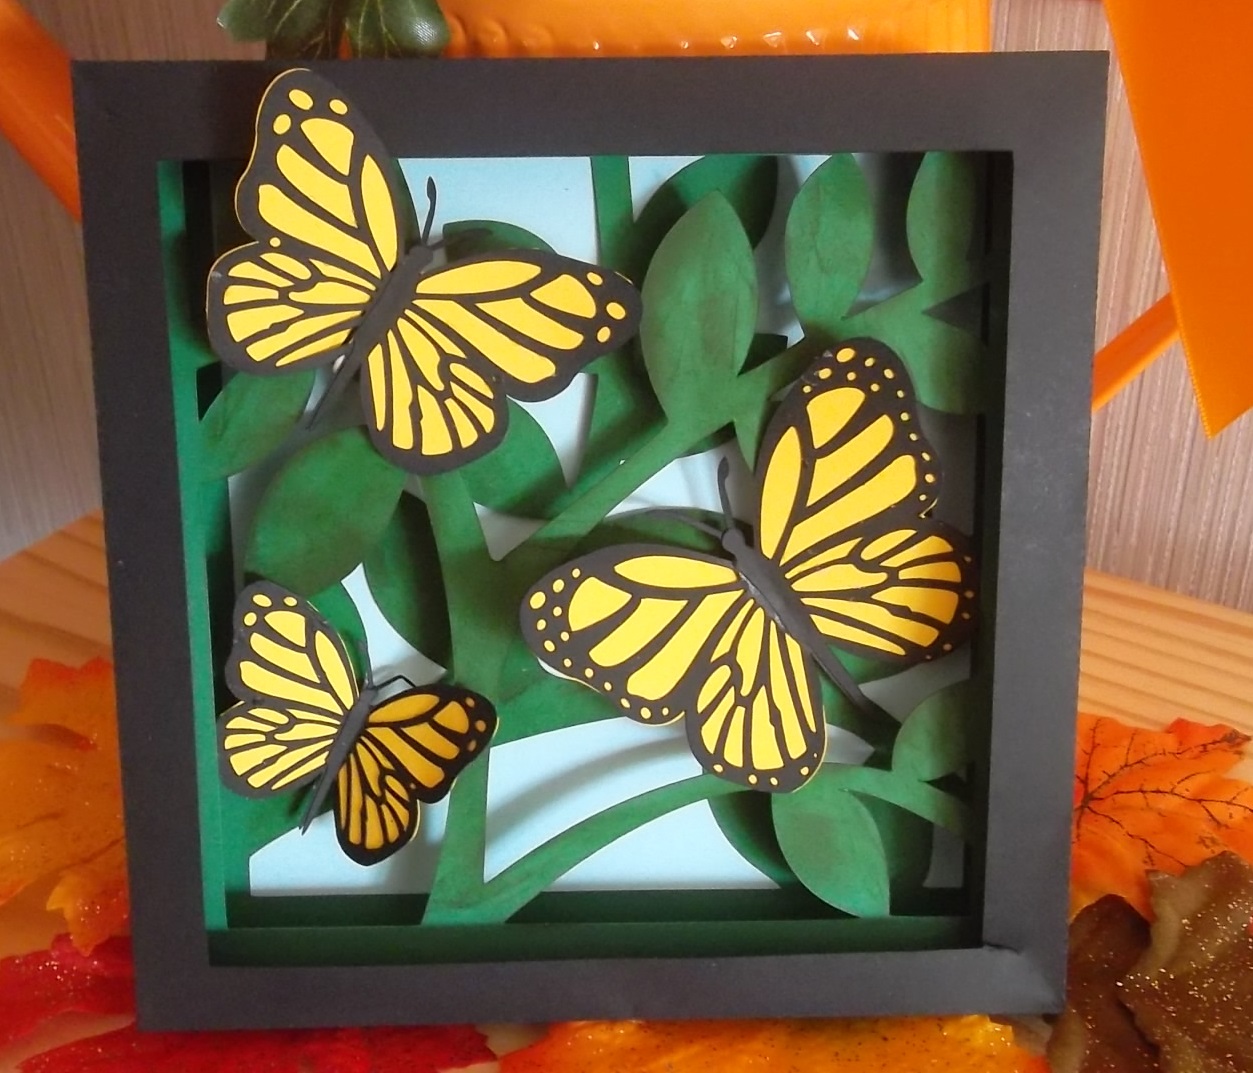
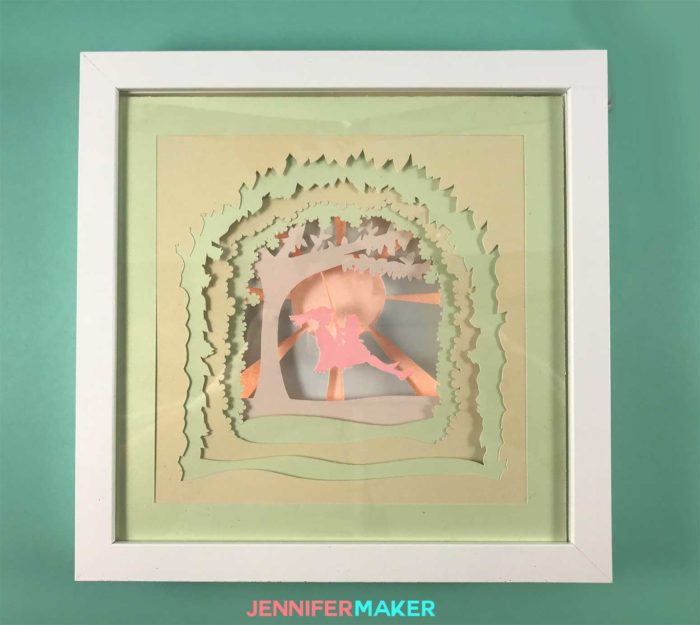
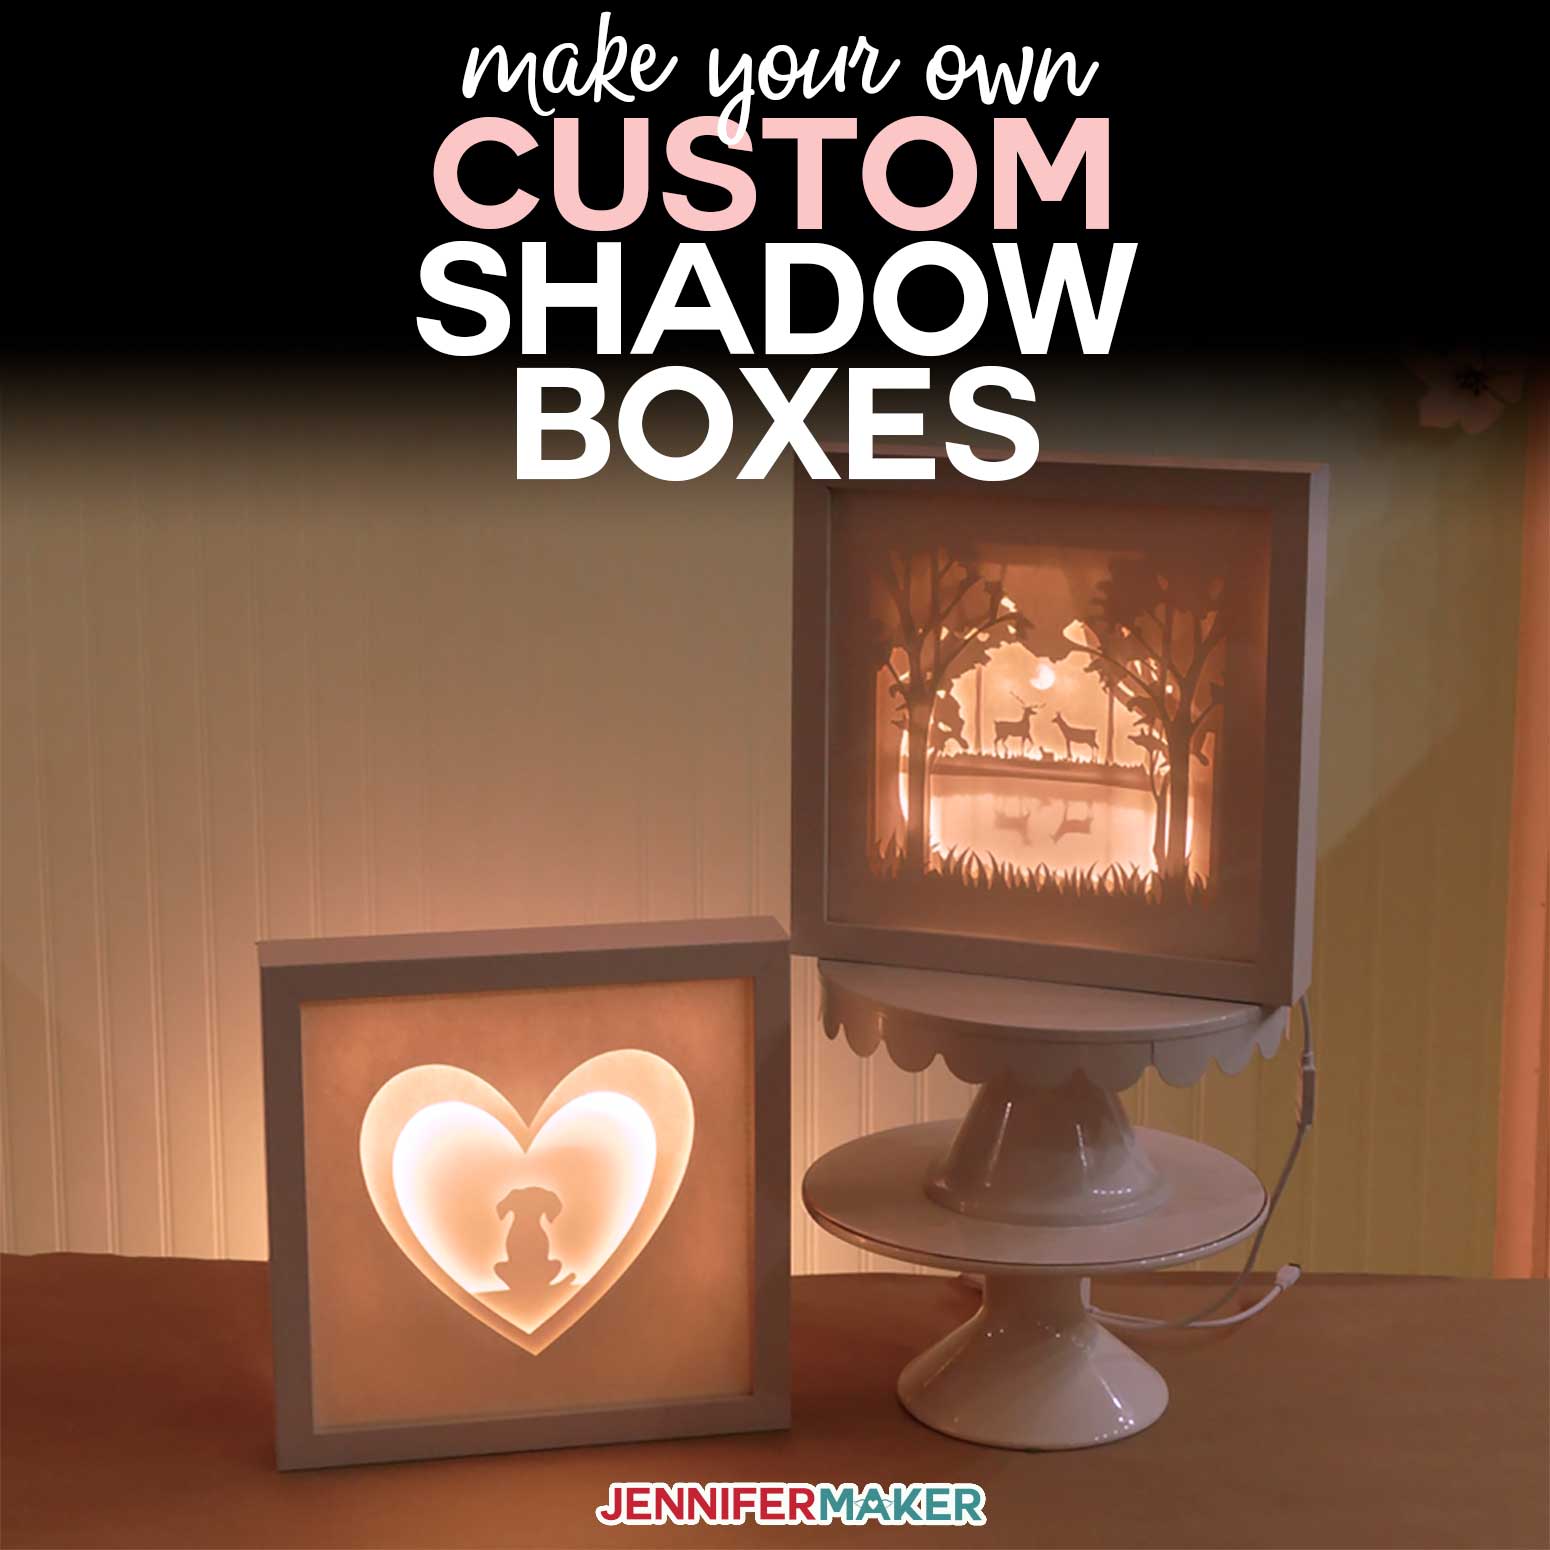
A layered shadow box is a beautiful and unique way to display your favorite photos, artwork, or other mementos. With a Cricut machine, you can easily create custom shadow boxes with multiple layers, adding depth and dimension to your display. This comprehensive guide will provide you with step-by-step instructions and helpful tips to create a stunning layered shadow box using your Cricut.


Table of Content
- 1 How to Make a Layered Shadow Box with Cricut: A Step-by-Step Guide
- 1.1 Introduction
- 1.2 Materials You’ll Need
- 1.3 Step 1: Design and Cut Your Layers
- 1.4 Materials You’ll Need
- 1.5 Step 2: Assemble the Shadow Box
- 1.6 Step 3: Embellish and Display
- 1.7 Tips for Success
- 1.8 Conclusion
- 1.9 Frequently Asked Questions
Materials You’ll Need
Step 1: Design and Cut Your Layers

H2: Create Your Design in Design Space
A layered shadow box is a beautiful and unique way to display your favorite photos, artwork, or other mementos. With a Cricut machine, you can easily create custom shadow boxes with multiple layers, adding depth and dimension to your display. This comprehensive guide will provide you with step-by-step instructions and helpful tips to create a stunning layered shadow box using your Cricut.
- Shadow Box Svg Cutting Files Free Shadow Box SVG Cutting Files: A Comprehensive Guide For Designers And Crafters
- 3D SVG Light Box For Cricut 3D SVG Light Box For Cricut: Unlocking Creative Illumination
- 3d Shadow Box Cricut 3D Shadow Box Cricut: Crafting Dimensional Masterpieces
- 3d Shadow Alphabet 3D Shadow Alphabet: A Comprehensive Guide To Design And Implementation
- Lightbox Cricut Lightbox Cricut: Revolutionizing Personalized Home Décor And Art
Materials You’ll Need
- Cricut machine
- Design Space software
- Cardstock (various colors and weights)
- Open Design Space and create a new project.
- Select the "Shapes" tab and choose a shape for your shadow box layers.
- Resize and adjust the shape as needed to fit your frame.
- Repeat this step to create multiple layers with different sizes and shapes.
- Place the cardstock on the Cricut cutting mat.
- Select the "Material" setting in Design Space based on the weight of your cardstock.
- Load the mat into the Cricut machine and press "Go."
- Remove the cut pieces from the mat.
- Apply glue or adhesive to the edges of the smallest layer.
- Align and attach the layer to the inside of the shadow box frame.
- Repeat this process for each subsequent layer, placing them on top of the previous ones.
- For added depth and dimension, you can insert spacers between the layers.
- Use thin strips of cardstock or foam core as spacers.
- Glue or adhere the spacers to the bottom of each layer before attaching it to the frame.
- Once the layers are assembled, you can add embellishments to enhance the design.
- Use stickers, glitter, ribbon, or other materials to create a personalized touch.
- Insert your desired photo, artwork, or memento into the shadow box.
- Hang or display the shadow box in a prominent location to showcase your creation.
- Use different colors and weights of cardstock to create visual interest.
- Experiment with different layer shapes and sizes to add variety.
- Consider using patterned or textured cardstock for a unique look.
- Add personal touches with photos, mementos, or handwritten notes.
- Protect your shadow box with a glass or acrylic front to prevent dust and damage.


H2: Cut Your Cardstock


Step 2: Assemble the Shadow Box
H2: Attach the Layers
H2: Add Spacers (Optional)
Step 3: Embellish and Display
H2: Embellishments
H2: Display Your Shadow Box
Tips for Success
Conclusion
Creating a layered shadow box with a Cricut is a fun and rewarding project that allows you to showcase your creativity and preserve cherished memories. By following these step-by-step instructions and incorporating helpful tips, you can create a stunning and personalized display that will add depth and charm to your home décor.
Frequently Asked Questions
Q: What is the best type of cardstock to use?
A: Cardstock with a weight of 65-110 lb is suitable for most shadow box projects.
Q: How can I make sure the layers are aligned correctly?
A: Use a ruler or measuring tape to align the layers before gluing them in place.
Q: Can I use other materials besides cardstock?
A: Yes, you can experiment with materials such as fabric, wood, or metal for a unique look.
Q: How do I protect my shadow box from damage?
A: Use a glass or acrylic front to prevent dust and UV damage.
Q: Can I sell shadow boxes I make with my Cricut?
A: Yes, you can sell shadow boxes you create with your Cricut, but you must adhere to the Cricut Design Space Terms of Use and any applicable copyright laws.


