How to Make a Shadow Box with Cricut: A Comprehensive Guide
Introduction
A shadow box is a unique and versatile way to display your cherished memories, artwork, or collectibles. Using your Cricut machine, you can effortlessly create custom shadow boxes that perfectly complement your décor and showcase your treasures. This guide will provide you with step-by-step instructions, design tips, and troubleshooting advice to help you craft stunning shadow boxes with ease.


Table of Content
- 1 How to Make a Shadow Box with Cricut: A Comprehensive Guide
- 1.1 Introduction
- 1.2 Materials You’ll Need
- 1.3 Materials You’ll Need
- 1.4 Step-by-Step Instructions
- 1.4.1 1. Choose Your Design
- 1.4.2 2. Cut the Cardstock
- 1.4.3 3. Assemble the Shadow Box Base
- 1.4.4 4. Create the Backdrop
- 1.4.5 5. Position the Items
- 1.4.6 6. Glue the Backdrop
- 1.4.7 7. Secure the Frame
- 1.5 Design Tips
- 1.6 Troubleshooting
- 1.7 Conclusion
- 1.8 FAQs
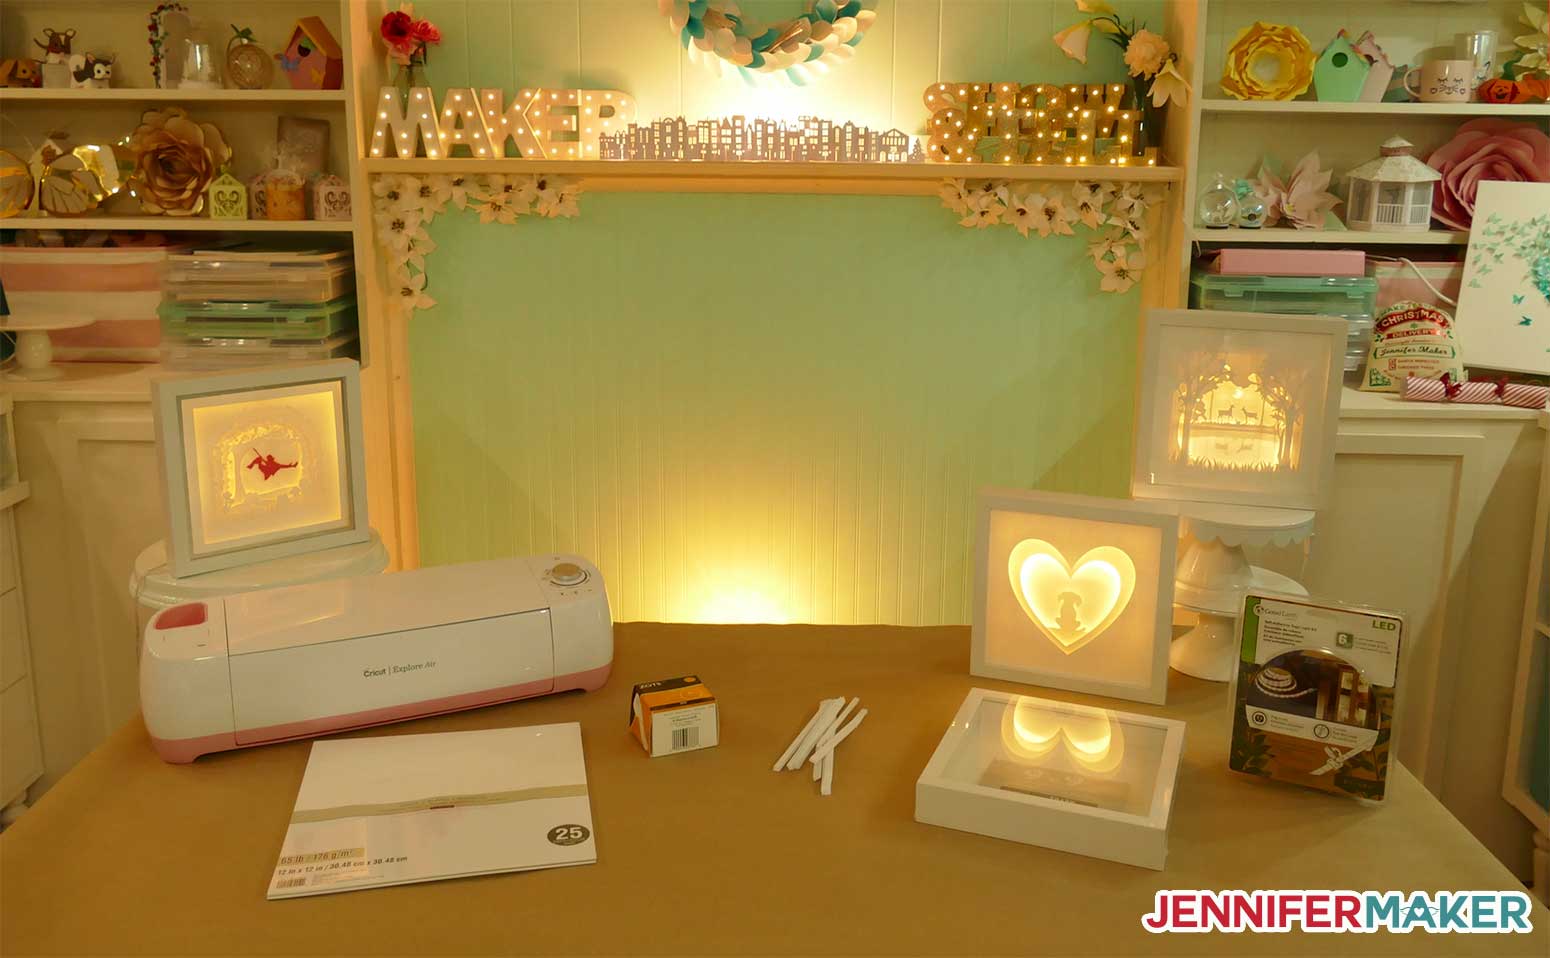
Materials You’ll Need

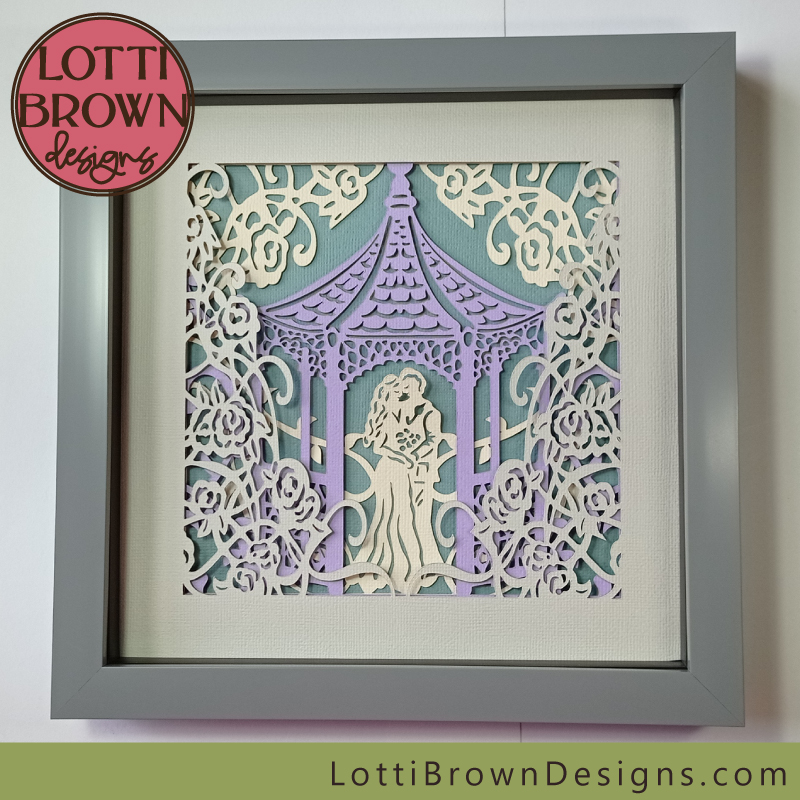
A shadow box is a unique and versatile way to display your cherished memories, artwork, or collectibles. Using your Cricut machine, you can effortlessly create custom shadow boxes that perfectly complement your décor and showcase your treasures. This guide will provide you with step-by-step instructions, design tips, and troubleshooting advice to help you craft stunning shadow boxes with ease.
- Shadow Box Svg Designs Shadow Box SVG Designs: A Comprehensive Guide To Enhance Your Crafting Projects
- Pokemon Light Box Pokémon Light Box: A Comprehensive Guide To The Nostalgic Illumination
- 3d Cuts Shadow Box 3D Cuts Shadow Box: Elevate Your Home Décor With Depth And Dimension
- 3d Shadow Box Svg 3D Shadow Box SVG: Unleash Your Creativity With Depth And Dimension
- Download Shadow Box Template Download Shadow Box Template: A Comprehensive Guide To Display Your Treasures
Materials You’ll Need
- Cricut machine
- Cricut Design Space software
- Cardstock or other heavy paper
- Use contrasting colors and textures to create visual interest.
- Incorporate different materials such as wood, metal, or acrylic to add depth and dimension.
- Consider using LED lights to illuminate your display and create a dramatic effect.
- Customize the shadow box to match your décor or the theme of the items you’re displaying.
- Experiment with different sizes and shapes of shadow boxes to create unique and eye-catching displays.
- If the cardstock pieces don’t fit together snugly, adjust the cut settings in Cricut Design Space or use a different type of cardstock.
- If the items inside the shadow box move around, use more foam core board spacers or other materials to secure them in place.
- If the shadow box frame doesn’t close properly, check that the pieces are aligned correctly and that there are no obstructions.
Step-by-Step Instructions

1. Choose Your Design
In Cricut Design Space, browse the gallery for shadow box designs or create your own custom design. Consider the size of your shadow box frame and the items you want to display when selecting your design.
2. Cut the Cardstock

Load the cardstock onto your Cricut machine and cut out the design. Ensure that the design is cut precisely and that all the pieces fit together snugly.
3. Assemble the Shadow Box Base

Cut a piece of foam core board to fit the bottom of your shadow box frame. Glue or adhere the cut cardstock design onto the foam core board.
4. Create the Backdrop
Cut another piece of foam core board to fit the back of your shadow box frame. If desired, you can cover the foam core board with fabric, wallpaper, or other decorative materials to create a custom backdrop.
5. Position the Items
Arrange the items you want to display inside the shadow box. Use foam core board spacers or other materials to elevate and position the items as desired.
6. Glue the Backdrop
Apply glue or adhesive to the edges of the backdrop and attach it to the back of the shadow box frame, sandwiching the items between the base and the backdrop.

7. Secure the Frame
Close the shadow box frame and secure it with the provided hardware. Ensure that the frame is tightly closed and that the items are securely held in place.
Design Tips
Troubleshooting
Conclusion
Creating shadow boxes with your Cricut machine is a rewarding and enjoyable craft. By following these step-by-step instructions, you can easily create custom shadow boxes that showcase your treasured memories and enhance your décor. With a little creativity and patience, you can design and make stunning shadow boxes that will be cherished for years to come.
FAQs
Q: What types of items can I display in a shadow box?
A: Shadow boxes can be used to display a wide variety of items, including photos, artwork, memorabilia, collectibles, and even small sculptures.
Q: How do I choose the right size shadow box?
A: Consider the size and quantity of items you want to display when choosing a shadow box. The shadow box should be large enough to accommodate all the items comfortably without overcrowding.
Q: Can I use other materials besides cardstock for the design?
A: Yes, you can use various materials such as wood, metal, acrylic, or even fabric to create your design. However, ensure that the materials are compatible with your Cricut machine.
Q: How do I prevent the items from moving around inside the shadow box?
A: Use foam core board spacers, glue dots, or other materials to secure the items in place. Ensure that the items are firmly attached to the base and the backdrop.