


H1: Crafting a Captivating Shadow Box with Cricut: A Comprehensive Guide
H2: Introduction
A shadow box, a versatile display case, offers a unique way to preserve and showcase cherished memories, artwork, or collectibles. With the power of a Cricut machine, you can effortlessly create stunning shadow boxes that reflect your personal style and elevate your home décor. This article will guide you through the entire process of making a shadow box with Cricut, from selecting materials to assembling the final masterpiece.
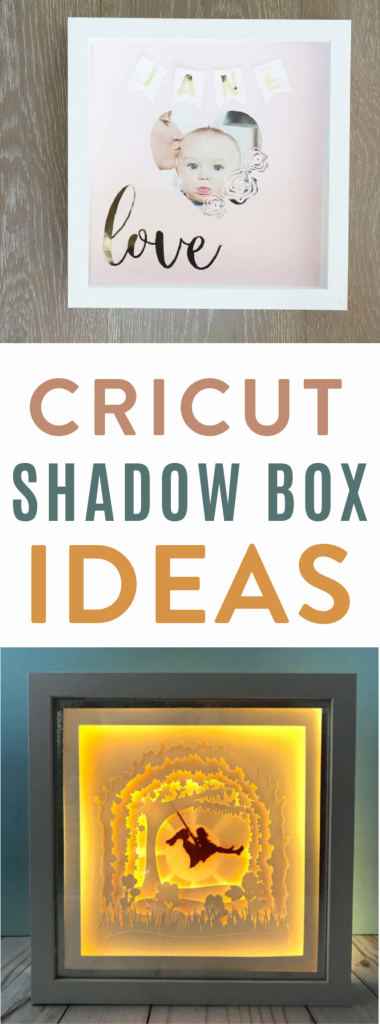

Table of Content
- 1 H1: Crafting a Captivating Shadow Box with Cricut: A Comprehensive Guide
- 1.1 H2: Introduction
- 1.2 H2: Materials and Tools
- 1.3 H2: Materials and Tools
- 1.4 H2: Designing the Shadow Box
- 1.5 H3: Selecting a Design
- 1.6 H3: Preparing the Backing Material
- 1.7 H2: Cutting and Embellishing
- 1.8 H3: Cutting Embellishments
- 1.9 H3: Embellishing the Backing Material
- 1.10 H2: Assembling the Shadow Box
- 1.11 H3: Mounting the Backing Material
- 1.12 H3: Adding Foam Core or Mat Board
- 1.13 H3: Inserting the Contents
- 1.14 H2: Finishing Touches
- 1.15 H3: Framing the Shadow Box
- 1.16 H3: Displaying the Shadow Box
- 1.17 H2: Conclusion
- 1.18 H2: Frequently Asked Questions (FAQs)
H2: Materials and Tools
- Shadow box frame
- Cardstock or other backing material
- Embellishments (e.g., paper, vinyl, fabric)
- Adhesive (e.g., glue, tape)
- Foam core or mat board (optional)

Tools:
- Cricut machine
- Lightbox Svg For Cricut Lightbox SVG For Cricut: A Comprehensive Guide
- Shadow Box Svg Shadow Box SVG: The Ultimate Guide To Crafting 3D Masterpieces
- Download Lightbox For Crafting Download Lightbox For Crafting: A Comprehensive Guide To Enhance Your Creative Workflow
- Shadow Box Templates Shadow Box Templates: A Comprehensive Guide To Creating Stunning Displays
- Free Cricut Shadow Box Svg Free Cricut Shadow Box SVG: A Comprehensive Guide
- Shadow box frame
- Cardstock or other backing material
- Cutting mat
- Brayer
- Spatula
- Scissors
- Ruler
A shadow box, a versatile display case, offers a unique way to preserve and showcase cherished memories, artwork, or collectibles. With the power of a Cricut machine, you can effortlessly create stunning shadow boxes that reflect your personal style and elevate your home décor. This article will guide you through the entire process of making a shadow box with Cricut, from selecting materials to assembling the final masterpiece.
H2: Materials and Tools
Materials:


H2: Designing the Shadow Box
H3: Selecting a Design
Choose a design that complements the contents of your shadow box and your desired aesthetic. Consider using Cricut Design Space or other design software to create custom cutouts or patterns.

H3: Preparing the Backing Material
Cut the cardstock or backing material to fit the inside of the shadow box frame. Use a brayer to smooth out any wrinkles and ensure a flat surface.
H2: Cutting and Embellishing
H3: Cutting Embellishments

Use your Cricut machine to cut intricate designs from paper, vinyl, or fabric. Choose colors and patterns that enhance your chosen design.
H3: Embellishing the Backing Material
Arrange the cut embellishments on the backing material and adhere them securely with adhesive. Use glue or tape to create layers and dimension.
H2: Assembling the Shadow Box
H3: Mounting the Backing Material
Place the embellished backing material inside the shadow box frame and secure it with adhesive or mounting tape.
H3: Adding Foam Core or Mat Board
If desired, cut a piece of foam core or mat board to fit inside the shadow box to create depth and protect the contents.
H3: Inserting the Contents
Carefully insert the items you wish to display into the shadow box. Use pins, magnets, or other methods to secure them in place.
H2: Finishing Touches
H3: Framing the Shadow Box
Place the shadow box frame around the assembled contents and secure it with nails or screws.
H3: Displaying the Shadow Box
Hang or place the shadow box in a location where it can be admired and appreciated. Consider using lighting to highlight the contents and create a dramatic effect.
H2: Conclusion
Creating a shadow box with Cricut is a rewarding and creative endeavor. By following the steps outlined in this guide, you can transform cherished memories or collectibles into stunning and personalized displays that add character and depth to your home. Embrace the versatility of this technique and experiment with different materials, designs, and embellishments to create unique works of art that reflect your own personal style.
H2: Frequently Asked Questions (FAQs)
Q: What size shadow box should I use?
A: Choose a shadow box size that is appropriate for the contents you want to display. Consider the depth of the box as well, to ensure that it can accommodate any bulky items.
Q: Can I use any type of paper for the backing material?
A: Yes, you can use any type of paper, but heavier weight papers like cardstock will provide more durability and stability.
Q: How do I secure the items inside the shadow box?
A: Use pins, magnets, or adhesive to secure the items in place. Avoid using hot glue as it can damage delicate items.
Q: Can I use other materials besides paper for the embellishments?
A: Yes, you can use vinyl, fabric, wood, or any other material that can be cut with your Cricut machine.


