


Download Laser Cut Shadow Box: A Comprehensive Guide to Crafting Stunning Displays
Introduction
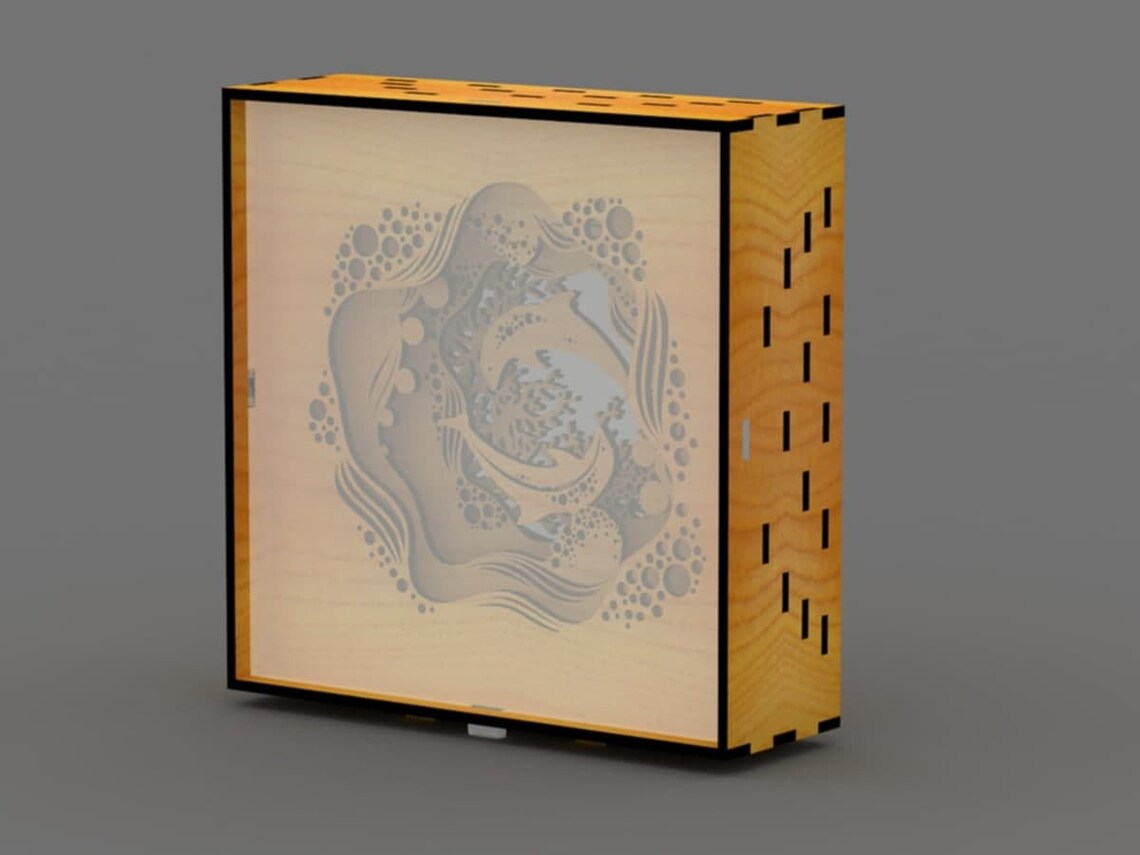
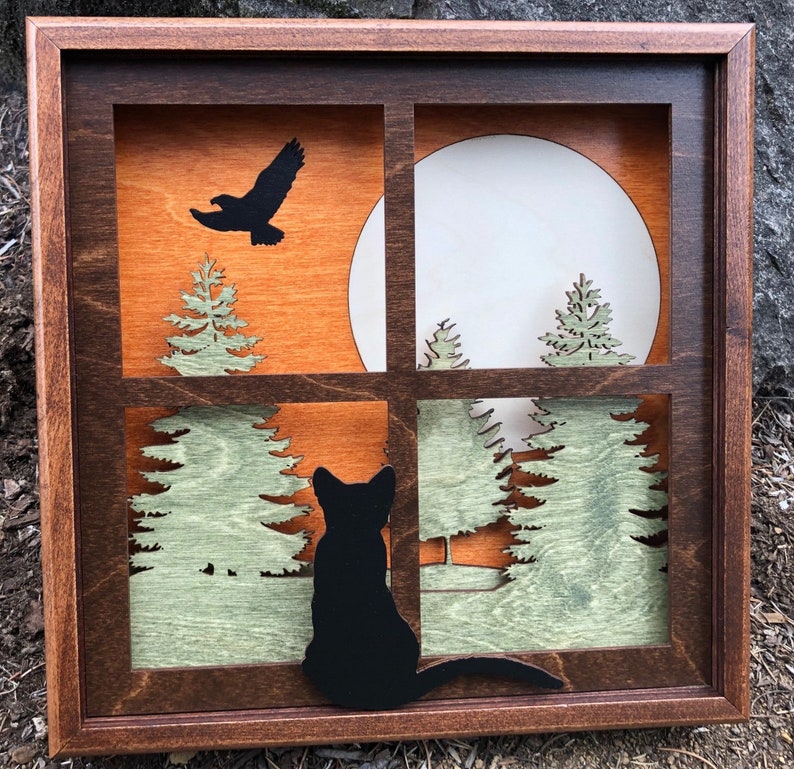
Laser cut shadow boxes are an innovative and versatile way to showcase your cherished memories, artwork, and other precious items. By harnessing the precision of laser cutting technology, you can create intricate and personalized shadow boxes that add depth and dimension to any display. This guide will provide you with a comprehensive overview of downloading laser cut shadow box designs, empowering you to craft exquisite shadow boxes that will elevate your home décor and preserve your most treasured possessions.
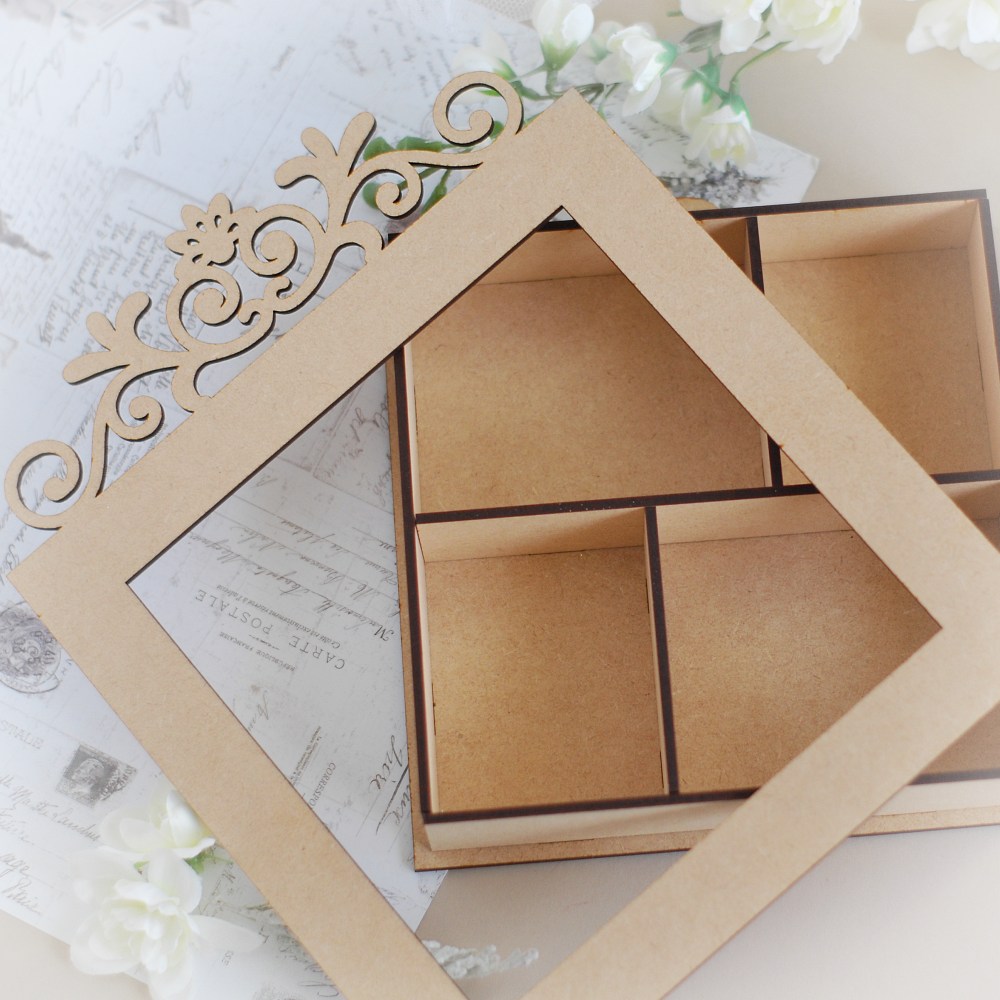

Table of Content
- 1 Download Laser Cut Shadow Box: A Comprehensive Guide to Crafting Stunning Displays
- 1.1 Introduction
- 1.2 H1: Selecting the Perfect Laser Cut Shadow Box Design
- 1.3 H2: Choosing the Right File Format
- 1.4 H1: Selecting the Perfect Laser Cut Shadow Box Design
- 1.5 H2: Exploring Online Design Resources
- 1.6 H3: Considerations for Design Selection
- 1.7 H1: Preparing Your Laser Cutter
- 1.8 H2: Setting Up the Laser Cutter
- 1.9 H2: Preparing the Material
- 1.10 H1: Laser Cutting the Shadow Box
- 1.11 H2: Importing the Design into the Laser Cutting Software
- 1.12 H2: Positioning the Material
- 1.13 H3: Starting the Laser Cutting Process
- 1.14 H1: Assembling the Shadow Box
- 1.15 H2: Preparing the Frame
- 1.16 H2: Attaching the Cut Design
- 1.17 H1: Displaying Your Laser Cut Shadow Box
- 1.18 H2: Choosing the Right Location
- 1.19 H2: Mounting the Shadow Box
- 1.20 H1: Conclusion
- 1.21 FAQs
H1: Selecting the Perfect Laser Cut Shadow Box Design
- Etsy: A vast marketplace offering a wide range of laser cut shadow box designs created by independent artists and designers.
- Pinterest: A visual discovery platform where you can search and save inspiration for laser cut shadow box designs.
- Freepik: A comprehensive repository of free and premium vector graphics, including laser cut shadow box templates.
H2: Choosing the Right File Format

- SVG (Scalable Vector Graphics): The industry standard for laser cutting, ensuring precise and high-quality results.
- DXF (Drawing Exchange Format): Another common file format compatible with most laser cutting software.
- AI (Adobe Illustrator): A vector-based design software that allows you to create and edit your own shadow box designs.
- Download 3d Shadow Box Svg Free Download 3D Shadow Box SVG Free: Unleash Your Creativity With Stunning Layered Designs
- Layered Paper Cut Light Box Template Free Download Layered Paper Cut Light Box Template: A Comprehensive Guide With Free Download
- Download 3d Shadow Boxes Download 3D Shadow Boxes: Elevate Your Home Décor With Intricate Designs
- Box Pattern Printable H1: Box Pattern Printable: A Comprehensive Guide To Creating And Using Printable Box Patterns
- Free Lightbox Svg Free Lightbox SVG: Elevate Your Website’s Visual Appeal
- Etsy: A vast marketplace offering a wide range of laser cut shadow box designs created by independent artists and designers.
- Pinterest: A visual discovery platform where you can search and save inspiration for laser cut shadow box designs.
- Size and Shape: Choose a design that complements the size and shape of your desired display items.
- Intricacy: Consider the level of detail and complexity you want in your shadow box.
- Theme: Select a design that aligns with the theme or style of your display.
- Install the appropriate software and drivers for your laser cutter.
- Calibrate the laser cutter according to the manufacturer’s instructions.
- Ensure the laser cutter is properly ventilated to remove fumes and debris.
- Select a suitable material for your shadow box, such as wood, acrylic, or MDF.
- Cut the material to the desired size and shape using a saw or laser cutter.
- Sand or finish the edges of the material to remove any rough edges.
- Import the downloaded SVG or DXF file into your laser cutting software.
- Adjust the settings for the laser cutter, including power, speed, and focus.
- Place the material onto the laser cutter bed and secure it using clamps or magnets.
- Align the design with the material using the laser cutter’s software or a physical ruler.
- Preview the laser path to ensure accuracy.
- Start the laser cutting process and monitor its progress.
- Allow the laser cutter to cool down before removing the cut design.
- Glue or nail the frame pieces together to form the perimeter of the shadow box.
- Sand or finish the frame to match the desired aesthetic.
- Place the laser cut design onto the backing board of the shadow box.
- Secure the design using glue, nails, or double-sided tape.
- Add any additional embellishments or decorations to enhance the display.
- Select a well-lit area that showcases the shadow box’s intricate details.
- Consider the height and angle of the shadow box to optimize viewing.
- Hang the shadow box on a wall using picture hooks or nails.
- Use a level to ensure the shadow box is hung straight.

Laser cut shadow boxes are an innovative and versatile way to showcase your cherished memories, artwork, and other precious items. By harnessing the precision of laser cutting technology, you can create intricate and personalized shadow boxes that add depth and dimension to any display. This guide will provide you with a comprehensive overview of downloading laser cut shadow box designs, empowering you to craft exquisite shadow boxes that will elevate your home décor and preserve your most treasured possessions.
H1: Selecting the Perfect Laser Cut Shadow Box Design
H2: Exploring Online Design Resources


H3: Considerations for Design Selection
H1: Preparing Your Laser Cutter
H2: Setting Up the Laser Cutter


H2: Preparing the Material
H1: Laser Cutting the Shadow Box
H2: Importing the Design into the Laser Cutting Software
H2: Positioning the Material
H3: Starting the Laser Cutting Process
H1: Assembling the Shadow Box
H2: Preparing the Frame
H2: Attaching the Cut Design
H1: Displaying Your Laser Cut Shadow Box
H2: Choosing the Right Location
H2: Mounting the Shadow Box
H1: Conclusion
Creating laser cut shadow boxes is a rewarding and creative endeavor that allows you to showcase your treasured memories and artwork in a truly unique and captivating way. By following the steps outlined in this guide, you can download the perfect design, prepare your laser cutter, and assemble a stunning shadow box that will add depth and dimension to any display. Embrace the versatility of laser cutting technology and let your creativity shine through as you craft exquisite shadow boxes that will be cherished for years to come.
FAQs
Q: What is the best material for laser cutting shadow boxes?
A: Wood, acrylic, and MDF are all suitable materials for laser cutting shadow boxes. The choice depends on the desired aesthetic and durability.
Q: Can I create my own laser cut shadow box designs?
A: Yes, you can use vector-based design software like Adobe Illustrator to create your own shadow box designs. Ensure that the design is saved in an appropriate file format (SVG, DXF).
Q: How do I ensure the laser cutter is properly ventilated?
A: Connect the laser cutter to a ventilation system or use a fume extractor to remove fumes and debris generated during the cutting process.
Q: How can I protect the laser cut shadow box from dust and damage?
A: Display the shadow box in a clean and dry environment. Consider using a glass or acrylic cover to protect the design from dust and dirt.


