Download Layered Paper Shadow Box: A Comprehensive Guide to Creating Stunning Paper Art
Introduction
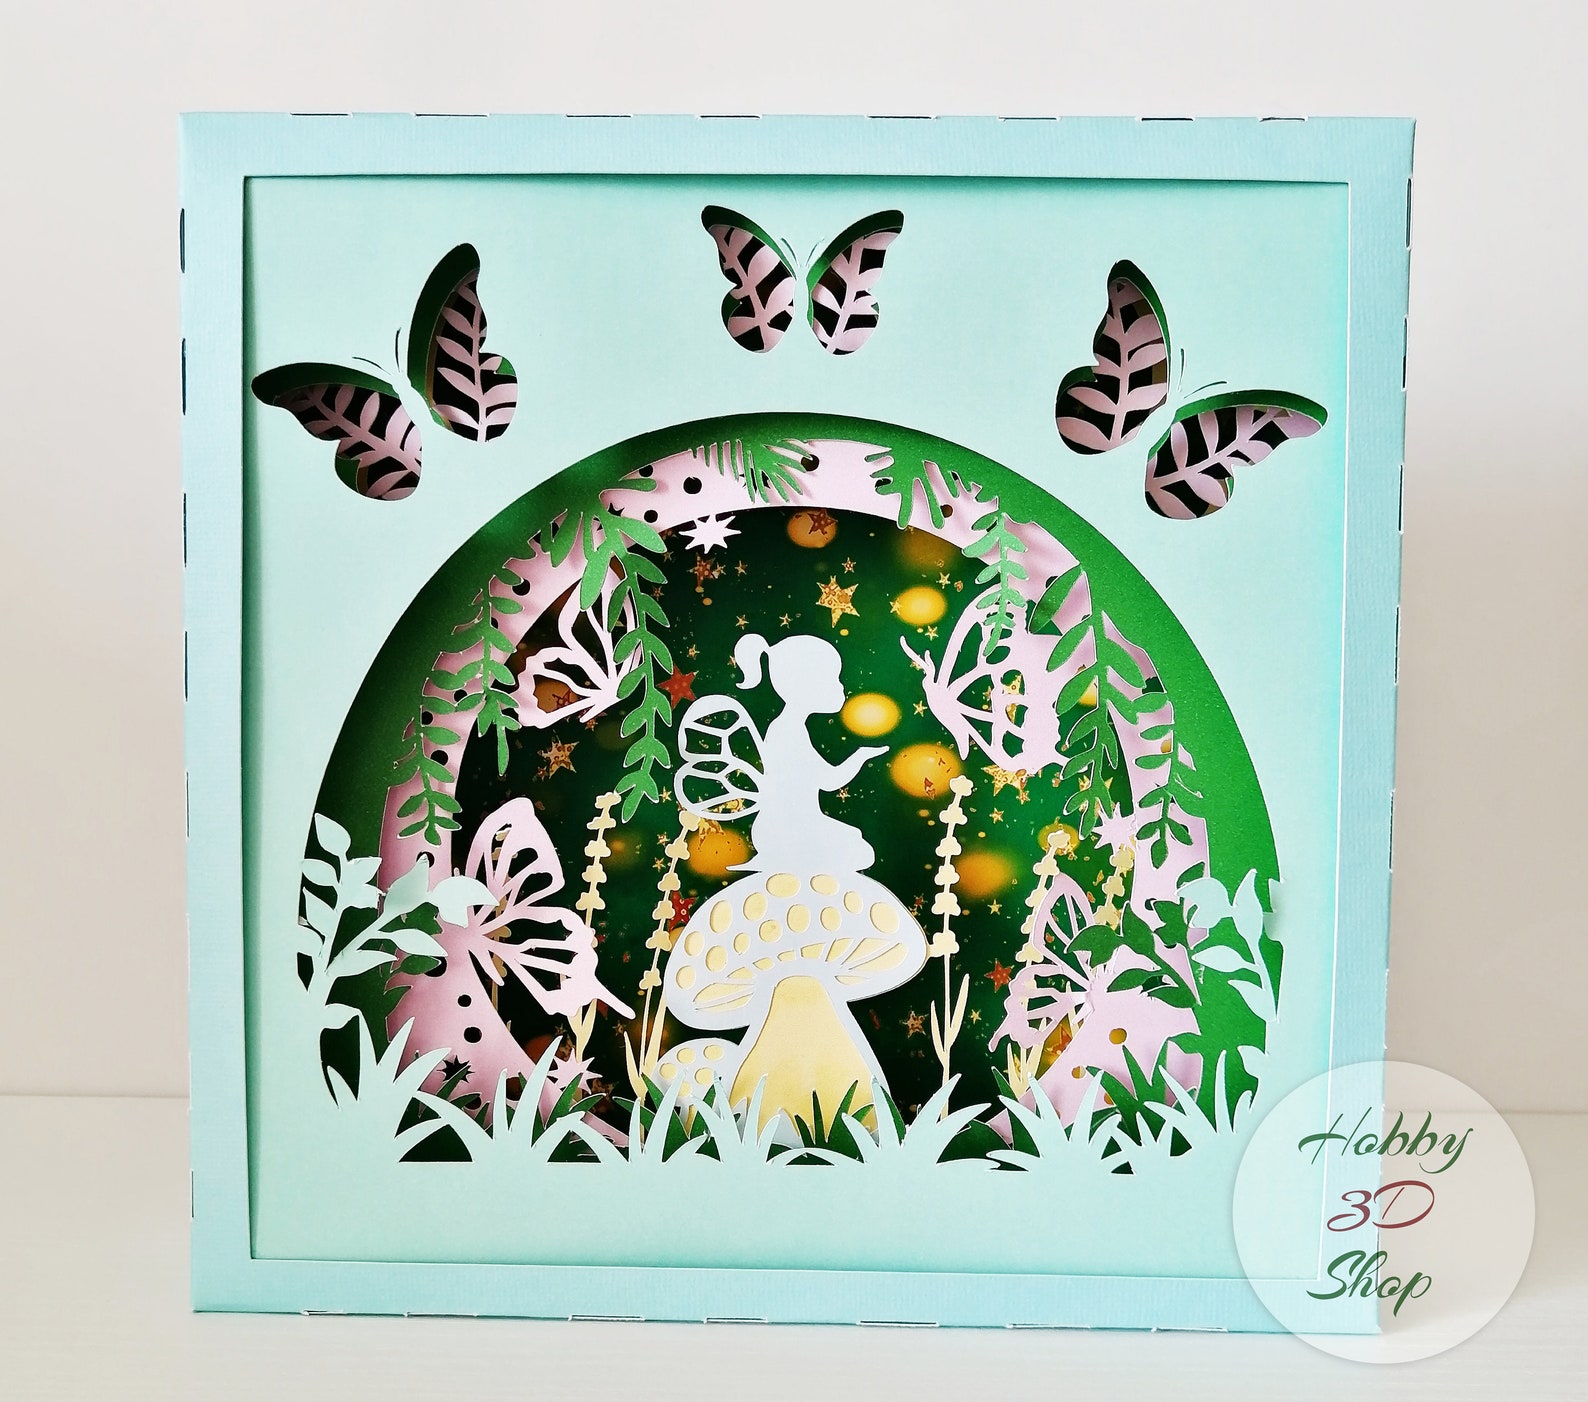
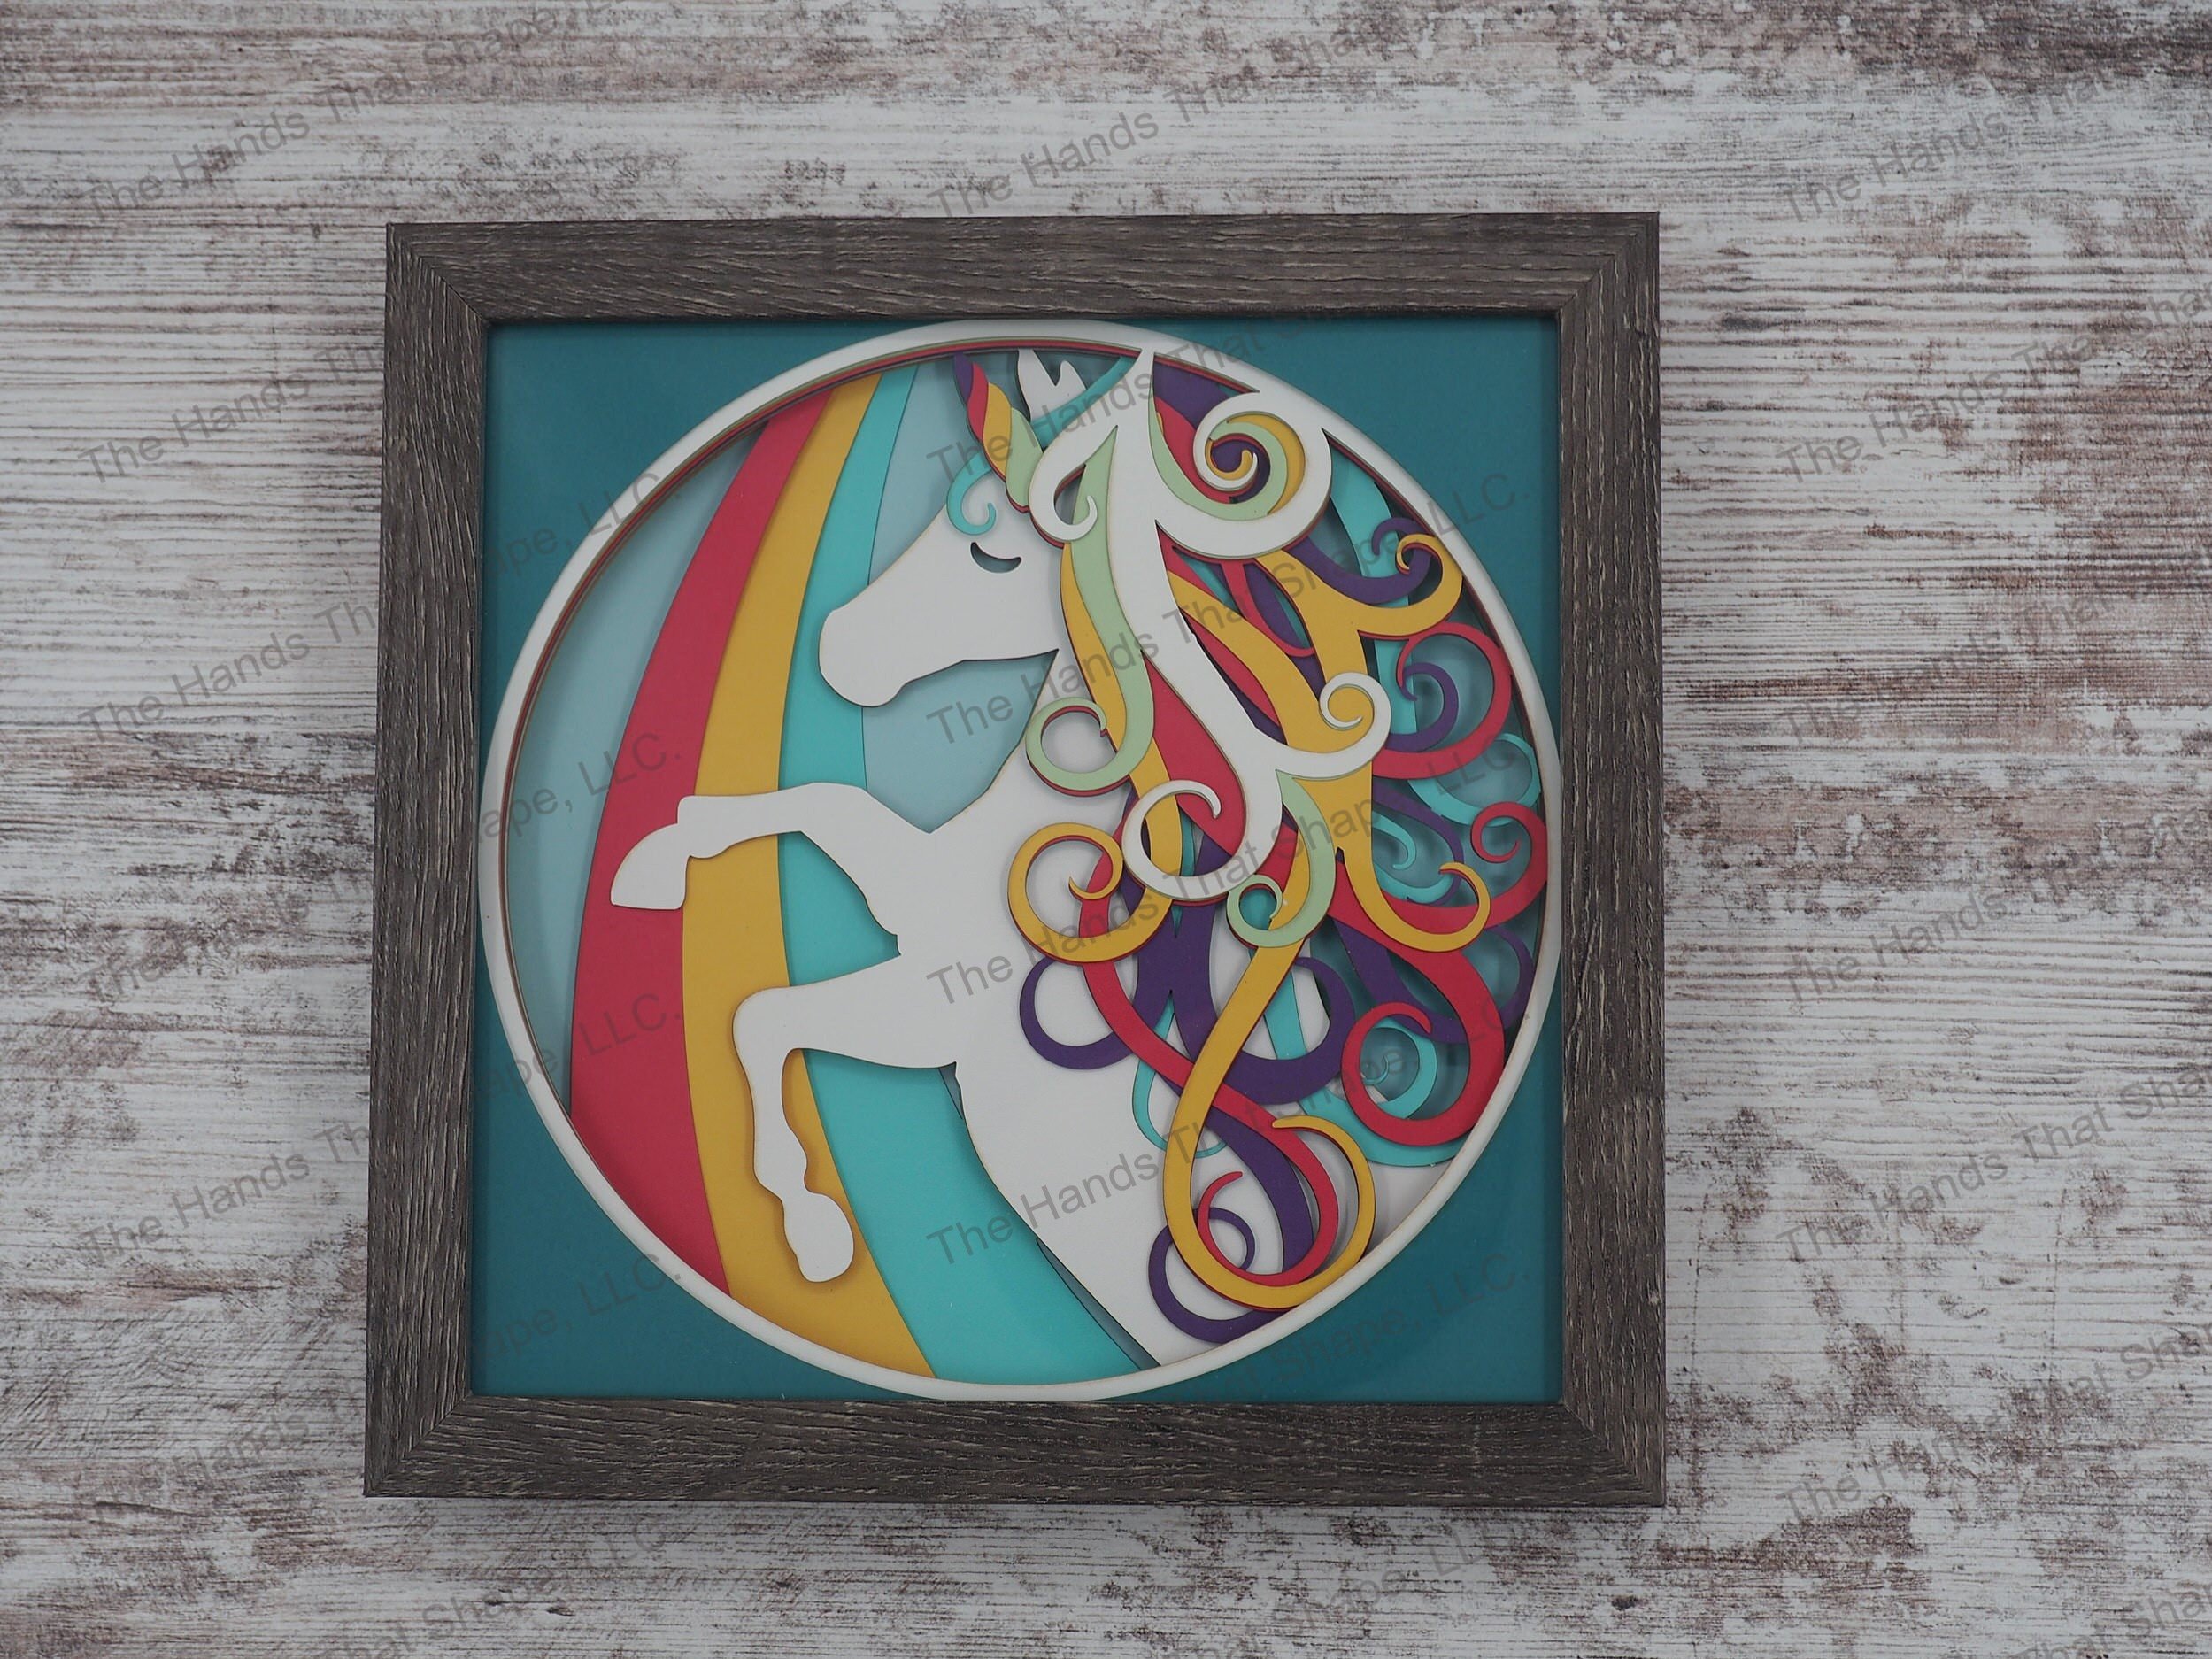
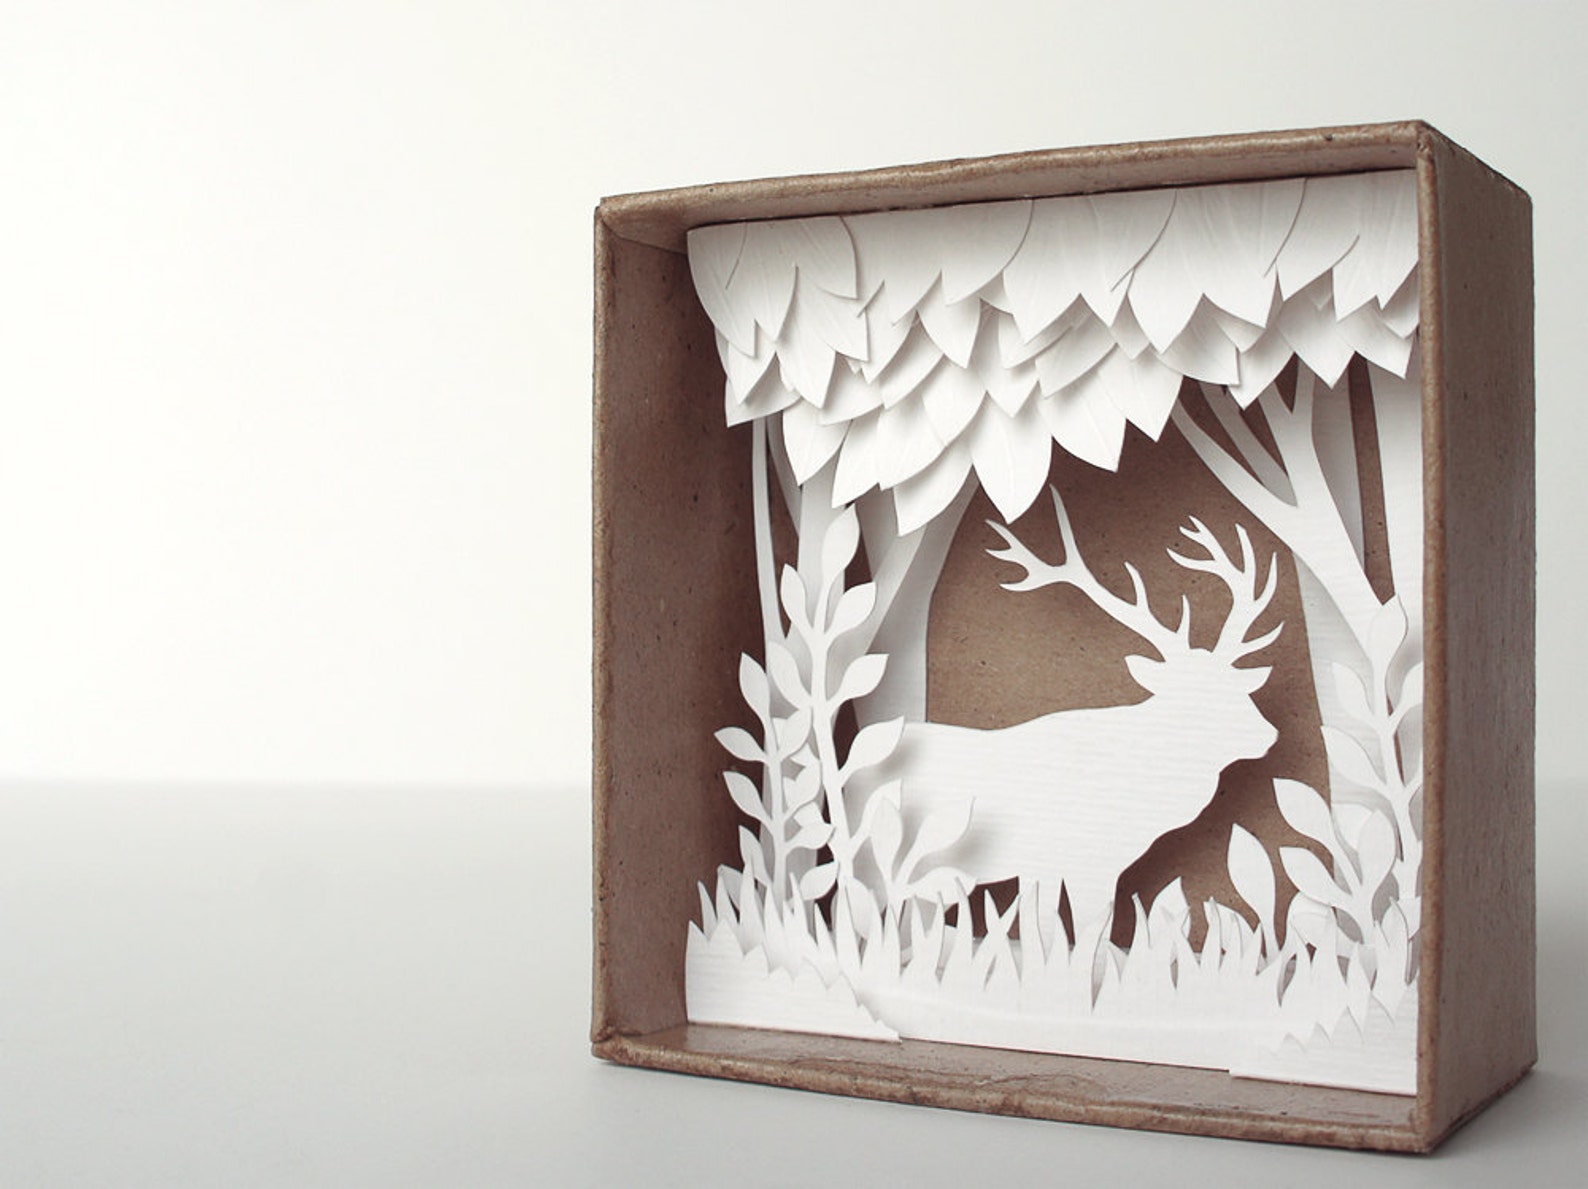
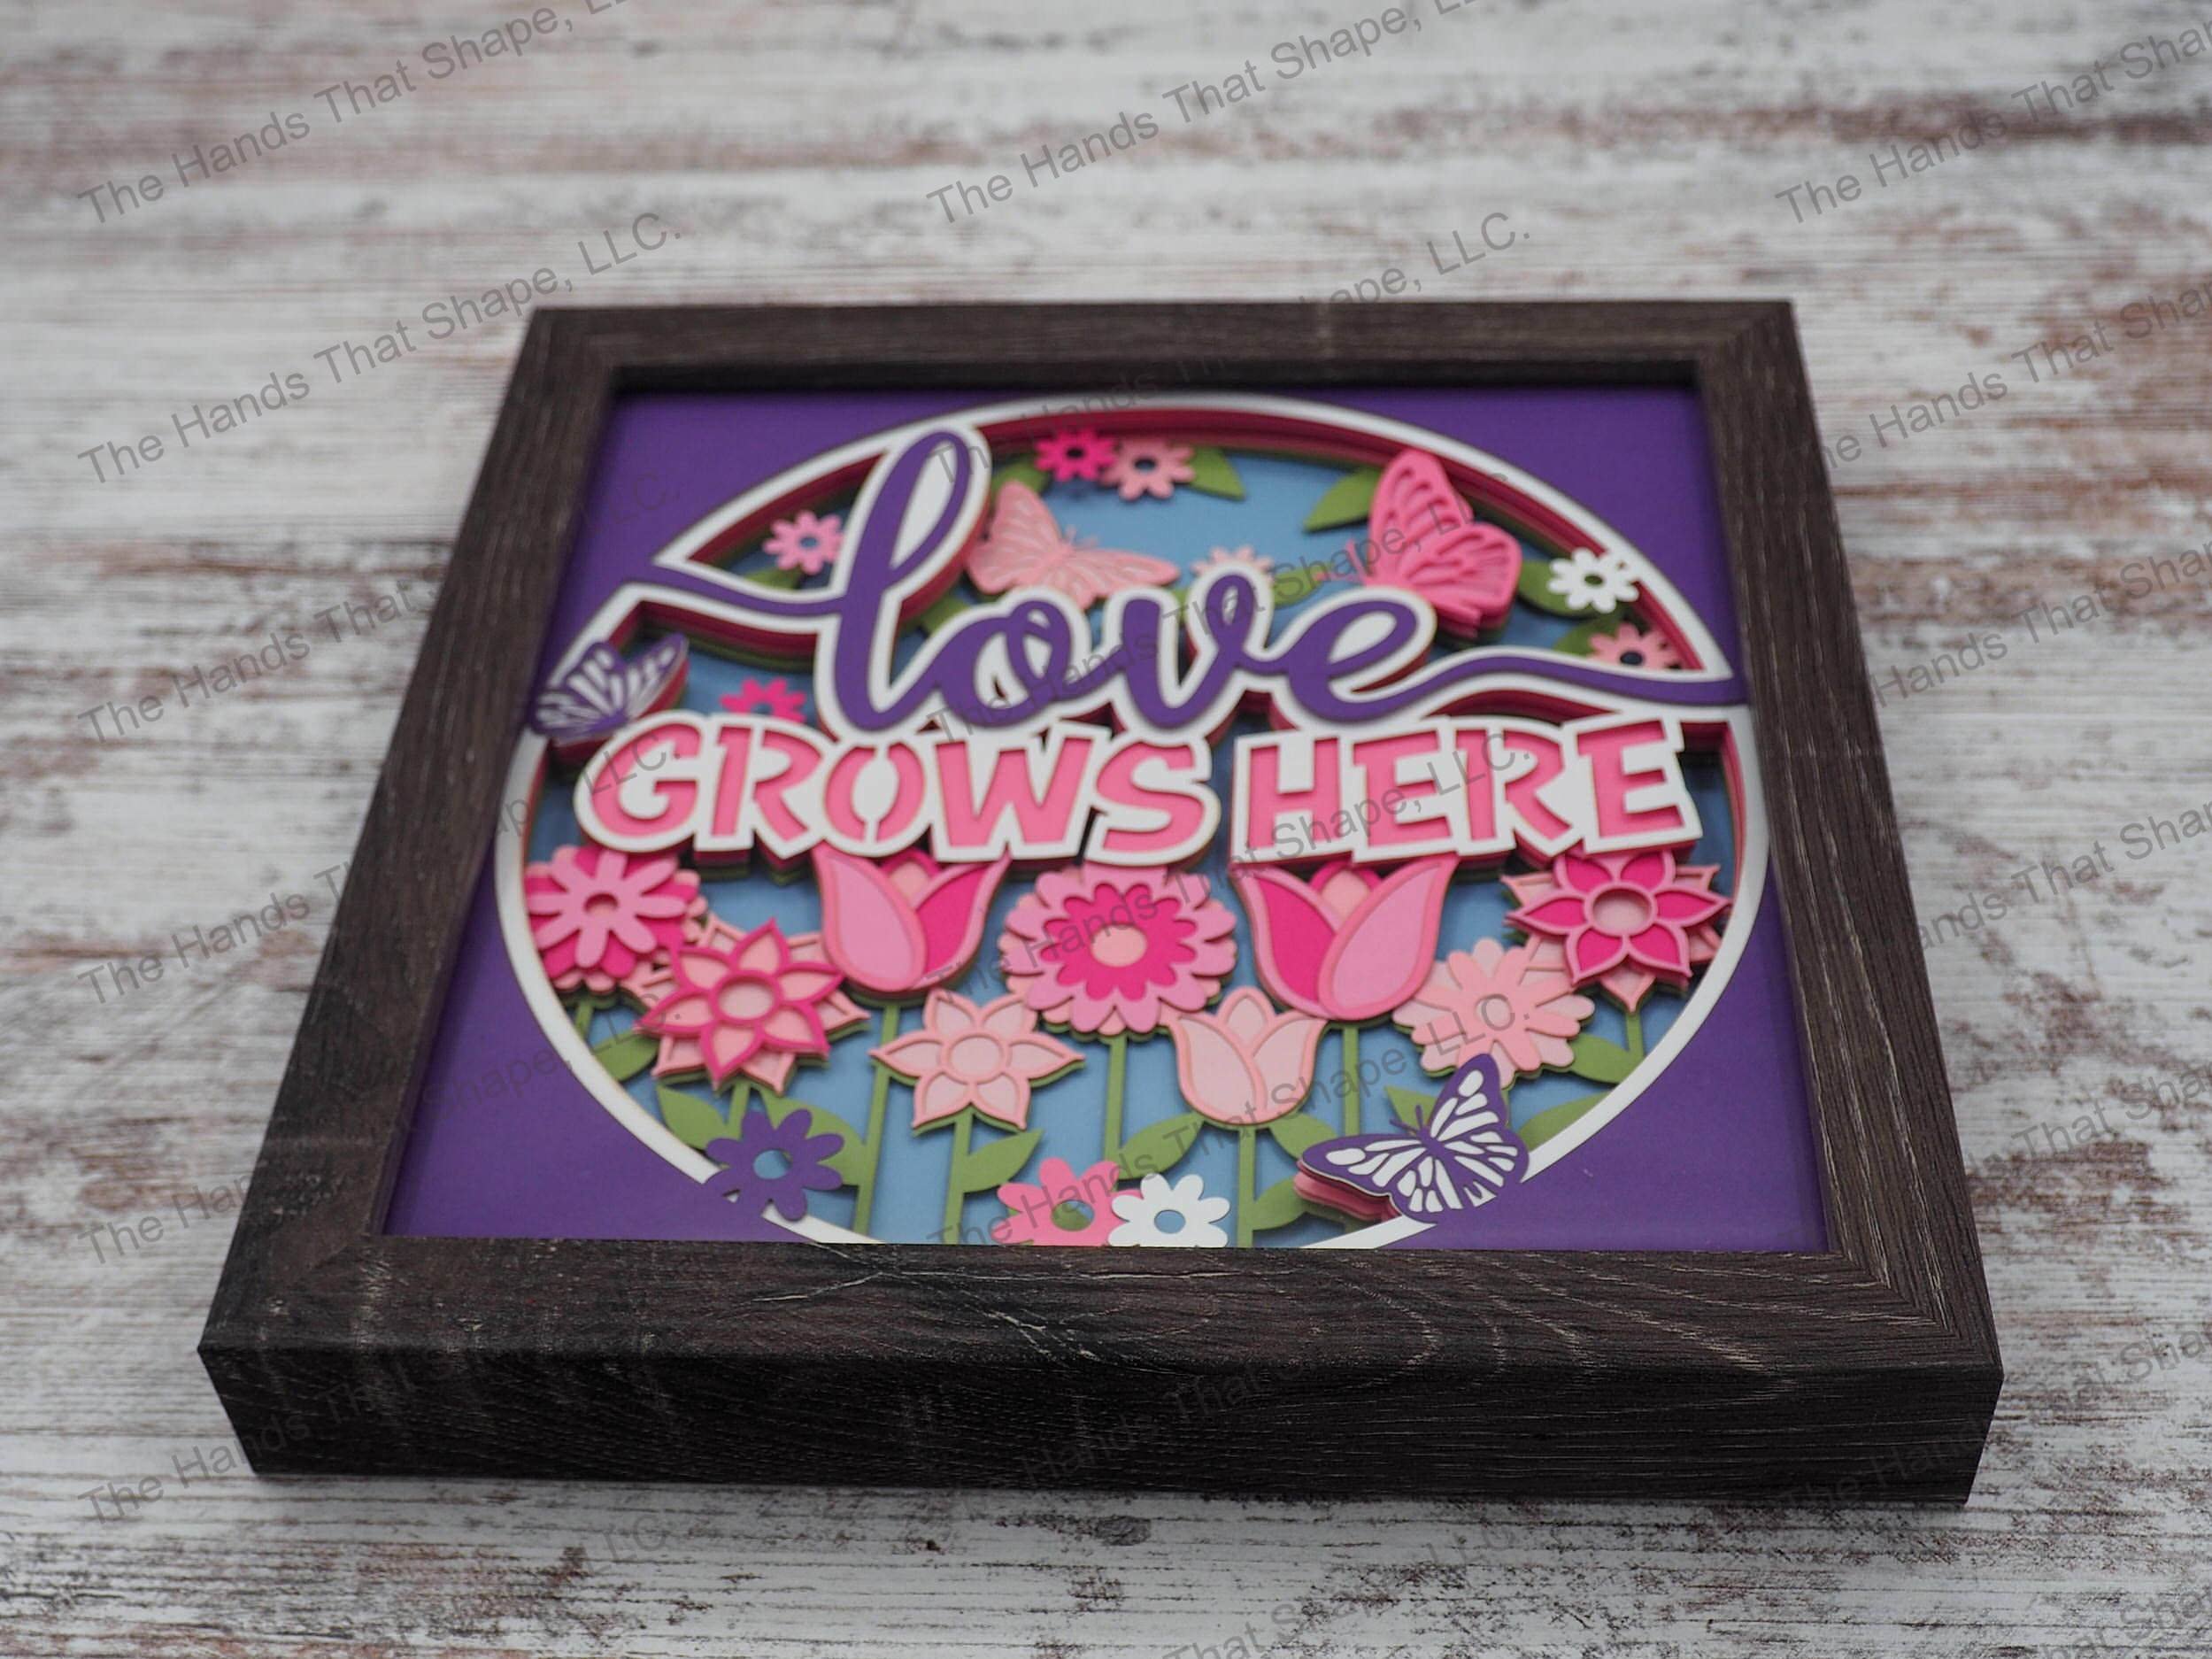
A layered paper shadow box is a captivating form of paper art that creates a captivating three-dimensional effect. This article will provide a comprehensive guide to downloading and creating your own layered paper shadow box, covering everything from choosing the right materials to assembling the final product.


Table of Content
Materials You’ll Need

Step-by-Step Guide
1. Design and Cut the Layers
- Use a design software program or online platform to create the layers of your shadow box.
- Pokemon Light Box Pokémon Light Box: A Comprehensive Guide To The Nostalgic Illumination
- Shadowbox Lighting SVG File Shadowbox Lighting SVG File: A Comprehensive Guide
- Download Free 3d Shadow Box Svg Download Free 3D Shadow Box SVG: Elevate Your Papercraft Creations
- Download 3d Paper Light Box Download 3D Paper Light Box: Unleash Your Creativity And Illuminate Your World
- Download Shadow Box Cricut H1: Download Shadow Box Cricut: A Comprehensive Guide To Creating Stunning 3D Designs
- Shadow box frame: Choose a shadow box frame with a depth of at least 1.5 inches to accommodate the layers of paper.
- Cardstock: Select high-quality cardstock in various colors and patterns for the layers.
- Cutting machine: A precision cutting machine, such as a Cricut or Silhouette, is recommended for precise cuts.
- Choose a variety of shapes, sizes, and colors to create a dynamic effect.
- Cut the layers using your cutting machine, ensuring accuracy and precision.
- Start by adhering the bottom layer to the back of the shadow box frame.
- Use adhesive dots or spray adhesive to attach the subsequent layers, creating a three-dimensional effect.
- Layer the pieces in a way that creates depth and interest.
- Once the layers are assembled, you can add embellishments to enhance the design.
- Use stickers, sequins, or glitter to create accents or highlights.
- Be creative and experiment with different materials to achieve a unique look.
- Place the completed shadow box in its frame and secure it with the backing.
- Display your artwork in a well-lit area to showcase its beauty.
- Use different textures and patterns: Combine smooth cardstock with textured or patterned paper to create visual interest.
- Layer colors strategically: Create a harmonious color scheme by layering complementary colors or contrasting hues.
- Experiment with shapes and sizes: Use a variety of shapes and sizes to add depth and complexity to your design.
- Consider lighting: The lighting in which you display your shadow box can greatly enhance its impact. Try using natural light or artificial lighting to create different effects.
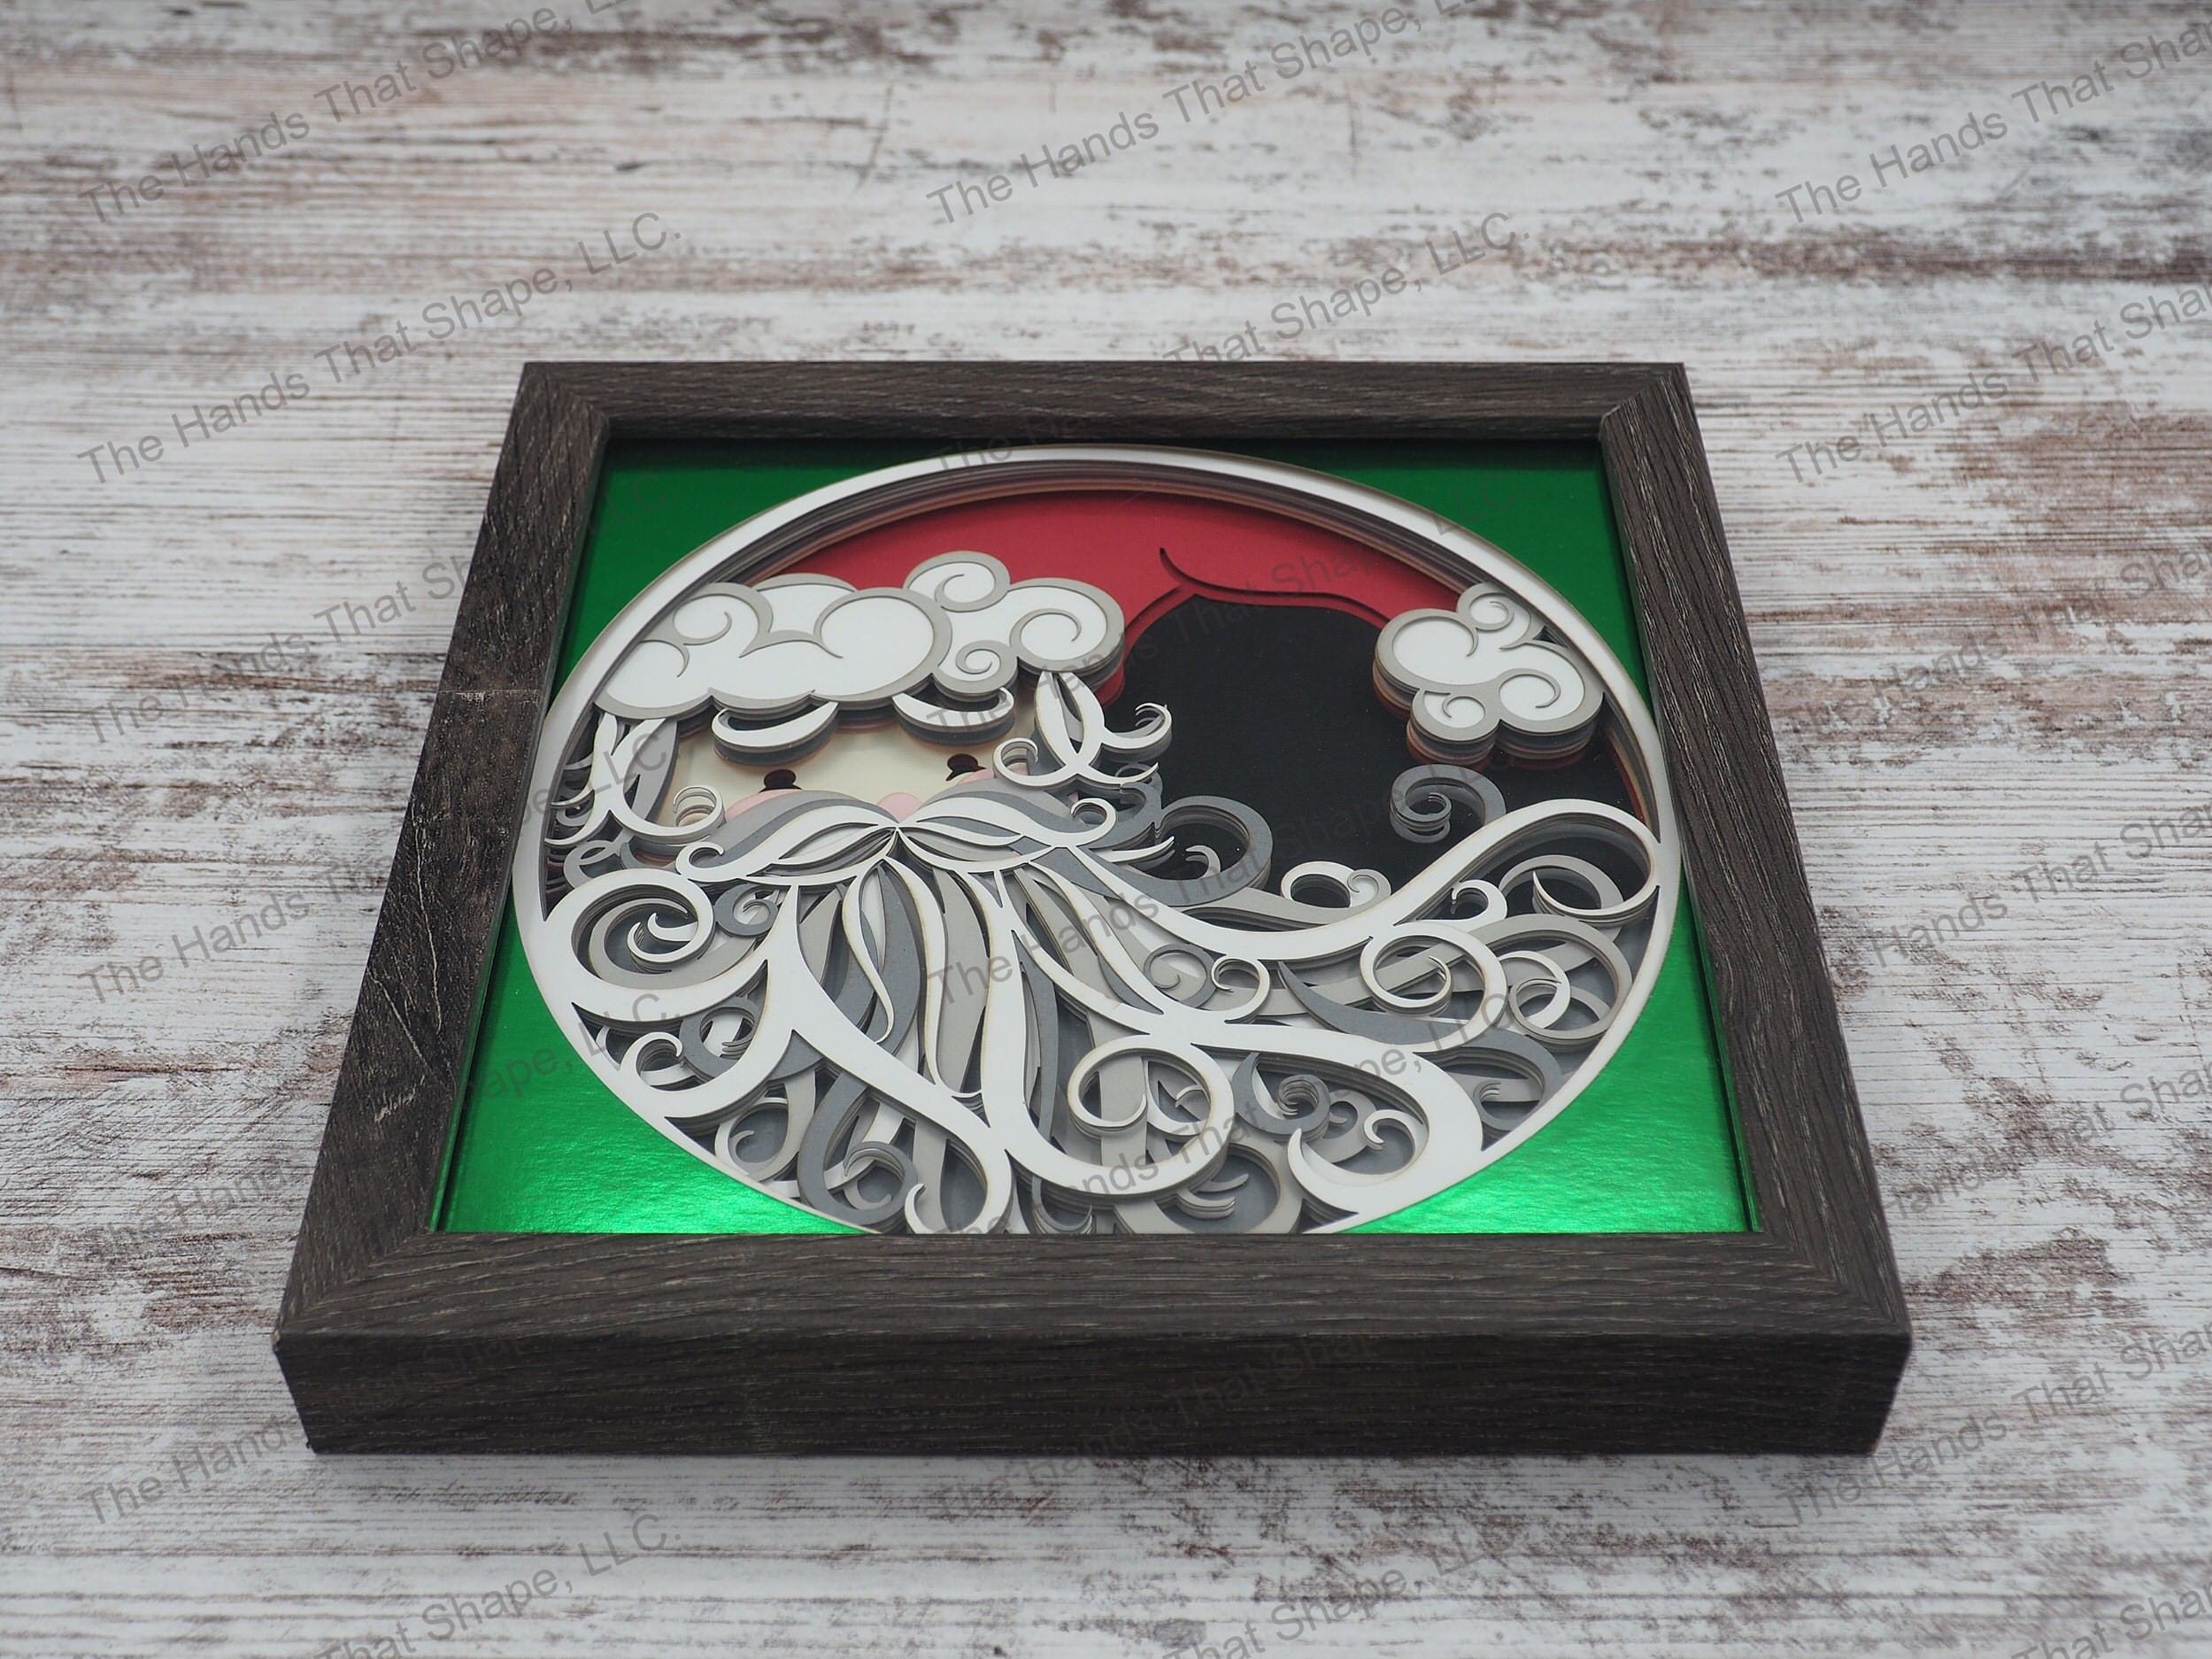
A layered paper shadow box is a captivating form of paper art that creates a captivating three-dimensional effect. This article will provide a comprehensive guide to downloading and creating your own layered paper shadow box, covering everything from choosing the right materials to assembling the final product.
Materials You’ll Need


2. Assemble the Layers

3. Add Embellishments (Optional)
4. Frame and Display
Tips for Success
Conclusion
Creating a layered paper shadow box is a rewarding and creative endeavor. By following the steps outlined in this guide and experimenting with different materials and techniques, you can create stunning paper art that will add beauty and personality to your home or office.
FAQs
Q: What is the best type of paper to use for a shadow box?
A: High-quality cardstock with a weight of at least 80 lb is recommended.
Q: Can I use any cutting machine to create the layers?
A: While a Cricut or Silhouette machine is recommended, you can also use a craft knife and ruler if you are comfortable with precision cutting.
Q: How do I make sure the layers are secure?
A: Use a strong adhesive, such as glue dots or spray adhesive, to ensure that the layers are securely attached and will not come loose over time.
Q: What are some creative ways to embellish a shadow box?
A: You can use stickers, sequins, glitter, fabric, or even small objects to add embellishments and create a unique design.
Q: How can I display my shadow box effectively?
A: Display your shadow box in a well-lit area, such as a windowsill or on a shelf with artificial lighting. Consider the background color and surrounding décor to complement the artwork.