Free Shadow Box Frame SVG File: A Step-by-Step Guide to Creating Custom Frames
Introduction
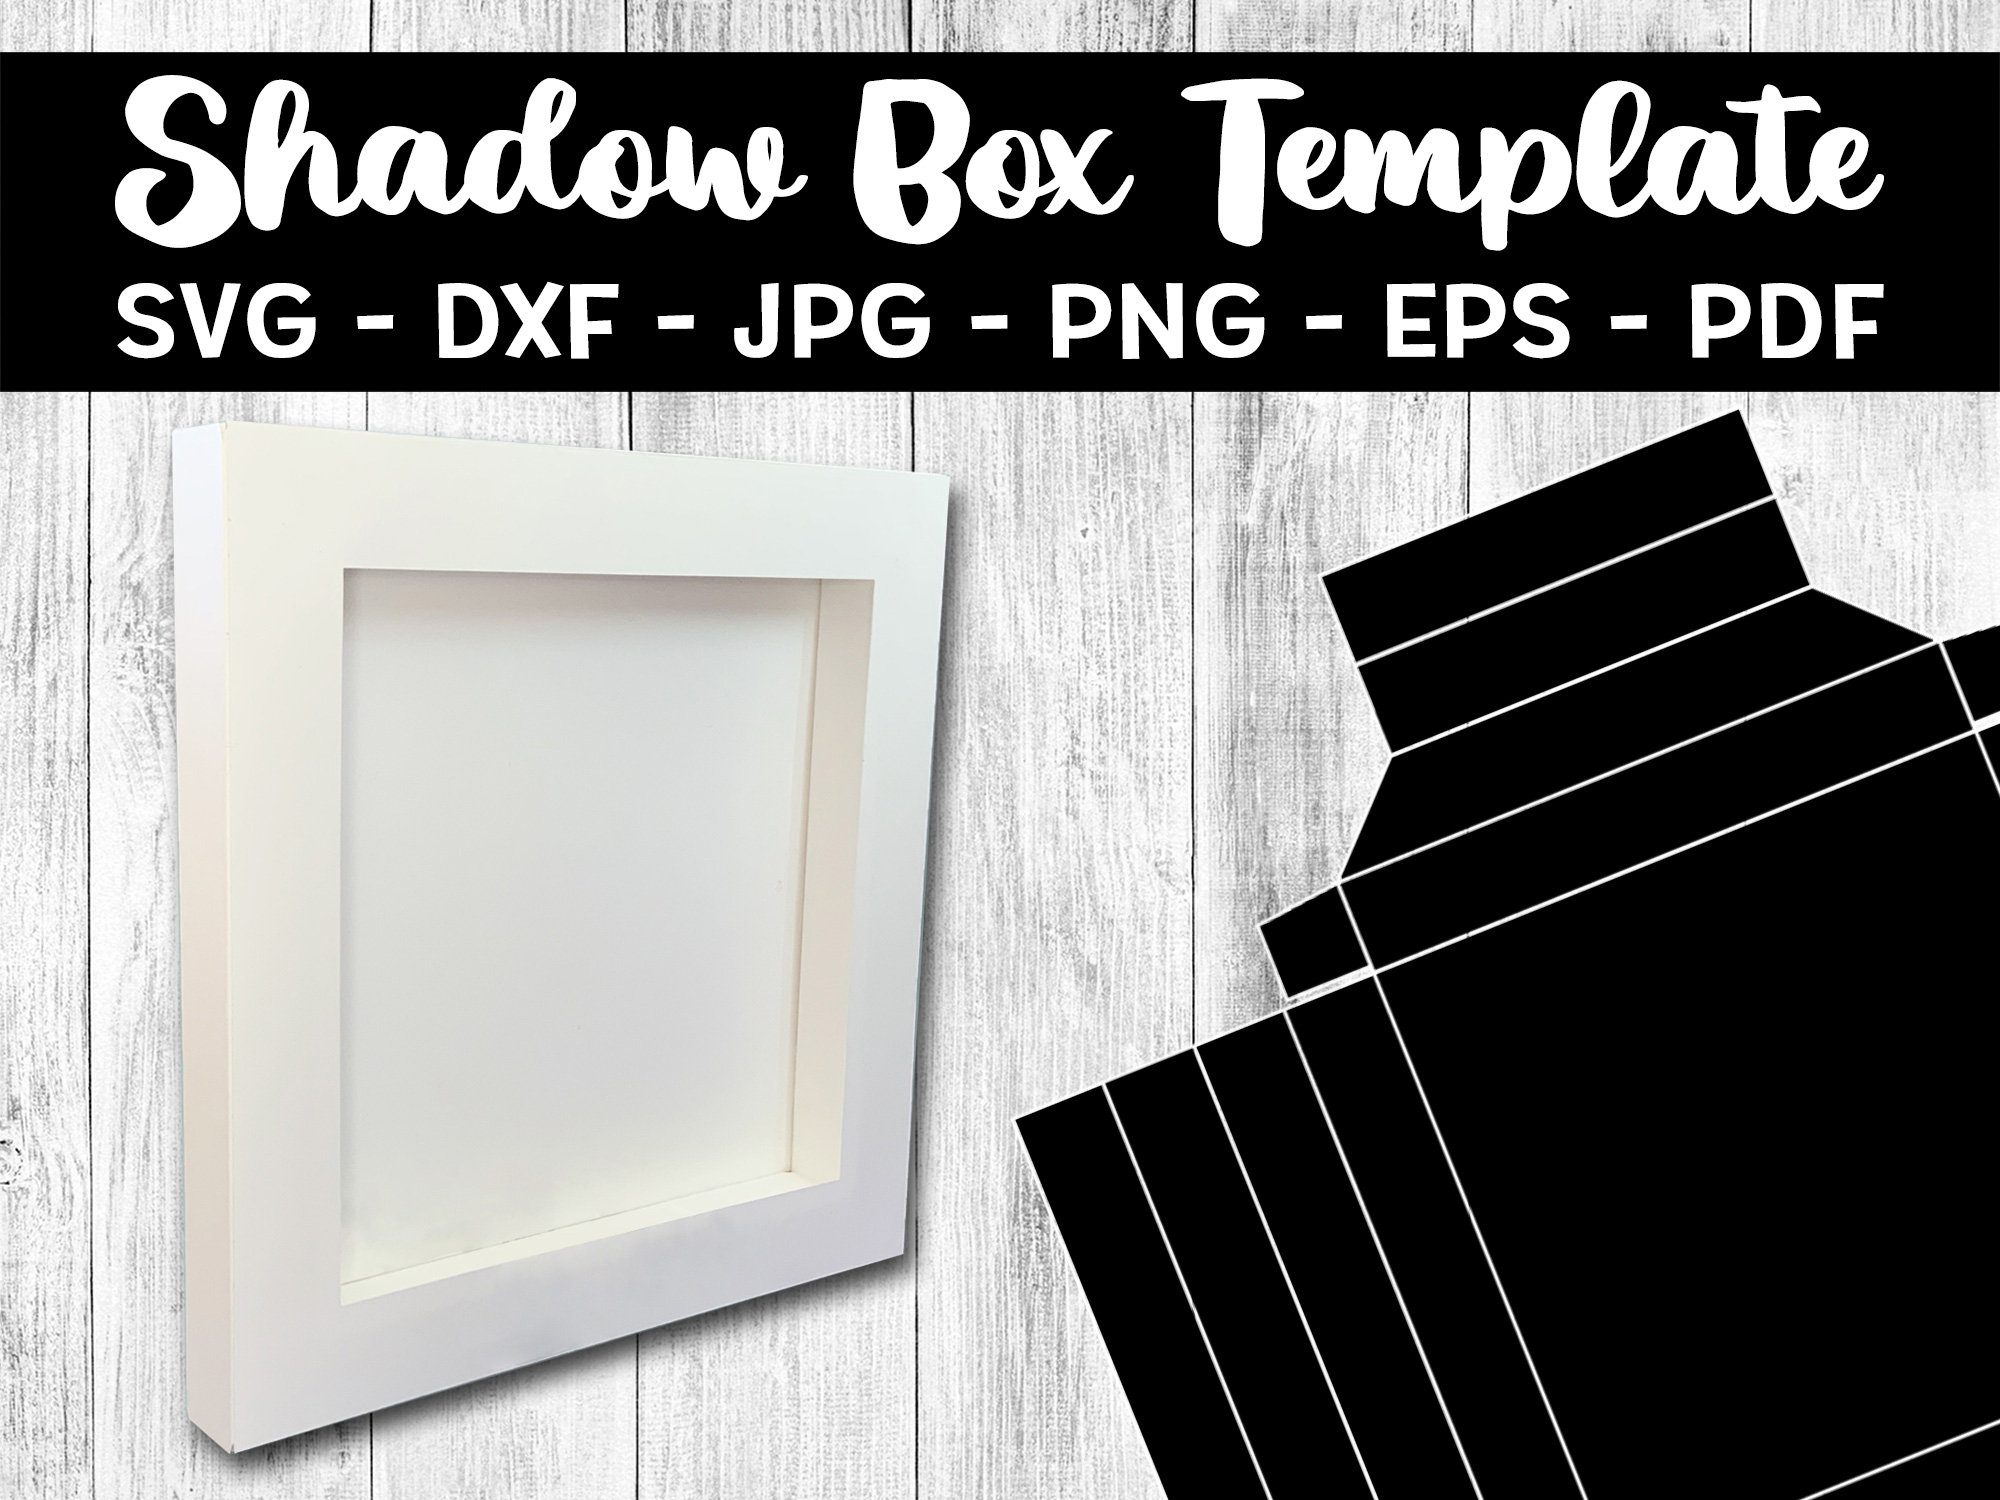
Shadow box frames are a versatile and stylish way to display cherished memories, artwork, or other treasured items. With the advent of digital cutting machines, it’s now easier than ever to create your own custom shadow box frames using free SVG files. In this comprehensive guide, we will provide you with a step-by-step tutorial on how to use a free shadow box frame SVG file to create your own unique frames.
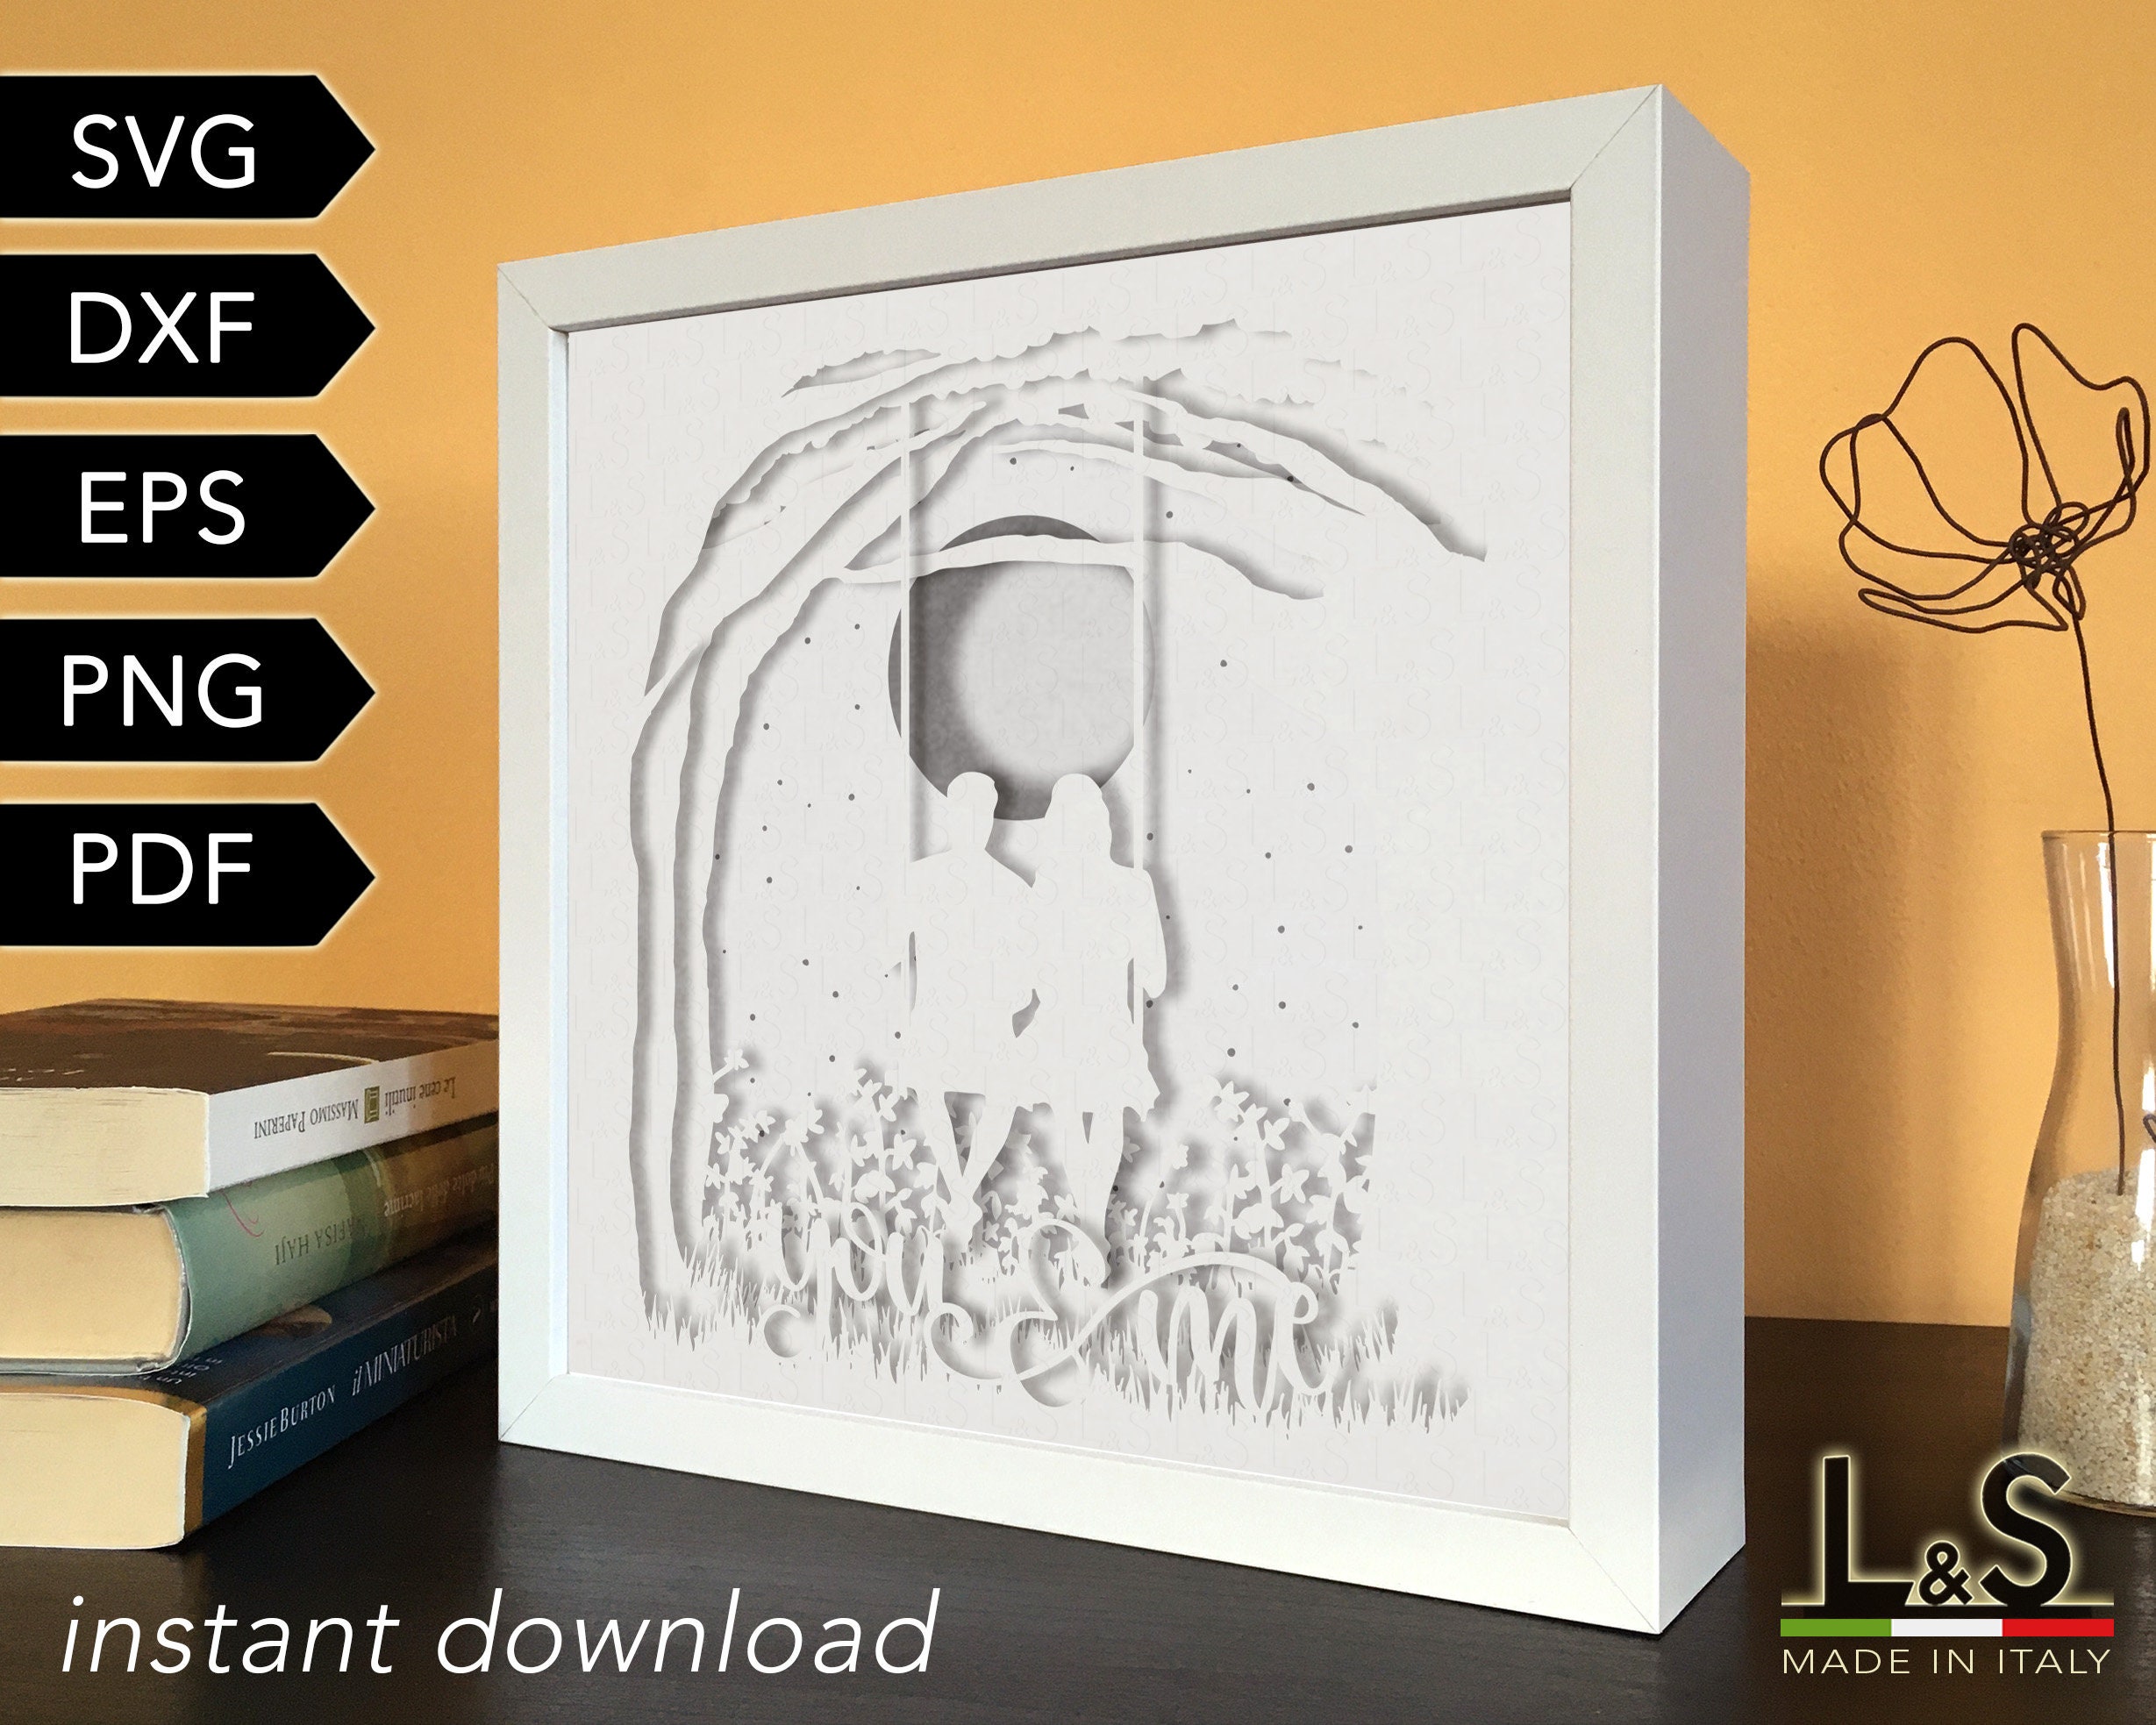

Table of Content
Materials You’ll Need
Step-by-Step Instructions
1. Import the SVG File

- Free 3d Shadow Box Svg Free 3D Shadow Box SVG: Elevate Your Papercraft Creations
- Free Svg Shadow Box Files Free SVG Shadow Box Files: A Comprehensive Guide
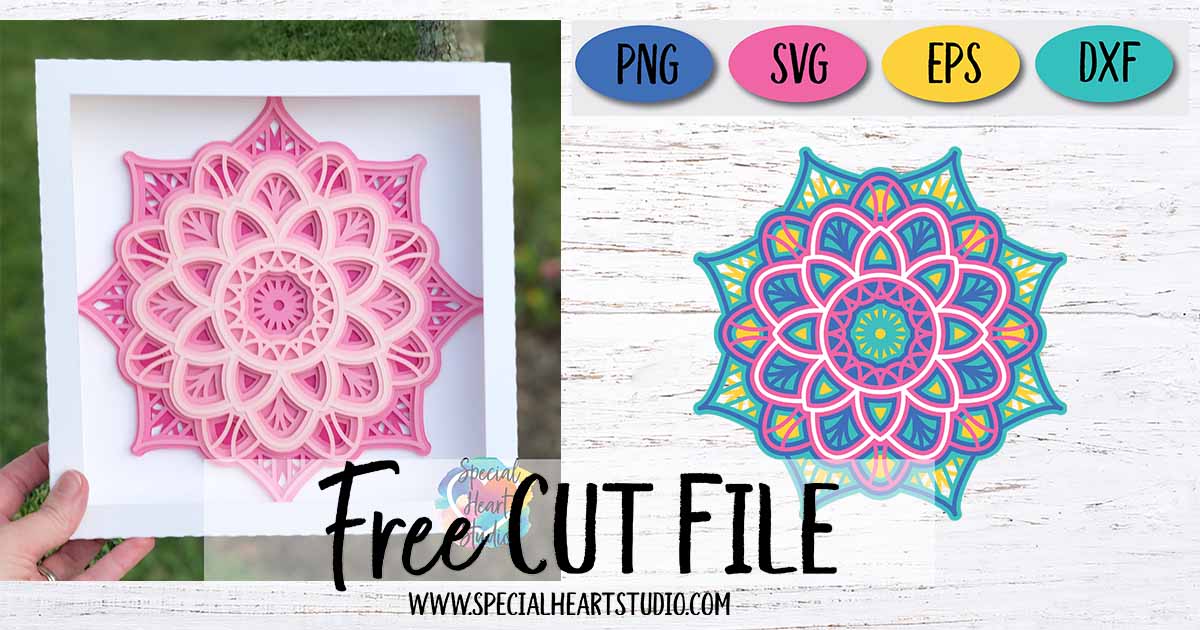
- Free Shadow Box Template Svg Free Shadow Box Template SVG: A Comprehensive Guide To Creating Stunning 3D Art
- Shadow Box Svg Cutting Files Free Shadow Box SVG Cutting Files: A Comprehensive Guide For Designers And Crafters
- Free Shadow Box Template Free Shadow Box Template: A Comprehensive Guide To Creating Stunning Displays
- Free shadow box frame SVG file
- Cutting machine (e.g., Cricut, Silhouette)
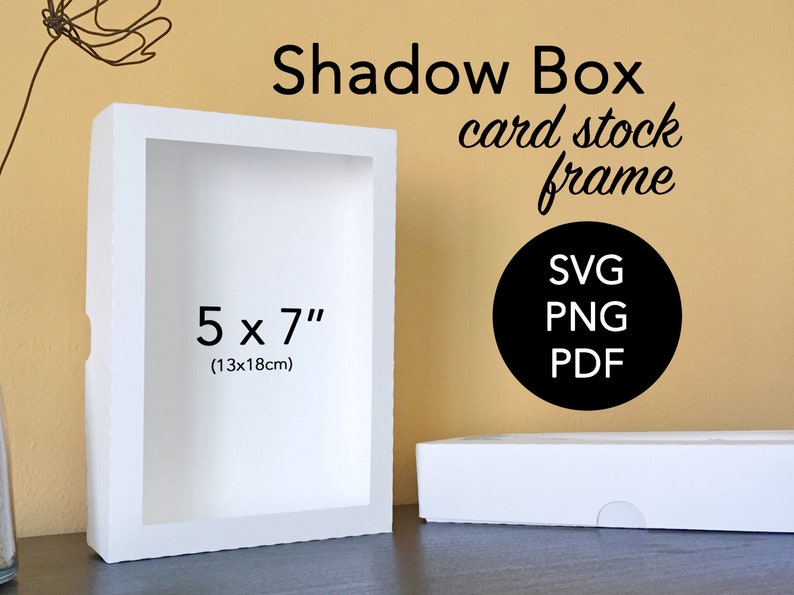
- Cardstock or other thick paper
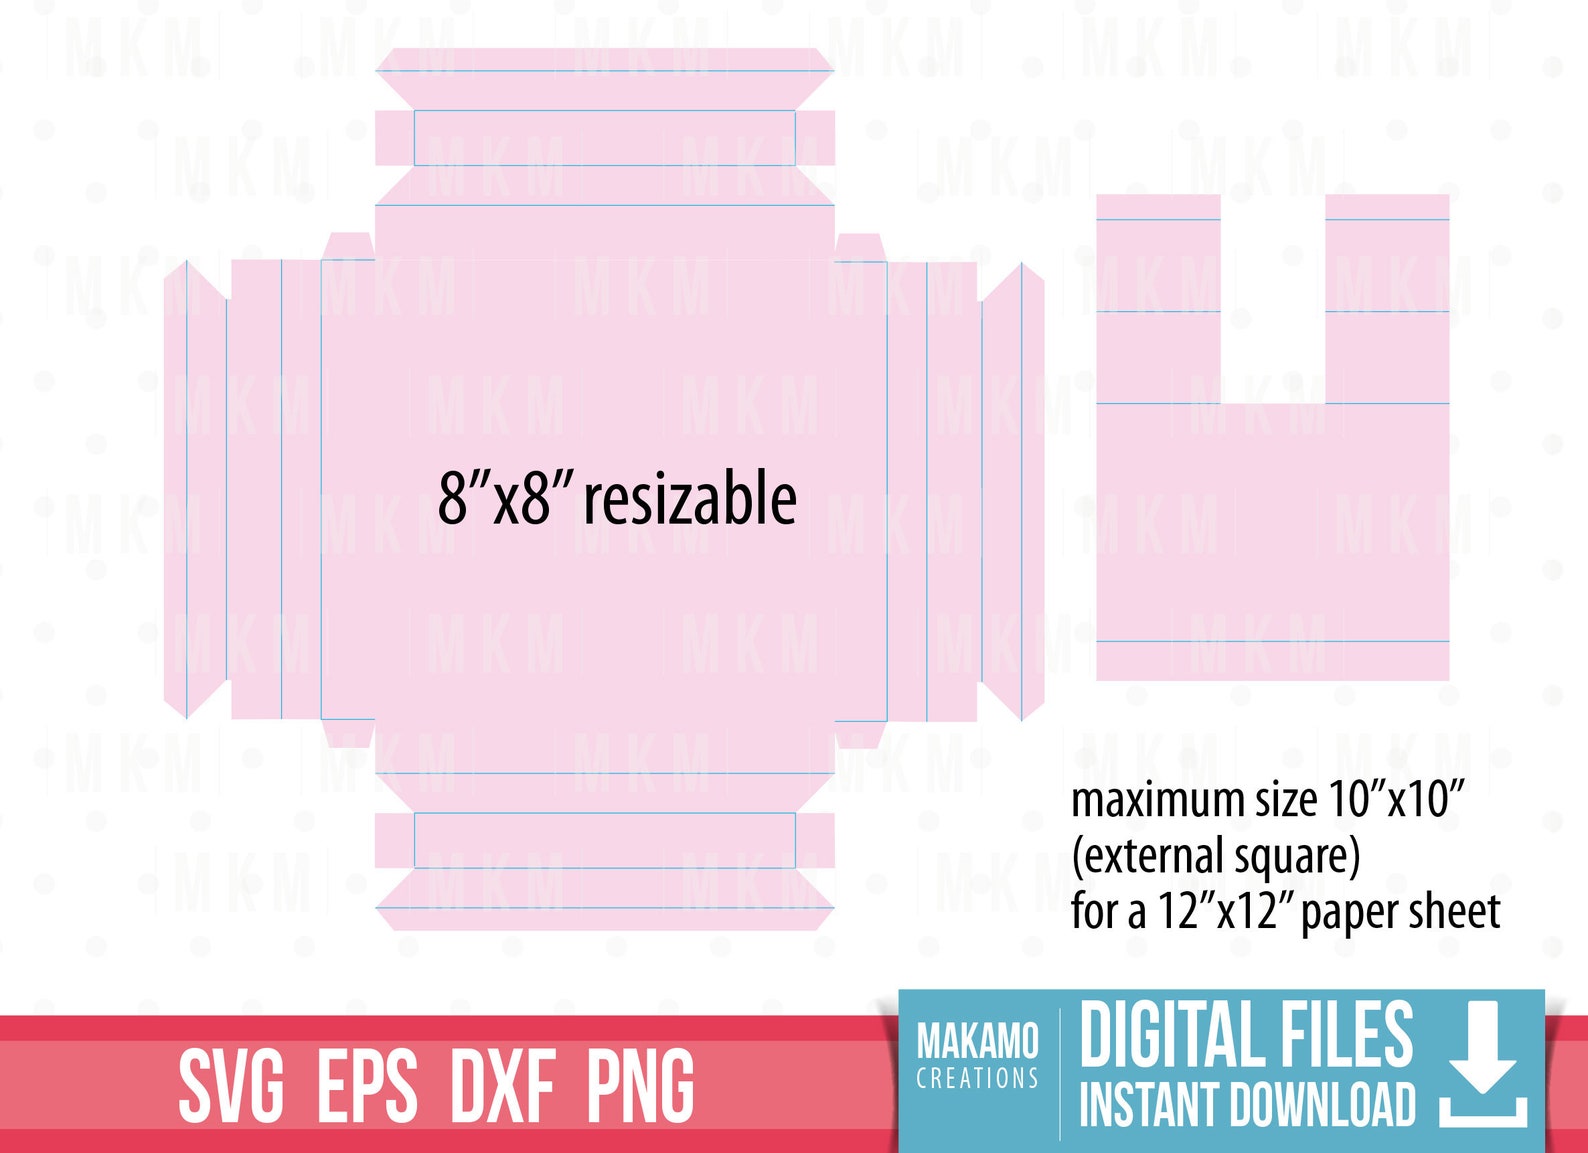
- Open your cutting machine’s software and import the free shadow box frame SVG file.
- Adjust the size of the frame to fit your desired dimensions.
- Place the desired cardstock or paper onto the cutting mat.
- Send the design to your cutting machine and cut out the frame pieces.
- Apply glue or adhesive to the tabs on the frame pieces.
- Assemble the frame by attaching the sides and back piece together.
- Let the glue dry completely.
- Cut a piece of cardboard or mat board to fit the back of the frame.
- Insert the backing into the frame and secure it with glue or adhesive.
- Cut a piece of clear acetate or plastic to fit the front of the frame.
- Place the acetate over the backing and secure it with glue or adhesive.
- Add embellishments to the frame as desired, such as ribbon, beads, or paint.
- Use a sharp blade on your cutting machine to ensure clean cuts.
- Test the fit of the frame pieces before gluing them together.
- Allow ample time for the glue to dry before handling the frame.
- Use high-quality materials for durability and a professional-looking finish.
Shadow box frames are a versatile and stylish way to display cherished memories, artwork, or other treasured items. With the advent of digital cutting machines, it’s now easier than ever to create your own custom shadow box frames using free SVG files. In this comprehensive guide, we will provide you with a step-by-step tutorial on how to use a free shadow box frame SVG file to create your own unique frames.
Materials You’ll Need

2. Cut the Frame Pieces

3. Assemble the Frame


4. Insert the Backing
5. Add the Front Layer
6. Embellish (Optional)
Tips for Success
Conclusion
Creating custom shadow box frames with free SVG files is a fun and rewarding project. By following the step-by-step instructions provided in this guide, you can easily create unique and personalized frames to display your cherished memories and treasures.
FAQs
Q: Where can I find free shadow box frame SVG files?
A: There are many websites and online marketplaces that offer free shadow box frame SVG files, such as Design Bundles, Creative Fabrica, and Etsy.
Q: What type of paper should I use for the frame?
A: Cardstock or other thick paper is recommended for durability. You can also use chipboard or foam board for a more sturdy frame.
Q: How do I secure the front layer of the frame?
A: You can use clear glue, double-sided tape, or even hot glue to secure the front layer of the frame.