


Free SVG Shadow Box: A Comprehensive Guide to Creating Stunning 3D Papercraft
Introduction
Shadow boxes are a captivating form of papercraft that adds depth and dimension to any space. By layering intricate SVG designs onto multiple levels, you can create eye-catching displays that showcase your creativity and personal style. This guide will provide you with everything you need to know about creating your own free SVG shadow box, from selecting the right materials to assembling the final product.


Table of Content
Materials You’ll Need
Step-by-Step Instructions

1. Choose and Prepare Your SVG Files
Shadow boxes are a captivating form of papercraft that adds depth and dimension to any space. By layering intricate SVG designs onto multiple levels, you can create eye-catching displays that showcase your creativity and personal style. This guide will provide you with everything you need to know about creating your own free SVG shadow box, from selecting the right materials to assembling the final product.
- 3d Shadow Box Templates 3D Shadow Box Templates: A Comprehensive Guide To Enhancing Your Creative Projects
- Shadow Box Template Free H1: Elevate Your Displays With Shadow Box Templates Free: A Comprehensive Guide
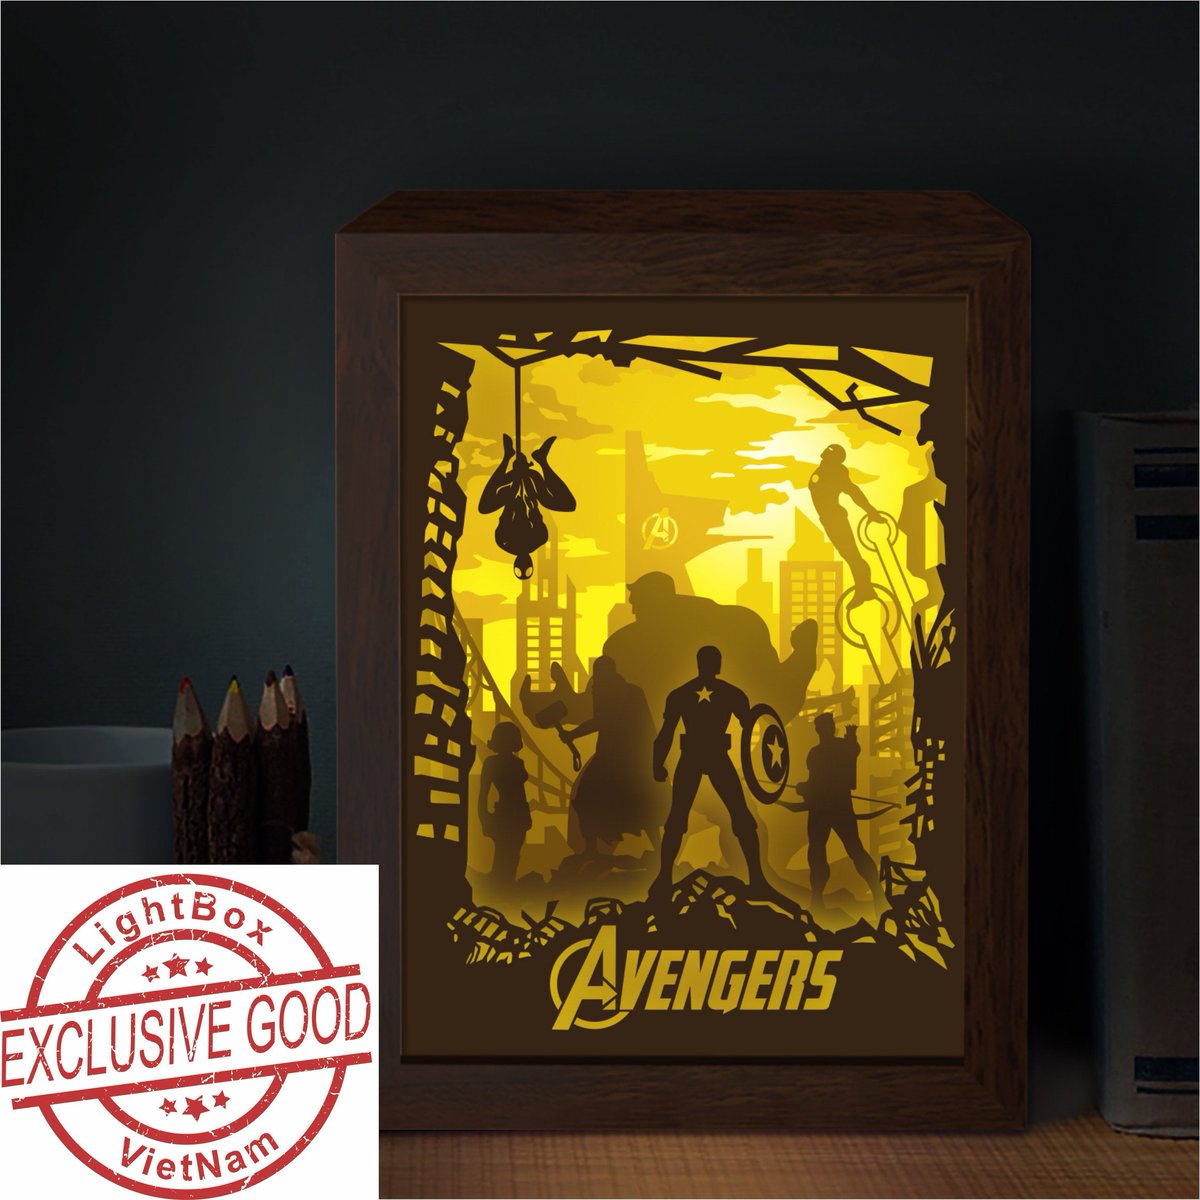
- Paper Shadow Box Art Paper Shadow Box Art: An Immersive Journey Into Depth And Dimension
- Free 3d Shadow Box Templates Free 3D Shadow Box Templates: Elevate Your Craft Projects
- Free Disney Shadow Box Svg Free Disney Shadow Box SVG: A Guide To Creating Magical 3D Art
Materials You’ll Need
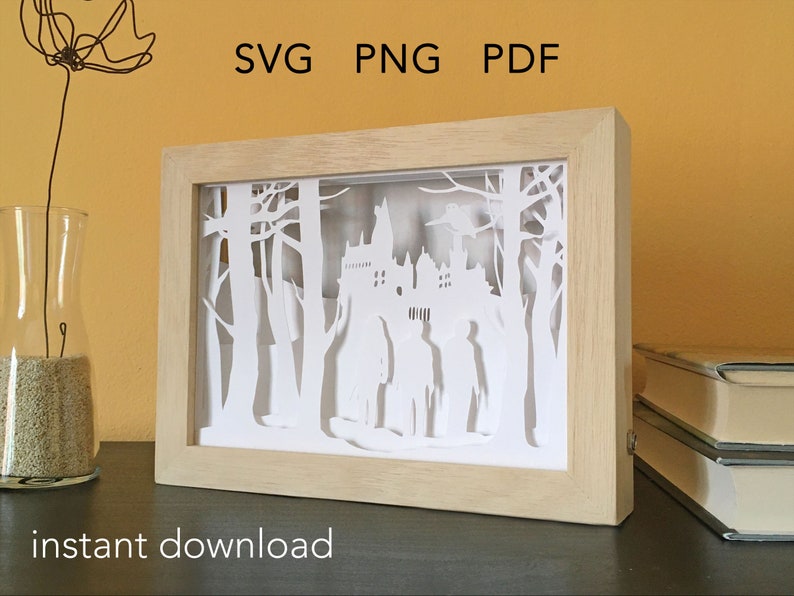
- SVG files (free or paid)
- Cardstock in various colors and thicknesses
- Cutting machine (e.g., Cricut, Silhouette)
- Select high-quality SVG files that are suitable for shadow boxes.
- Ensure that the designs are compatible with your cutting machine.
- Resize and arrange the SVG elements as desired using a design software.
- Load the cardstock into your cutting machine.
- Adjust the cutting settings according to the thickness of the cardstock.
- Cut out the SVG designs and any additional elements you may need.
- Determine the desired depth and dimension of your shadow box.
- Cut foam board or cardboard into the appropriate sizes to create the layers.
- Adhere the cut cardstock designs onto the layers, starting with the background layer.
- Arrange the layers inside the frame or shadow box, starting with the background layer.
- Use adhesive to secure the layers together.
- Add embellishments as desired to enhance the design.
- Birthdays: Create a shadow box filled with photos, mementos, and decorations related to the birthday person.
- Weddings: Showcase the wedding invitation, vows, and other keepsakes in an elegant shadow box.
- Anniversaries: Celebrate special milestones with a shadow box filled with photos, love letters, and tokens of affection.
- Nature-inspired: Create a shadow box featuring cutouts of plants, animals, and natural elements.
- Geometric: Use geometric shapes and patterns to create a modern and stylish shadow box.
- Inspirational: Display motivational quotes, affirmations, or artwork that inspires you.
- Personalized: Create a shadow box filled with items that are meaningful to the recipient, such as photos, letters, or handmade crafts.
- Travel: Showcase souvenirs and mementos from your travels in a shadow box.
- Memory keepers: Create a shadow box to preserve special memories, such as baby items, school projects, or family heirlooms.
- Ensure that the cutting blade is sharp and free of debris.
- Adjust the cutting settings to match the thickness of the cardstock.
- Check the file format and make sure it is compatible with your cutting machine.
- Measure and mark the center of the frame or shadow box.
- Align the layers carefully before adhering them together.
- Use a ruler or T-square to ensure straight lines and even spacing.
- Use thicker cardstock or foam board for the layers.
- Reinforce the layers with additional adhesive or glue.
- Consider using a deeper frame or shadow box to provide more support.
- There are numerous websites and online platforms that offer free SVG files, such as SVG Cut Files, Creative Fabrica, and Etsy.
- Acid-free glue or double-sided tape is recommended to prevent damage to the papercraft.
- Yes, you can use other materials such as fabric, vellum, or even metal foil to create unique and textured shadow boxes.


2. Cut the Cardstock


3. Create the Layers
4. Assemble the Shadow Box
Design Ideas
1. Shadow Boxes for Special Occasions
2. Shadow Boxes for Home Decor
3. Shadow Boxes for Gifts
Troubleshooting
1. My designs are not cutting cleanly.
2. My layers are not aligning properly.
3. My shadow box is not sturdy enough.
Conclusion
Creating a free SVG shadow box is a rewarding and enjoyable craft that allows you to express your creativity and add a personal touch to your home or gifts. By following these steps and utilizing the resources available online, you can create stunning 3D papercraft displays that will impress your friends and family.
FAQs
1. Where can I find free SVG files for shadow boxes?
2. What type of adhesive should I use for shadow boxes?
3. Can I use other materials besides cardstock for shadow boxes?


