


How to Create a Layered Shadow Box with Cricut SVG Files: A Comprehensive Guide
Introduction
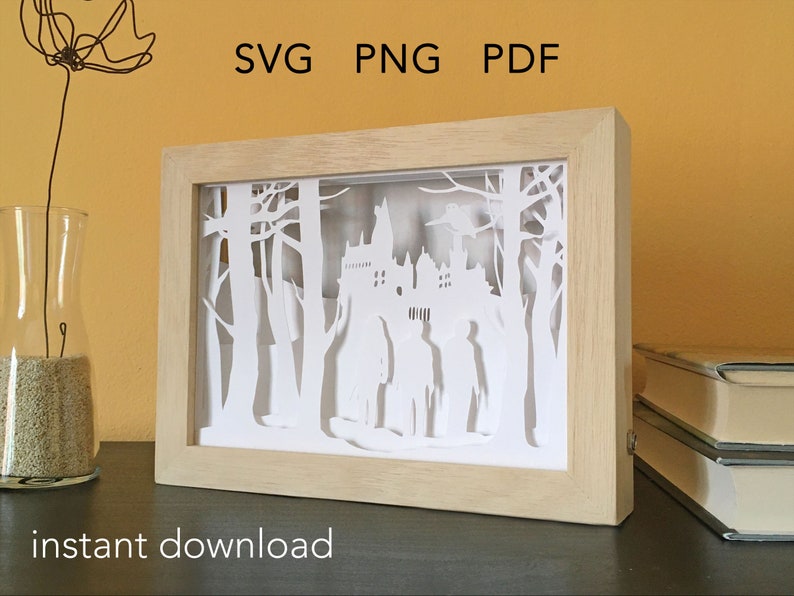
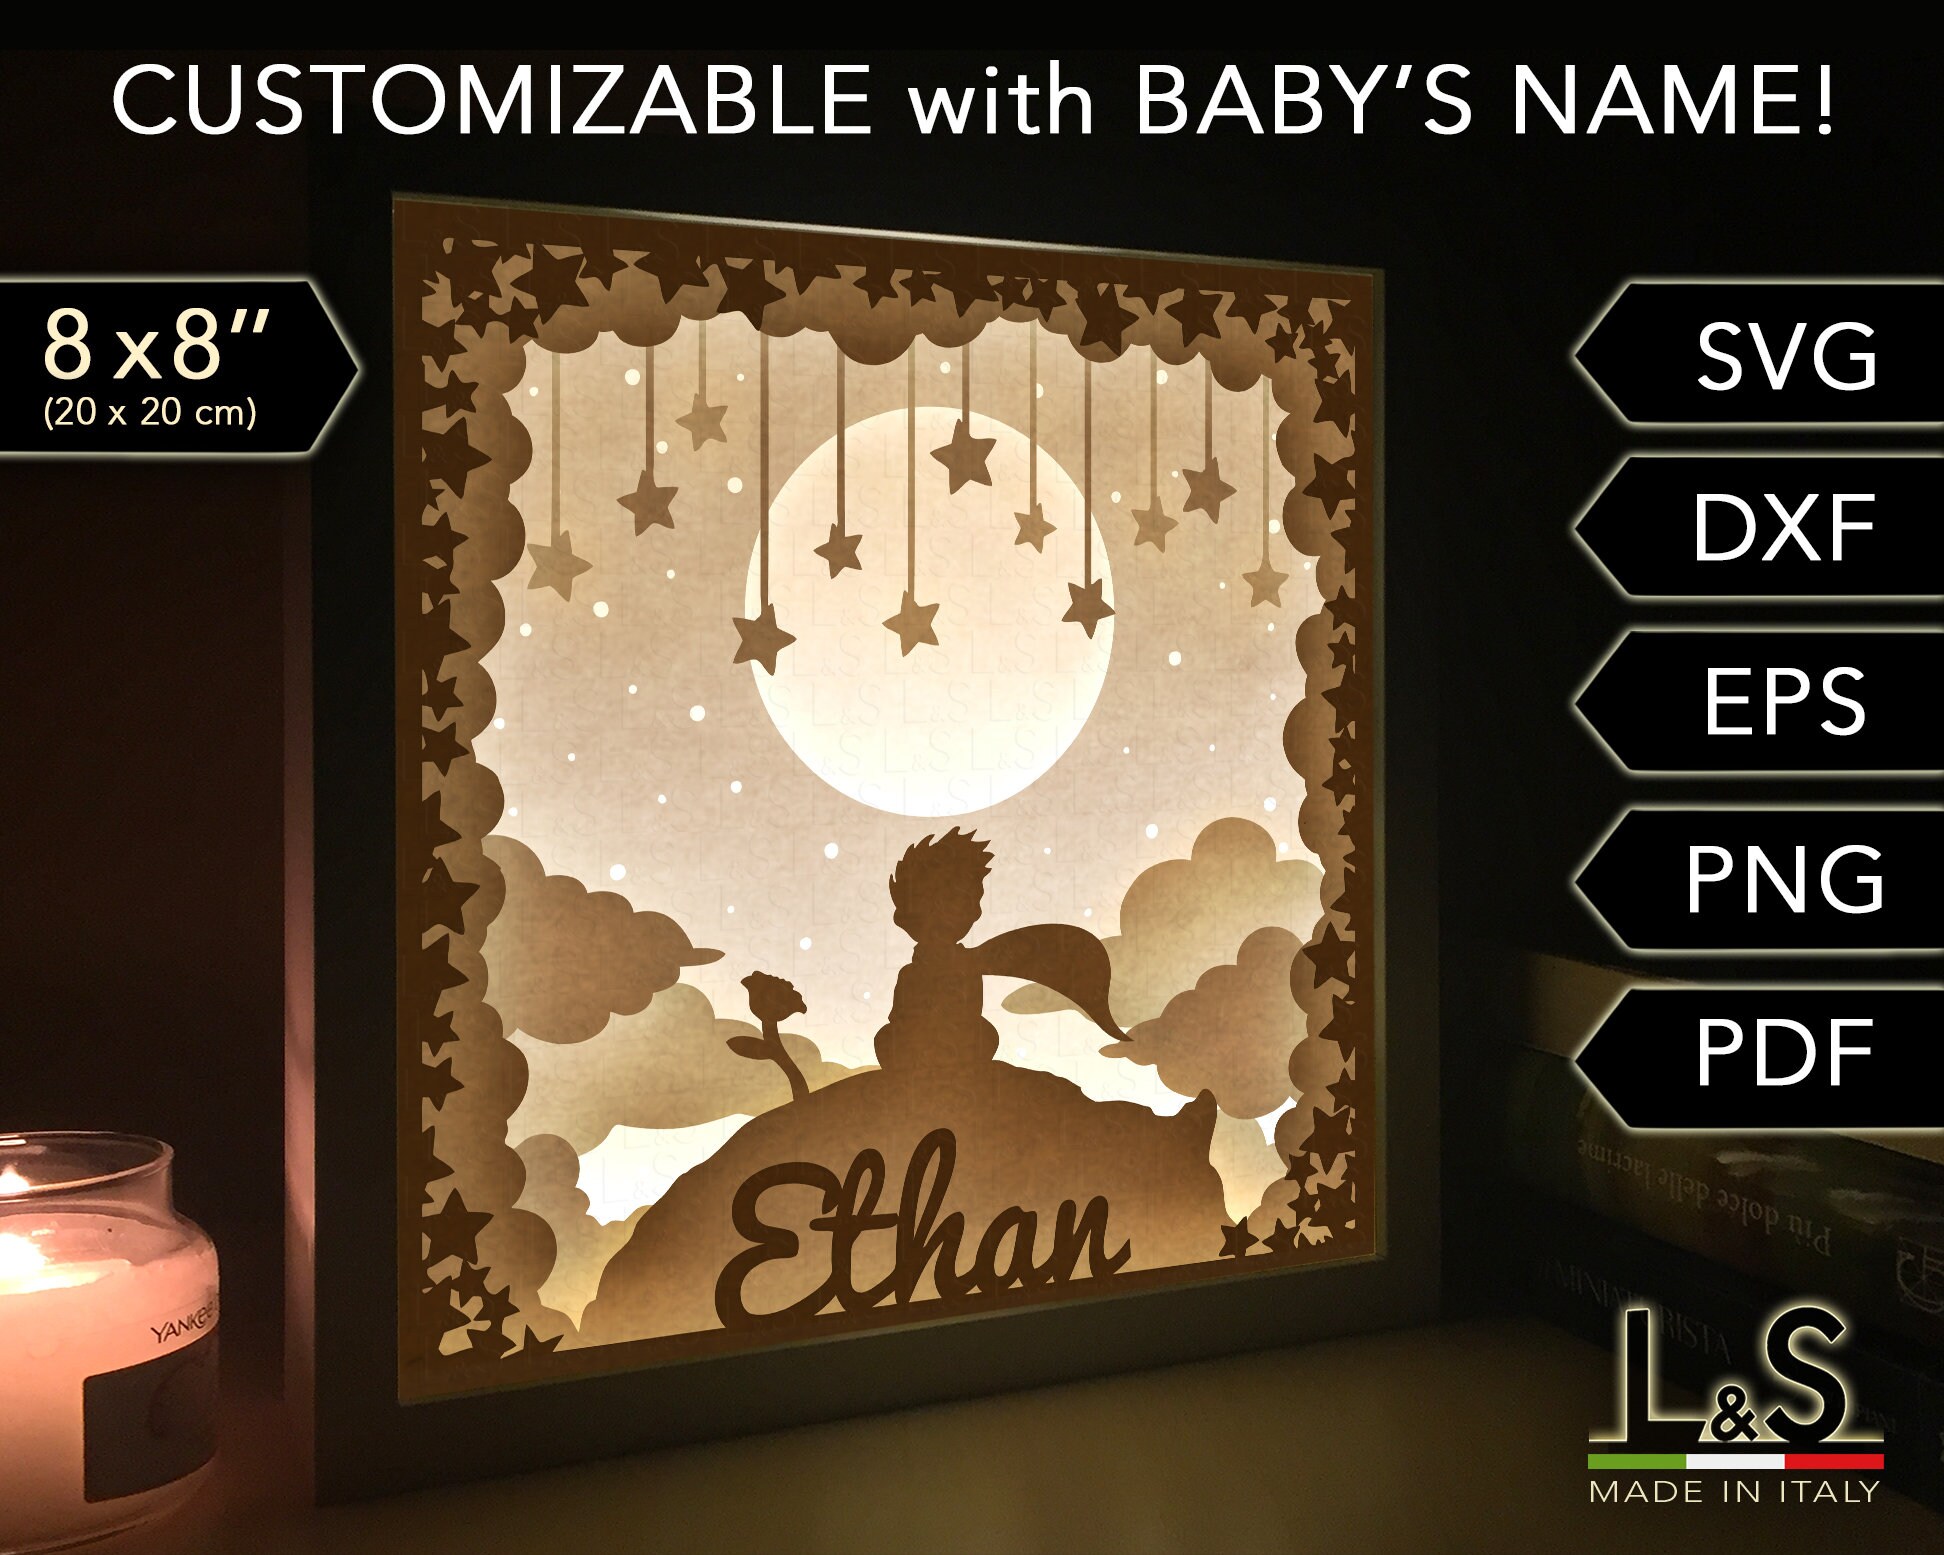
Shadow boxes are a versatile and eye-catching way to display your cherished memories, artwork, or other treasured items. With the help of a Cricut machine and SVG files, you can easily create stunning layered shadow boxes that add depth and dimension to your displays. This comprehensive guide will walk you through the entire process, from choosing the right materials to assembling your masterpiece.


Table of Content
- 1 How to Create a Layered Shadow Box with Cricut SVG Files: A Comprehensive Guide
- 1.1 Introduction
- 1.2 H1: Gathering Materials
- 1.2.1 Optional Materials:
- 1.3 H1: Gathering Materials
- 1.3.2 Essential Materials:
- 1.4 H2: Choosing and Preparing SVG Files
- 1.4.3 Selecting SVG Files:
- 1.4.4 Preparing SVG Files:
- 1.5 H3: Cutting the Shadow Box Layers
- 1.5.5 Selecting Paper:
- 1.5.6 Cutting the Layers:
- 1.6 H4: Assembling the Shadow Box
- 1.6.7 Layering the Pieces:
- 1.6.8 Creating Depth and Dimension:
- 1.6.9 Adding Embellishments:
- 1.7 H5: Displaying Your Masterpiece
- 1.8 Conclusion
- 1.9 FAQs
- 1.9.10 Q: What is the best way to adhere the layers together?
- 1.9.11 Q: Can I paint or decorate the shadow box layers?
- 1.9.12 Q: How do I choose the right SVG files for my shadow box?
- 1.9.13 Q: Can I use any type of paper for the shadow box layers?
H1: Gathering Materials
- Cricut machine (Maker, Explore, or Joy)
- Cricut Design Space software
- SVG files for shadow box layers
- Cardstock or other sturdy paper
- Adhesive (glue, tape runner, or foam squares)
- Shadow box frame

Optional Materials:

- Download Free Cricut Box Templates Download Free Cricut Box Templates: A Comprehensive Guide For Creative Crafting
- Light Box SVG Files Light Box SVG Files: A Comprehensive Guide
- Free Box Svg Templates Free Box SVG Templates: A Comprehensive Guide To Designing Custom Boxes
- Download Cricut Box Templates Free Download Cricut Box Templates Free: A Comprehensive Guide
- Download 3d Printed Shadow Art Download 3D Printed Shadow Art: Transform Your Spaces With Ethereal Beauty
- Cricut machine (Maker, Explore, or Joy)
- Cricut Design Space software
- Embellishments (ribbon, beads, sequins)
- Paint or other decorative finishes
- Cutting mat
- Weeding tool
- Explore online marketplaces like Etsy or Creative Fabrica for a wide variety of shadow box SVG files.
- Choose files that align with the size and shape of your shadow box frame.
- Ensure that the files are compatible with your Cricut machine.
- Import the SVG files into Cricut Design Space.
- Adjust the size and orientation as needed.
- If necessary, ungroup the layers to separate them.
- Choose a cardstock or other sturdy paper that is suitable for cutting with your Cricut machine.
- Consider the color and texture of the paper to complement your design.
- Place the paper on the cutting mat and secure it with masking tape.
- Load the cutting mat into your Cricut machine and select the appropriate material settings.
- Cut out all the shadow box layers according to the instructions in Cricut Design Space.
- Begin by layering the bottom layer of the shadow box onto the back of the frame.
- Use adhesive to attach the layers, starting with the largest layer at the bottom.
- Continue adding layers, working from the bottom up, until all the pieces are in place.
- Use foam squares or other dimensional adhesive to create depth between the layers.
- This will give your shadow box a more dynamic and eye-catching appearance.
- Add embellishments to personalize your shadow box.
- Use ribbon to create a decorative border, glue on beads for texture, or sprinkle sequins for a touch of sparkle.
- Choose a suitable location to display your layered shadow box.
- Consider the lighting and surroundings to ensure that your masterpiece is showcased to its best advantage.
- Enjoy the beauty and memories that your shadow box brings to your space.
Shadow boxes are a versatile and eye-catching way to display your cherished memories, artwork, or other treasured items. With the help of a Cricut machine and SVG files, you can easily create stunning layered shadow boxes that add depth and dimension to your displays. This comprehensive guide will walk you through the entire process, from choosing the right materials to assembling your masterpiece.
H1: Gathering Materials
Essential Materials:


H2: Choosing and Preparing SVG Files

Selecting SVG Files:

Preparing SVG Files:
H3: Cutting the Shadow Box Layers
Selecting Paper:
Cutting the Layers:
H4: Assembling the Shadow Box
Layering the Pieces:
Creating Depth and Dimension:
Adding Embellishments:
H5: Displaying Your Masterpiece
Conclusion
Creating a layered shadow box with Cricut SVG files is a fun and rewarding craft project that allows you to preserve and display your cherished memories in a unique and stylish way. By following the steps outlined in this guide, you can easily create stunning shadow boxes that will add depth, dimension, and beauty to your home or office.
FAQs
Q: What is the best way to adhere the layers together?
A: Use a strong adhesive like glue, tape runner, or foam squares. Foam squares will create depth and dimension between the layers.
Q: Can I paint or decorate the shadow box layers?
A: Yes, you can paint or add other decorative finishes to the layers before assembling the shadow box.
Q: How do I choose the right SVG files for my shadow box?
A: Consider the size and shape of your shadow box frame and select SVG files that are compatible with your Cricut machine.
Q: Can I use any type of paper for the shadow box layers?
A: Choose a sturdy paper that is suitable for cutting with your Cricut machine, such as cardstock or construction paper.


