


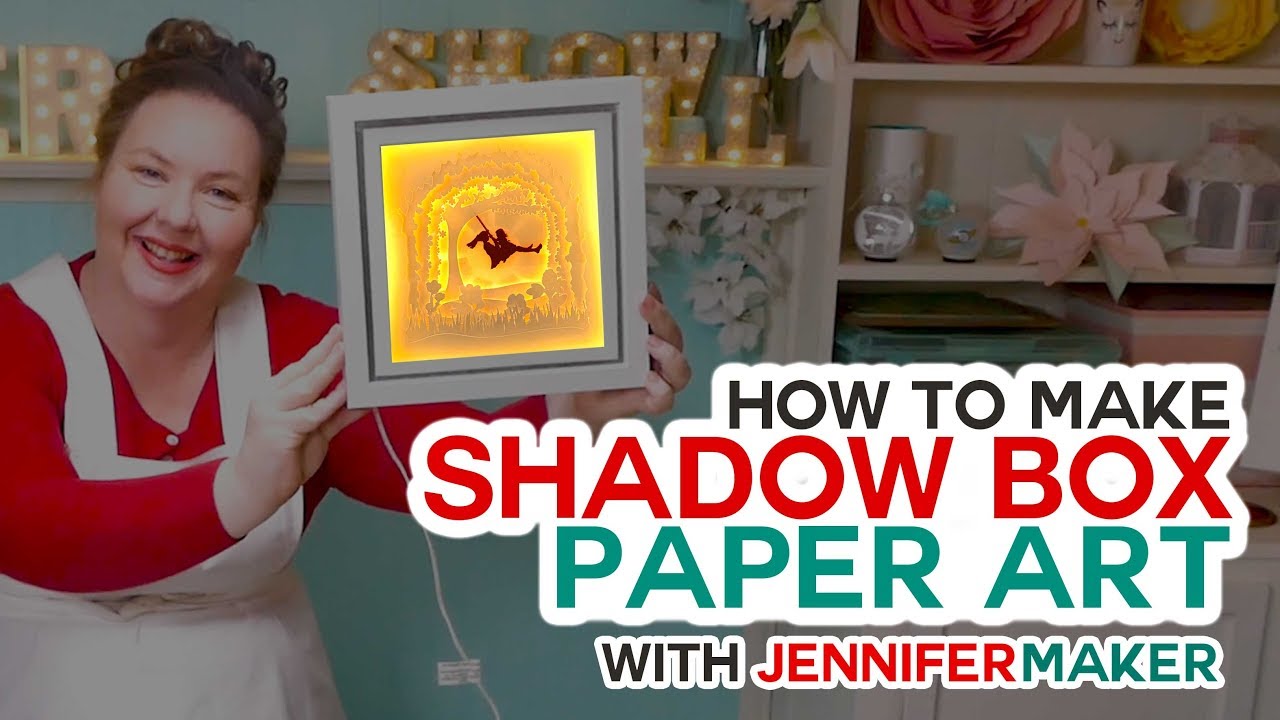
How to Make a Lighted Shadow Box with Cricut: A Comprehensive Guide
Introduction
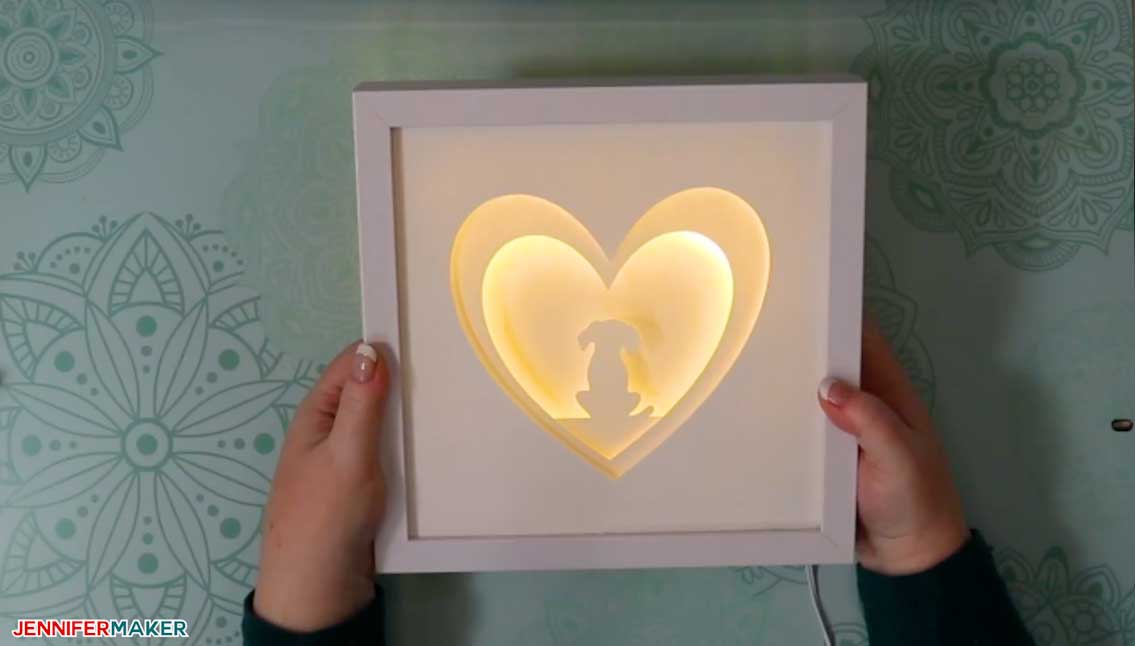
Shadow boxes are a beautiful and versatile way to display cherished memories, artwork, and other treasured items. By incorporating lighting, you can elevate the presentation of your shadow box, creating a stunning and eye-catching display. This comprehensive guide will provide step-by-step instructions on how to make a lighted shadow box using a Cricut cutting machine, ensuring a professional-looking result.


Table of Content
Materials You’ll Need:

Shadow boxes are a beautiful and versatile way to display cherished memories, artwork, and other treasured items. By incorporating lighting, you can elevate the presentation of your shadow box, creating a stunning and eye-catching display. This comprehensive guide will provide step-by-step instructions on how to make a lighted shadow box using a Cricut cutting machine, ensuring a professional-looking result.
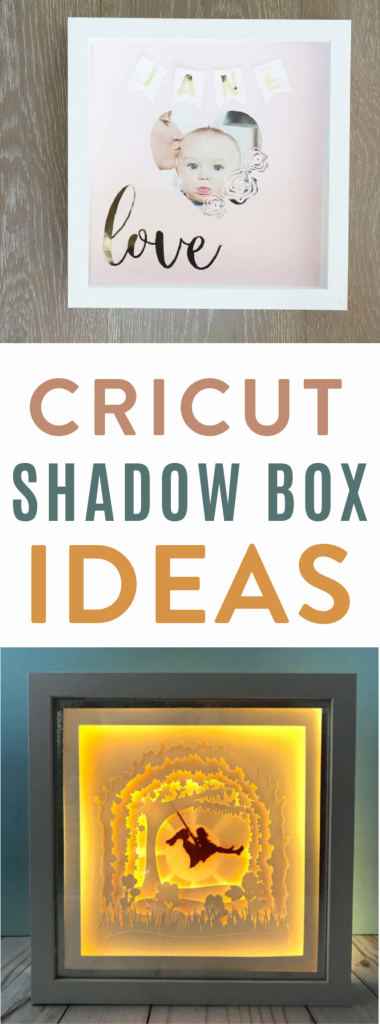
- Free Shadow Box Svg File Free Shadow Box SVG File: Elevate Your Papercrafting Projects
- 3d Shadow Box Art 3D Shadow Box Art: A Comprehensive Guide To Creating Depth And Dimension
- 3d Shadow Box Svg Free 3D Shadow Box SVG: A Comprehensive Guide To Creating Depth And Dimension
- Shadow Box 3d Art Shadow Box 3D Art: A Comprehensive Guide To Creating Depth And Dimension
- Free Shadow Box Template For Cricut Free Shadow Box Template For Cricut: Elevate Your Crafting Projects
Materials You’ll Need:
- Cricut cutting machine
- Shadow box frame
- Cricut Design Space software


Step-by-Step Instructions:
1. Design and Cut the Background:
- Open Cricut Design Space and create a new project.
- Choose a design or upload your own image for the background of your shadow box.
- Resize the design to fit the inside dimensions of the shadow box.
- Select the material you’re using and adjust the cutting settings accordingly.
- Cut the background out of cardstock or scrapbook paper.

2. Create the Backing:
- Measure the inside depth of the shadow box.
- Cut a piece of foam board or cardboard to the same dimensions.
- If desired, cover the backing with fabric or paper to match the background design.
3. Assemble the Shadow Box:
- Place the backing inside the shadow box frame.
- Insert the background design over the backing, ensuring it is centered and aligned.
- Secure the background with glue or adhesive.
4. Install the LED Light Strip:
- Measure the perimeter of the shadow box and cut the LED light strip to length.
- Peel off the backing of the light strip and adhere it to the inside edges of the shadow box.
- Connect the light strip to a battery pack or power adapter.
5. Add the Display Items:
- Arrange your display items inside the shadow box.
- Secure them using glue, adhesive, or mounting tape.
6. Close and Display:
- Place the glass or acrylic cover over the shadow box and secure it with the hinges or latches.
- Mount or display your lighted shadow box in a well-lit area to showcase your treasured items.
Tips and Tricks:
- Use high-quality materials to ensure durability and longevity.
- Consider the size and scale of your display items when selecting the shadow box frame.
- Test the lighting before assembling the shadow box to ensure even illumination.
- Use a variety of display items, such as photos, artwork, memorabilia, and 3D objects.
- Experiment with different LED light colors and intensities to create different effects.
Conclusion:
Creating a lighted shadow box with a Cricut is a rewarding and enjoyable project. By following these step-by-step instructions and incorporating your own creativity, you can create a stunning and personalized display that will enhance your home décor and showcase your cherished memories.
FAQs:
Q: What types of LED light strips can I use?
A: You can use flexible LED strips that come in various colors and brightness levels.
Q: Can I use a battery pack to power the light strip?
A: Yes, you can use a battery pack with a USB connection to power the LED light strip.
Q: How do I attach the display items to the backing?
A: You can use glue, adhesive, or mounting tape to secure the display items.


