


H1: Crafting Shadow Box Cricut SVG Files: A Comprehensive Guide
H2: Introduction
Shadow boxes, elegant display cases with depth, are perfect for showcasing cherished memories, treasured keepsakes, and captivating art. With the advent of Cricut cutting machines, creating personalized shadow box SVG files has become a breeze. This guide will delve into the intricacies of designing and crafting your own shadow box Cricut SVG files, empowering you to create stunning displays that reflect your unique style.


Table of Content
- 1 H1: Crafting Shadow Box Cricut SVG Files: A Comprehensive Guide
- 1.1 H2: Introduction
- 1.2 H2: Designing Your Shadow Box SVG File
- 1.3 H2: Designing Your Shadow Box SVG File
- 1.4 H2: Creating the SVG File
- 1.5 H2: Cutting and Assembling the Shadow Box
- 1.6 H2: Displaying Your Masterpiece
- 1.7 H2: Conclusion
- 1.8 H2: FAQs
H2: Designing Your Shadow Box SVG File
- Cricut Design Space: The official software for Cricut machines, providing a user-friendly interface and a wide range of design tools.
- Inkscape: A free, open-source vector graphics editor with advanced features for creating complex designs.
- Adobe Illustrator: A professional-grade vector graphics editor with a comprehensive set of tools for detailed designs.
H3: Setting Up the Design

- Create a New File: Begin by creating a new file with the desired dimensions of your shadow box.
- Define the Box: Draw the outline of the shadow box, including the depth and the front and back panels.
- Add Embellishments: Enhance your design with decorative elements such as frames, borders, and cutouts.
- 3d Shadow Box Templates 3D Shadow Box Templates: A Comprehensive Guide To Enhancing Your Creative Projects
- Free Box Svg Templates Free Box SVG Templates: A Comprehensive Guide To Designing Custom Boxes
- Free Box Templates For Cricut SVG Files Free Box Templates For Cricut SVG Files: Elevate Your Crafting Skills
- Download How To Make A Light Box With Cricut H1: Crafting Illumination: A Comprehensive Guide To Creating A Light Box With Cricut
- Download Anime Shadow Box H1: Download Anime Shadow Box: A Comprehensive Guide To Collecting And Displaying Your Favorite Anime Figures
- Cricut Design Space: The official software for Cricut machines, providing a user-friendly interface and a wide range of design tools.
- Inkscape: A free, open-source vector graphics editor with advanced features for creating complex designs.
- Export as SVG: Once your design is complete, export it as an SVG file, which is compatible with Cricut machines.
- Optimize for Cutting: Ensure that the lines in your SVG file are closed and have no overlapping paths for precise cutting.
- Import SVG File: Open Cricut Design Space and import your SVG file.
- Adjust Settings: Choose the appropriate material settings for the material you will be cutting.
- Select the Material: Choose a material that complements your design, such as cardstock, chipboard, or wood.
- Cut the Parts: Load the material onto your Cricut machine and cut out the pieces of your shadow box design.
- Apply Adhesive: Apply glue or adhesive to the edges of the box pieces.
- Assemble the Box: Join the pieces together, starting with the back panel and then attaching the front panel and sides.
- Add the Depth: Insert spacers or foam board to create the desired depth for your shadow box.
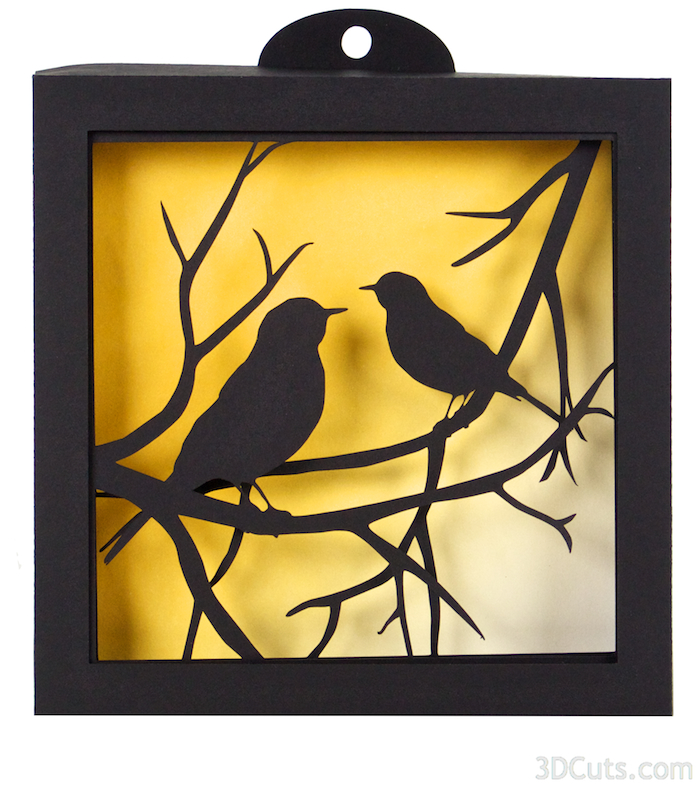
- Well-Lit Areas: Display your shadow box in a well-lit area to highlight its contents.
- Personal Spaces: Create a special display in your living room, bedroom, or office to showcase your cherished memories.
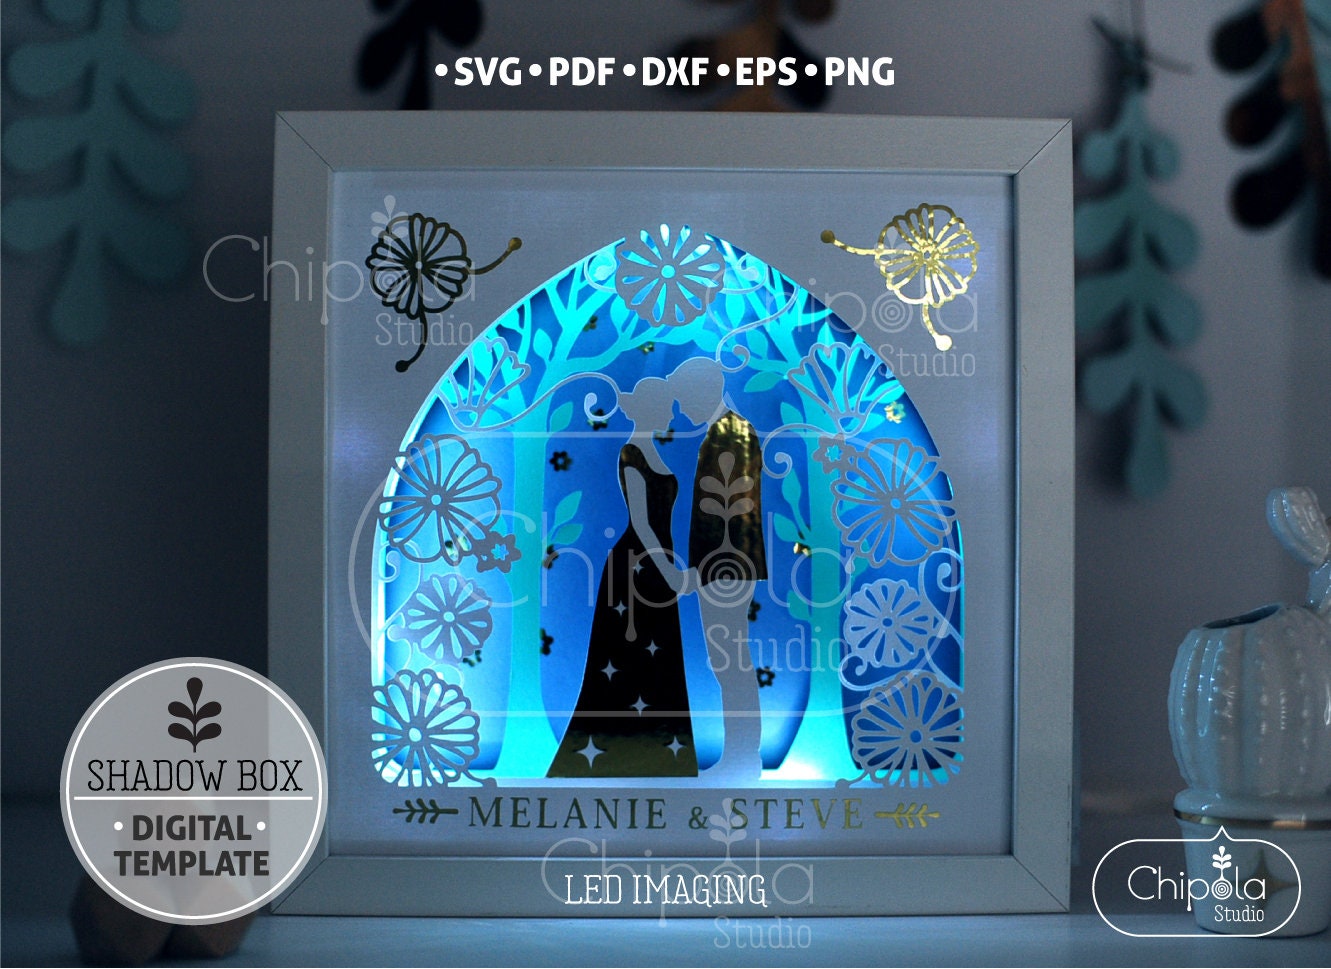
- Frame: Enhance the appearance of your shadow box by adding a frame in a complementary color or style.
- Backlighting: Illuminate the contents of your shadow box with LED lights or a lightbox for a dramatic effect.
Shadow boxes, elegant display cases with depth, are perfect for showcasing cherished memories, treasured keepsakes, and captivating art. With the advent of Cricut cutting machines, creating personalized shadow box SVG files has become a breeze. This guide will delve into the intricacies of designing and crafting your own shadow box Cricut SVG files, empowering you to create stunning displays that reflect your unique style.
H2: Designing Your Shadow Box SVG File
H3: Choosing the Right Software

H2: Creating the SVG File
H3: Exporting the Design


H3: Uploading to Cricut Design Space

H2: Cutting and Assembling the Shadow Box

H3: Preparing the Material
H3: Assembling the Shadow Box
H2: Displaying Your Masterpiece
H3: Choosing the Display Location
H3: Adding Finishing Touches
H2: Conclusion
Creating shadow box Cricut SVG files is a rewarding endeavor that allows you to showcase your creativity and preserve special moments. By following the steps outlined in this guide, you can design and craft stunning shadow boxes that will become cherished keepsakes for years to come. Embrace your inner artist and let your imagination soar as you create personalized displays that reflect your unique style.
H2: FAQs
Q: What is the best material for shadow boxes?
A: The best material for shadow boxes depends on the desired look and durability. Cardstock is lightweight and affordable, while chipboard provides more rigidity. Wood is a durable and elegant option for long-lasting displays.
Q: How do I add depth to my shadow box?
A: To create depth in your shadow box, insert spacers or foam board between the front and back panels. This will provide a space to display your contents with a three-dimensional effect.
Q: Can I use any SVG file for Cricut shadow boxes?
A: Not all SVG files are suitable for Cricut shadow boxes. Ensure that the file is optimized for cutting, with closed lines and no overlapping paths.


