How to Create Stunning Shadow Box SVG Files for Free
Introduction
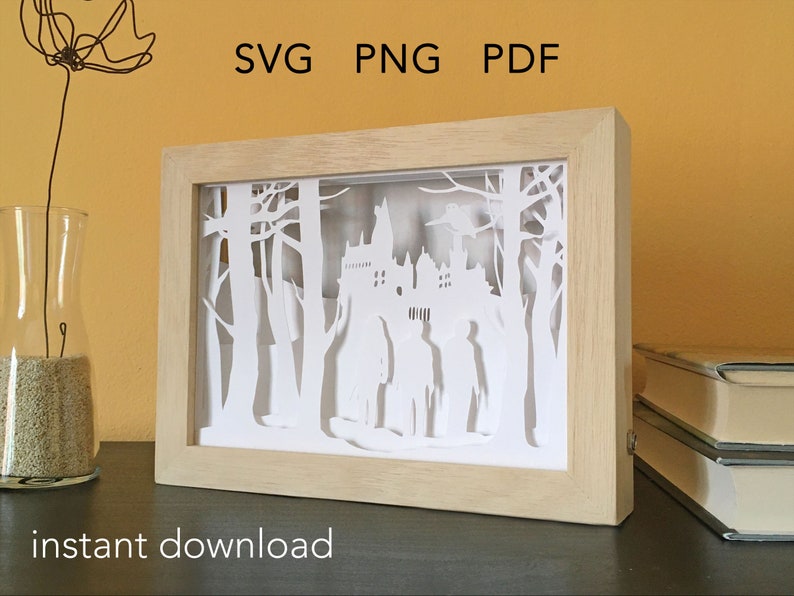
Shadow boxes are a popular and versatile way to display treasured memories, artwork, and other cherished items. By creating your own shadow box SVG files, you can customize the design to perfectly fit your needs and preferences. This guide will provide you with a step-by-step tutorial on how to create shadow box SVG files using free software.


Table of Content
Materials
Step 1: Design Your Shadow Box
H2: Sketching and Planning
- Start by sketching out the design of your shadow box. Determine the size and shape, as well as the placement of any shelves, partitions, or other elements.
- Consider the materials you will be using for the shadow box, such as wood or acrylic.
H3: Creating the Box Base
Shadow boxes are a popular and versatile way to display treasured memories, artwork, and other cherished items. By creating your own shadow box SVG files, you can customize the design to perfectly fit your needs and preferences. This guide will provide you with a step-by-step tutorial on how to create shadow box SVG files using free software.
- 3d Paper Shadow Box 3D Paper Shadow Box: A Step-by-Step Guide To Creating Stunning Paper Art
- Free Shadow Box Card Svg File Free Shadow Box Card SVG File: A Comprehensive Guide To Creating Stunning Shadow Box Cards
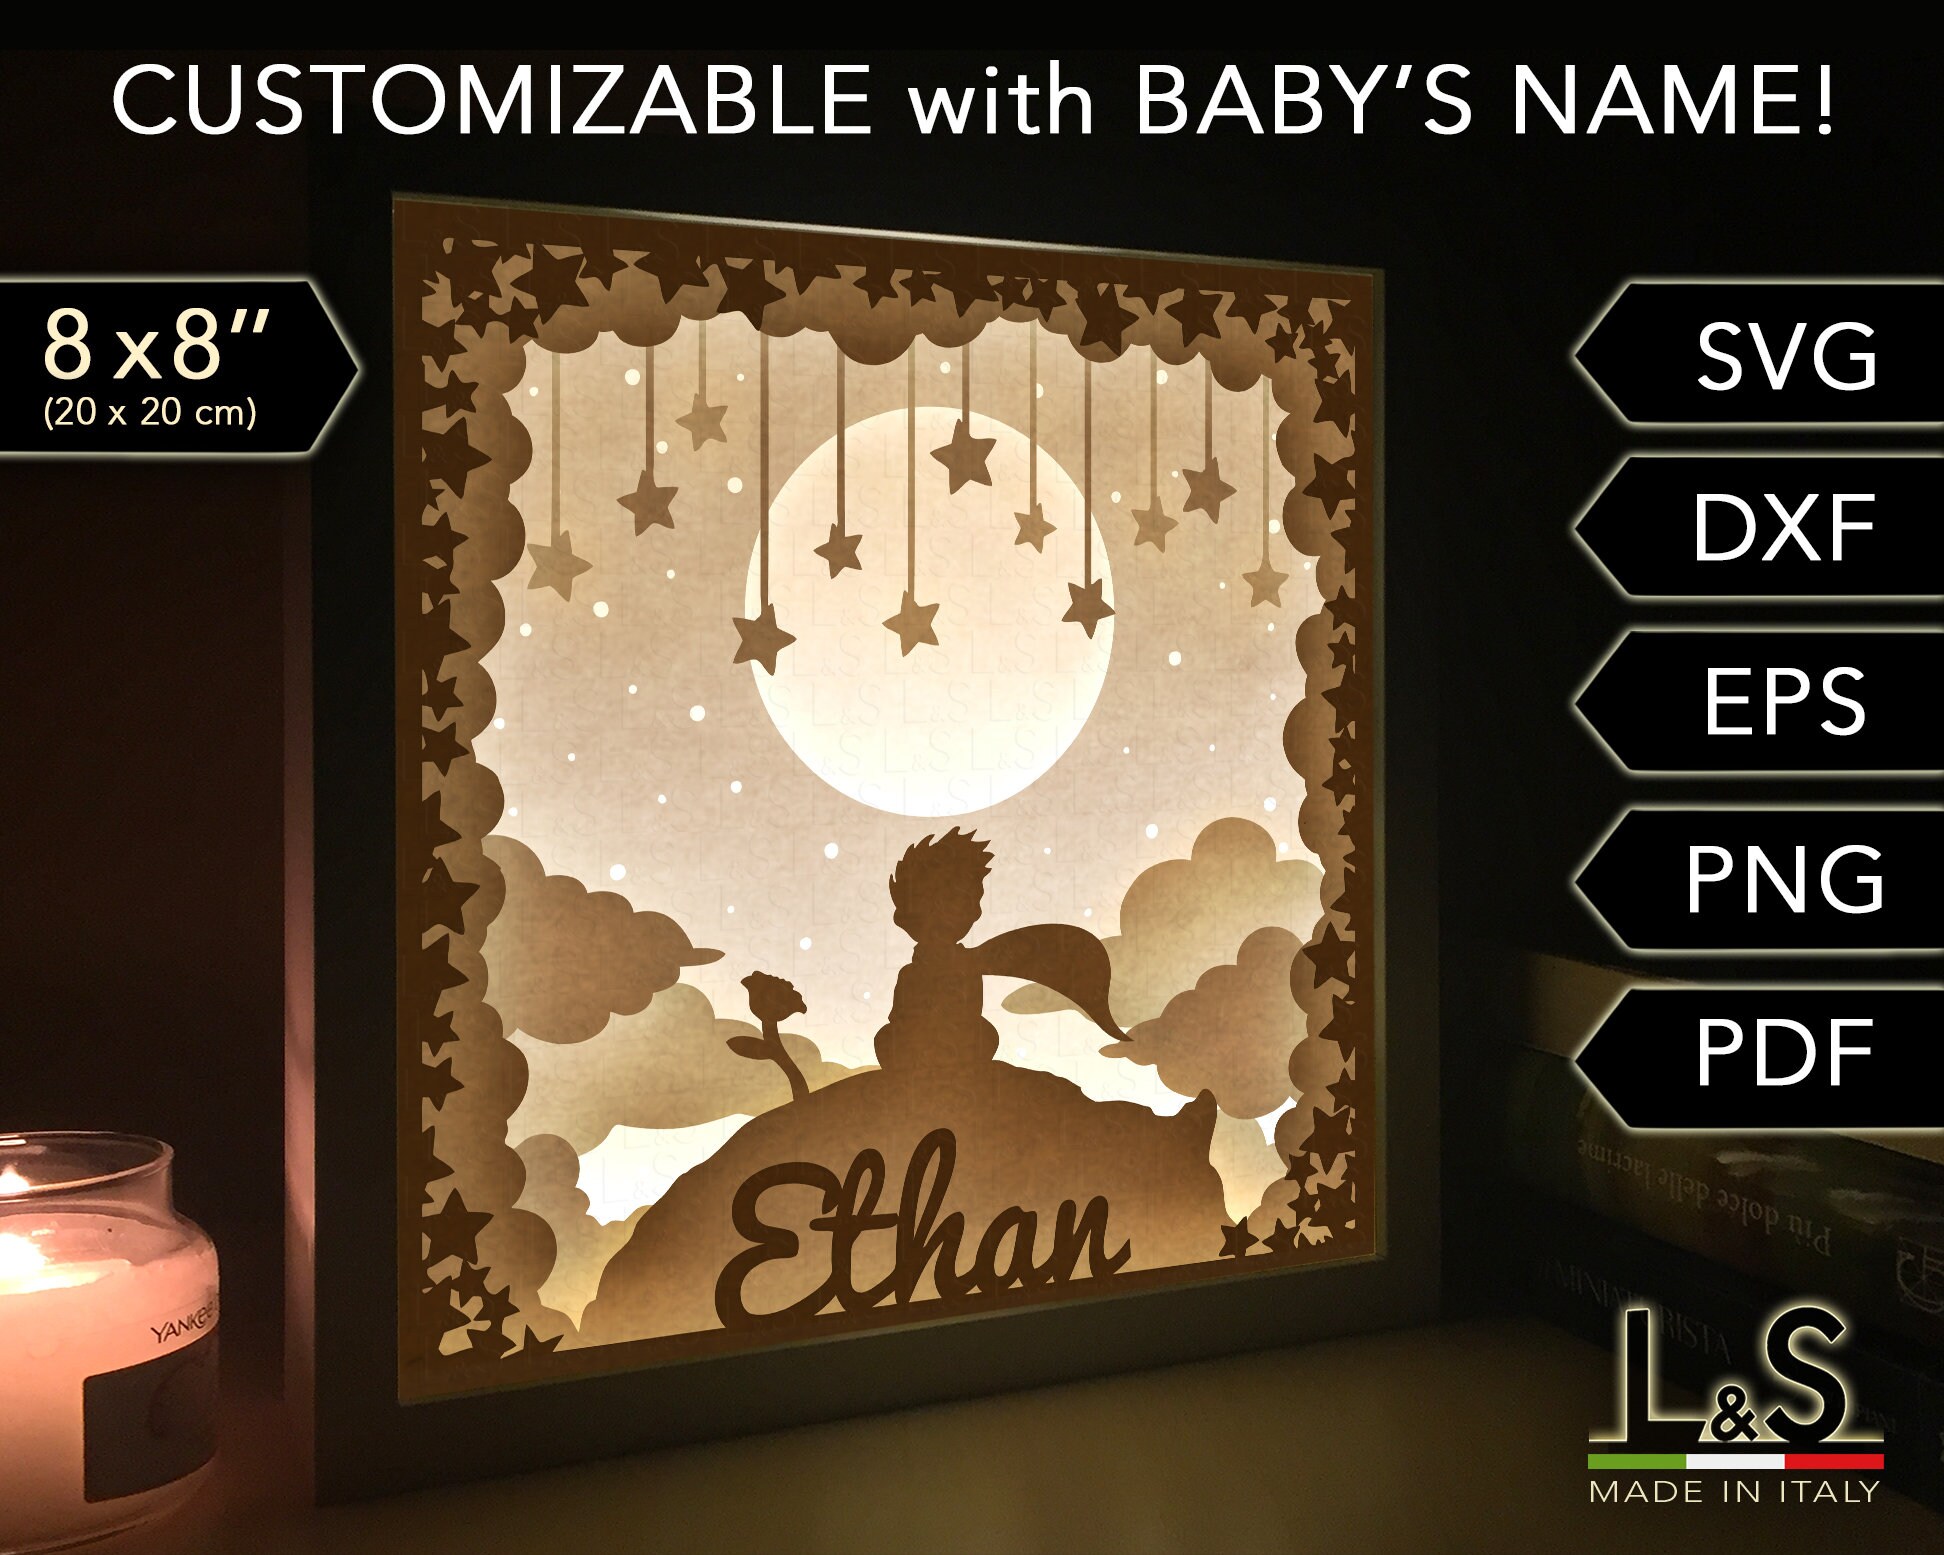
- Printable Paper Cut Shadow Box Templates Printable Paper Cut Shadow Box Templates: A Guide To Creating Stunning 3D Artwork
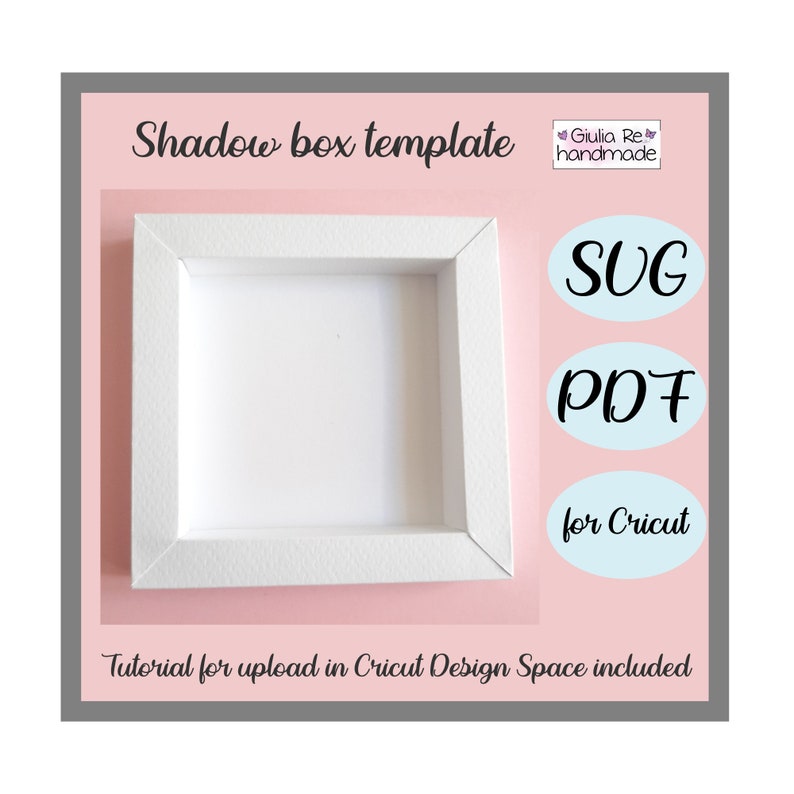
- Free Shadow Box Templates Free Shadow Box Templates: A Comprehensive Guide To Enhance Your Display Creations
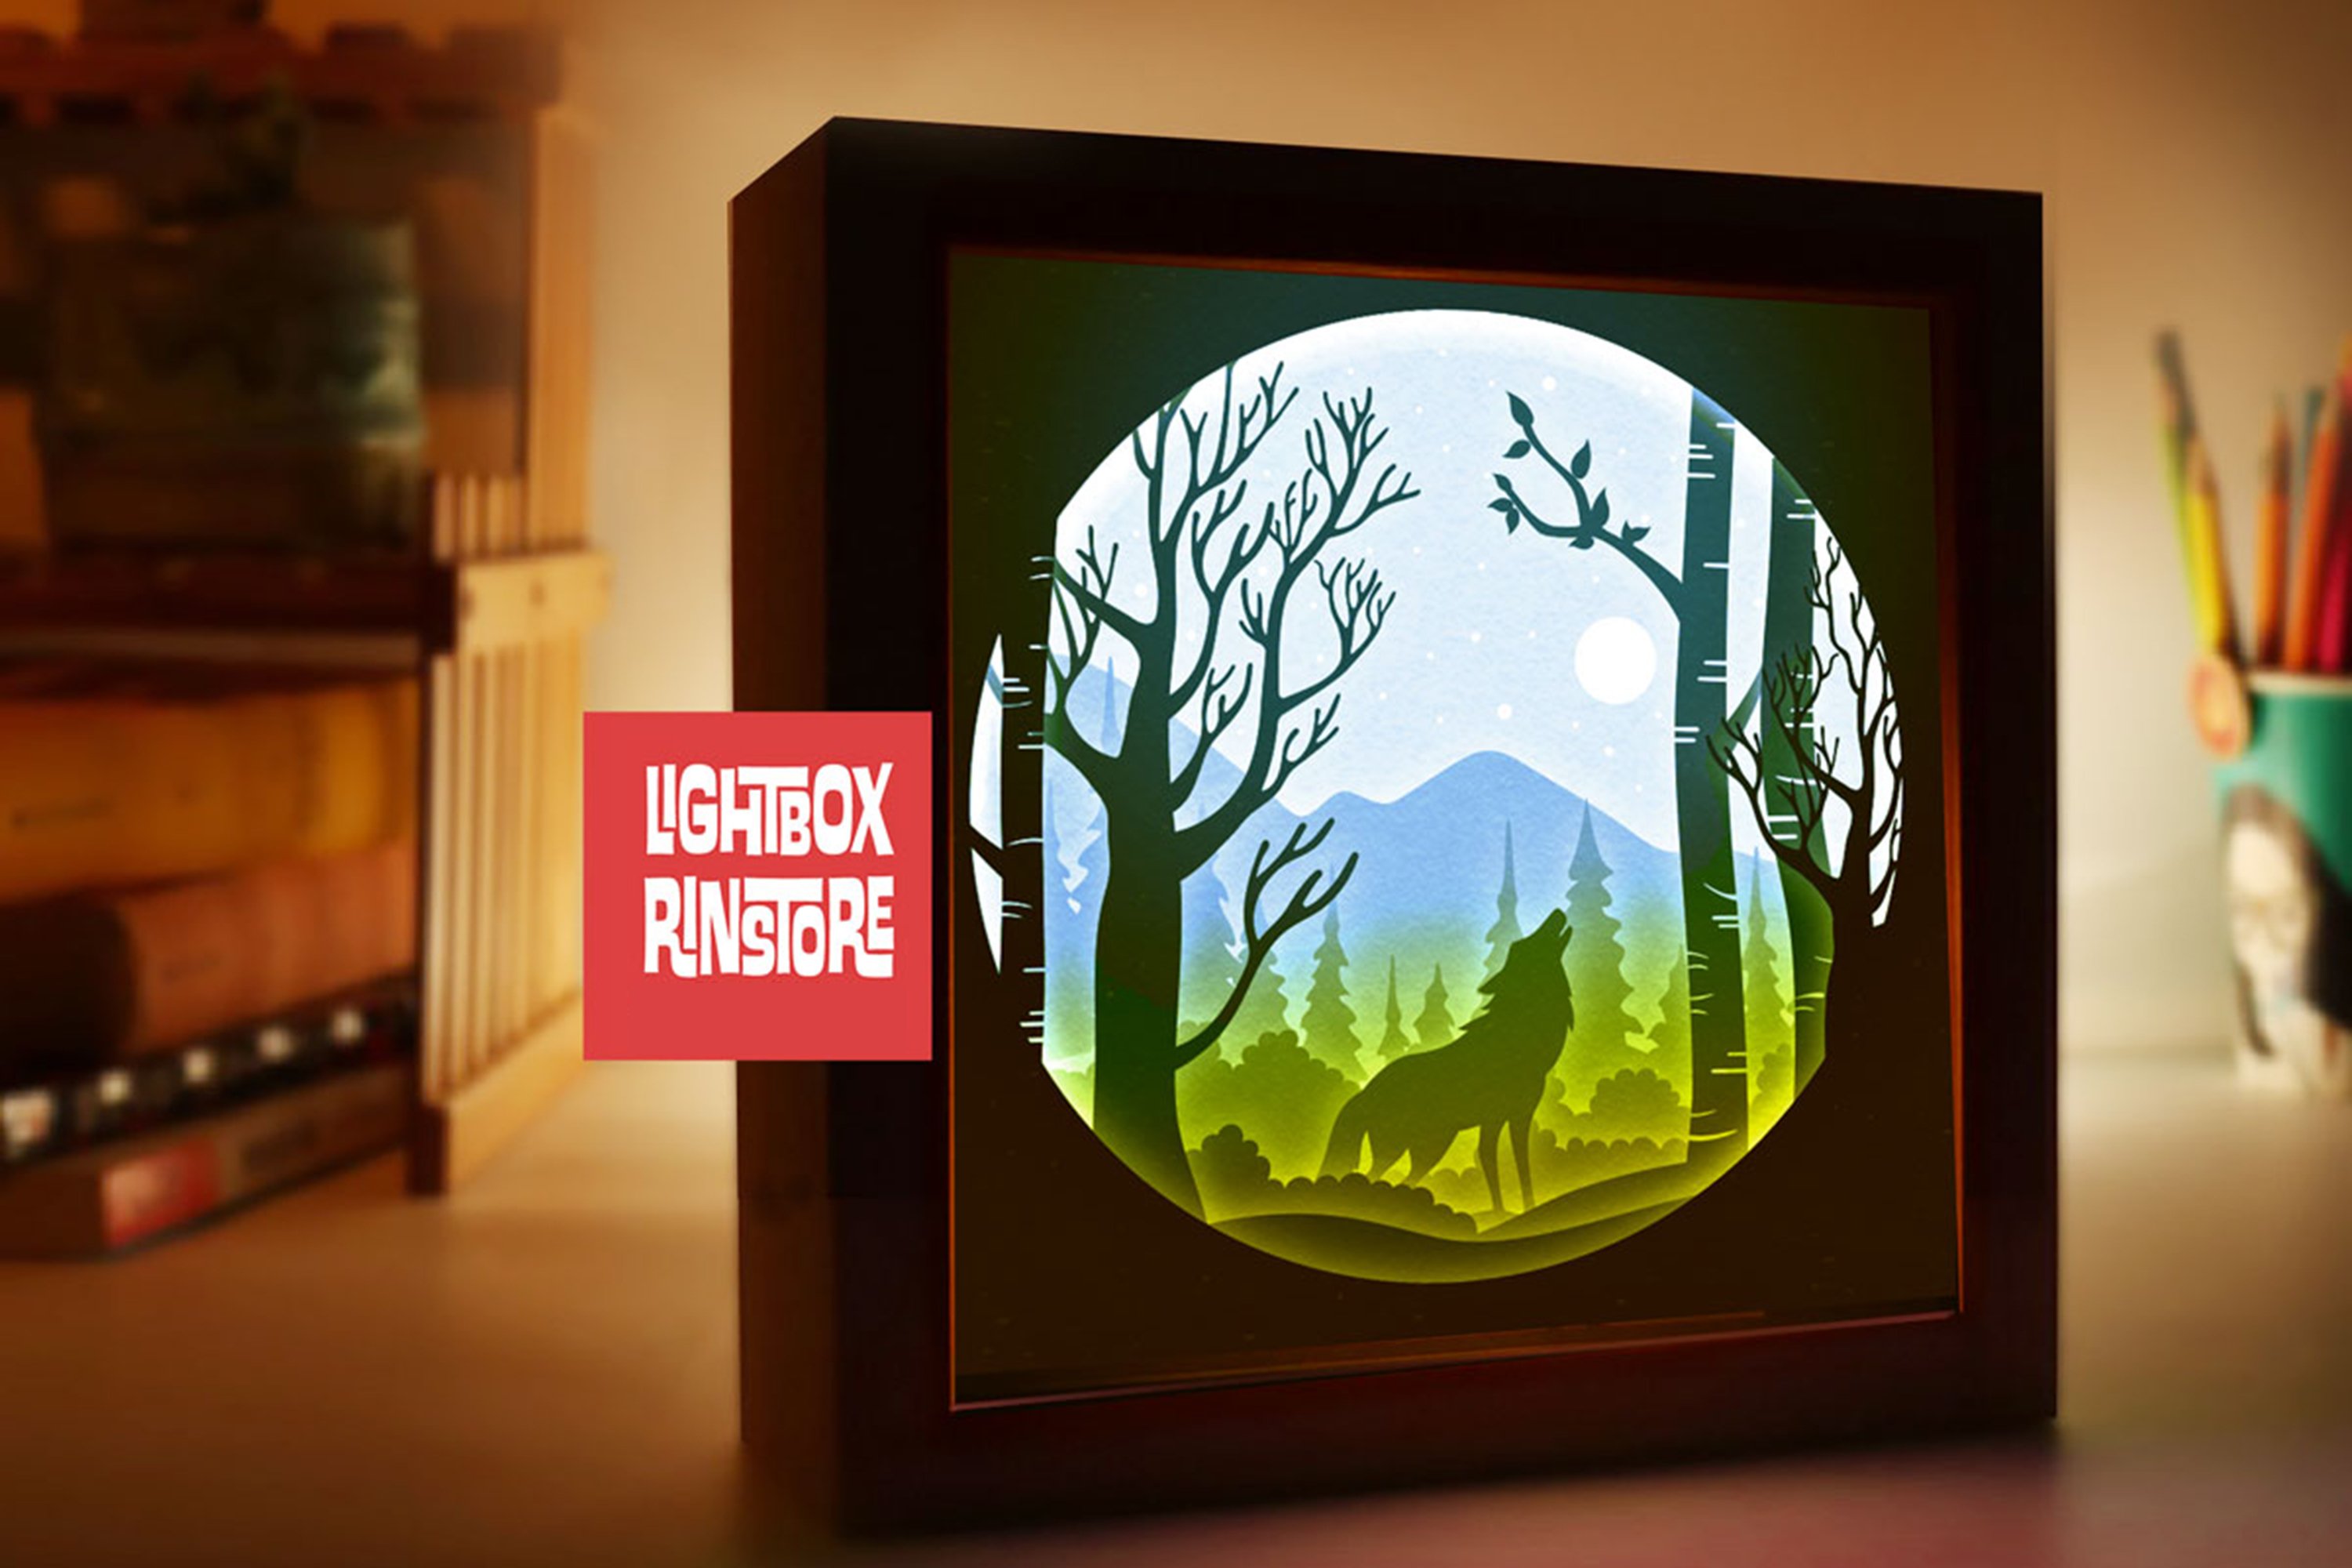
- Diy Light Shadow Box DIY Light Shadow Box: A Step-by-Step Guide To Illuminate Your Memories
Materials
- Inkscape (or similar vector editing software)
- Image editing software (optional)

- In Inkscape, create a new document with the desired dimensions of your shadow box base.
- Use the Rectangle tool to draw the outline of the base.
H3: Adding Shelves and Partitions
- If you want to add shelves or partitions to your shadow box, use the Rectangle tool to create the desired shapes.
- Adjust the dimensions and placement as needed.


Step 2: Create the Shadow Box SVG File
H2: Exporting the SVG File
- Once you have finished designing your shadow box, it’s time to export the SVG file.
- Go to File > Save As, and select SVG as the file format.
H3: Optimizing the SVG File
- Open the SVG file in a text editor (e.g., Notepad or Sublime Text).
- Remove any unnecessary code or elements that may affect the cutting process.
- Ensure that the dimensions of the SVG file match the desired dimensions of your shadow box.
Step 3: Cut and Assemble the Shadow Box
H2: Cutting the Shadow Box
- Use a laser cutter or CNC machine to cut the shadow box components from the desired material.
- Ensure that the settings are appropriate for the material you are using.
H3: Assembling the Shadow Box
- Assemble the shadow box components by gluing or connecting them together.
- Make sure that all the joints are secure.
Step 4: Finishing Touches
H2: Adding Contents
- Once the shadow box is assembled, you can add the desired contents.
- This may include photos, artwork, memorabilia, or other items.
H3: Adding a Background
- If desired, you can add a background to the shadow box to enhance the appearance.
- This can be done using paper, fabric, or other materials.
Conclusion
Creating shadow box SVG files is a fun and rewarding way to customize your own unique display pieces. By following the steps outlined in this guide, you can easily create stunning shadow boxes that showcase your cherished memories and treasured items.
FAQs
Q: What software can I use to create shadow box SVG files?
A: Inkscape is a free and open-source vector editing software that is commonly used for creating shadow box SVG files.
Q: What materials can I use for a shadow box?
A: Common materials for shadow boxes include wood, acrylic, and cardboard.
Q: How do I cut the shadow box components?
A: You can use a laser cutter or CNC machine to cut the shadow box components from the desired material.
Q: Can I add a background to my shadow box?
A: Yes, you can add a background to your shadow box using paper, fabric, or other materials to enhance the appearance.