


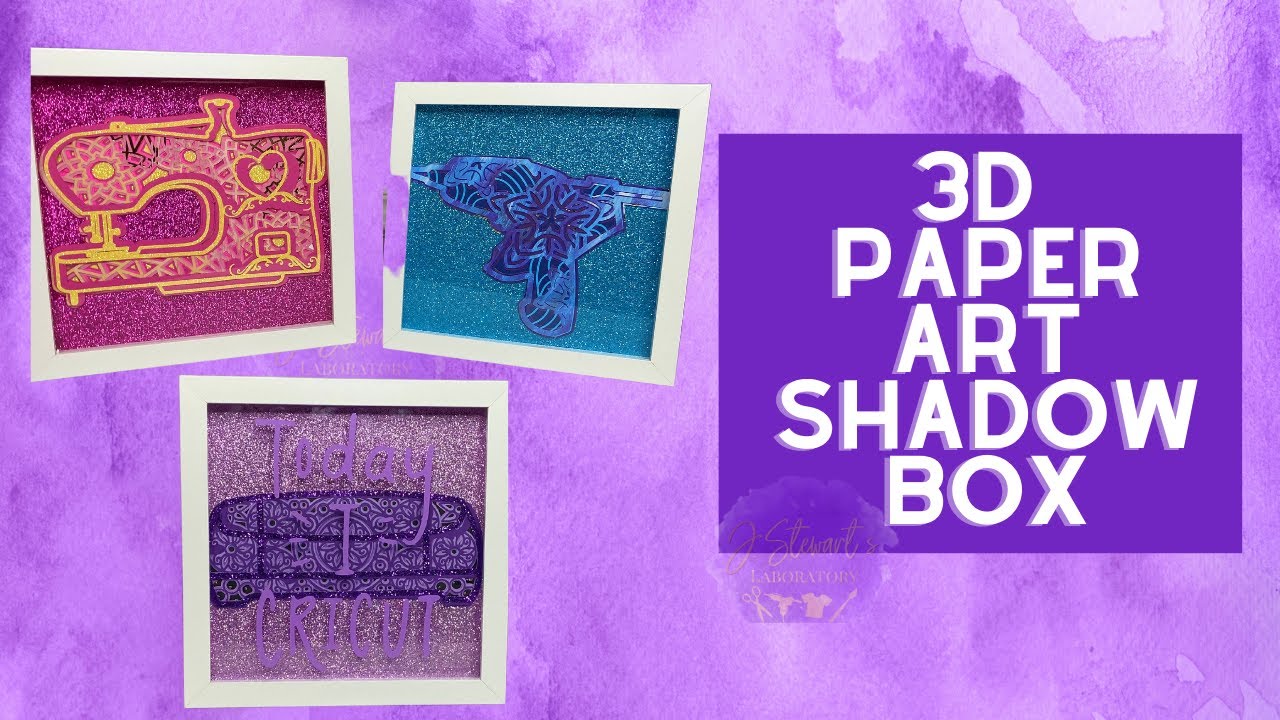
H1: A Comprehensive Guide to Creating Shadow Boxes with Cricut
H2: What are Shadow Boxes?
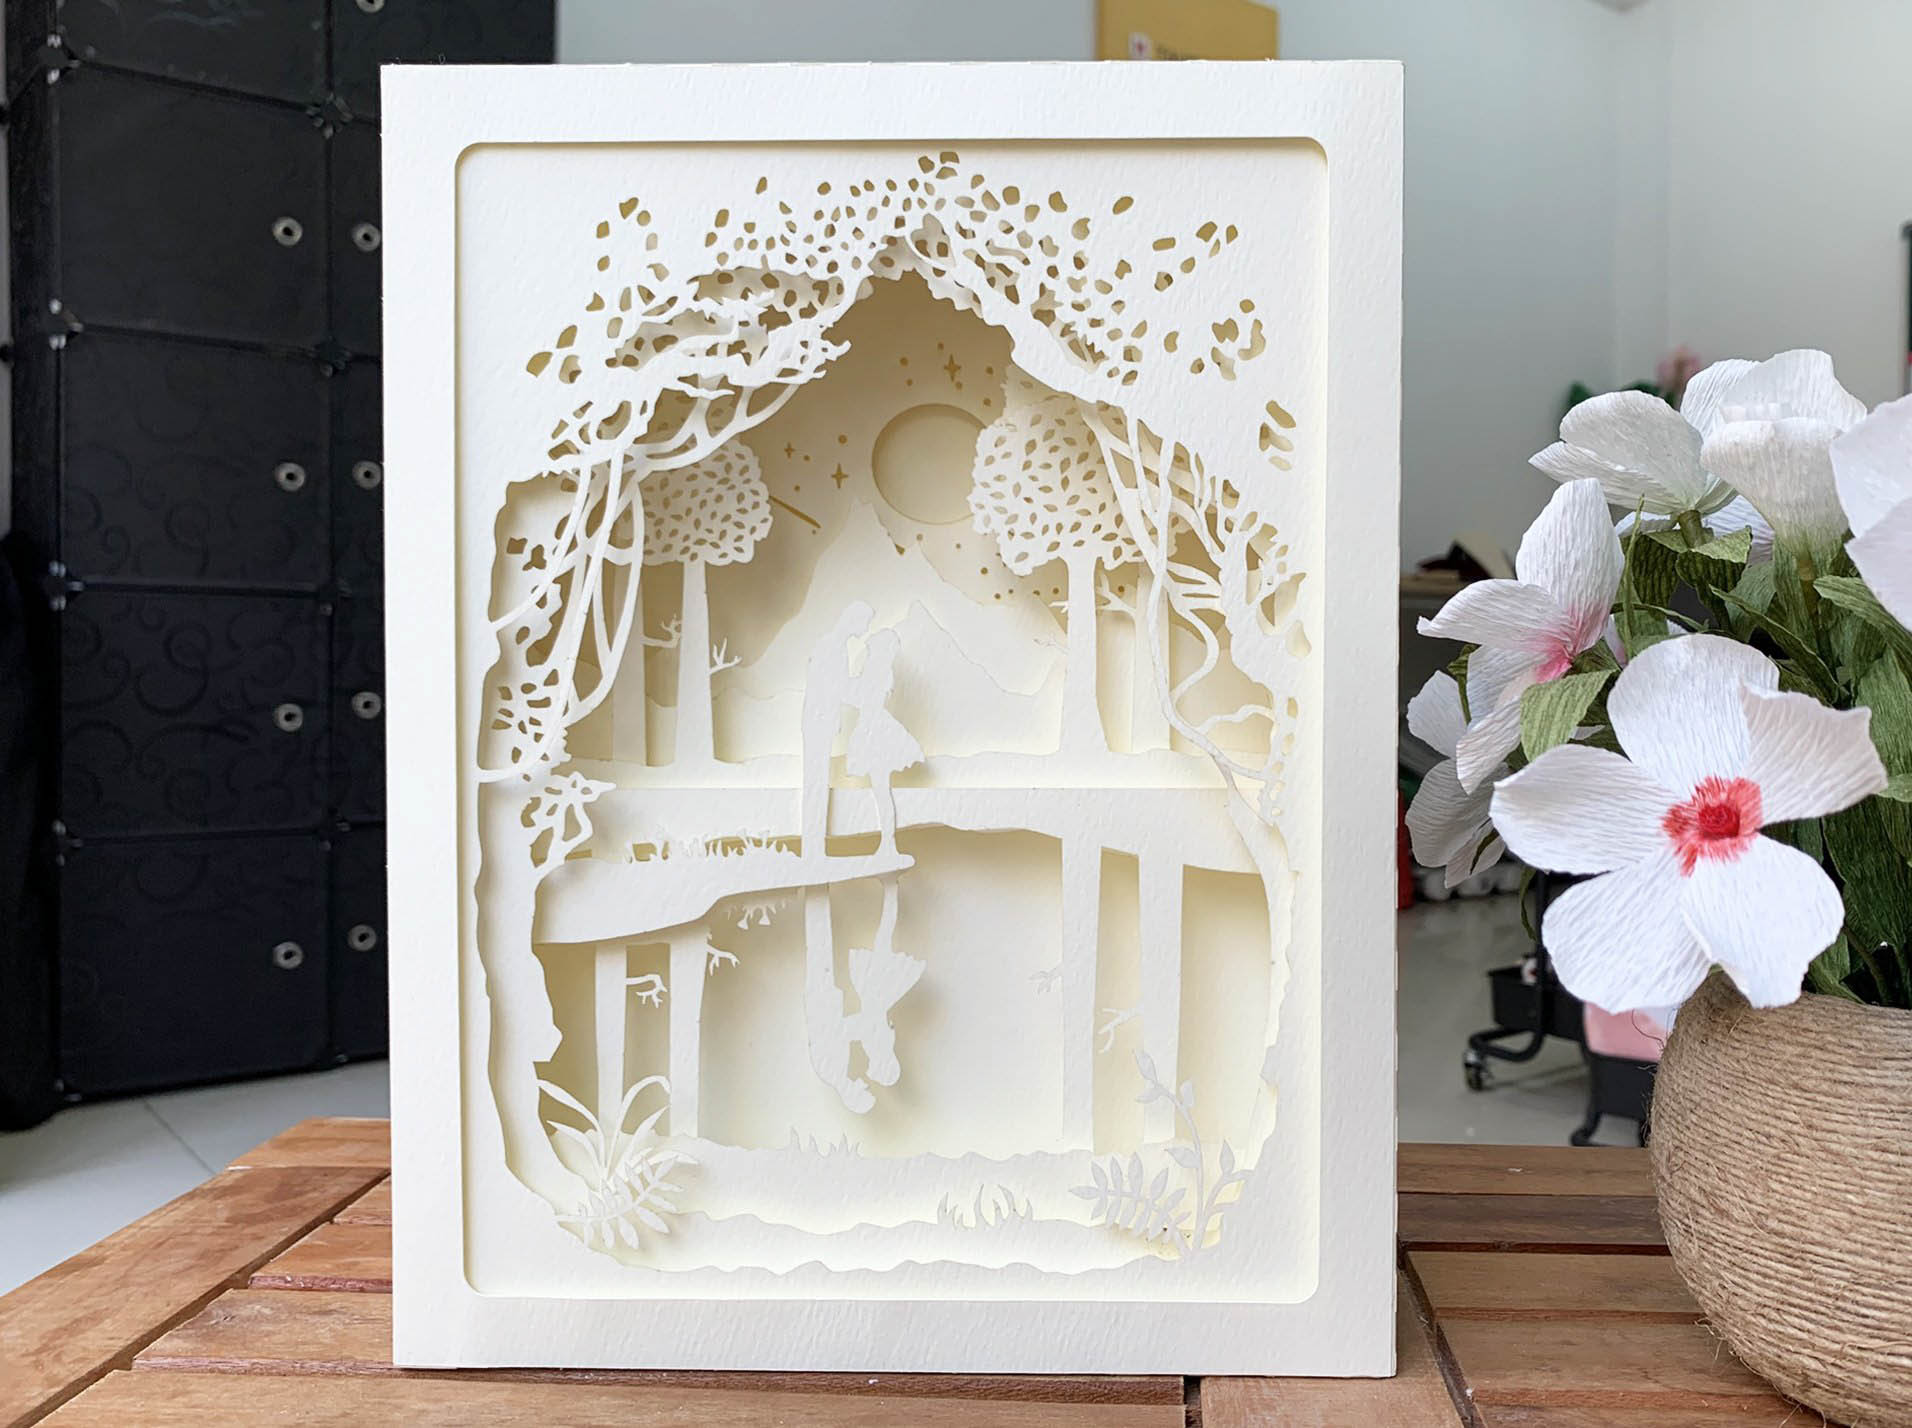
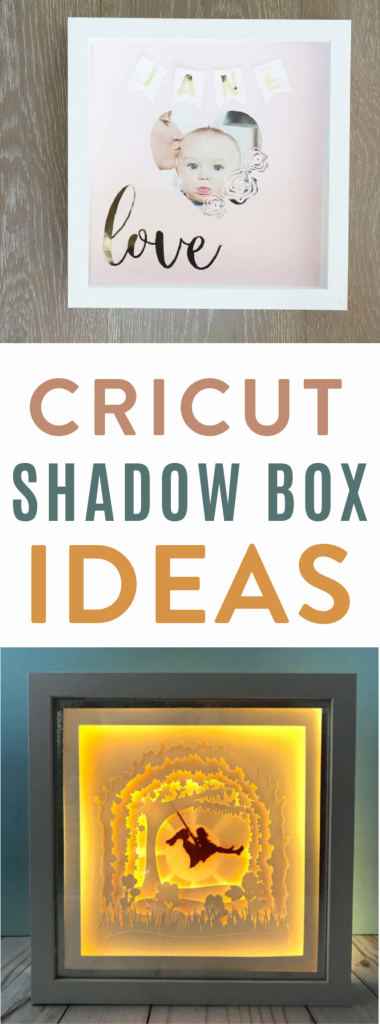
Shadow boxes are three-dimensional display cases used to preserve and showcase various items, ranging from collectibles to artwork and mementos. They typically consist of a frame, backing, and glass or acrylic front, allowing objects to be viewed from different angles while protecting them from dust and damage.
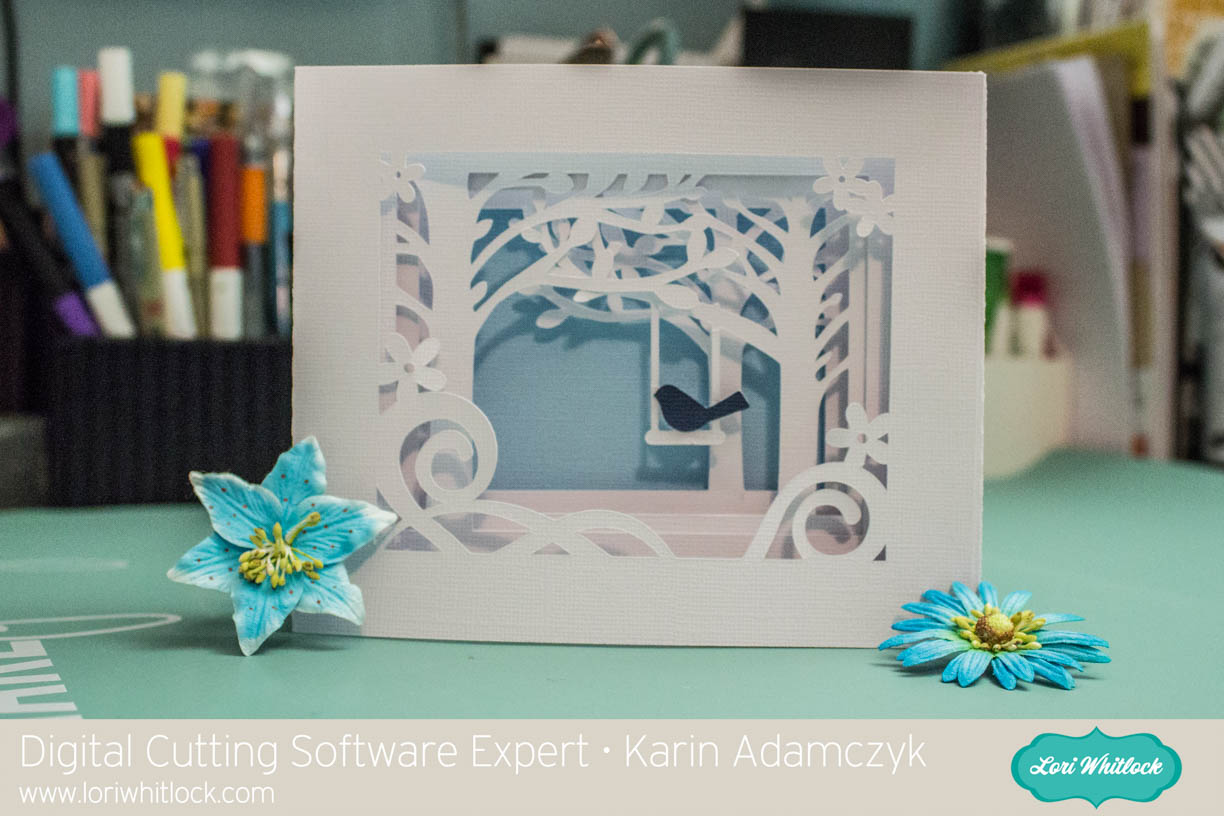

Table of Content
- 1 H1: A Comprehensive Guide to Creating Shadow Boxes with Cricut
- 1.1 H2: What are Shadow Boxes?
- 1.2 H2: Materials and Tools Needed
- 1.3 H2: Materials and Tools Needed
- 1.4 H2: Step-by-Step Instructions
- 1.5 H2: Tips for Creating Unique Shadow Boxes
- 1.6 H2: Troubleshooting
- 1.7 H2: FAQs
- 1.8 H2: Conclusion
H2: Materials and Tools Needed
- Shadow box frame
- Backing material (e.g., foam core, cardboard)
- Objects to display
- Adhesive (e.g., glue, tape)
- Optional: Decorative paper, fabric, or paint

Tools:
- Cricut cutting machine
- Free Shell Svg Shadow Box Free Shell SVG Shadow Box: A Coastal Masterpiece For Your Home
- Printable Shadow Box Template Printable Shadow Box Template: A Comprehensive Guide To Creating Unique And Memorable Displays
- Unicorn Shadow Box Svg Free Unicorn Shadow Box SVG Free: A Magical Addition To Your Craft Stash
- Svg File Free Cricut Box Template H1: Elevate Your Crafting With Free Cricut Box Template SVGs
- Free Cricut Box Templates Free Cricut Box Templates: Elevate Your Crafting With Custom Creations
- Shadow box frame
- Backing material (e.g., foam core, cardboard)
- Cricut Design Space software
- Cutting mat
- Scraper tool
- Ruler or measuring tape
- Scissors
- Open Cricut Design Space and create a new project.
- Select the "Image" tab and upload or choose a design for the backing material.
- Adjust the size and orientation to fit the shadow box frame.
- Cut the backing material using the appropriate settings for the material (e.g., foam core, cardboard).
- If desired, add decorative elements to the backing material using paper, fabric, or paint.
- Glue or tape the decorative elements onto the backing material.
- Arrange the objects you want to display on the backing material.
- Use adhesive to secure the objects in place.
- Consider using different types of adhesive depending on the weight and texture of the objects.
- Place the backing material inside the shadow box frame.
- Attach the glass or acrylic front to the frame.
- Secure the frame using screws or nails.
- Use different materials: Experiment with different materials for the backing material, such as wood, metal, or cork.
- Create layered displays: Add depth to your shadow box by layering different objects and materials.
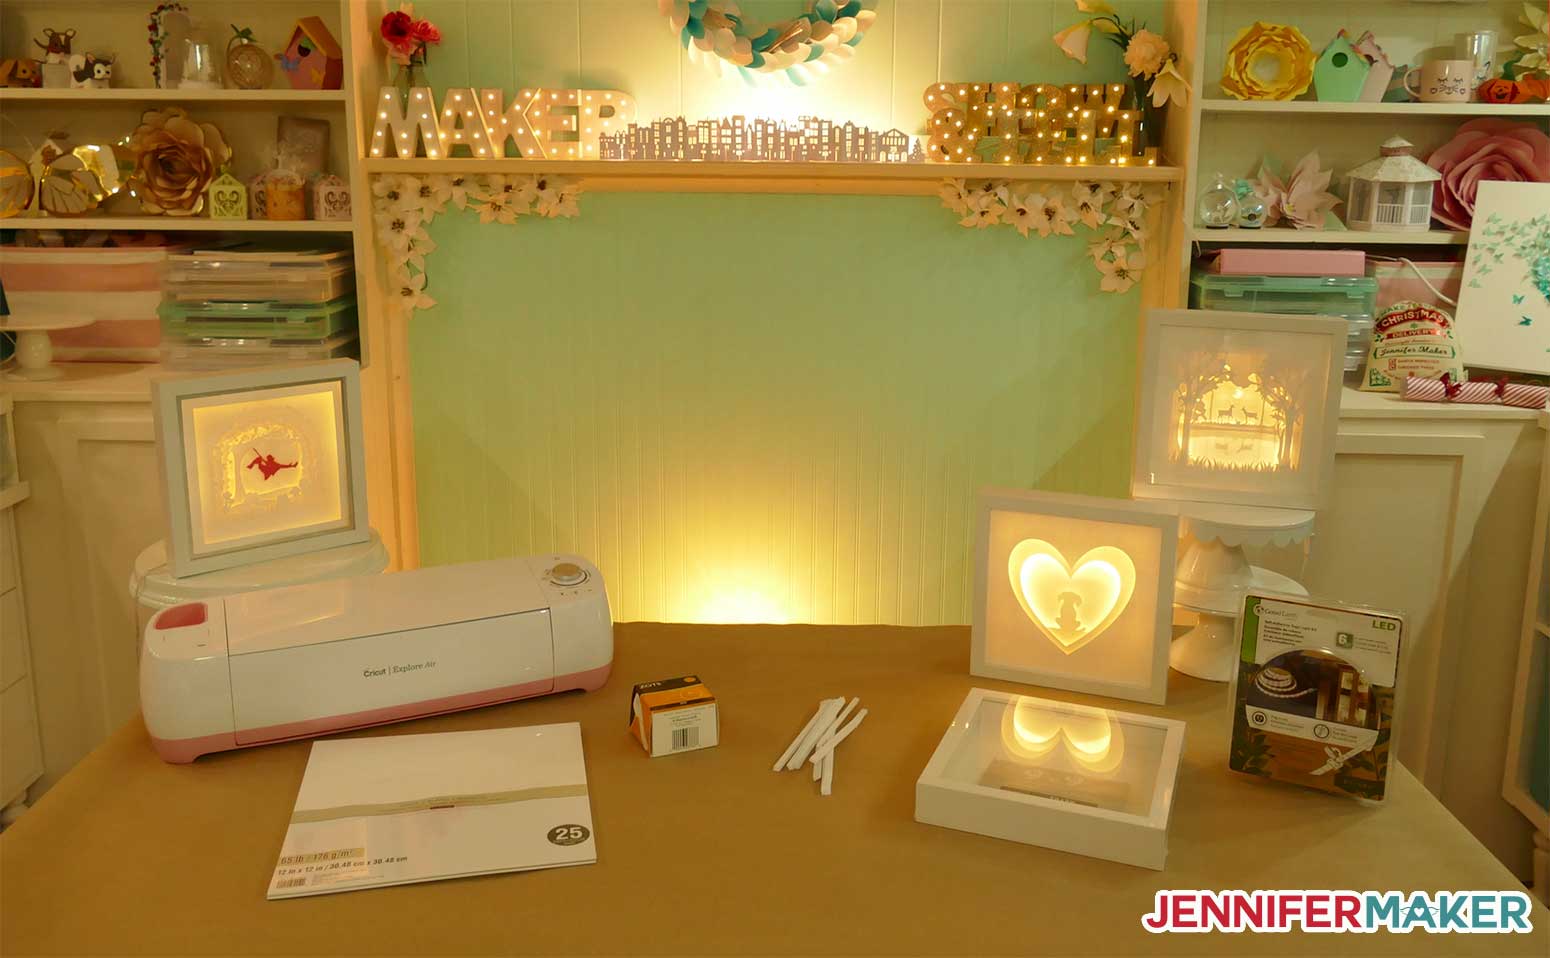
- Incorporate lighting: Install LED lights or use battery-operated string lights to illuminate the contents of the shadow box.
- Personalize the design: Create custom designs for the backing material using Cricut Design Space to add a unique touch.
- Consider the theme: Choose objects and decorative elements that match the theme of the shadow box, such as a travel theme or a family history display.
Shadow boxes are three-dimensional display cases used to preserve and showcase various items, ranging from collectibles to artwork and mementos. They typically consist of a frame, backing, and glass or acrylic front, allowing objects to be viewed from different angles while protecting them from dust and damage.
H2: Materials and Tools Needed
Materials:

H2: Step-by-Step Instructions
1. Design and Cut Backing Material:


2. Decorate Backing Material (Optional):
3. Attach Objects to Backing Material:
4. Assemble Shadow Box:
H2: Tips for Creating Unique Shadow Boxes
H2: Troubleshooting
Problem: Objects are not adhering to the backing material.
Solution: Use a stronger adhesive, such as super glue or epoxy. Clean the surfaces before applying adhesive.
Problem: Shadow box is not square or level.
Solution: Use a ruler or measuring tape to ensure the backing material is centered and the frame is square. Adjust the screws or nails as needed.
Problem: Glass or acrylic front is scratched or damaged.
Solution: Replace the damaged front. Handle the glass or acrylic carefully during assembly.
H2: FAQs
Q: What is the best material for shadow box backing?
A: Foam core or cardboard are commonly used for their lightweight and rigidity.
Q: Can I use Cricut to cut glass or acrylic for the shadow box front?
A: No, Cricut machines cannot cut glass or acrylic.
Q: How can I preserve objects in a shadow box?
A: Use acid-free materials and avoid direct sunlight to prevent damage to the objects.
H2: Conclusion
Creating shadow boxes with Cricut is a fun and rewarding way to preserve and display your precious items. By following the steps outlined in this guide, you can create unique and personalized shadow boxes that will enhance any space. Whether you’re a seasoned crafter or a beginner, the versatility of Cricut makes it accessible for anyone to create beautiful and meaningful shadow boxes.


