


Layered Paper Cut Light Box Template: A Comprehensive Guide with Free Download
Introduction
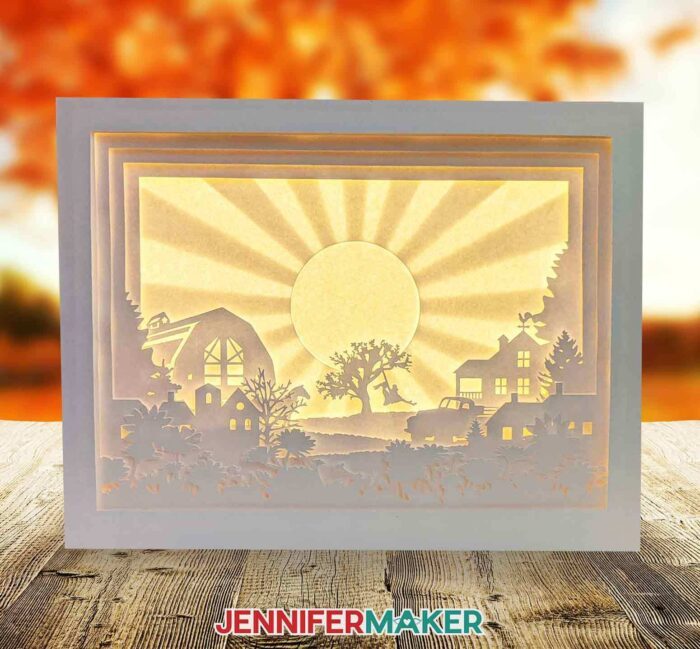
Layered paper cut light boxes are an enchanting form of art that combines intricate paper cutting with the captivating glow of light. These mesmerizing creations showcase stunning designs that illuminate with a warm and inviting ambiance. Whether you’re an experienced crafter or just starting out, this guide will provide you with all the essential information and a free downloadable template to embark on your own layered paper cut light box journey.


Table of Content
- 1 Layered Paper Cut Light Box Template: A Comprehensive Guide with Free Download
- 1.1 Introduction
- 1.2 Understanding Layered Paper Cut Light Boxes
- 1.2.1 H2.2: Benefits of Layered Paper Cut Light Boxes
- 1.3 Understanding Layered Paper Cut Light Boxes
- 1.3.2 H2.1: Components of a Layered Paper Cut Light Box
- 1.4 Creating Your Own Layered Paper Cut Light Box
- 1.4.3 H3.1: Gathering Materials
- 1.4.4 H3.2: Step-by-Step Instructions
- 1.4.5 H3.3: Tips for Success
- 1.5 Inspiration and Ideas
- 1.5.6 H4.1: Design Inspiration
- 1.5.7 H4.2: Creative Applications
- 1.6 Free Layered Paper Cut Light Box Template Download
- 1.7 FAQs
- 1.7.8 H5.1: What type of paper is best for layered paper cuts?
- 1.7.9 H5.2: Can I use different colors of paper for each layer?
- 1.7.10 H5.3: How do I secure the paper cuts to the base?
- 1.7.11 H5.4: Can I use a regular light bulb instead of an LED light strip?
- 1.7.12 H5.5: How do I clean a layered paper cut light box?
- 1.8 Conclusion
Understanding Layered Paper Cut Light Boxes
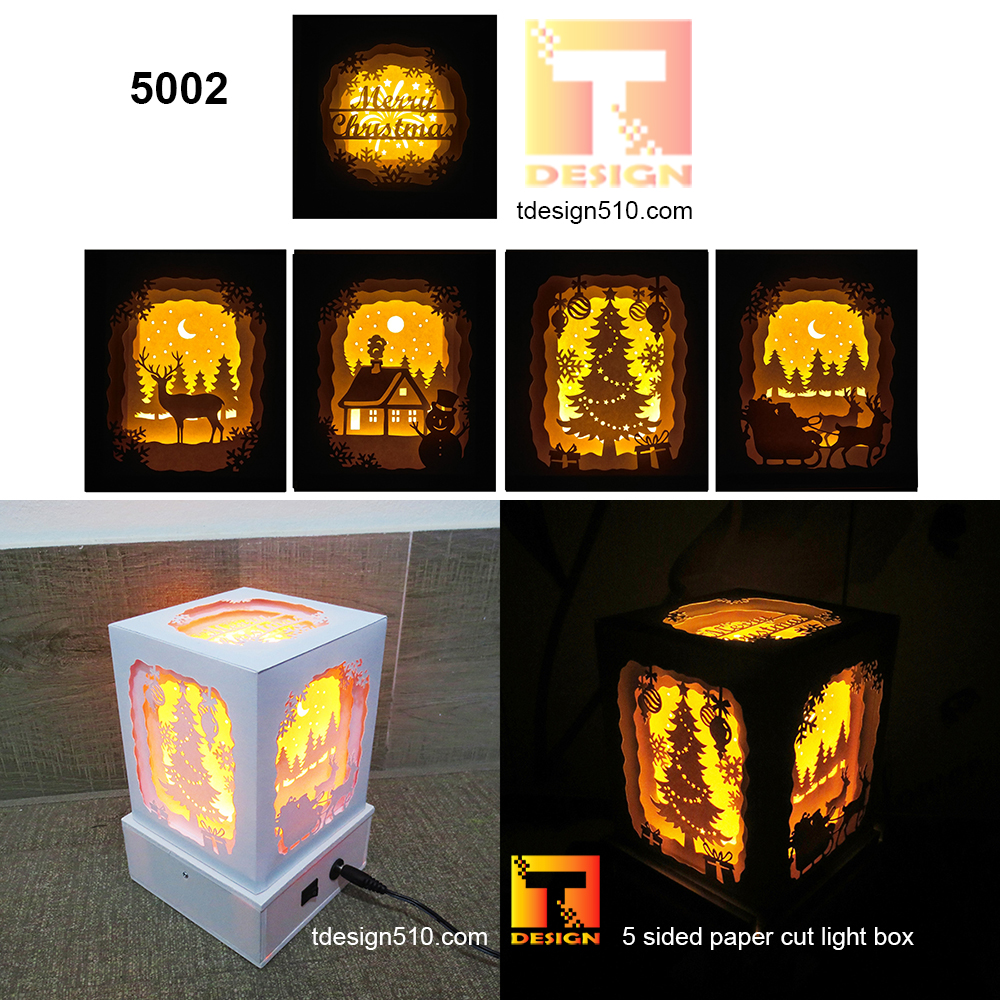
A layered paper cut light box typically consists of the following components:
- Base Layer: The foundation of the light box, usually made from a sturdy material like cardboard or wood.
- Light Source: An LED light strip or battery-operated LED lights that illuminate the layers from behind.
- Layered Paper Cuts: Intricately cut paper designs that form the silhouette of the artwork.
- Backing: A transparent or translucent material, such as vellum or acetate, that diffuses the light and enhances the design’s visibility.

H2.2: Benefits of Layered Paper Cut Light Boxes
- Unique and Personalized Artwork: Create custom designs that reflect your style and preferences.
- Free Shadow Box Svg Files Free Shadow Box SVG Files: A Comprehensive Guide
- Free Cricut Shadow Box Template Free Cricut Shadow Box Template: Elevate Your Home Decor With Personalized Art
- Free 3d Shadow Box Templates Free 3D Shadow Box Templates: Elevate Your Craft Projects
- Printable Shadow Box Template Printable Shadow Box Template: A Comprehensive Guide To Creating Unique And Memorable Displays
- Free Shadow Box Frame Svg File Free Shadow Box Frame SVG File: A Step-by-Step Guide To Creating Custom Frames
- Base Layer: The foundation of the light box, usually made from a sturdy material like cardboard or wood.
- Warm and Inviting Ambiance: The diffused light creates a cozy and inviting atmosphere.
- Versatile Decoration: Suitable for various spaces, including homes, offices, and event venues.
- Therapeutic and Creative: The process of paper cutting and assembling the light box can be a relaxing and creative outlet.
- Paper cut template (available for free download)
- Thin cardstock or construction paper
- Craft knife or scissors
- LED light strip or battery-operated LED lights
- Cardboard or wood for the base
- Vellum or acetate for the backing
- Glue or double-sided tape
- Ruler or measuring tape
- Use sharp blades or scissors for precise cutting.
- Work on a clean and well-lit surface.
- Take your time and don’t rush the process.
- Use a light touch when handling the paper cuts to avoid tearing.
- Experiment with different colors and textures of paper to create unique effects.
- Nature-inspired designs (e.g., trees, flowers, animals)
- Geometric patterns and abstract shapes
- Landscapes and cityscapes
- Inspirational quotes and words
- Home décor: Nightlights, wall art, table centerpieces
- Event décor: Wedding backdrops, party decorations
- Personalized gifts: Custom designs for birthdays, anniversaries, and special occasions
- Educational projects: Teaching about light, shadow, and paper cutting techniques
Layered paper cut light boxes are an enchanting form of art that combines intricate paper cutting with the captivating glow of light. These mesmerizing creations showcase stunning designs that illuminate with a warm and inviting ambiance. Whether you’re an experienced crafter or just starting out, this guide will provide you with all the essential information and a free downloadable template to embark on your own layered paper cut light box journey.
Understanding Layered Paper Cut Light Boxes
H2.1: Components of a Layered Paper Cut Light Box

A layered paper cut light box typically consists of the following components:


Creating Your Own Layered Paper Cut Light Box
H3.1: Gathering Materials


H3.2: Step-by-Step Instructions
Step 1: Download and Print the Template
Click on the link provided at the end of this article to download the free layered paper cut light box template. Print the template on thin cardstock or construction paper.
Step 2: Cut the Layers
Use a craft knife or scissors to carefully cut out each layer of the template. Be precise and pay attention to the small details.
Step 3: Assemble the Base
Cut a rectangular or square base from cardboard or wood. The size of the base should be slightly larger than the assembled layers.
Step 4: Attach the Light Source
Adhere the LED light strip or battery-operated LED lights to the inside of the base. Make sure the lights are evenly distributed to provide sufficient illumination.
Step 5: Layer the Paper Cuts
Apply glue or double-sided tape to the back of each layer and carefully stack them on top of each other, starting with the bottom layer. Use a ruler or measuring tape to ensure the layers are aligned correctly.
Step 6: Attach the Backing
Place a sheet of vellum or acetate over the assembled layers and secure it to the base using glue or tape. This will create a translucent backing that diffuses the light and enhances the design’s visibility.
H3.3: Tips for Success
Inspiration and Ideas
H4.1: Design Inspiration
H4.2: Creative Applications
Free Layered Paper Cut Light Box Template Download
Click on the link below to download the free layered paper cut light box template:
[Free Layered Paper Cut Light Box Template Download Link]
FAQs
H5.1: What type of paper is best for layered paper cuts?
Thin cardstock or construction paper is recommended for its durability and ease of cutting.
H5.2: Can I use different colors of paper for each layer?
Yes, experimenting with different colors can create visually striking effects.
H5.3: How do I secure the paper cuts to the base?
Use glue or double-sided tape to adhere the paper cuts securely to the base.
H5.4: Can I use a regular light bulb instead of an LED light strip?
Regular light bulbs can generate heat and damage the paper cuts. LED lights are recommended for their energy efficiency and longevity.
H5.5: How do I clean a layered paper cut light box?
Use a soft cloth or brush to gently remove dust and debris. Avoid using water or harsh cleaning agents.
Conclusion
Creating layered paper cut light boxes is an enjoyable and rewarding craft that allows you to express your creativity and illuminate your surroundings. With the free downloadable template provided, you can easily embark on this captivating journey. Whether you’re a seasoned crafter or just starting out, we encourage you to explore the endless possibilities of layered paper cut light boxes and create your own unique masterpieces.


