


Layered Shadow Box SVG: A Comprehensive Guide to Creating Stunning 3D Paper Art
Introduction
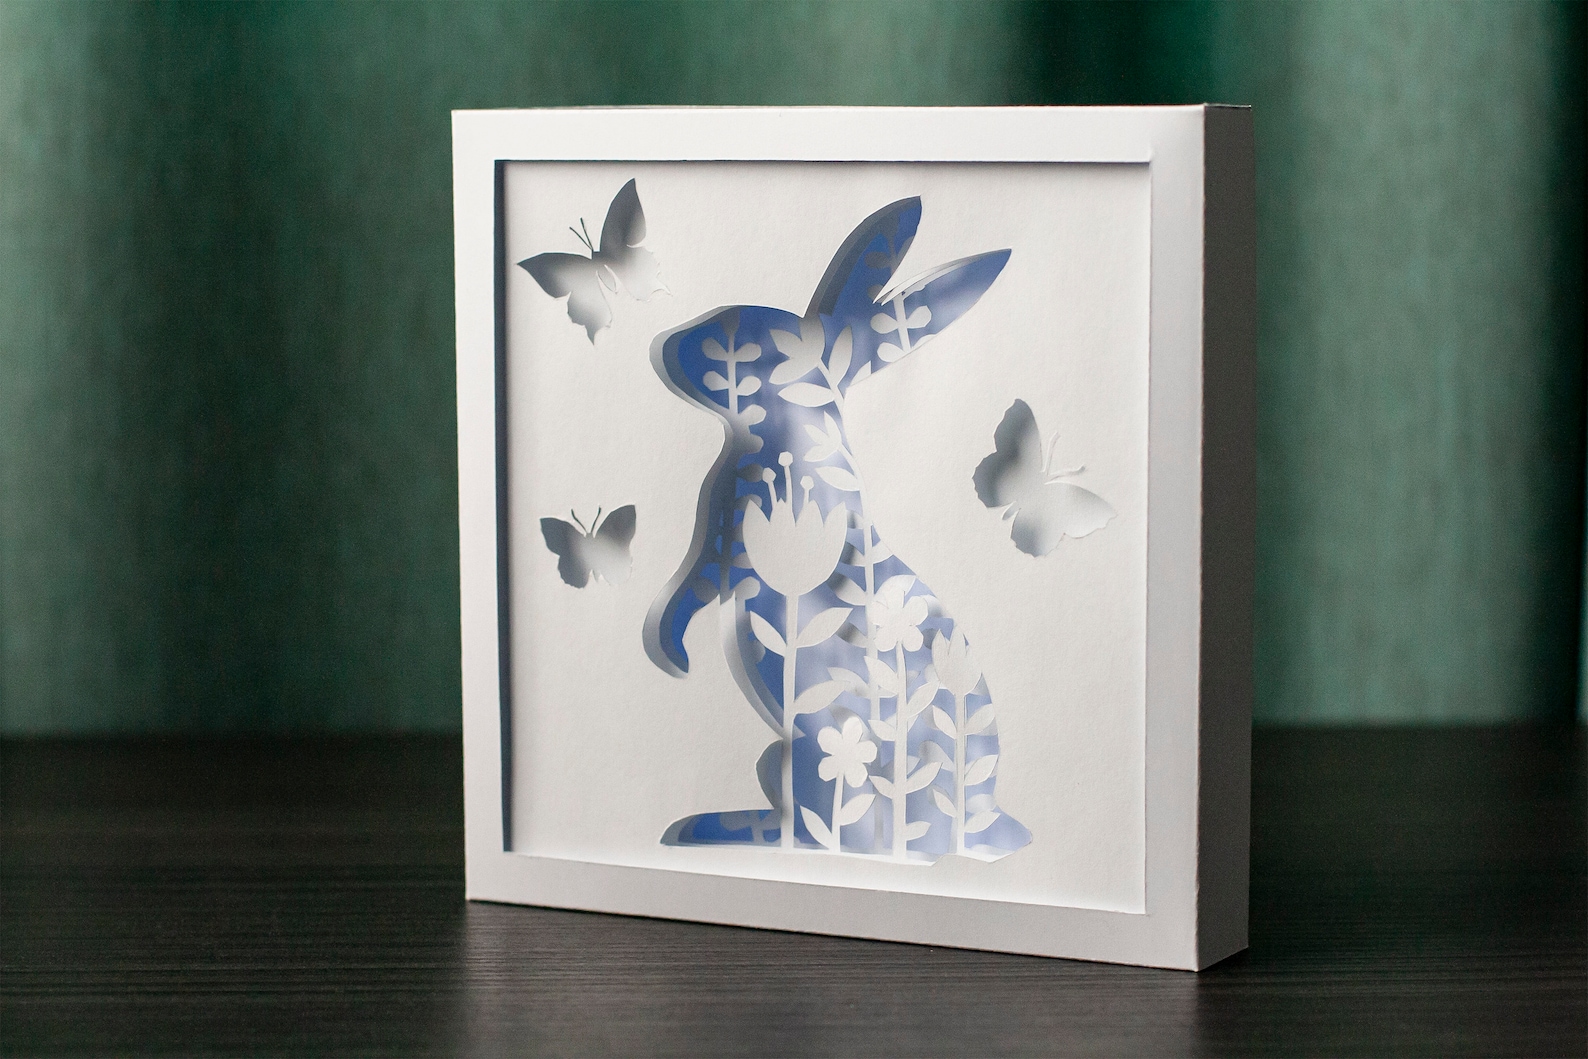
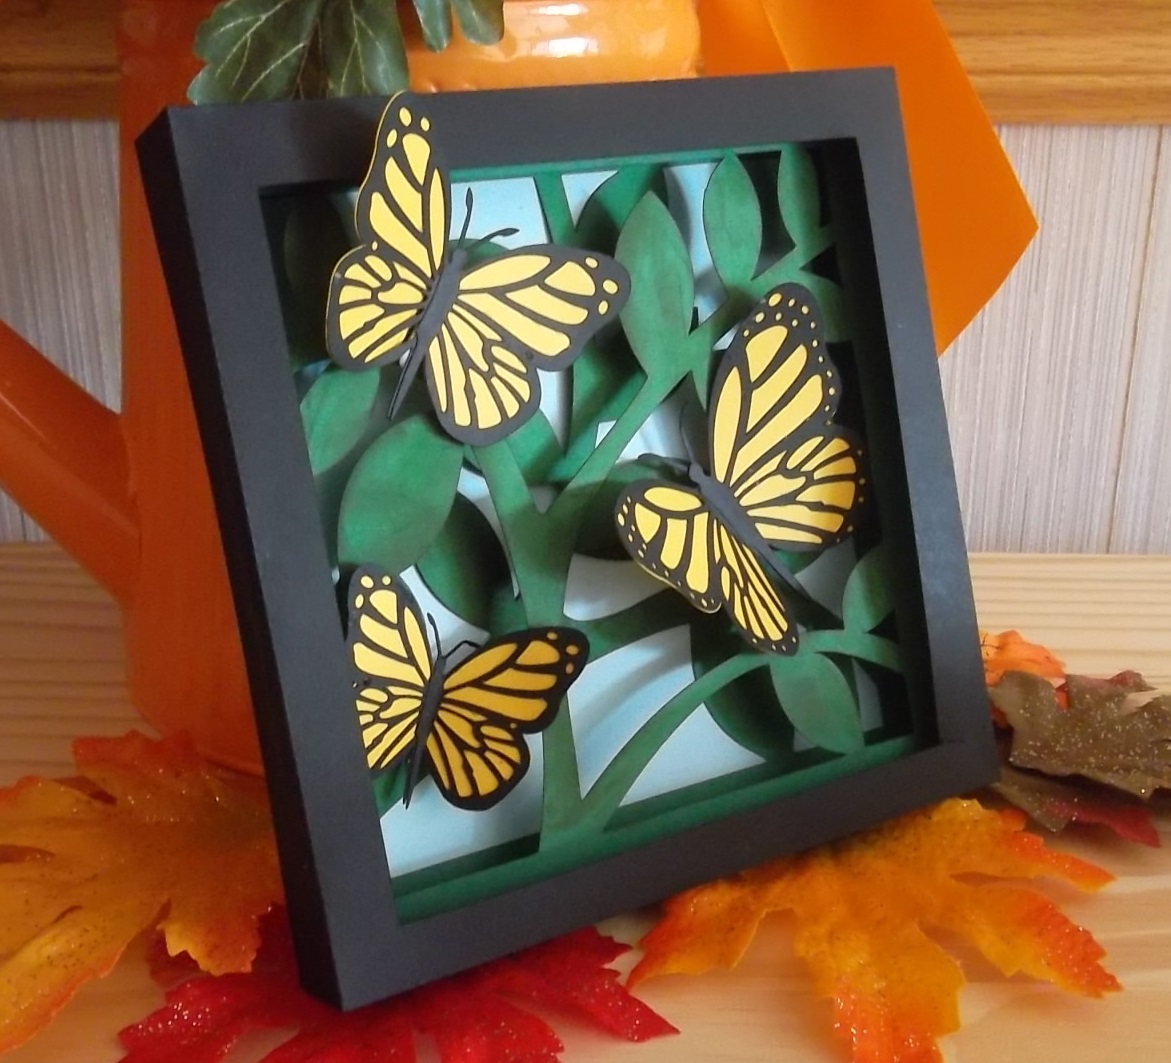
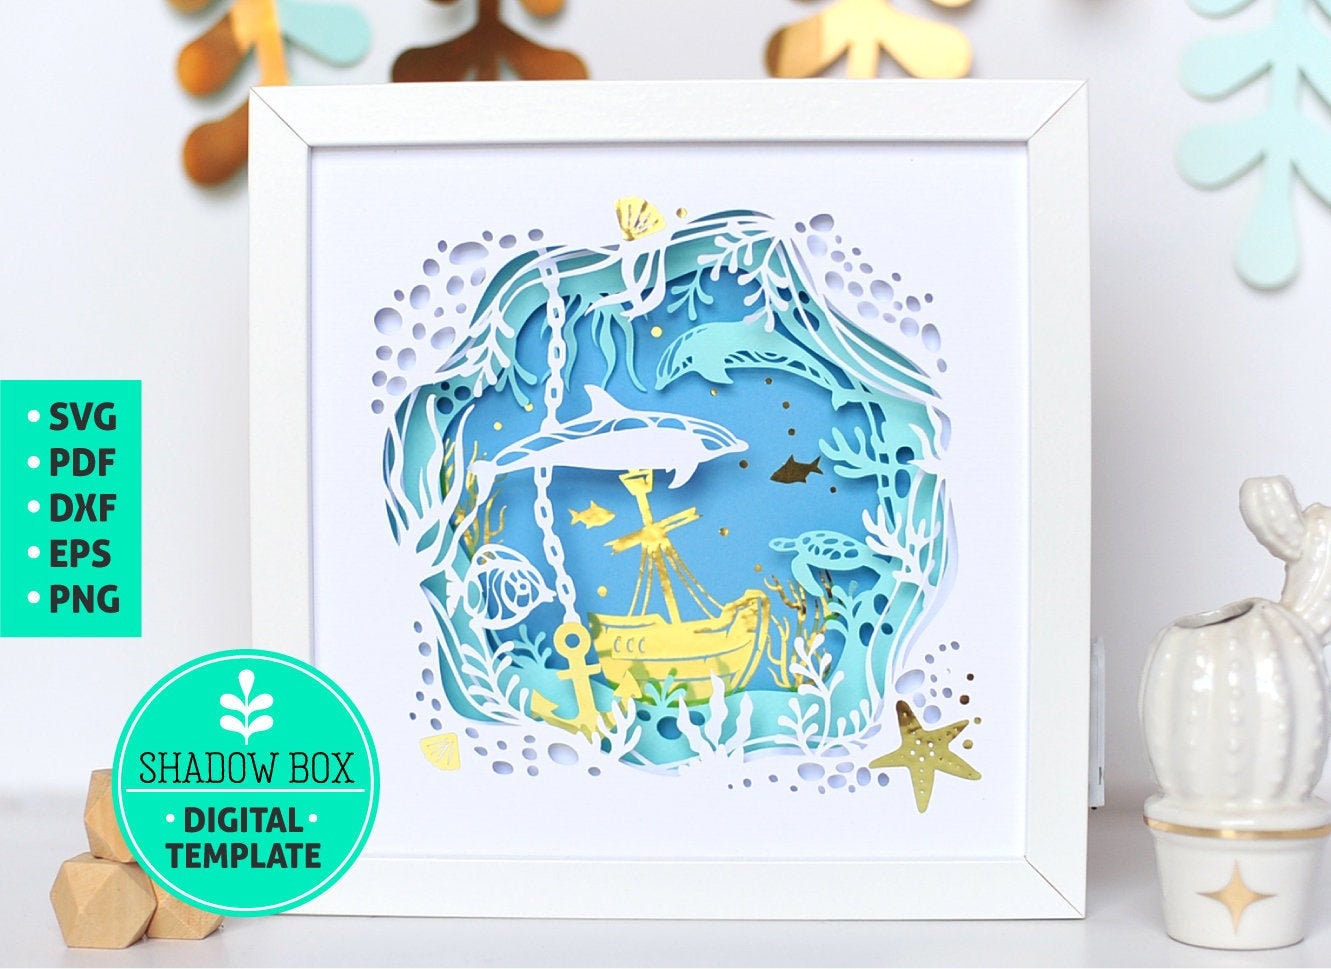
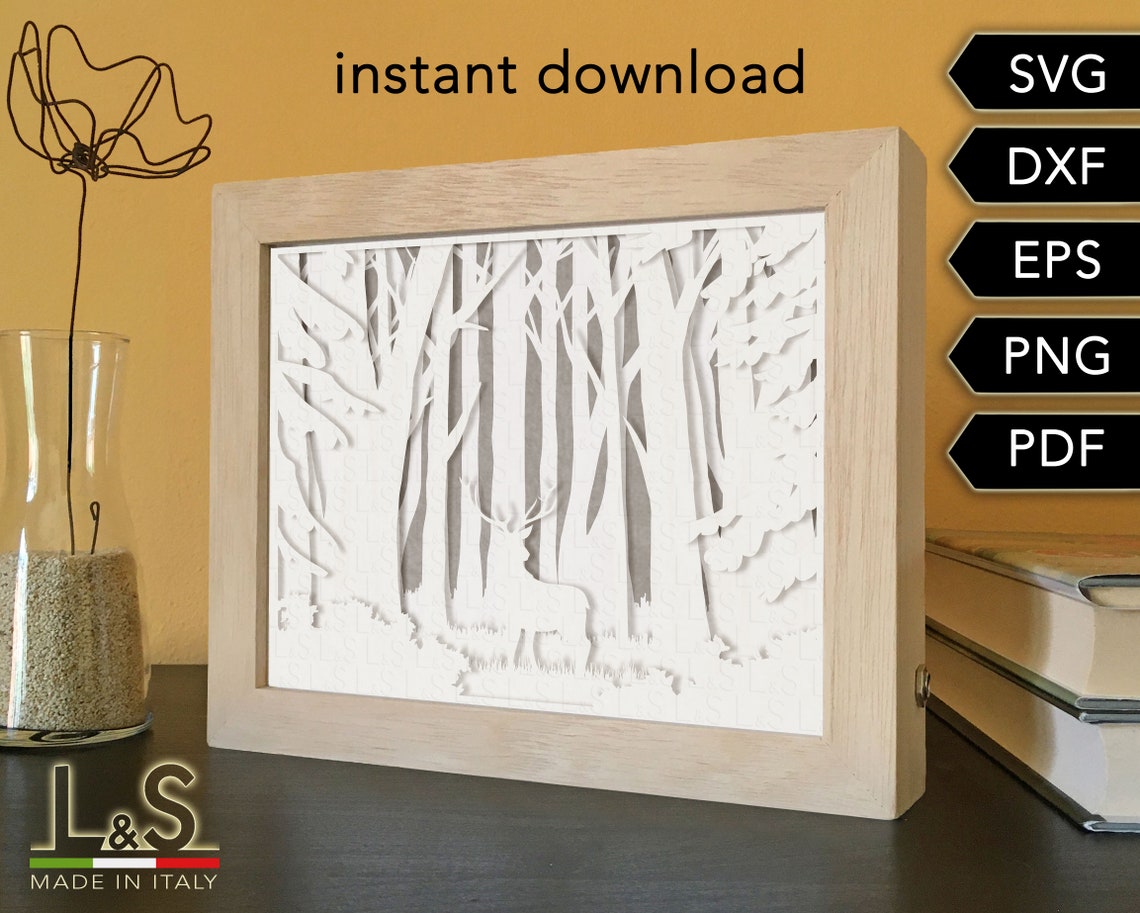
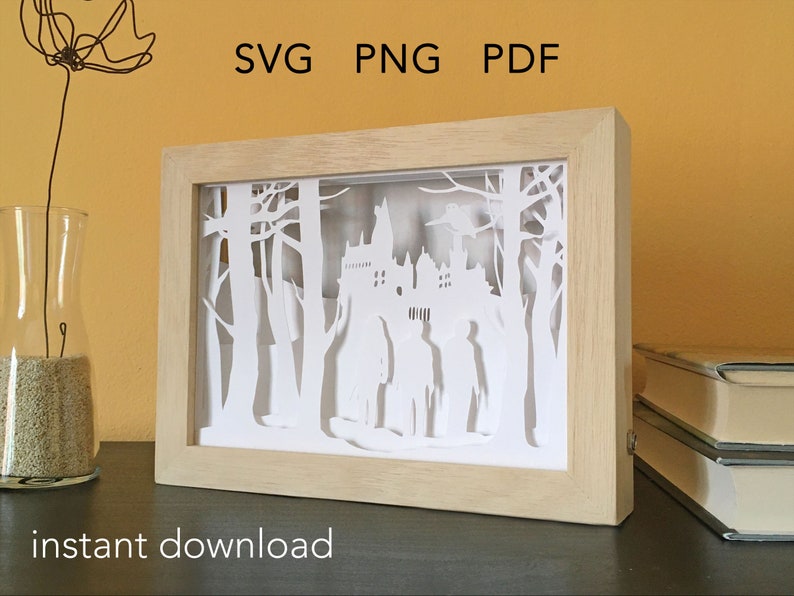
A layered shadow box SVG is a captivating form of paper art that combines multiple layers of intricately cut paper to create a three-dimensional illusion. By layering different colors, textures, and patterns, you can achieve stunning visual depth and dimension that brings your designs to life.
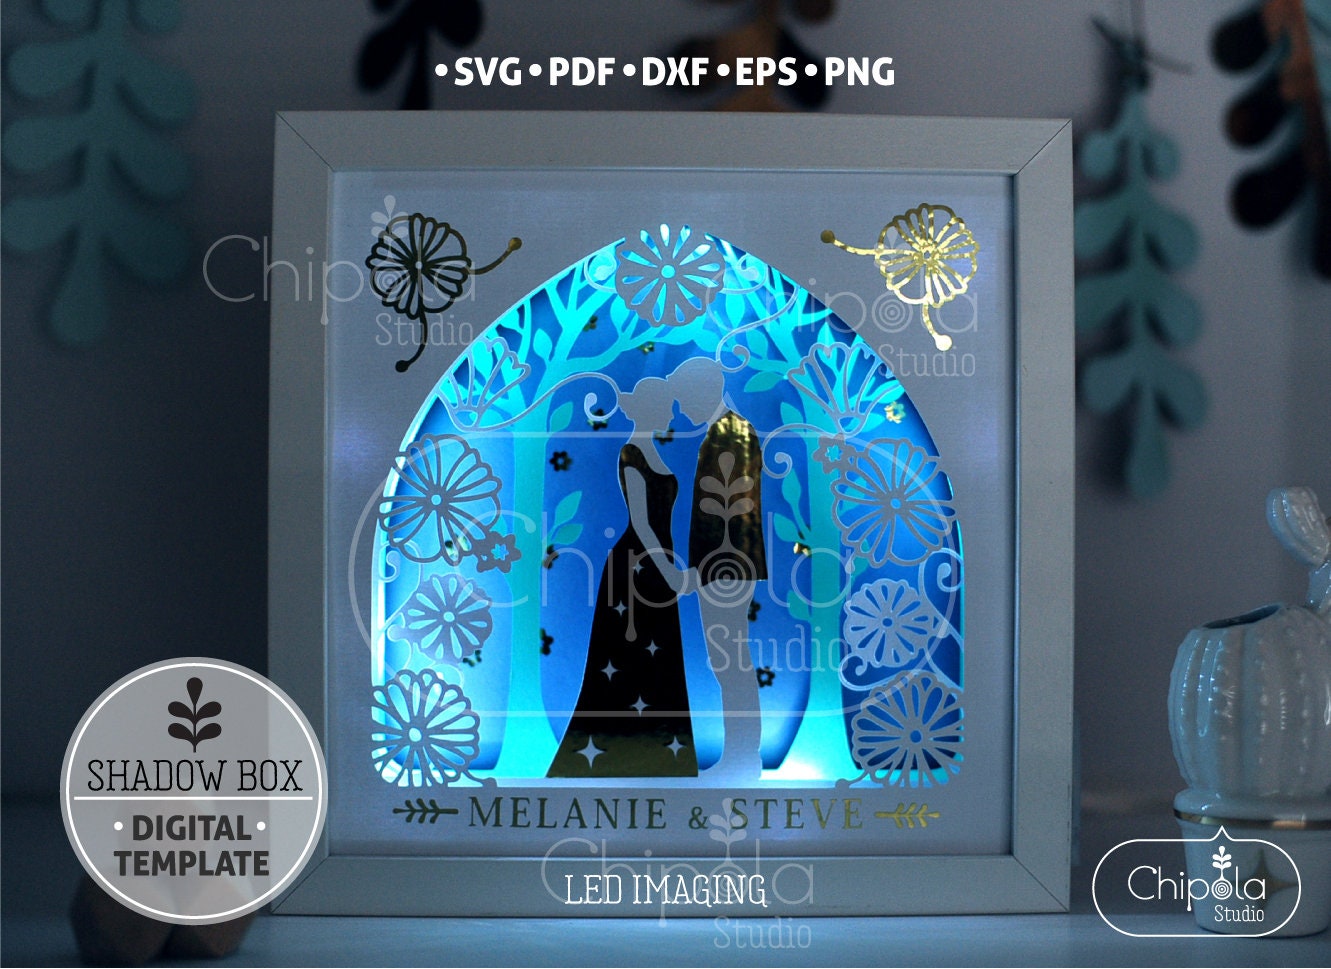

Table of Content
Materials and Tools
Materials:
- Cardstock or paper in various colors and textures
- Adhesive (glue or tape)
- Foam core or mat board (optional)
Tools:
- SVG cutting machine (e.g., Cricut, Silhouette)
- Cutting mat
- 3d Paper Shadow Box 3D Paper Shadow Box: A Step-by-Step Guide To Creating Stunning Paper Art
- Free Cricut Shadow Box Template Free Cricut Shadow Box Template: Elevate Your Home Decor With Personalized Art
- Free Svg 3d Shadow Box Free SVG 3D Shadow Box: A Comprehensive Guide To Designing And Creating Stunning Wall Art
- Shadow Box Template Shadow Box Template: A Comprehensive Guide To Creating Stunning Shadow Box Displays
- Diy Papercut Light Box DIY Papercut Light Box: A Step-by-Step Guide To Illuminate Your Artwork
- Cardstock or paper in various colors and textures
- Spatula or weeding tool
- Ruler or measuring tape
- Scoring tool (optional)
- Design your layered shadow box SVG using a design software (e.g., Adobe Illustrator, Inkscape).
- Upload the SVG file to your cutting machine and cut out the individual layers.
- Apply adhesive to the back of the bottom layer and attach it to a piece of foam core or mat board (if desired).
- Layer the remaining pieces on top, aligning them carefully.
- Use spacers (e.g., foam squares) between layers to create depth and dimension.
- Glue or tape the layers together to ensure they are securely attached.
- Use a scoring tool to create fold lines where necessary for added stability.
- Enhance your shadow box by adding embellishments such as sequins, beads, or glitter.
- Consider using different lighting techniques to create shadows and highlights.
- Experiment with different color combinations and paper textures to create visually appealing designs.
- Use contrasting colors to create depth and emphasis.
- Create layers of varying heights to add dimension and interest.
- Use spacers or foam squares to elevate layers and create a more dramatic effect.
- Add visual complexity by incorporating patterns and embossed designs into your layers.
- Use a scoring tool to create delicate lines and textures.
- Home Decor: Create unique wall art, shadow boxes, and display pieces.
- Invitations and Announcements: Design eye-catching invitations, save-the-dates, and birth announcements.
- Gift Tags and Labels: Add a touch of sophistication to gifts with custom-made tags and labels.
- Scrapbooking and Cardmaking: Embellish scrapbooks and greeting cards with intricate layered designs.

A layered shadow box SVG is a captivating form of paper art that combines multiple layers of intricately cut paper to create a three-dimensional illusion. By layering different colors, textures, and patterns, you can achieve stunning visual depth and dimension that brings your designs to life.
Materials and Tools
To create a layered shadow box SVG, you will need the following materials and tools:
Materials:

Step-by-Step Instructions
1. Design and Cut:

2. Assemble the Layers:
3. Secure the Layers:
4. Add Embellishments (Optional):
Design Tips
1. Choose Complementary Colors and Textures:
2. Vary Layer Heights:
3. Incorporate Patterns and Embossing:
Creative Applications
Layered shadow box SVGs can be used in a wide range of creative applications, including:
Conclusion
Creating layered shadow box SVGs is a rewarding and versatile craft that allows you to express your creativity and create stunning paper art. By following these step-by-step instructions and design tips, you can create beautiful and unique pieces that will impress your friends and family.
FAQs
1. What type of paper is best for layered shadow boxes?
Cardstock or heavy-weight paper works well for layered shadow boxes. Consider using different textures and colors to add visual interest.
2. Can I use a different type of adhesive?
Yes, you can use any type of adhesive that is suitable for paper, such as glue, tape, or a glue gun.
3. How do I make sure my layers are aligned correctly?
Use a ruler or measuring tape to ensure that your layers are aligned evenly. You can also use a lightbox or tracing paper to trace the design onto each layer for more precise alignment.
4. Can I add lighting to my shadow box?
Yes, you can add lighting to your shadow box using LED lights or a light bulb. This will create a dramatic effect and enhance the three-dimensional illusion.


