Paper Shadow Box Template: A Comprehensive Guide to Crafting Depth and Dimension
Introduction
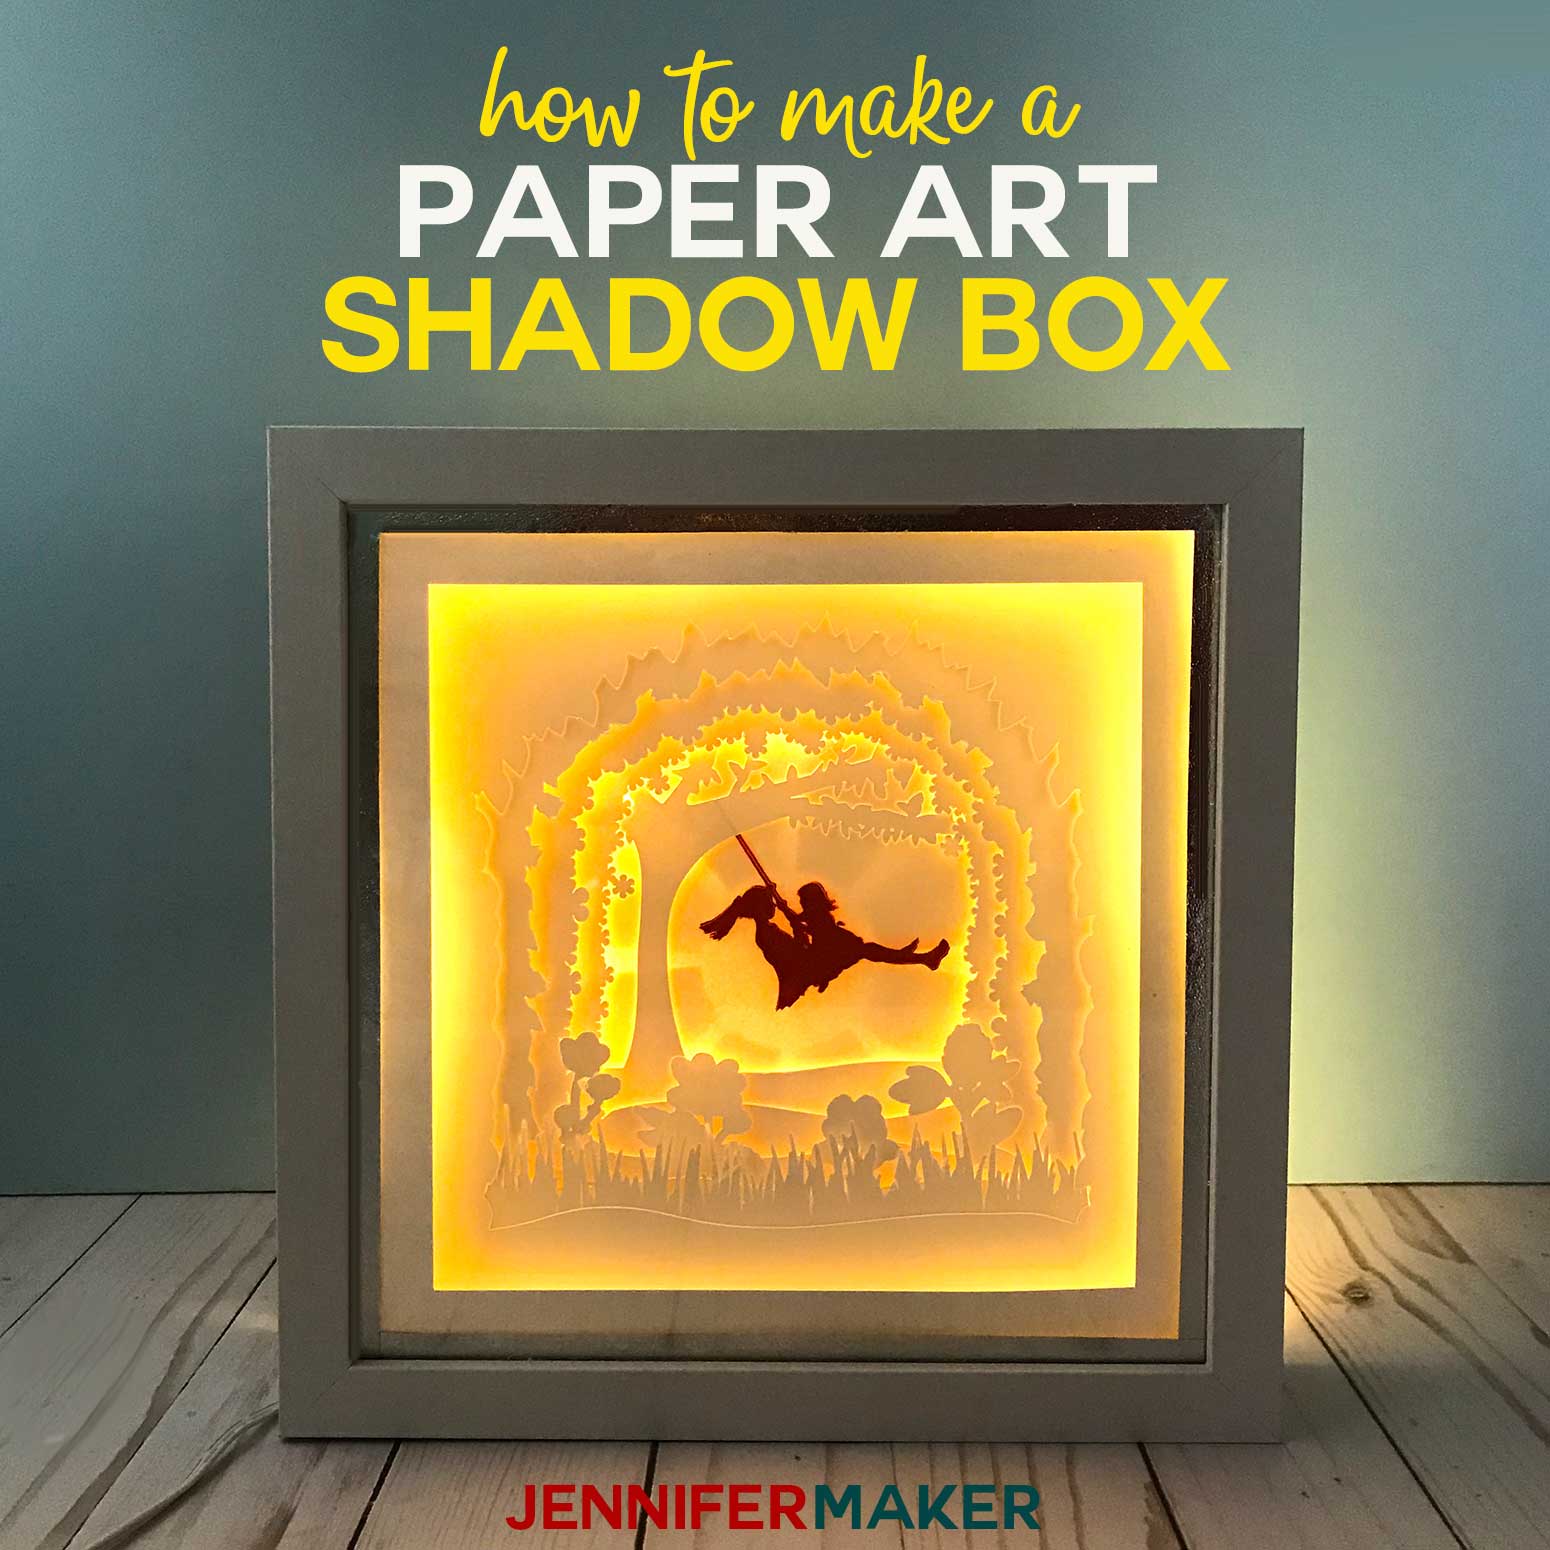
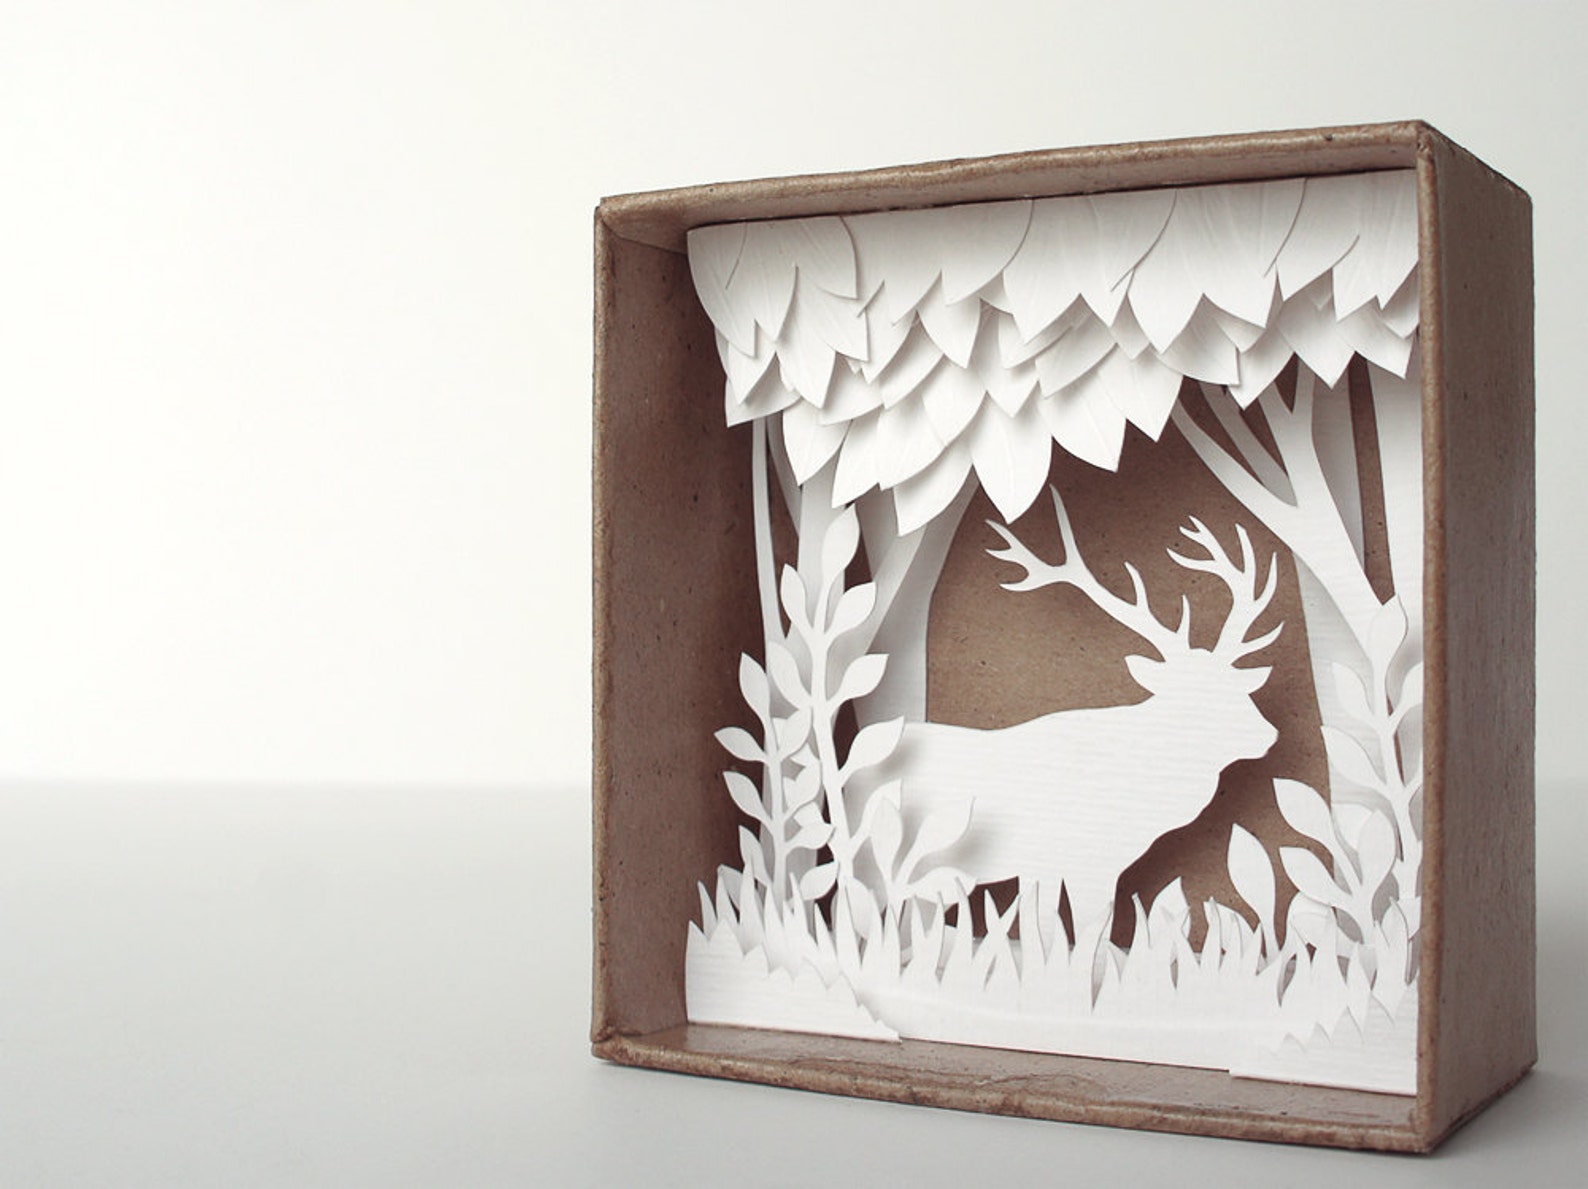
A paper shadow box template offers a versatile and cost-effective way to add depth and dimension to your artwork, photographs, and cherished mementos. Whether you’re a seasoned crafter or a beginner, this guide will provide you with the essential knowledge and step-by-step instructions to create stunning paper shadow boxes using a template.


Table of Content
- 1 Paper Shadow Box Template: A Comprehensive Guide to Crafting Depth and Dimension
- 1.1 Introduction
- 1.2 Benefits of Using a Paper Shadow Box Template
- 1.3 Choosing the Right Paper Shadow Box Template
- 1.4 Benefits of Using a Paper Shadow Box Template
- 1.5 Step-by-Step Guide to Creating a Paper Shadow Box
- 1.6 Tips and Techniques
- 1.7 Conclusion
- 1.8 Frequently Asked Questions
Benefits of Using a Paper Shadow Box Template
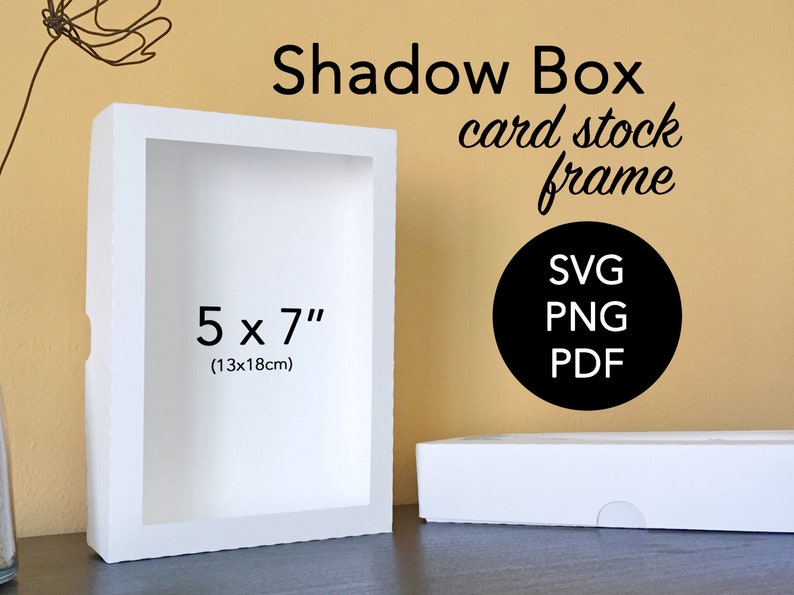
Choosing the Right Paper Shadow Box Template
When selecting a paper shadow box template, consider the following factors:
- Size: Choose a template that accommodates the size of your artwork or object.
- Shape: Select a template that complements the shape of your display item, such as square, rectangular, or circular.
- Free Svg Shadow Box Files Free SVG Shadow Box Files: A Comprehensive Guide
- Free Shadow Box Svg Free Shadow Box SVG: Elevate Your Papercrafting With Stunning 3D Designs
- Free Shadow Box Template Free Shadow Box Template: A Comprehensive Guide To Creating Stunning Displays
- Free Layered Shadow Box Svg H1: Unleash Your Creativity With Free Layered Shadow Box SVGs: A Comprehensive Guide
- Free Cricut Shadow Box Template Free Cricut Shadow Box Template: Elevate Your Home Decor With Personalized Art
- Simplicity: Templates provide a pre-designed framework, making it easy for anyone to create professional-looking shadow boxes.
- Consistency: Templates ensure uniform dimensions and precise alignment, resulting in consistent and aesthetically pleasing results.
- Time-saving: Using a template eliminates the need for measuring and cutting, saving you valuable time.
- Material: Paper shadow box templates are typically made from sturdy cardstock or foam board, ensuring durability and stability.
- Depth: Determine the desired depth of your shadow box to create the illusion of space and dimension.
- Paper shadow box template
- Cardstock or foam board
- Ruler or measuring tape
- Craft knife or scissors
- Glue or adhesive
- Double-sided tape (optional)
- Mounting materials (e.g., foam core, mat board)
- Prepare the Template: Print or trace the template onto cardstock or foam board.
- Cut Out the Template: Carefully cut out the template along the solid lines using a craft knife or scissors.
- Fold and Assemble the Box: Fold the template along the dotted lines to create the box’s sides. Use glue or adhesive to secure the joints.
- Insert the Back: Cut a piece of cardstock or foam board to fit the back of the shadow box. Secure it in place with glue or adhesive.
- Mount the Display Item: Use mounting materials to attach your artwork or object to the inside back of the shadow box. Ensure it is centered and securely fastened.
- Secure the Top: Cut a piece of clear plastic or acetate to fit the front of the shadow box. Secure it in place with double-sided tape or glue.
- Use a sharp blade: A sharp craft knife or scissors will ensure clean and precise cuts.
- Score the fold lines: Lightly score the dotted fold lines before folding to create crisp and even edges.
- Use a ruler or measuring tape: Measure and cut carefully to ensure accuracy and avoid any misalignment.
- Reinforce the joints: Add additional glue or adhesive to the joints for increased durability.
- Experiment with different materials: Use different colors and textures of cardstock or foam board to create unique and personalized shadow boxes.

A paper shadow box template offers a versatile and cost-effective way to add depth and dimension to your artwork, photographs, and cherished mementos. Whether you’re a seasoned crafter or a beginner, this guide will provide you with the essential knowledge and step-by-step instructions to create stunning paper shadow boxes using a template.
Benefits of Using a Paper Shadow Box Template
Step-by-Step Guide to Creating a Paper Shadow Box

Materials:


Instructions:
Tips and Techniques
Conclusion
Creating a paper shadow box using a template is an accessible and rewarding craft that allows you to showcase your artwork, photographs, and mementos in a visually appealing and dynamic way. By following the step-by-step instructions and incorporating the tips and techniques provided, you can create stunning shadow boxes that add depth, dimension, and a touch of elegance to any display.
Frequently Asked Questions
Q: What is the best material for a paper shadow box template?
A: Cardstock and foam board are both suitable materials, providing durability and stability.
Q: How can I make my shadow box more secure?
A: Reinforce the joints with additional glue or adhesive and use double-sided tape to secure the top.
Q: Can I use a paper shadow box template to display heavy objects?
A: No, paper shadow box templates are not designed to support heavy objects. Use a sturdier material such as wood or metal for heavier items.
Q: How can I customize my paper shadow box?
A: Experiment with different colors and textures of paper, add embellishments, or use a custom-designed template to create a truly unique display.
Q: How do I clean a paper shadow box?
A: Use a soft, dry cloth to gently dust the surface. Avoid using harsh chemicals or abrasive cleaners.