Shadow Box Paper Art: A Comprehensive Guide to Creating Stunning 3D Masterpieces
Shadow box paper art, a captivating blend of papercraft and dimensional design, invites artists to explore the realm of three-dimensional storytelling. This guide delves into the intricacies of this captivating art form, providing a comprehensive overview for aspiring and experienced artists alike.
H1: Understanding Shadow Box Paper Art


Table of Content
- 1 Shadow Box Paper Art: A Comprehensive Guide to Creating Stunning 3D Masterpieces
- 1.1 H1: Understanding Shadow Box Paper Art
- 1.2 H1: Understanding Shadow Box Paper Art
- 1.3 H2: Materials and Techniques
- 1.4 H3: Design Considerations
- 1.5 H2: Creating a Shadow Box Paper Art
- 1.6 H3: Inspiration and Applications
- 1.7 H2: Troubleshooting and Tips
- 1.8 H2: Conclusion
- 1.9 FAQs
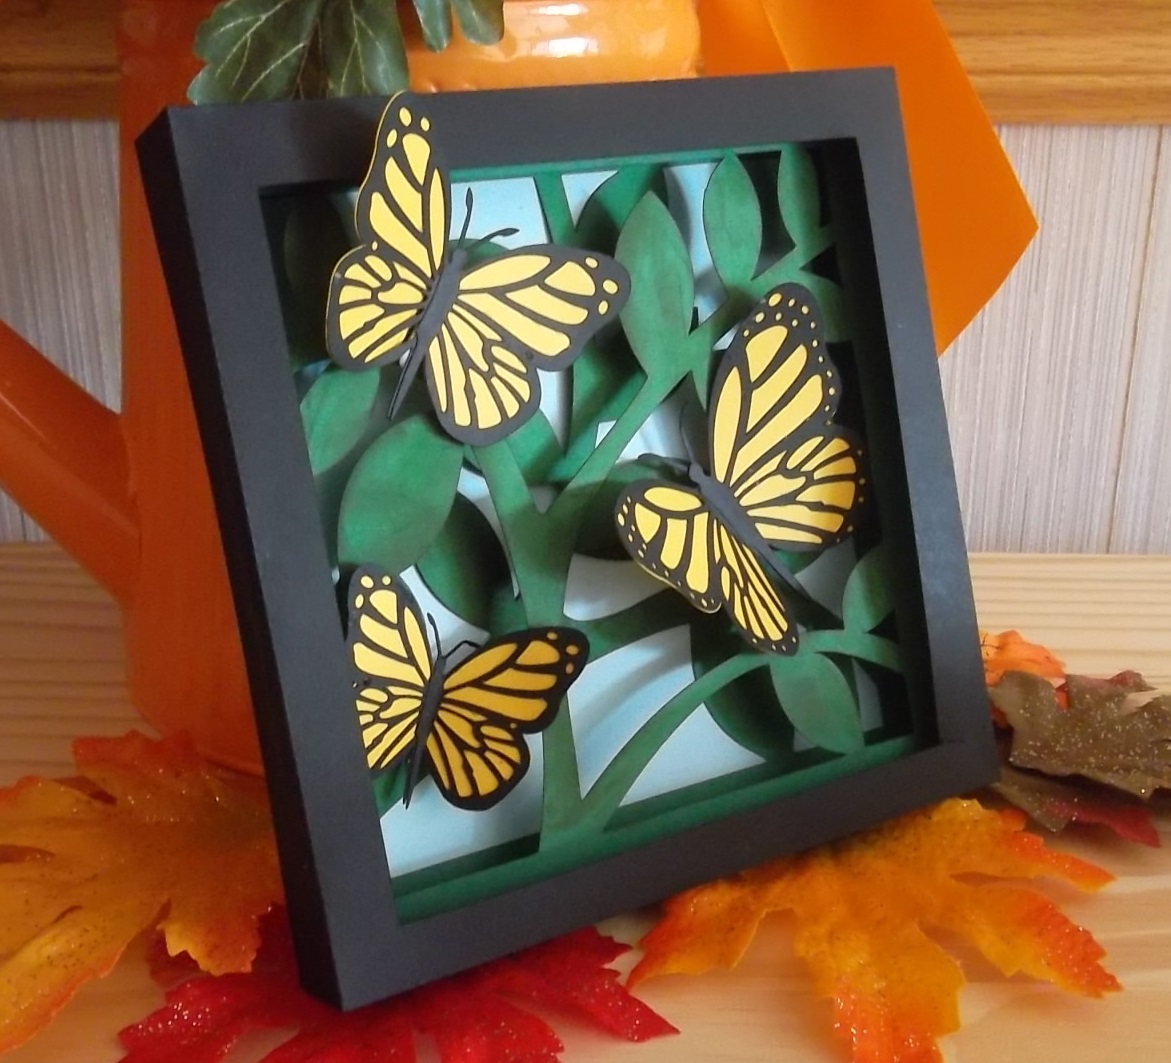
Shadow box paper art is a technique that involves creating layered paper elements and placing them within a shadow box frame to create a sense of depth and dimension. The resulting artwork can range from intricate scenes to abstract compositions, offering limitless possibilities for creative expression.
Materials:
- Acid-free cardstock or paper
- Shadow box frame
- Scissors
- Glue or adhesive
- Optional: Embellishments (e.g., beads, ribbons, fabric)

Techniques:

- Free 3d Shadow Box Svg Free 3D Shadow Box SVG: Elevate Your Papercraft Creations
- 3d Paper Shadow Box 3D Paper Shadow Box: A Step-by-Step Guide To Creating Stunning Paper Art
- Shadow Box Templates Shadow Box Templates: A Comprehensive Guide To Creating Stunning Displays
- 3d Lighted Shadow Box 3D Lighted Shadow Boxes: A Comprehensive Guide To Crafting And Displaying Illuminated Masterpieces
- Lightbox Template Free Lightbox Template Free: A Comprehensive Guide To Enhance Your Website’s Visual Appeal
- Acid-free cardstock or paper
- Layering: Layers of paper are cut and arranged to create depth and interest.
- Die-cutting: Intricate shapes can be cut using dies and a die-cutting machine.
- Scoring and Folding: Paper can be scored and folded to create texture and dimension.
- Assembling: Layers are assembled within the shadow box frame, using glue or adhesive.
- Consider the overall layout and placement of elements within the shadow box.
- Use contrast and balance to create visual interest.
- Choose a color palette that complements the subject matter and enhances the depth of the artwork.
- Layer different shades of the same color to create a sense of texture and dimension.
- Combine smooth and textured papers to add visual interest.
- Use embossing or other techniques to create additional texture.
- Determine the theme and subject matter of your artwork.
- Sketch out a rough draft to visualize the composition.
- Cut out the paper elements based on your sketch.
- Arrange the layers in the shadow box frame, starting from the background and working towards the foreground.
- Glue or adhere the layers together, ensuring they are secure and aligned.
- Add any embellishments or finishing touches.
- Place the finished artwork in the shadow box frame and secure it.
- Display your masterpiece in a well-lit area to showcase its depth and dimension.
- Home Decor: Create unique and eye-catching wall art, table centerpieces, and shadow boxes for cherished memories.
- Gifts: Design thoughtful and personalized gifts that are both meaningful and decorative.
- Art Therapy: Engage in a relaxing and creative activity that promotes stress relief and self-expression.
- Warped Paper: Use acid-free paper and store it in a cool, dry place.
- Uneven Layers: Ensure layers are cut and glued precisely.
- Fading Colors: Choose high-quality paper and store your artwork away from direct sunlight.
- Use a variety of paper weights and textures to create depth.
- Experiment with different adhesives for different materials.
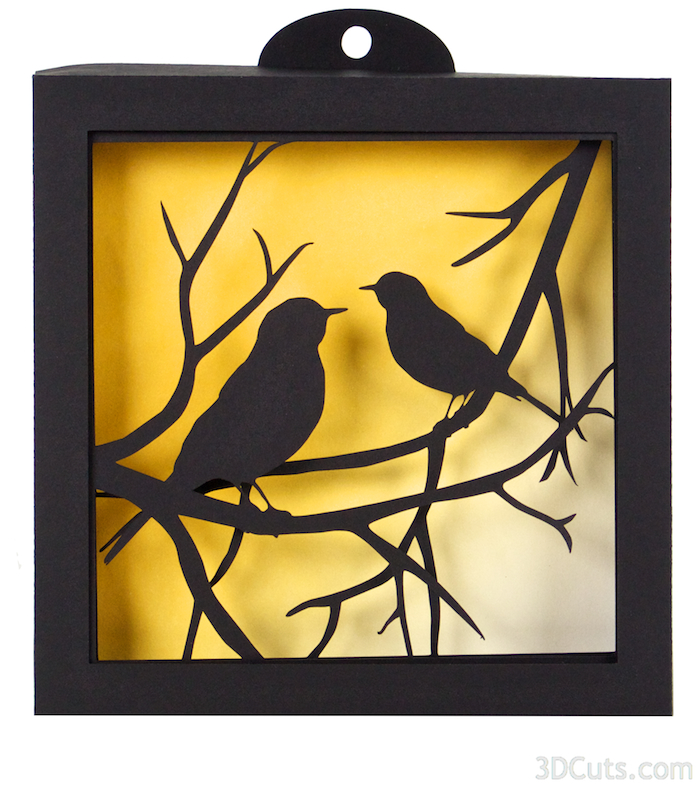
- Consider using a light source behind the artwork to enhance the shadows.
- Frame your artwork with a mat board to protect it and enhance its presentation.
H1: Understanding Shadow Box Paper Art
Shadow box paper art is a technique that involves creating layered paper elements and placing them within a shadow box frame to create a sense of depth and dimension. The resulting artwork can range from intricate scenes to abstract compositions, offering limitless possibilities for creative expression.
H2: Materials and Techniques

Materials:

H3: Design Considerations

Composition:

Color:

Texture:
H2: Creating a Shadow Box Paper Art
Step 1: Plan and Sketch
Step 2: Cut and Layer
Step 3: Assemble
Step 4: Frame and Display
H3: Inspiration and Applications
Shadow box paper art finds applications in various settings:
H2: Troubleshooting and Tips
Common Issues:
Tips:
H2: Conclusion
Shadow box paper art is a versatile and rewarding art form that allows artists to explore their creativity and create stunning three-dimensional masterpieces. By understanding the materials, techniques, and design considerations involved, you can embark on a journey of artistic exploration and produce captivating works of art that add depth and interest to any space.
FAQs
Q: What is the difference between shadow box paper art and paper quilling?
A: Shadow box paper art involves creating layered paper elements within a shadow box frame, while paper quilling involves rolling and shaping strips of paper to create intricate designs.
Q: Can I use any type of paper for shadow box art?
A: Acid-free cardstock or paper is recommended to prevent discoloration and damage over time.
Q: How can I make my shadow box art more interactive?
A: Consider adding lights, sound effects, or interactive elements to enhance the viewer’s experience.
Q: What is the best way to display shadow box paper art?
A: Display your artwork in a well-lit area to showcase its depth and dimension. Frame it with a mat board to protect it and enhance its presentation.
Q: How do I prevent my shadow box paper art from warping?
A: Use acid-free paper and store it in a cool, dry place to prevent warping and damage.