


SVG Shadow Box: A Comprehensive Guide to Creating Stunning 3D Effects
Introduction
Scalable Vector Graphics (SVG) shadow boxes are a captivating technique for adding depth and dimension to 2D designs. By layering SVG elements and applying shadows, you can create the illusion of three-dimensional objects that appear to pop out of the page. This guide will provide a comprehensive overview of SVG shadow boxes, covering everything from basic concepts to advanced techniques.
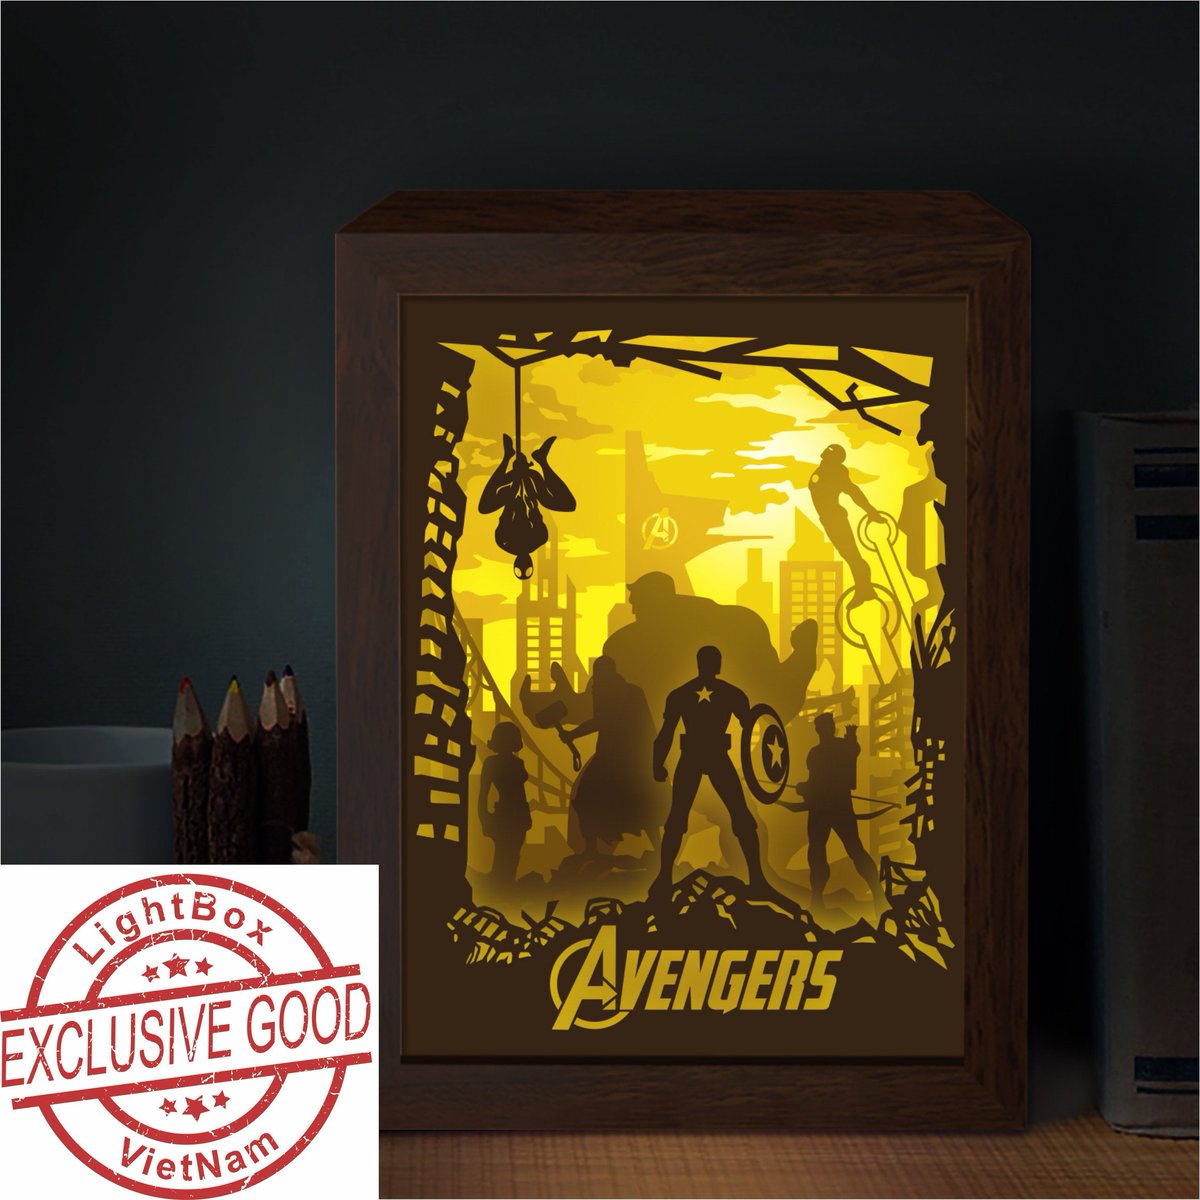

Table of Content
- 1 SVG Shadow Box: A Comprehensive Guide to Creating Stunning 3D Effects
- 1.1 Introduction
- 1.2 Understanding SVG Shadow Boxes
- 1.2.1 How Does an SVG Shadow Box Work?
- 1.3 Creating SVG Shadow Boxes
- 1.3.2 Step 1: Designing the Base Layer
- 1.4 Understanding SVG Shadow Boxes
- 1.4.3 What is an SVG Shadow Box?
- 1.4.4 How Does an SVG Shadow Box Work?
- 1.4.5 Step 2: Creating the Cutout Layers
- 1.4.6 Step 3: Adding Shadows
- 1.4.7 Step 4: Layering the Elements
- 1.4.8 Step 5: Adjusting Perspective
- 1.5 Advanced Techniques
- 1.5.9 Gradients and Textures
- 1.5.10 Animation
- 1.5.11 Parallax Scrolling
- 1.6 Best Practices
- 1.7 Conclusion
- 1.8 FAQs
Understanding SVG Shadow Boxes
An SVG shadow box is a layered composition of SVG elements that creates the effect of a three-dimensional object. It typically consists of a base layer, one or more cutout layers, and a series of shadows that simulate depth.
How Does an SVG Shadow Box Work?
The illusion of depth is achieved by:
- Layering: Positioning cutout layers on top of each other to create a stacked effect.
- Shadows: Applying shadows to the cutout layers to simulate the way light interacts with real-world objects.
- Perspective: Adjusting the angle of the shadows to create the appearance of depth and perspective.

Creating SVG Shadow Boxes

Step 1: Designing the Base Layer
Scalable Vector Graphics (SVG) shadow boxes are a captivating technique for adding depth and dimension to 2D designs. By layering SVG elements and applying shadows, you can create the illusion of three-dimensional objects that appear to pop out of the page. This guide will provide a comprehensive overview of SVG shadow boxes, covering everything from basic concepts to advanced techniques.
- Paper Cut Light Box Paper Cut Light Box: A Guide To Creating Stunning Illuminated Art
- Disney Shadow Box Svg Free Disney Shadow Box SVG Free: A Comprehensive Guide To Enhance Your Crafting Projects
- Cut Out Free Shadow Box Svg File Cut Out Free Shadow Box SVG File: A Comprehensive Guide
- Shadow Box Paper Art SVG Shadow Box Paper Art SVG: The Ultimate Guide
- Shadow Box Templates Shadow Box Templates: A Comprehensive Guide To Creating Stunning Displays
Understanding SVG Shadow Boxes
What is an SVG Shadow Box?

An SVG shadow box is a layered composition of SVG elements that creates the effect of a three-dimensional object. It typically consists of a base layer, one or more cutout layers, and a series of shadows that simulate depth.
How Does an SVG Shadow Box Work?
The illusion of depth is achieved by:
The base layer forms the foundation of the shadow box. It should be a solid color or gradient that represents the background surface.

Step 2: Creating the Cutout Layers
Cutout layers are the shapes that will appear in the foreground of the shadow box. These layers can be simple or complex, depending on the desired design.
Step 3: Adding Shadows

Shadows are crucial for creating the illusion of depth. Apply shadows to each cutout layer using the filter property. Adjust the shadow’s offset, spread, and blur to create a realistic effect.
Step 4: Layering the Elements
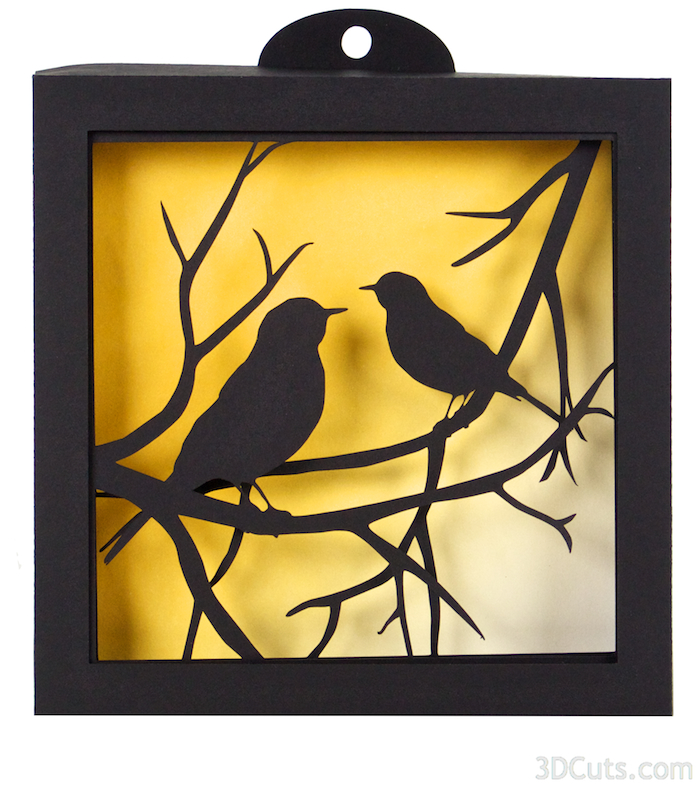
Arrange the base layer, cutout layers, and shadows in the correct order. The cutout layers should be stacked on top of each other, with the shadows placed behind them.
Step 5: Adjusting Perspective
To enhance the three-dimensional effect, adjust the perspective of the shadows. This can be done by changing the angle of the x and y offsets.

Advanced Techniques
Gradients and Textures
Add depth and realism to your shadow boxes by applying gradients and textures to the cutout layers. This can simulate the appearance of different materials, such as wood, metal, or fabric.
Animation

Animate SVG shadow boxes to create dynamic effects. This can be achieved using CSS animations or JavaScript libraries like GreenSock.
Parallax Scrolling
Combine SVG shadow boxes with parallax scrolling to create immersive 3D experiences. As the user scrolls, the cutout layers move at different speeds, enhancing the illusion of depth.
Best Practices
- Use contrasting colors: Choose contrasting colors for the base layer and cutout layers to create a clear visual distinction.
- Experiment with shadow properties: Adjust the offset, spread, and blur of the shadows to find the optimal balance for your design.
- Consider perspective: Pay attention to the angle of the shadows to create a realistic sense of depth.
- Test on different devices: Ensure your shadow boxes display correctly on all devices and screen sizes.
Conclusion
SVG shadow boxes are a powerful technique for adding depth and dimension to your designs. By following the steps outlined in this guide, you can create stunning 3D effects that will captivate your audience. Experiment with different techniques and best practices to enhance the visual impact of your designs.
FAQs
Q: What software can I use to create SVG shadow boxes?
- Adobe Illustrator
- Inkscape
- Figma
Q: Can I create SVG shadow boxes in HTML and CSS?
- Yes, you can use the
filterproperty to create shadows and thez-indexproperty to control the layering.
Q: How can I animate SVG shadow boxes?
- Use CSS animations or JavaScript libraries like GreenSock.
Q: What are some practical uses for SVG shadow boxes?
- Creating interactive web graphics
- Designing 3D logos and icons
- Developing user interfaces with depth and dimension
Q: How can I improve the performance of SVG shadow boxes?
- Optimize the number of layers and shadows.
- Use CSS filters instead of raster images.
- Consider using SVG sprites to reduce file size.


